1、论文地址:https://vision.in.tum.de/_media/research/vslam/dm-vio/dm-vio.pdf https://vision.in.tum.de/_media/research/vslam/dm-vio/dm-vio.pdf
2、源码地址:GitHub - lukasvst/dm-vio: Source code for the paper DM-VIO: Delayed Marginalization Visual-Inertial Odometryhttps://github.com/lukasvst/dm-vio
3、环境配置安装编译
3.1 下载源码:
git clone https://github.com/lukasvst/dm-vio.git
3.2 安装依赖:
sudo apt-get install cmake libsuitesparse-dev libeigen3-dev libboost-all-dev libyaml-cpp-dev
3.3 安装GTSAM
sudo apt install libtbb-dev
git clone https://github.com/borglab/gtsam.git
cd gtsam
git checkout 4.2a6          # not strictly necessary but this is the version tested with.
mkdir build && cd build
cmake -DGTSAM_POSE3_EXPMAP=ON -DGTSAM_ROT3_EXPMAP=ON -DGTSAM_USE_SYSTEM_EIGEN=ON -DGTSAM_BUILD_WITH_MARCH_NATIVE=OFF ..
make -j
sudo make install
3.4 安装OpenCV
sudo apt-get install libopencv-dev
3.5 Pangolin v0.6安装
sudo apt install libgl1-mesa-dev libglew-dev pkg-config libegl1-mesa-dev libwayland-dev libxkbcommon-dev wayland-protocols
git clone https://github.com/stevenlovegrove/Pangolin.git
cd Pangolin
git checkout v0.6
mkdir build
cd build
cmake ..
cmake --build .
sudo make install
4 编译源码
cd dm-vio
mkdir build
cd build
cmake ..
make -j
5 使用作者脚本运行数据集
5.1 配置脚本依赖
pip3 install tqdm ruamel.yaml pyquaternion matplotlib tabulate
5.2 下载脚本源码以及创建配置文件
git clone https://github.com/lukasvst/dm-vio-python-tools.git
cd dm-vio-python-tools
python3 create_config.py --name=workpc --dmvio_folder=/path/to/dmvio --results_folder=/results/will/be/saved/here
注: /path/to/dmvio 改成编译好的DM-VIO的路径。
/results/will/be/saved/here 在编译好的DM-VIO路径下创建一个result文件夹用来保存运行好的数据集的相机轨迹文件。此处填写创建好的result的路径。
5.3 下载你所需的数据集
python3 download_euroc.py --folder=/dataset/shall/be/saved/here/euroc
python3 download_tumvi.py --folder=/dataset/shall/be/saved/here/tumvi
python3 download_4seasons.py --folder=/dataset/shall/be/saved/here/4seasons

# Useful For testing: use --only_seq to only download the first sequence
python3 download_euroc.py --folder=/dataset/shall/be/saved/here/euroc --only_seq=0
若不想下载所有数据集,可以加 --only_seq 然后加上你想要下载的数据集序列,详细序列可以查看 configs.yaml文件里的数据集序列排序。
6 数据集上运行DM-VIO
python3 run_dmvio.py --output=console --dataset=euroc --dmvio_settings=euroc.yaml --withgui --iter=1 --only_seq=10
python3 run_dmvio.py --output=console --dataset=tumvi --dmvio_settings=tumvi.yaml --withgui --iter=1 --only_seq=25
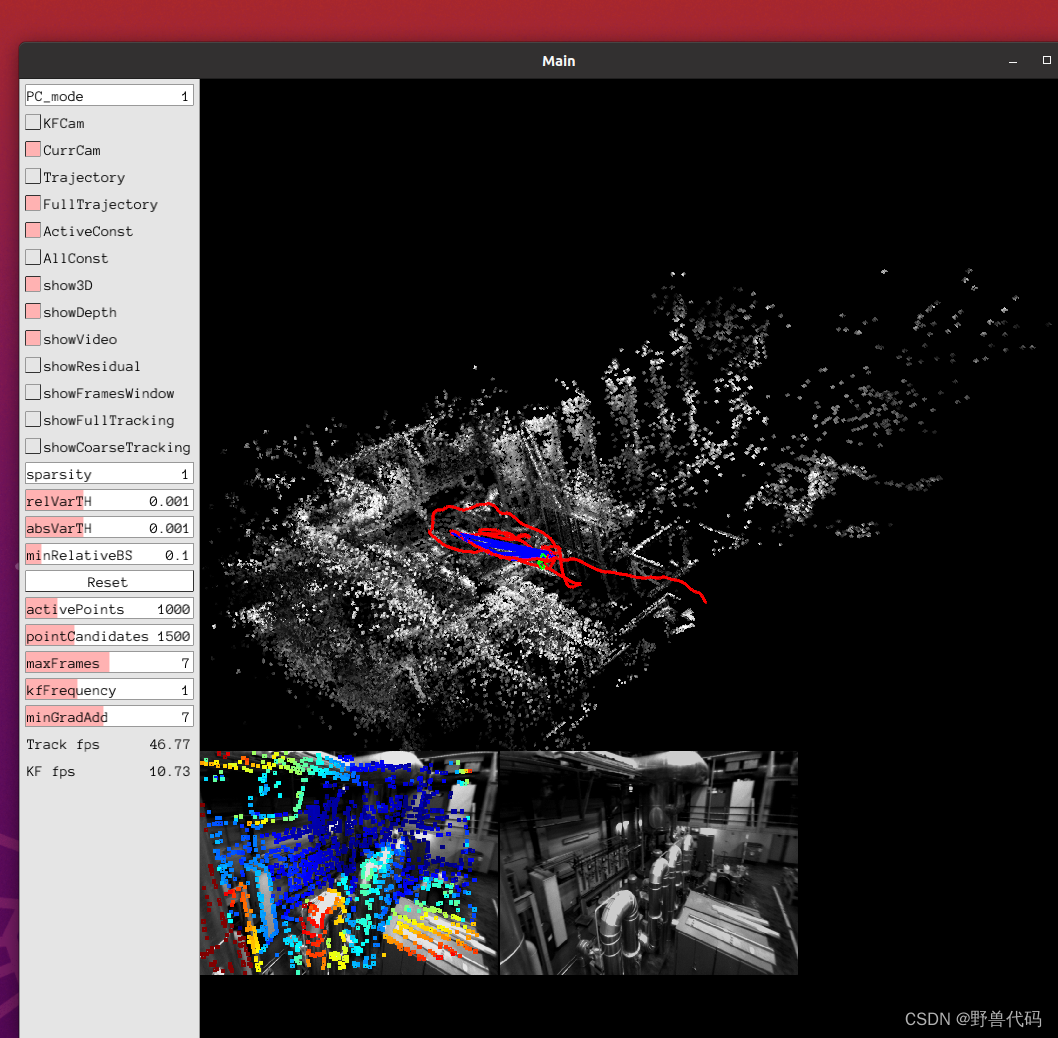
python3 run_dmvio.py --output=console --dataset=4seasons --dmvio_settings=4seasons.yaml --withgui --iter=1 --only_seq=0
在这上一个跑了EuRoc数据集的效果图
本文内容由网友自发贡献,版权归原作者所有,本站不承担相应法律责任。如您发现有涉嫌抄袭侵权的内容,请联系:hwhale#tublm.com(使用前将#替换为@)