wiki
fio - Flexible I/O tester rev. 3.6
下载安装
源码下载
https://git.kernel.org/pub/scm/linux/kernel/git/axboe/fio.git
http://brick.kernel.dk/snaps/
https://github.com/axboe/fio.git
安装
要先安装libaio-devel, centos下
$ yum install libaio-devel
$ ./configure
$ make
$ make install
若要启动gfio,需安装gtk2,configure时加上--enable-gfio
$ yum install libaio-devel
$ yum install gtk2
$ yum install gtk2-devel
$ ./configure --enable-gfio
$ make
$ make install
基本使用
常用命令行指令
–output=filename
将结果输出到对应文件
–output-format=format
结果文件格式,具体看wiki,包括--terse-version=version
–server=args
–client=hostname
–remote-config
这三个是C/S多客户端模式下使用的,具体看后面的C/S(多客户端)详细介绍。
此外,还有其他一个命令行指令,但基本少用到
fio脚本
fio xxx.fio(脚本文件)
脚本基本格式
; -- start job file --  ';'或'#'为fio脚本注释
[global] ;[global]为全局参数,即后面所有job都可以共享
rw=randread
size=128m

[job1] ;[job name]对应job 名,后面加该job特有参数

[job2]

; -- end job file --
变量参数传递
使用$指定变量名字
; -- start job file --
[random-writers]
rw=randwrite
size=${SIZE}
numjobs=${NUMJOBS}
; -- end job file --
在调用时赋值对应变量参数
$ SIZE=64m NUMJOBS=4 fio jobfile.fio
简单例子
[mytest]
filename=/mnt/beegfs/fioTest
ioengine=psync
direct=0
thread
rw=randread
bs=4k
size=1g
numjobs=2
runtime=10
group_reporting
脚本也是可以等同用命令行来完成的,两者可以相互转换,如下,命令行中直接运行:
fio -name=mytest -filename=/mnt/beegfs/fioTest -direct=0 -thread -rw=randread -ioengine=psync -bs=4k -size=1M -numjobs=2 -runtime=10 -group_reporting
解释:-filename指定测试文件名,即这里要测试beegfs文件系统下的fioTest文件,-direct=0不使用O_DIECT方式,-thread创建线程为POSIX线程,-rw=randread I/O类型为随机读,使用psync(则使用pread函数)引擎,-bs=4k块大小为4k,总共读1g,-numjobs=2开启2个线读, -runtime=10运行10s结束,-group_reporting结果把多线程汇总输出
注:若命令行或脚本文件不指定-filename,则默认在当前目录下进行,且numjobs多线程会对应创建不同文件
基本参数介绍
这里只是对官方wiki中一些常用参数总结,对于整个fio只是冰山一角
fio中的bool类型用的都是1或0,不能用true或false
job
name=str
必须指定,job名称
loops=int
该job循环运行次数
numjobs=int
指定运行该job的进程或线程数,即多线程运行
time
runtime=time
指定运行时间,以秒(s)为单位,不指定则直到任务完成才停止
time_based
指定周期性运行,以每次运行runtime时间
file/directory
directory=str
指定运行目录,若不指定则为当前目录。可以用:冒号隔开来指定多个目录,用于numjobs中指定的线程来分布运行
filename=str
指定具体文件名,可以用:冒号隔开来指定多个文件,使用了这个参数则不能使用nrfiles参数,且文件名中的:和反斜杠\需要用反斜杠\转义,如filename是/dev/dsk/foo@3,0:c则应写为filename=/dev/dsk/foo@3,0\:c
filename_format=str
文件(自动创建的)命名格式,默认为$jobname.$jobnum.$filenum,其中jobnum为线程num。也可在这里指定目录,如filename_format=a/b/c/$jobnum,则会自动创建a/b/c目录
nrfiles=int
对应给每个job线程使用的文件数,个人理解是在用loops时可以随机用不同的文件,默认是1
openfiles=int
指定可同时打开文件数,默认是nrfiles数值
file_service_type=str
选择下一个文件的方式,有以下几种方式
random
roundrobin 默认
sequential
Finish one file before moving on to the next. Multiple files can still be open depending on openfiles.
zipf 使用Zipf分布决定下一个使用的文件
pareto 使用Pareto分布
normal 使用高斯分布
gauss 同normal一样
其中对于random, roundrobin, sequential三种方式可以在后面加类似random:2指定2个IO操作后开始随机选择文件
此外,还有很多文件创建和预读方式,具体可以参照wiki,毕竟用的较少
I/O type
direct=bool
指定为1则为O_DIRECT,不使用Buffer缓存
atomic=bool
使用自动IO,O_ATOMIC
buffered=bool
是否使用buffer,与direct相反,默认为使用
readwrite=str 或 rw=str
包含以几种读写方式
read 顺序读(默认)
write 顺序写
trim
Sequential trims (Linux block devices only).
randread
randwrite
randtrim
Random trims (Linux block devices only).
rw/readwrite顺序混合读写(默认五五开)
randrw随机混合读写
trimwrite
Sequential trim+write sequences. Blocks will be trimmed first, then the same blocks will be written to.
其中加后缀:<nr>可以指定读写过程offset数,对于顺序和随机读写会有不同,如顺序写write:4k则指定顺序写时写一个IO跳过4k,但随机则不同,具体方式由rw_sequencer参数指定
rw_sequencer=str
两种方式:
sequential 序列化offset,仅对于随机读写有用,使用这种方式下若指定rw=randread:8,则8意思为8个IO后从序列或取一个随机的offset
identical 指定一个固定的offset,如上面用的write:4k
overwrite=bool
默认为false,每次写都为重写,不管有没有内容
rwmixread=int
混合读写时读的比例,默认为50
rwmixwrite=int
混合读写时写的比例,默认为50
Block size
blocksize=int[,int][,int] 或 bs=int[,int][,int]
读写的块大小,默认4096。可用,分隔输入三个参数,对应read,write,trims如官方例子很清楚
bs=256k means 256k for reads, writes and trims.
bs=8k,32k means 8k for reads, 32k for writes and trims.
bs=,8k, means default for reads, 8k for writes, and default for trims.
blocksize_range=irange[,irange][,irange] 或 bsrange=irange[,irange][,irange]
设定块大小范围,同用,分隔read,write,trims,用-指定范围
Example: bsrange=1k-4k,2k-8k.
在blocksize_unaligned不设置的情况下,默认为最小值的整数倍获取值。
bssplit=str[,str][,str]
设定块大小并指定权重,格式为
bssplit=blocksize/percentage:blocksize/percentage
bssplit=4k/10:64k/50:32k/40
bssplit=4k/50:1k/:32k/
若/后不加值则默认平均分配,如最后一项则1k和32k为25%,但自行计算加上的必须满足等于100。同样,用,分隔read,write,trims。
bssplit=2k/50:4k/50,4k/90,8k/10
blocksize_unaligned, bs_unaligned
块不对齐,设置了则bsrange可以在范围内任意值,不设置则只能是对齐则为最小值的整数倍。不可在direct IO下使用,因为该情况下以扇区为单位。
I/O size
size=int
一个job里一个线程的文件大小,在没有设置filesize的情况下,若设置了nrfiles``filename多个,则用这个size值平摊给每个文件
filesize=irange(int)
优先级高于size设置范围则随机获取range内的值。
I/O engine
ioengine=str
有以下几种常用模式,官方有几十种包括给hdfs,rdma和ceph特用的:
一般就是用psync,异步时用libaio,此时direct设置为1,且可用iodepth
sync
Basic read(2) or write(2) I/O. lseek(2) is used to position the I/O location. See fsync and fdatasync for syncing write I/Os.
psync
Basic pread(2) or pwrite(2) I/O. Default on all supported operating systems except for Windows.
vsync
Basic readv(2) or writev(2) I/O. Will emulate queuing by coalescing adjacent I/Os into a single submission.
pvsync
Basic preadv(2) or pwritev(2) I/O.
pvsync2
Basic preadv2(2) or pwritev2(2) I/O.
libaio
Linux native asynchronous I/O. Note that Linux may only support queued behavior with non-buffered I/O (set direct=1 or buffered=0). This engine defines engine specific options.
posixaio
POSIX asynchronous I/O using aio_read(3) and aio_write(3).
solarisaio
Solaris native asynchronous I/O.
windowsaio
Windows native asynchronous I/O. Default on Windows.
mmap
File is memory mapped with mmap(2) and data copied to/from using memcpy(3).
iodepth=int
异步队列深度,默认为1
thread
创建的是POSIX 线程
Client/Server(多client测试)
服务端
开启服务
$ fio --server=args
可以指定端口和IP协议类型,官方例子
fio --server
Start a fio server, listening on all interfaces on the default port (8765).
fio --server=ip:hostname,4444
Start a fio server, listening on IP belonging to hostname and on port 4444.
fio --server=ip6:::1,4444
Start a fio server, listening on IPv6 localhost ::1 and on port 4444.
fio --server=,4444
Start a fio server, listening on all interfaces on port 4444.
fio --server=1.2.3.4
Start a fio server, listening on IP 1.2.3.4 on the default port(8765).
fio --server=sock:/tmp/fio.sock
Start a fio server, listening on the local socket /tmp/fio.sock.
客户端
fio --client= <job file(s)(.fio)>
远程指定server上的文件
fio --client= --remote-config /path/to/file.fio
local-args可以指定结果输出方式,remote-args暂时想不到例子,毕竟很多可以写在.fio文件里
多机情况(其实不是多client,而是多server但不影响)
fio --client= <job file(s)> --client= <job file(s)>
或者用文件存储所有server的hostname
fio --client=host.list <job file(s)>
host.list格式为hostname一行一个
hostname1
hostname2
gfio使用
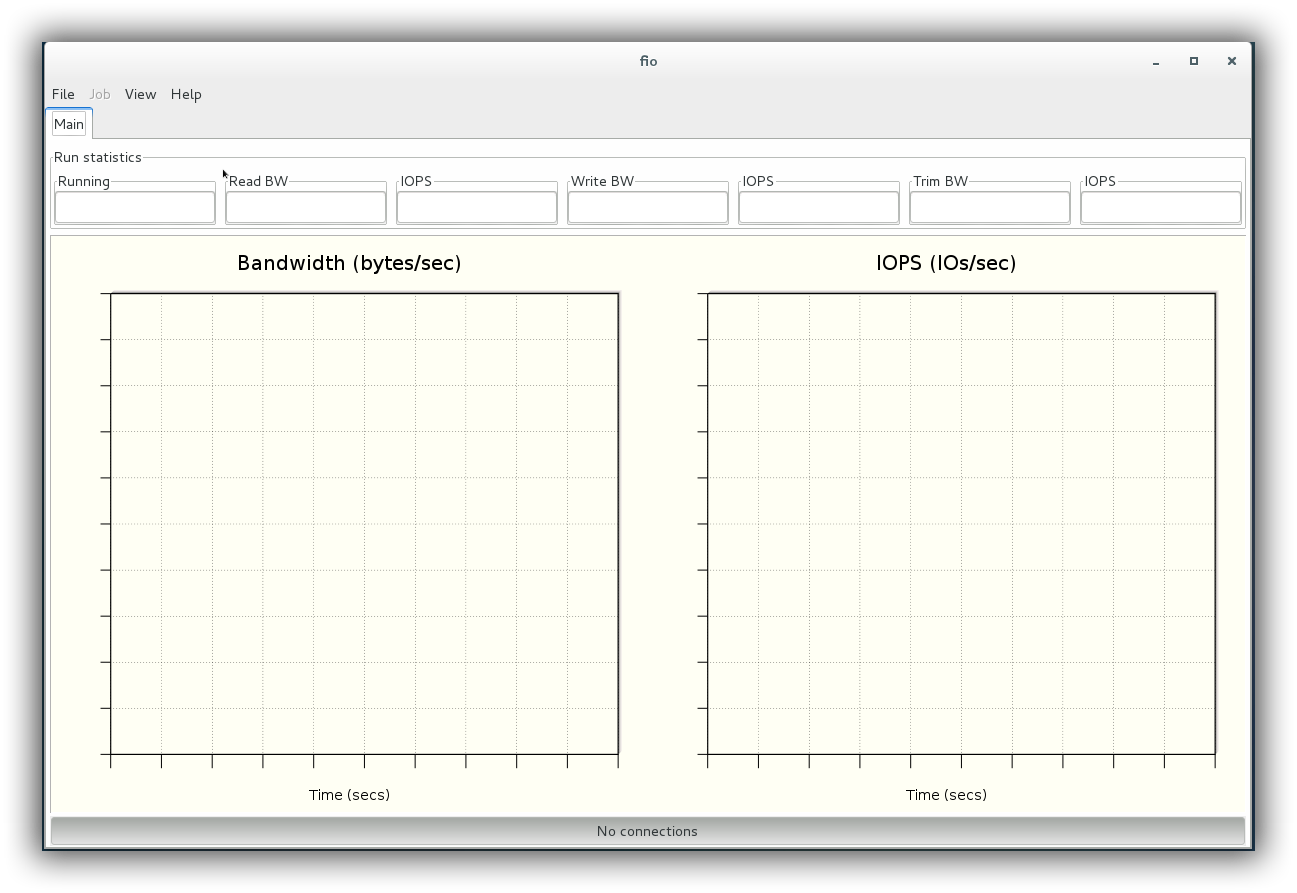
当前只在单机下测试过,安装时看前面安装方法,需要--enable-gfio然后正常情况是可以用gfio命令了,但这时是一个空的
gfio使用需要先开启服务器,在同台机子上
$fio --server
fio: server listening on 0.0.0.0,8765
然后点击刚刚打开的gfio界面,点File > Open > 打开fio的example里面的例子,这里用aio_read.fio,
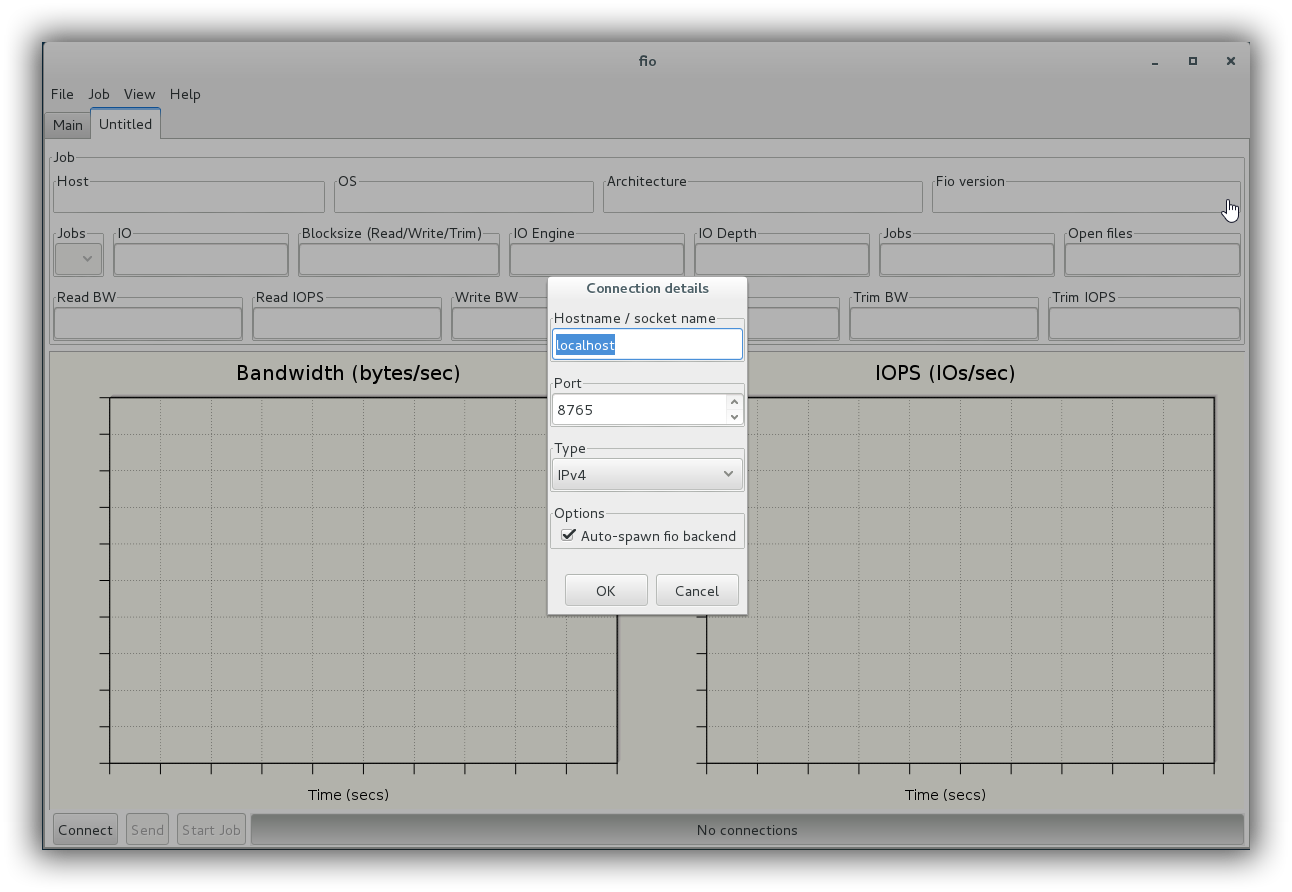
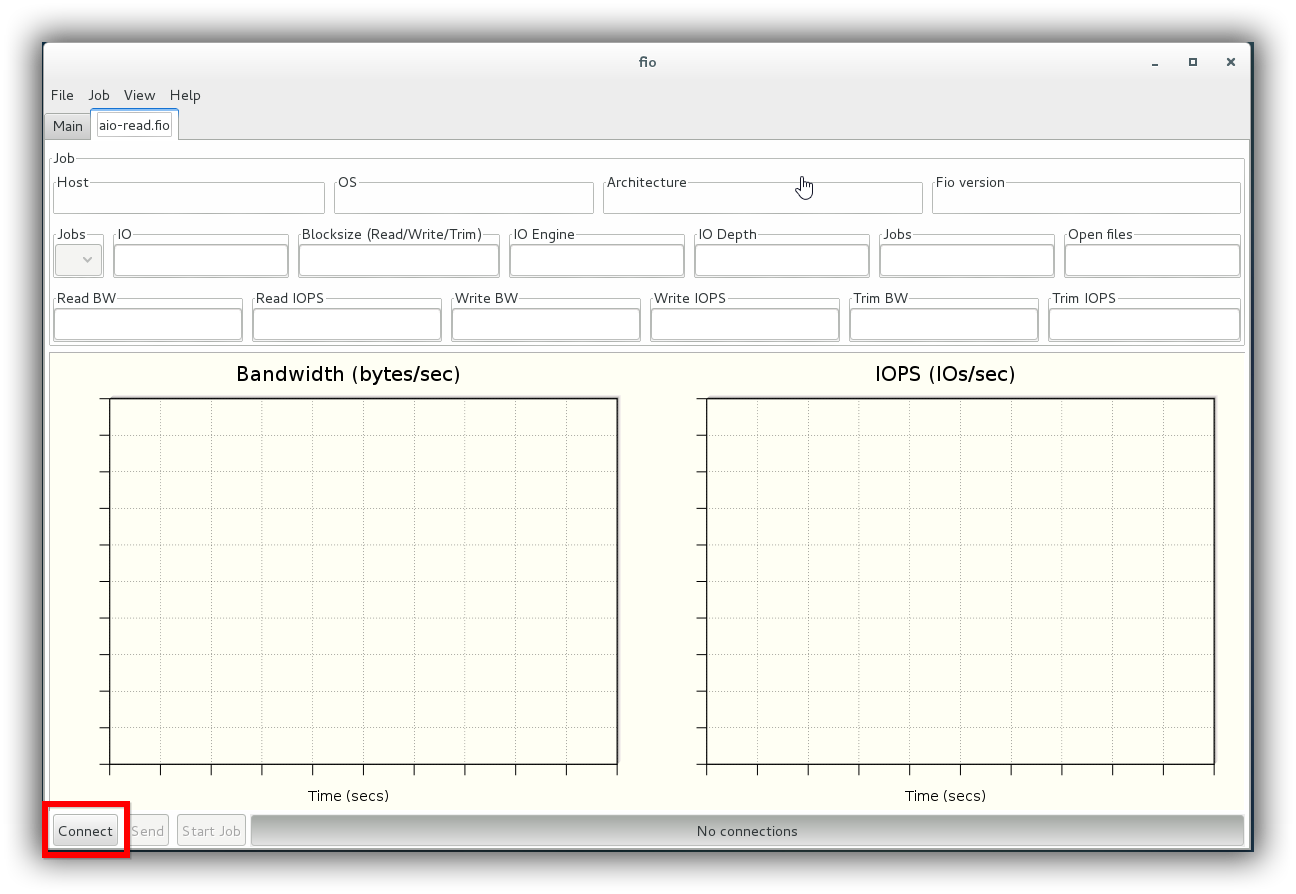
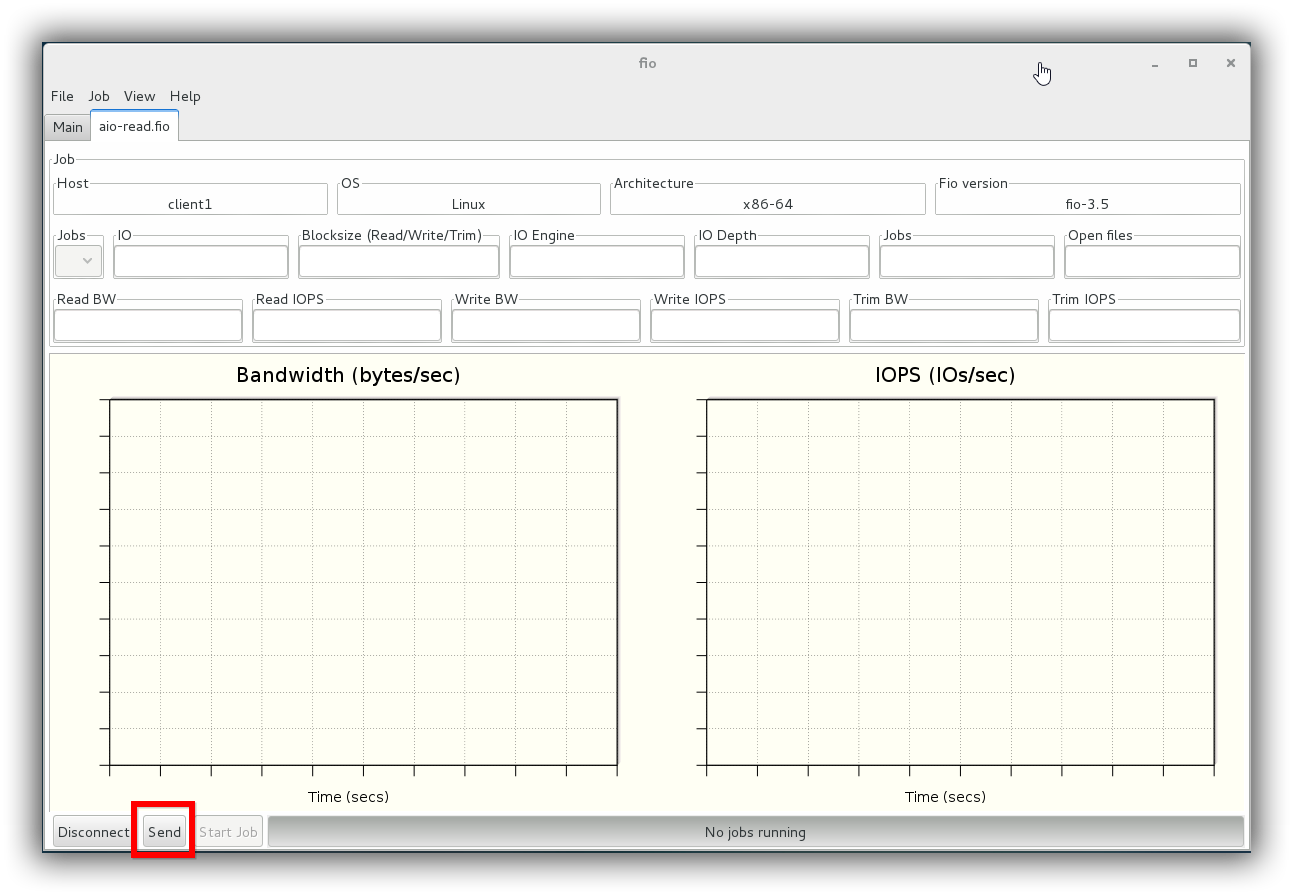
这里因为是在本机,端口也是默认的,所以不用修改,点OK,然后,点Connect
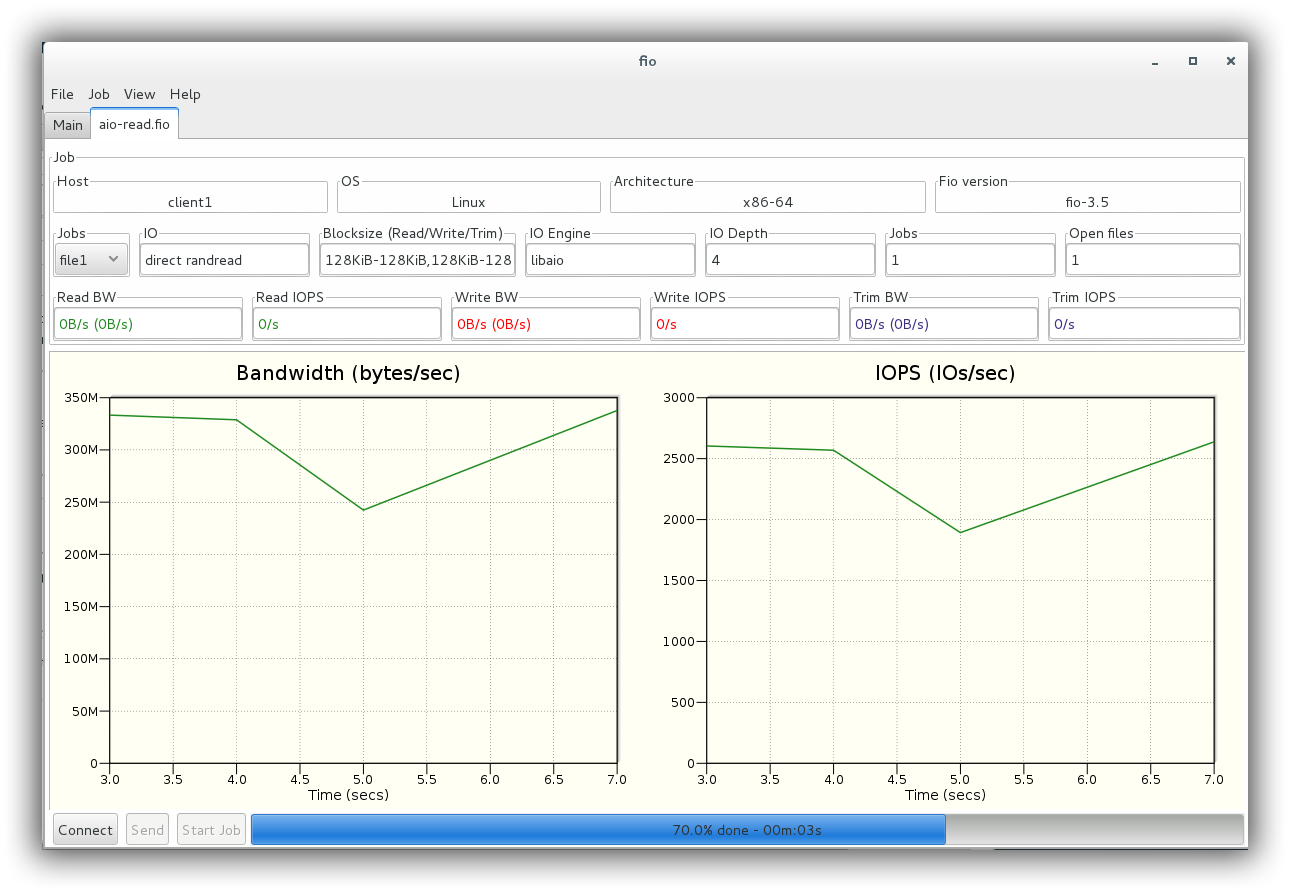
然后Send,Start Job
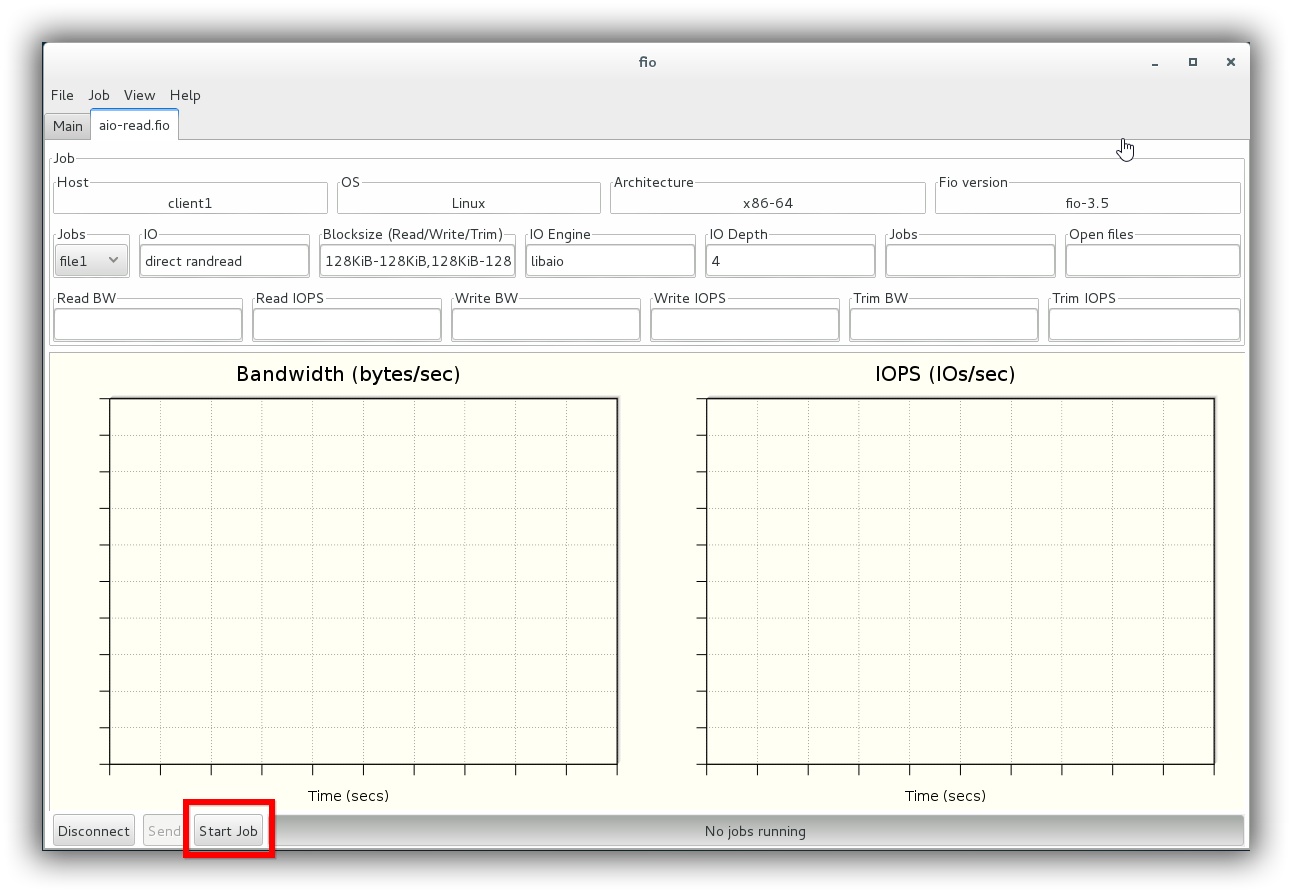
然后开始运行,之后可以看到具体具体运行数据结果: