windows terminal + oh-my-posh 2022 版配置教程
目录
windows terminal + oh-my-posh 2022 版配置教程
总览
1. 下载powershell
2. 安装字体
下载并安装字体至系统
配置powershell字体
3. 下载oh-my-posh
4. 配置powershell 使用oh-my-posh
5.个性化配置
总览
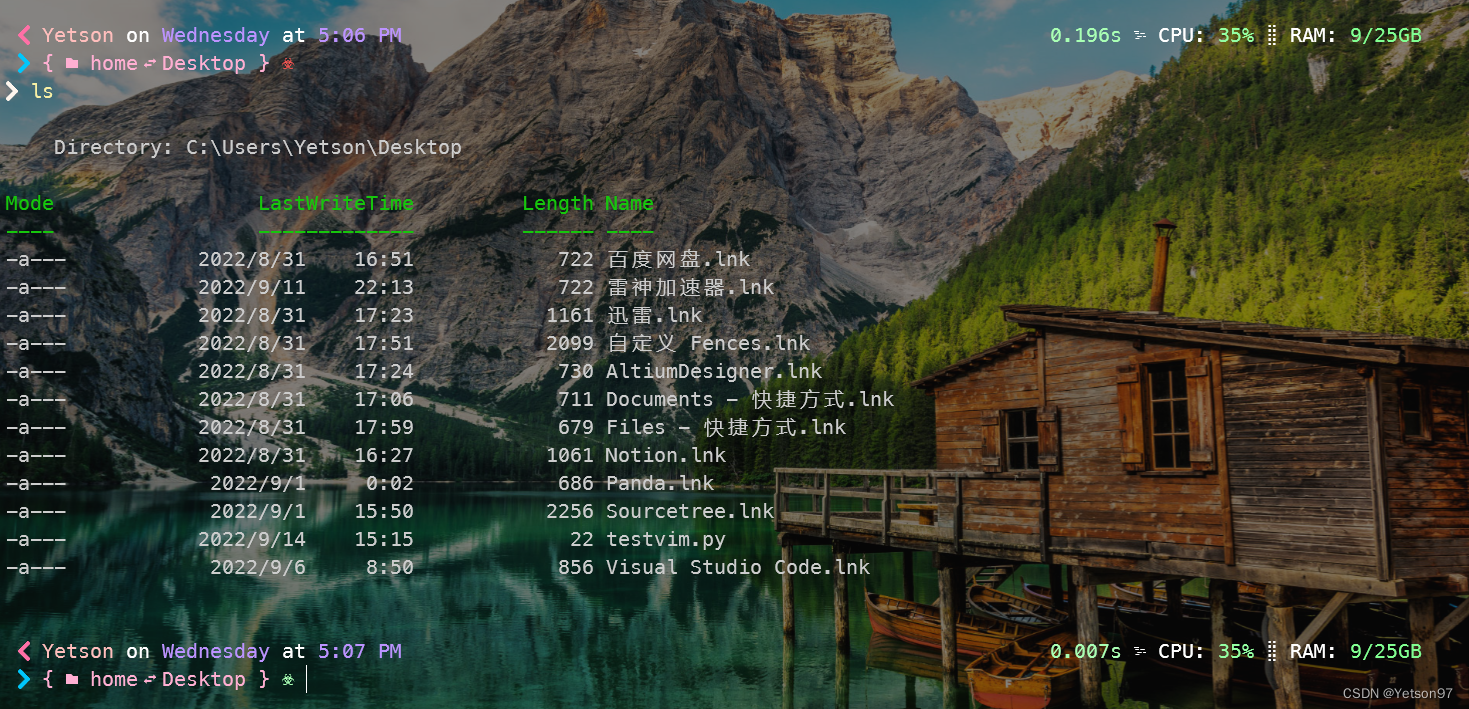
首先放上预览图:
写这篇博客的原因是,在我进行终端配置时,网上搜到的高点击的教程要么有些过时,要么对用户基础知识或者网络环境要求较高,因此我决定自己写一篇符合当下最新版本的、基本全图形化配置的、基本不需要访问Github的低门槛配置教程。
有相关基础知识和条件的朋友门可以直接按照oh-my-posh官网的指导进行安装。
我的配置教程,尽可能少地使用命令行命令,少直接操作.json文件,减少需要科学上网的操作,让没有相关知识基础的、纯粹为了好看的萌新也能成功的配置。
步骤总览:
下面我们开始吧。
提示:
1. 下文涉及到路径时,<>中的内容需要自己修改;
2. 文中涉及的所有命令,都是在powershell 中进行的,千万不要搞错了;
1. 下载powershell
首先确保电脑已经安装windows terminal。如果未安装,可以到windows商店下载。
然后下载powershell,同样在windows商店中下载即可,稳定版和preview版均可。应注意到,windows terminal 已经自带windows powershell,但是这和我们需要的powershell是两个东西。
具体的两者间的区别感兴趣的同学可以自行bing一下。
我们需要对powershell 进行配置,这对于windows powershell 是不起作用的。
安装完成后,在windows terminal 中,应该就会有powershell 选项卡,如下图所示:
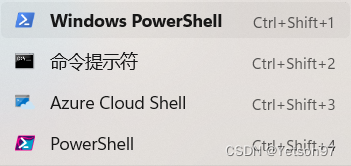
从这张图也能看出来,windows terminal 和 powershell 是两个东西。
2. 安装字体
为什么要安装字体?
这是因为oh-my-posh 的大部分主题都有各式各样的特殊字符,而windows 系统自带的字体可能 无法全部识别这些字符,反映到界面上就是各种颜色的框框,非常影响观感。
下载并安装字体至系统
oh-my-posh官网建议使用nerd fonts。有条件的朋友可以自行到字体的主页](Nerd Fonts - Iconic font aggregator, glyphs/icons collection, & fonts patcher)去下载并安装,下载界面会跳到Github。
访问Github有困难的朋友,我这里提供了我下载的字体链接,字体没有全部下载,但是也够用了。
链接:百度网盘 请输入提取码 提取码:uau7
解压后,目录下的每个文件夹对应一个字体,可以单独安装,也可以使用在文件夹根目录下的install 脚本安装,windows要执行ps后缀 的脚本,如图中所示:

如果想要单独安装,需要进入所选字体文件夹,有像下面的文件列表:
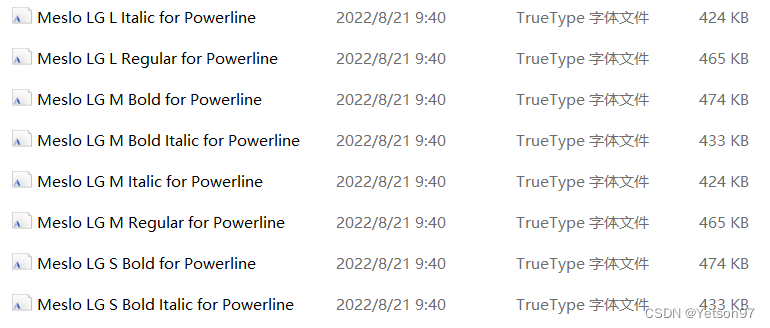
文件名称含义:
Meslo LG: 字体名称
L/M/s: 字体大小
bold:加粗
italic:倾斜
regular:正常
可以根据自己的喜好选择。oh-my-posh官方推荐:Meslo LG M
双击图中的文件即可安装对应字体。
配置powershell字体
只是将字体安装到系统是不够的,我们需要配置powershell,使其使用我们刚刚安装的字体。
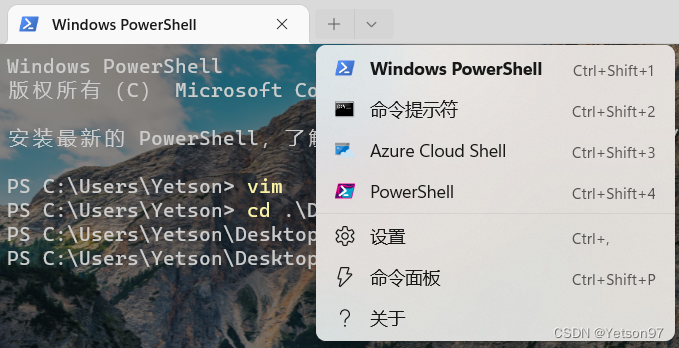
打开windows terminal,点击上方标签栏后面的下拉按钮,打开windows termianl 设置:
设置页面的左侧导航栏中选择powershell 设置,并点开外观设置:
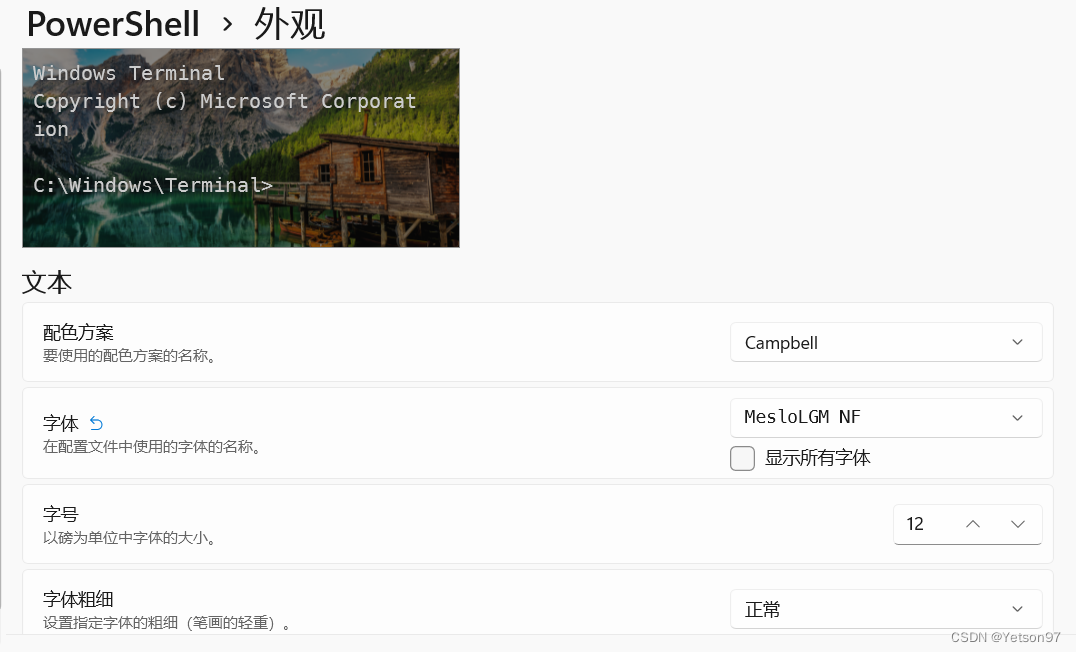
在这里的字体设置中,将字体选择为我们刚刚安装过的字体。
3. 下载oh-my-posh
oh-my-posh可以有如下方法下载:命令行方法和windows store下载。
命令行方法,以winget为例:
winget install JanDeDobbeleer.OhMyPosh -s winget
不要再使用有些教程中的Install-Module命令来安装了,官网已经不使用这种安装方法了。
更为简单的方法是:从windows store 中直接搜索oh-my-posh软件并下载,安装。
4. 配置powershell 使用oh-my-posh
这里需要一些命令行操作,但是只要跟着我复制粘贴即可,非常简单。
首先,输入如下命令:
notepad $PROFILE
这个命令会在C:\Users\<your_name>\Documents\PowerShell\文件夹下面创建Microsoft.PowerShell_profile.ps1文件。
我们原来是没有这个文件的,运行上述命令后,会弹出创建文件提醒,选择是。之后系统会自动使用记事本打开这个文件。
如果没有弹出提醒,但是在命令行中返回错误信息,则输入如下命令手动创建:
New-Item -Path $PROFILE -Type File -Force
然后找到C:\Users\<your_name>\Documents\PowerShell\目录下这个文件,使用记事本打开。
向该文件中写入如下内容:
oh-my-posh init pwsh | Invoke-Expression
保存退出。
然后在命令行中,输入如下命令,使刚刚编辑的配置脚本生效:
. $PROFILE
然后就能看见我们的powershell 从原来的黑白,变成了五颜六色的oh-my-posh 优化后的界面啦。
5.个性化配置
至此,所有的重要工作都已经做完了。
然后我们需要根据自己的喜好,对powershell进行一定的美化。
美化内容包括:
-
修改oh-my-posh主题
-
修改powershell 配色方案
-
修改powershell 背景图片
-
增加毛玻璃效果
-
等等
在上述选项中,我们这里只讲第一条,因为十分推荐修改oh-my-posh主题,因为默认主题实在是太浪费资源,导致pwoershell启动和运行速度很慢!
在powershell 中输入:
Get-PoshThemes
powershell中会显示官方的主题,并将主题下载到themes文件夹中。
主题目录为:
C:\Users\<your_name>\AppData\Local\Programs\oh-my-posh\themes
选好心仪的主题后,可以按照powershell显示的提示,将第4步修改的Microsoft.PowerShell_profile.ps1文件修改为:
oh-my-posh init pwsh --config 'C:\Users\<your_name>\AppData\Local\Programs\oh-my-posh\themes\<your_theme_name>.omp.json' | Invoke-Expression
然后再次再powershel 中运行.$PROFILE即可使新主题生效。
如果运行Get-PoshThemes命令有问题,可能是网络问题,那么可以选择科学上网后再尝试,也可以使用我的主题文件:
 {
   "$schema": "https://raw.githubusercontent.com/JanDeDobbeleer/oh-my-posh/main/themes/schema.json",
   "blocks": [
     {
       "alignment": "left",
       "newline": true,
       "segments": [
         {
           "foreground": "#ffbebc",
           "leading_diamond": "<#ff70a6> \ue200 </>",
           "properties": {
             "display_host": true
           },
           "style": "diamond",
           "template": "{{ .UserName }} <#ffffff>on</>",
           "type": "session"
         },
         {
           "foreground": "#bc93ff",
           "properties": {
             "time_format": "Monday <#ffffff>at</> 3:04 PM"
           },
           "style": "diamond",
           "template": " {{ .CurrentDate | date .Format }} ",
           "type": "time"
         },
         {
           "foreground": "#ee79d1",
           "properties": {
             "branch_icon": "\ue725 ",
             "fetch_stash_count": true,
             "fetch_status": true,
             "fetch_upstream_icon": true,
             "fetch_worktree_count": true
           },
           "style": "diamond",
           "template": " {{ .UpstreamIcon }}{{ .HEAD }}{{if .BranchStatus }} {{ .BranchStatus }}{{ end }}{{ if .Working.Changed }} \uf044 {{ .Working.String }}{{ end }}{{ if and (.Working.Changed) (.Staging.Changed) }} |{{ end }}{{ if .Staging.Changed }} \uf046 {{ .Staging.String }}{{ end }}{{ if gt .StashCount 0 }} \uf692 {{ .StashCount }}{{ end }} ",
           "type": "git"
         }
       ],
       "type": "prompt"
     },
     {
       "alignment": "right",
       "segments": [
         {
           "foreground": "#a9ffb4",
           "style": "plain",
           "type": "text"
         },
         {
           "foreground": "#a9ffb4",
           "properties": {
             "style": "dallas",
             "threshold": 0
           },
           "style": "diamond",
           "template": " {{ .FormattedMs }}s <#ffffff>\ue601</>",
           "type": "executiontime"
         },
         {
           "properties": {
             "root_icon": "\uf292 "
           },
           "style": "diamond",
           "template": " \uf0e7 ",
           "type": "root"
         },
         {
           "foreground": "#94ffa2",
           "style": "diamond",
           "template": " <#ffffff>CPU:</> {{ round .PhysicalPercentUsed .Precision }}% ",
           "type": "sysinfo"
         },
         {
           "foreground": "#81ff91",
           "style": "diamond",
           "template": "<#ffffff>\uf6dc</> <#ffffff>RAM:</> {{ (div ((sub .PhysicalTotalMemory .PhysicalFreeMemory)|float64) 1000000000.0) }}/{{ (div .PhysicalTotalMemory 1000000000.0) }}GB ",
           "type": "sysinfo"
         }
       ],
       "type": "prompt"
     },
     {
       "alignment": "left",
       "newline": true,
       "segments": [
         {
           "foreground": "#ffafd2",
           "leading_diamond": "<#00c7fc> \ue285 </><#ffafd2>{</>",
           "properties": {
             "folder_icon": "\uf07b",
             "folder_separator_icon": "\uf9e0",
             "home_icon": "home",
             "style": "agnoster_full"
           },
           "style": "diamond",
           "template": " \ue5ff {{ .Path }} ",
           "trailing_diamond": "<#ffafd2>}</>",
           "type": "path"
         },
         {
           "foreground": "#A9FFB4",
           "foreground_templates": [
             "{{ if gt .Code 0 }}#ef5350{{ end }}"
           ],
           "properties": {
             "always_enabled": true
           },
           "style": "plain",
           "template": " \ue286 ",
           "type": "exit"
         }
       ],
       "type": "prompt"
     }
   ],
   "console_title_template": "{{ .Folder }}",
   "transient_prompt": {
     "background": "transparent",
     "foreground": "#FEF5ED",
     "template": "\ue285 "
   },
   "version": 2
 }
复制上述内容到新建文件,文件名:
1_shell.omp.json
然后按前文操作步骤设置为主题即可。后续我还会补充其他比较受欢迎的主题文件。
至此,所有主要配置都讲述完毕。
其他颜色、字体、特效等配置都比较简单,可以参考网上其他教程自己摸索,祝大家都有一个自己心仪的终端!
(完结撒花)
本文内容由网友自发贡献,版权归原作者所有,本站不承担相应法律责任。如您发现有涉嫌抄袭侵权的内容,请联系:hwhale#tublm.com(使用前将#替换为@)