初始化环境
一台云服务器,我的服务器是基于centos的华为云; 个人电脑安装好git,node环境
安装Nginx
进入云服务器控制台,远程连接进服务器终端(或者本地终端输入ssh 你的服务器用户名@你的服务器公网ip(如果出现Someone could be eavesdropping on you right now (man-in-the-middle attack)!错误,则可以查看这里))
yum install nginx
启动nginx服务器
终端输入
nginx
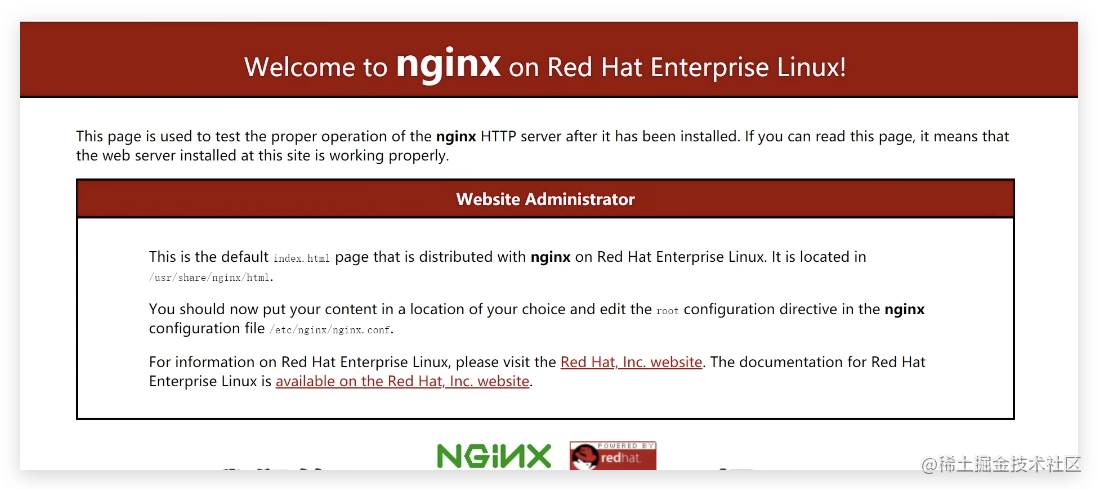
浏览器输入服务器公网ip查看
服务器安装git 并获取ssh公私钥
yum install git -y
此处需要对git进行下初始化,即生成ssh公私钥
ssh-keygen -t rsa -C "你的邮箱"
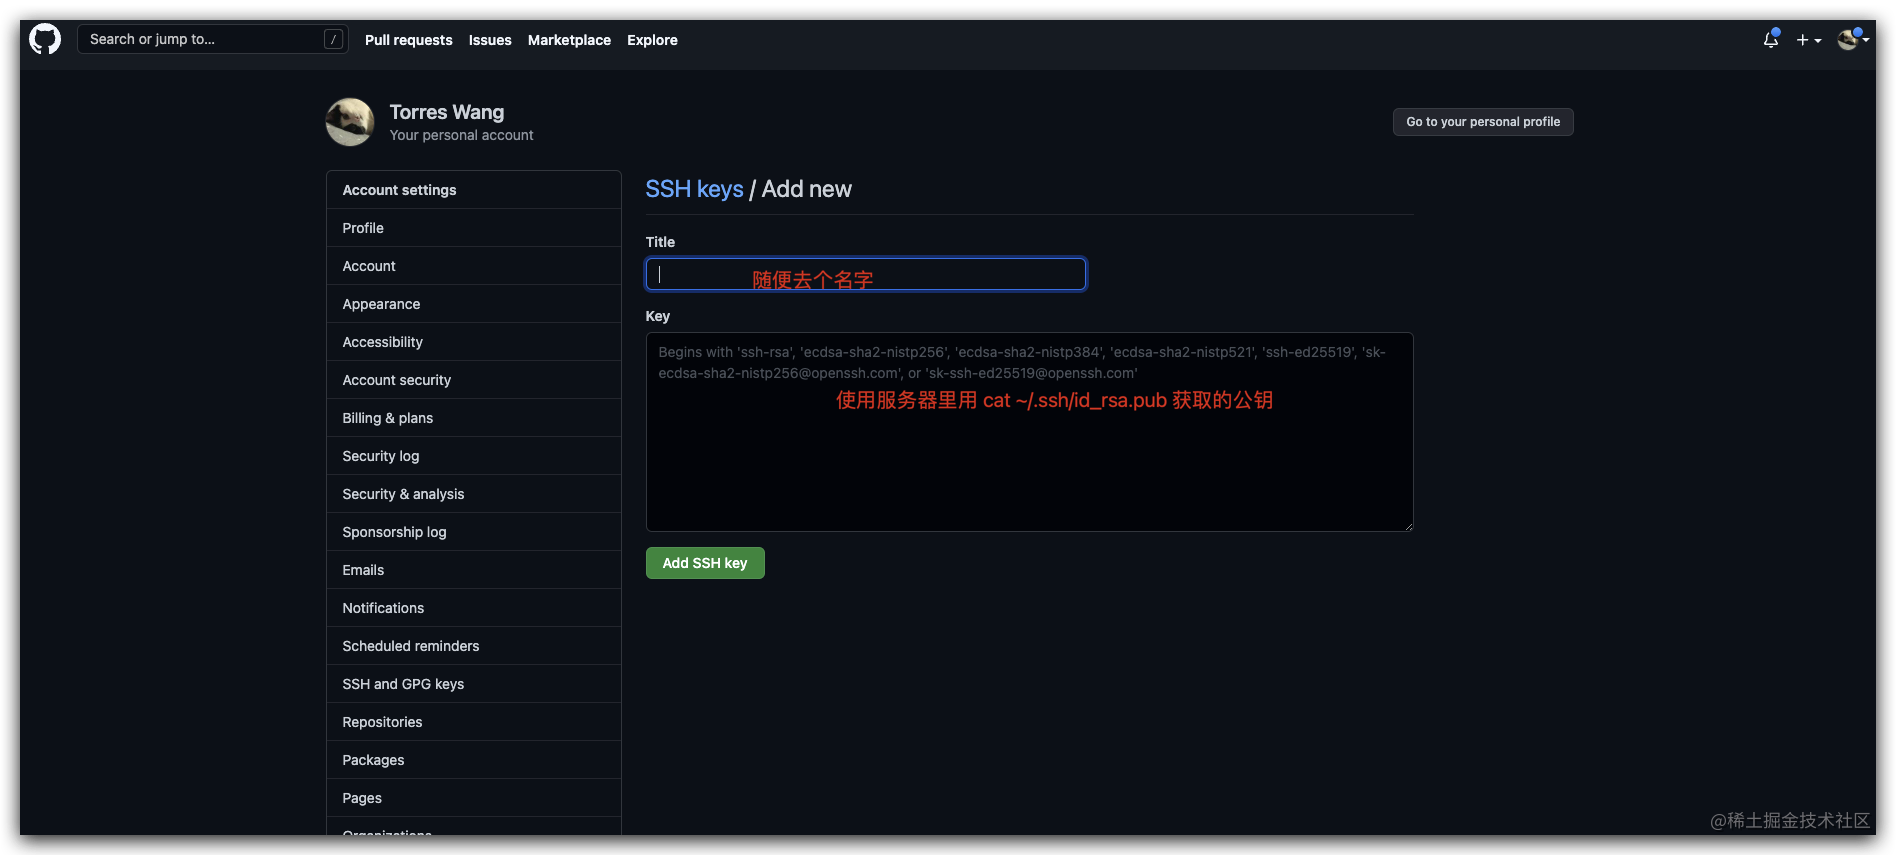
生成成功后,公私钥将存放在/.ssh/下,可以通过如下命令查看公钥,将之配置在github或码云这类平台上从而使得对应私钥具有操作仓库的权限
cat ~/.ssh/id_rsa.pub
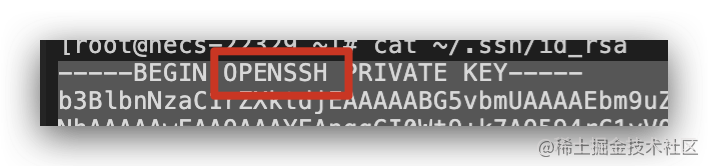
扩展:可以通过如下命令获取私钥
cat ~/.ssh/id_rsa
注意:此处在我的华为云上获取的私钥是新格式(OPENSSH),也就是:
(如果你可以直接获取github需要的格式则无需做这一步转换)
但github actions上需要的是(RSA)格式:
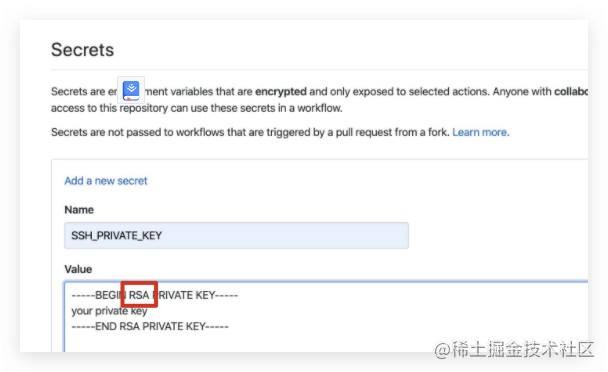
此处我们需要将OPENSSH转换为RSA格式:
首先更改key的读取权限
chmod 600 ~/.ssh/id_rsa
然后更改格式
ssh-keygen -p -N "" -m pem -f ~/.ssh/id_rsa
最后再次获取私钥
cat ~/.ssh/id_rsa
创建本地项目
具体可以参考react官方文档
npx create-react-app deploy-react-app
上传至github
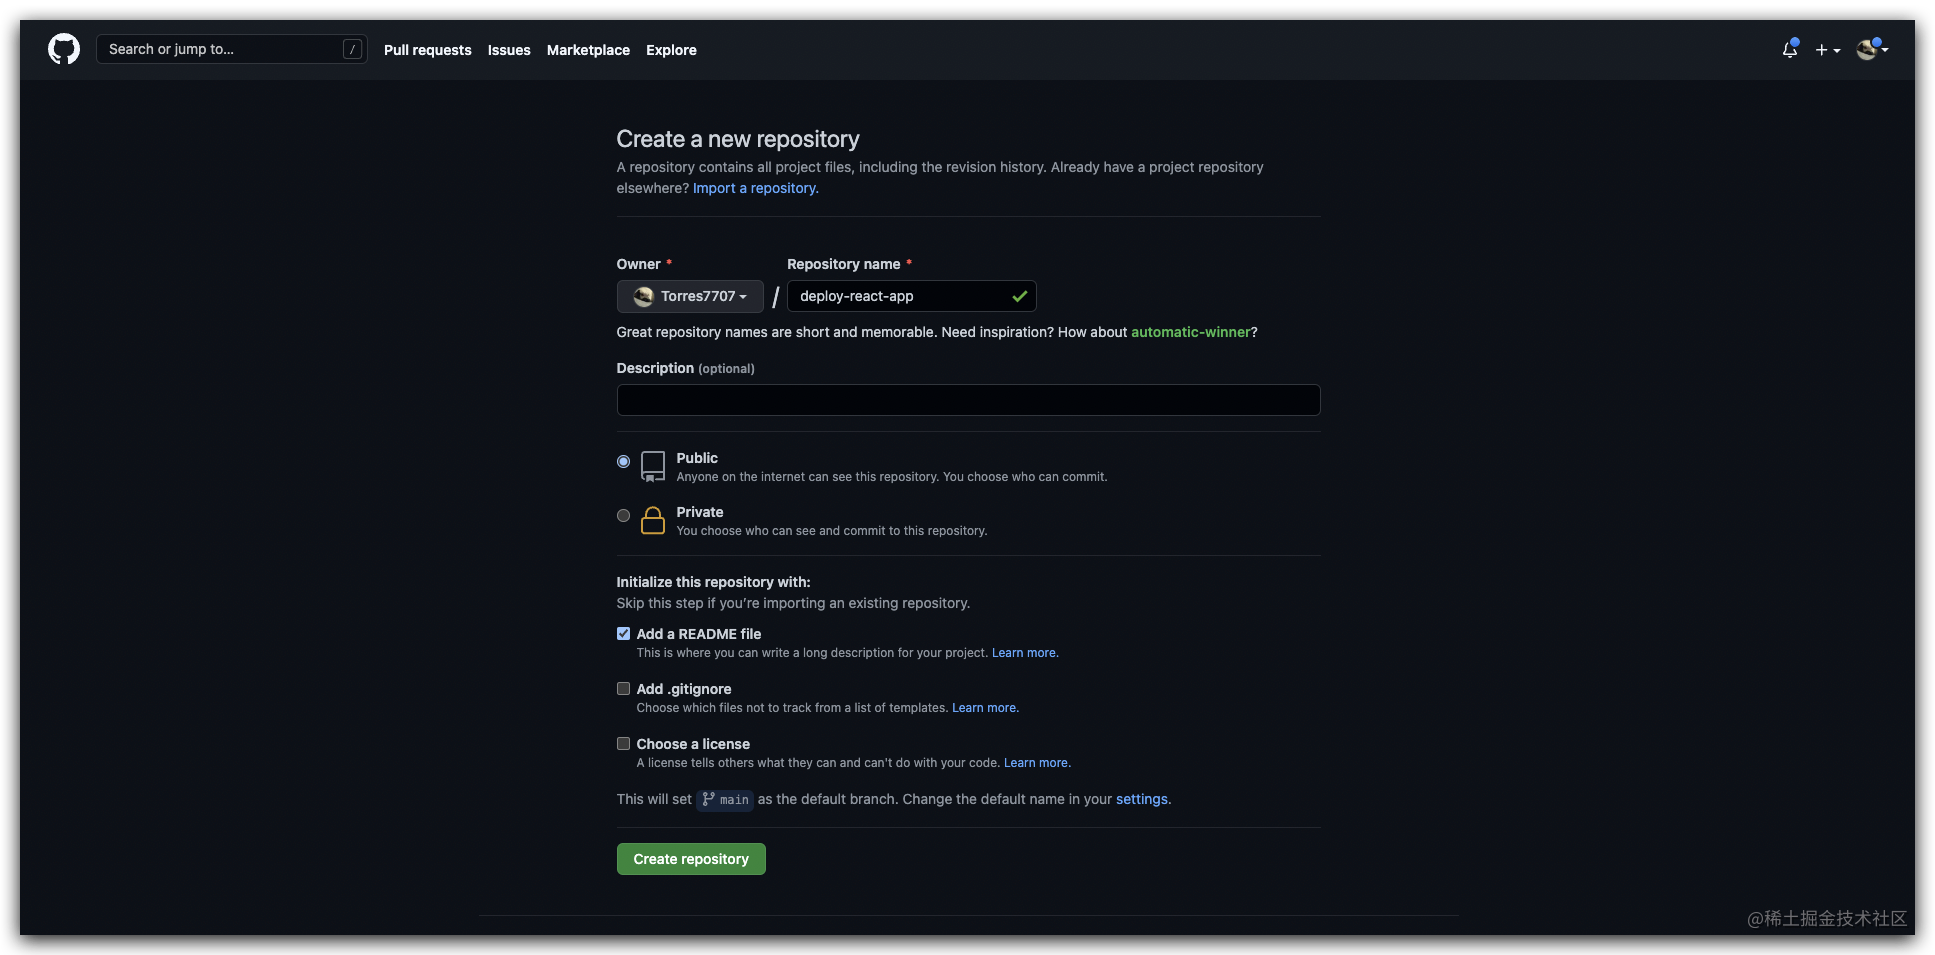
在github上新建一个repo ,命名为deploy-react-app;

填写好信息后,点击Create Repository
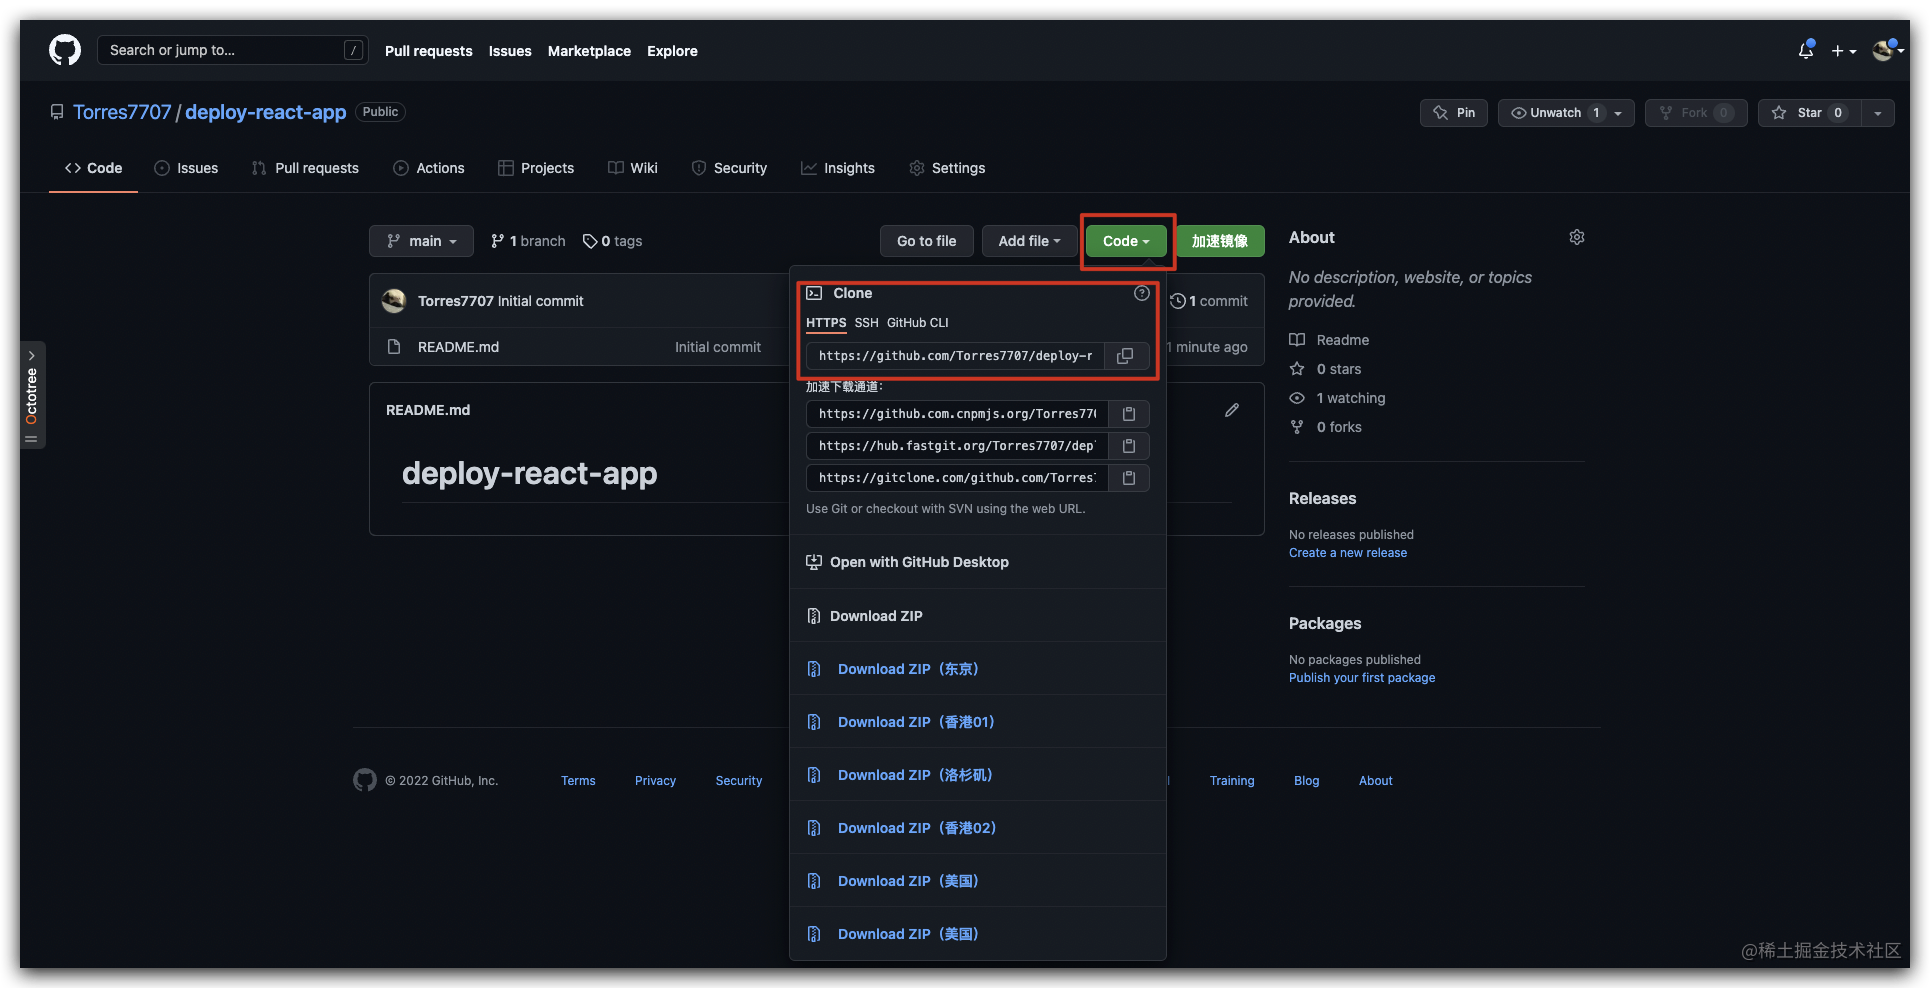
复制仓库的地址
将本地项目与远程仓库连接:
git remote add origin '你的仓库地址'
// github上的项目默认在main分支上,本地项目是master,需要切换分支
 git checkout -b main
 git pull origin main  --allow-unrelated-histories
 git add .
 git commit -m 'first commit'
 git push --set-upstream origin main
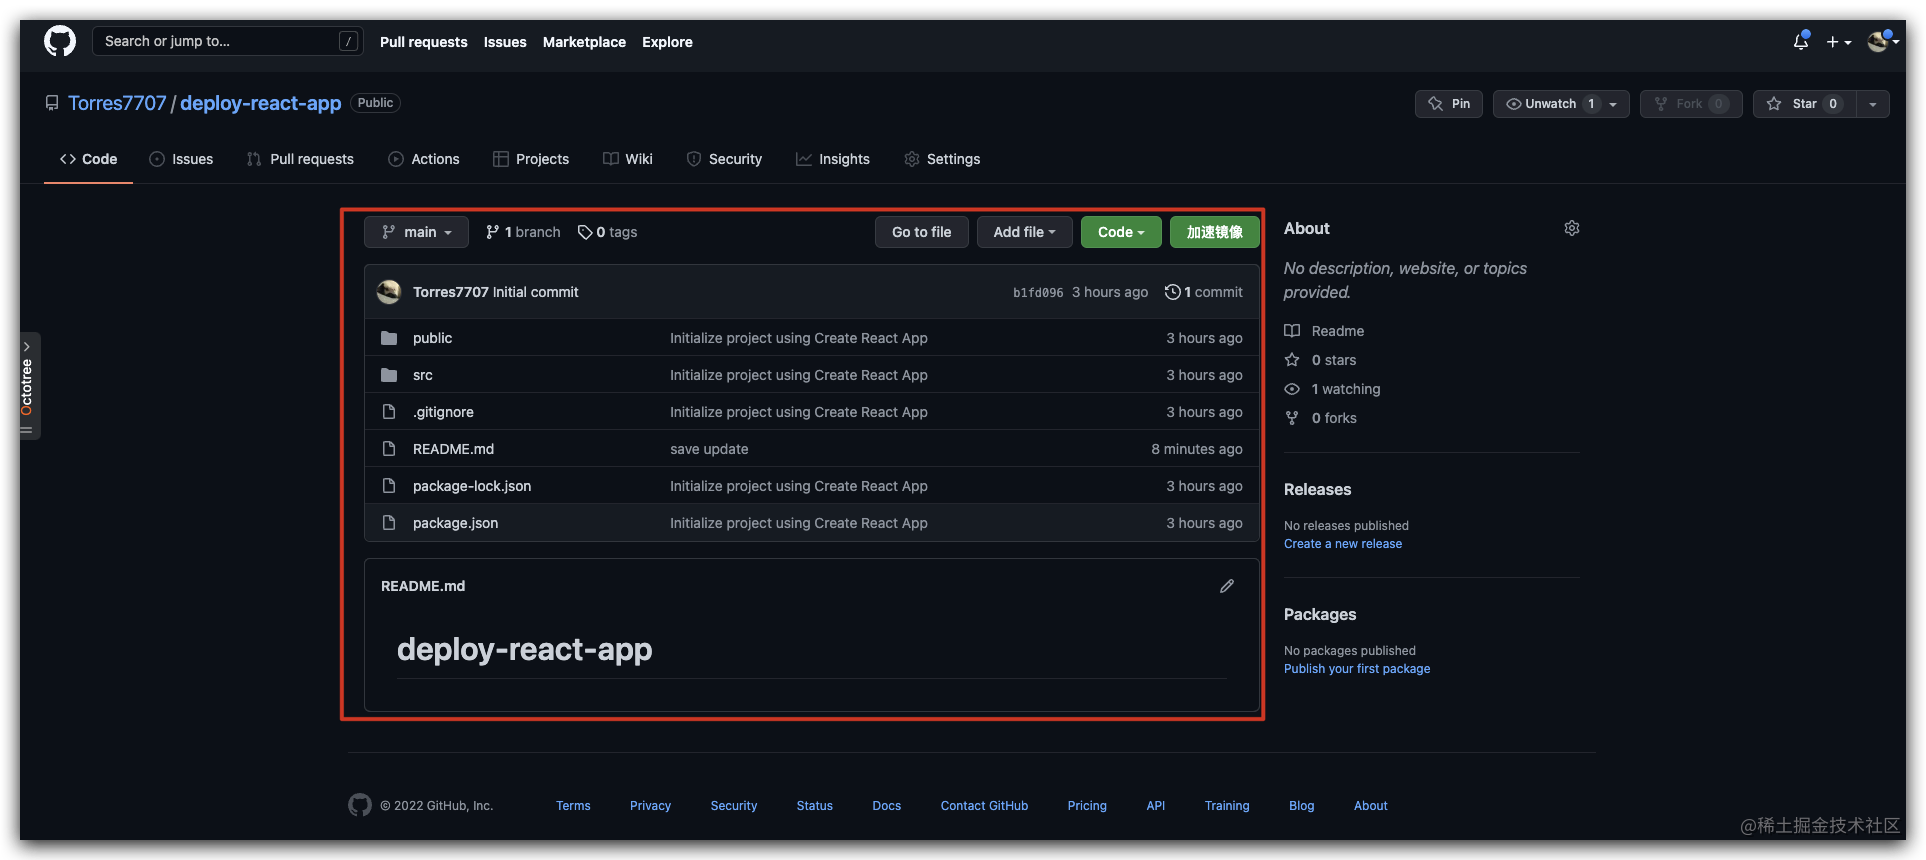
查看项目是否push成功
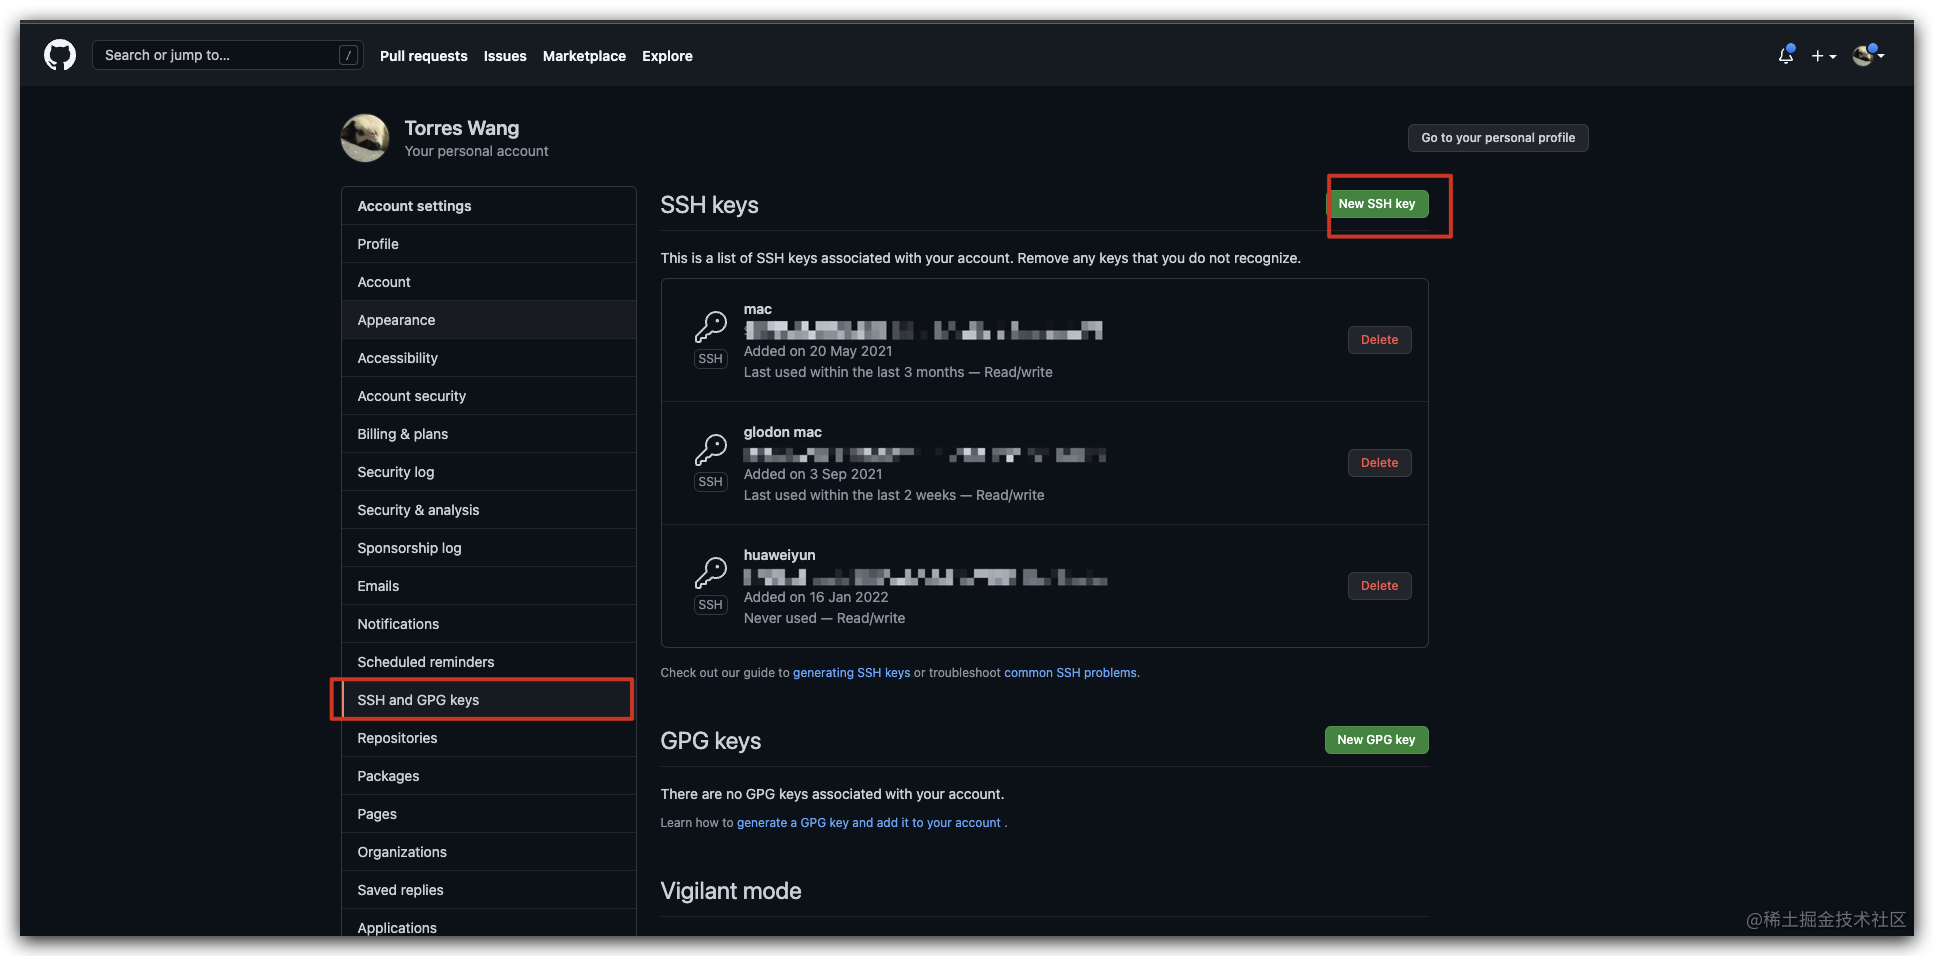
添加ssh公钥
[外链图片转存失败,源站可能有防盗链机制,建议将图片保存下来直接上传(img-2nYx3dmG-1653630476629)(https://p9-juejin.byteimg.com/tos-cn-i-k3u1fbpfcp/281729cb7c2b4b69b000a66d1c2a3878~tplv-k3u1fbpfcp-zoom-in-crop-mark:1956:0:0:0.image?)]
配置github actions
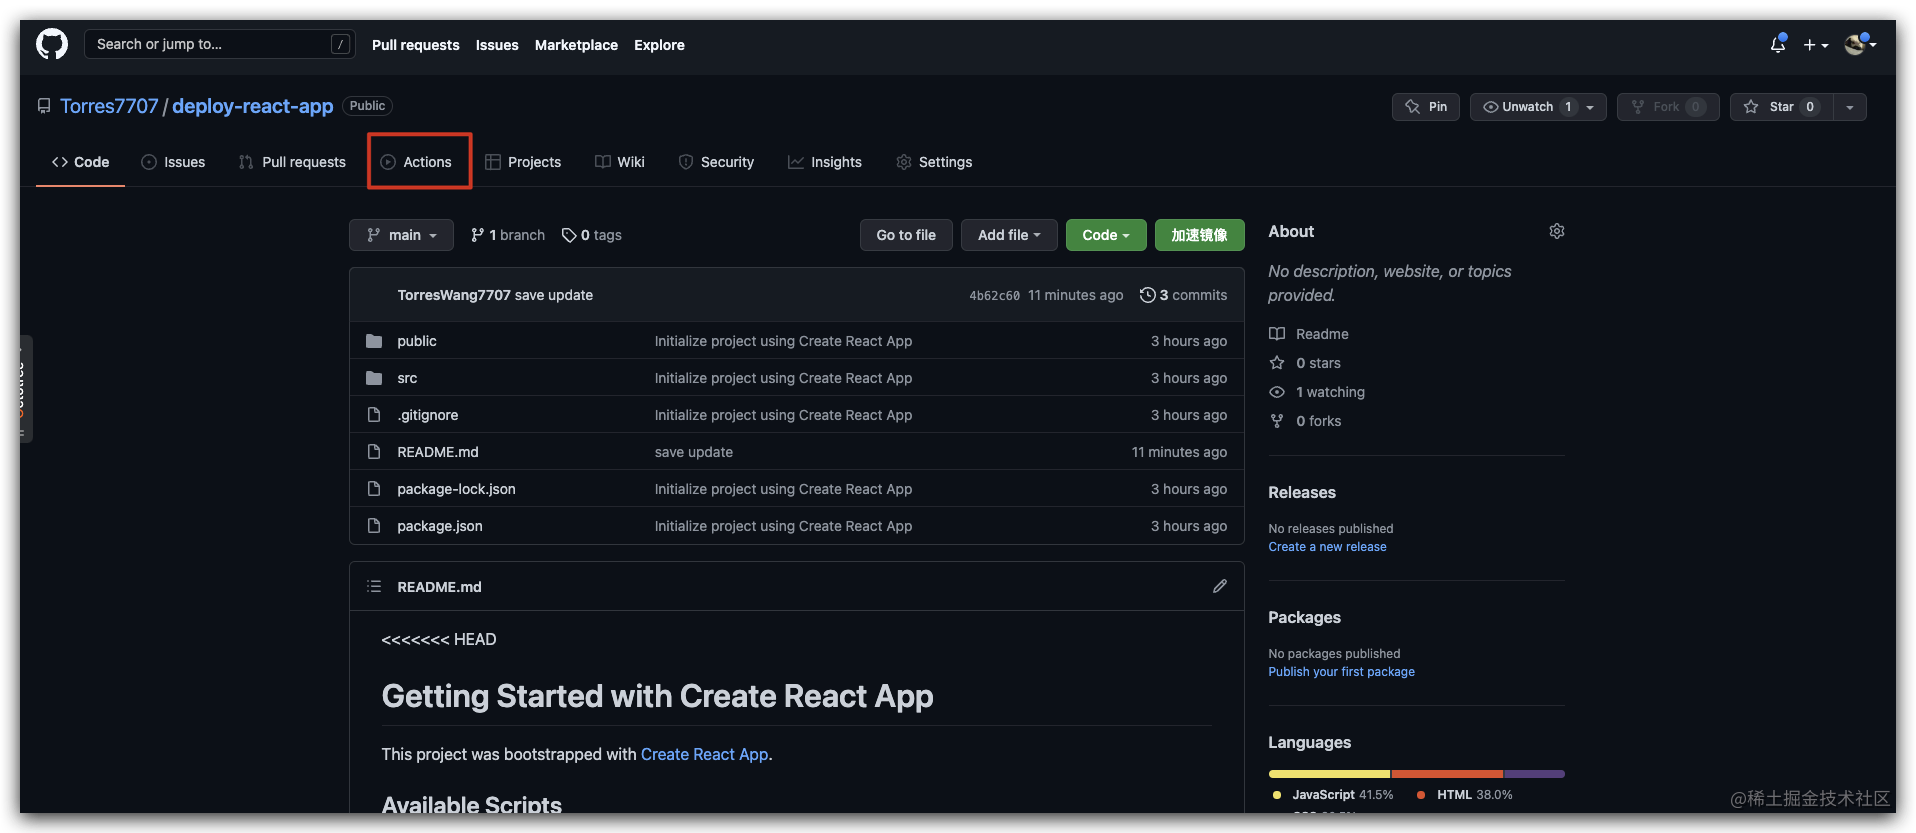
依次点击Actions=> Node.js => Configure
[外链图片转存失败,源站可能有防盗链机制,建议将图片保存下来直接上传(img-2VY6MSOH-1653630476630)(https://p1-juejin.byteimg.com/tos-cn-i-k3u1fbpfcp/0a193437e65047fe872c63daca4c7200~tplv-k3u1fbpfcp-zoom-in-crop-mark:1956:0:0:0.image?)]
配置node.js.yml
 # This workflow will do a clean install of node dependencies, cache/restore them, build the source code and run tests across different versions of node
# For more information see: https://help.github.com/actions/language-and-framework-guides/using-nodejs-with-github-actions

name: Node.js CI

on:
  push: # 在推送的时候运行此action
    branches: [ main ] # 指定分支
  pull_request:
    branches: [ main ]

jobs:
  build:

    runs-on: ubuntu-latest # 运行环境

    strategy:
      matrix:
        node-version: [16.x] # 这里指定node版本
        # See supported Node.js release schedule at https://nodejs.org/en/about/releases/

    steps:
    - uses: actions/checkout@v2 # 这里使用了github官方提供的action,checkout项目到虚拟机上
    - name: Use Node.js ${{ matrix.node-version }}
      uses: actions/setup-node@v2
      with:
        node-version: ${{ matrix.node-version }}
    - name:
本文内容由网友自发贡献,版权归原作者所有,本站不承担相应法律责任。如您发现有涉嫌抄袭侵权的内容,请联系:hwhale#tublm.com(使用前将#替换为@)