文章目录
- 前言
- 一、什么是流?
- 二、流的分类
- 1.根据流向来分
-
- 2.根据单位来分
-
- 3.根据功能来分
-
- 三.字节流的使用
- 1.FileInputStream
- 0)cmd.txt文件
- 1)read()方法
- 2)read(byte[] byte)方法
- 3)read(byte[] byte,int off,int lenth)方法
- 2.FileOutputStream
- 0)构造方法
- 1)write(byte[] byte)方法
- 2)write(byte[] byte,int off,int lenth)方法
- 3.字节流复制文件
- 4.BufferInputStream
- 5.BufferOutputStream
- 四.对象流的使用
- 0.实验对象,文件及注意事项
-
- 1.序列化及其反序列化
- 五.字符流的使用
- 1.字符流与字节流的区别
- 2.FileRead类
- 1)read()方法
- 2)read(char[] char)方法
- 3)read(char[] char,int off,int lenth)方法
- 3.FileWrite类
- 1)write(String s)方法
- 2)write(char[] char)方法
- 4.字符流的复制文件
-
- 5.BufferedRead
- 1)BufferedRead的read方法
- 2)BufferedRead的readLine方法
- 6.BufferedWrite
-
- 7.prinWrite类
- 六.转换流的使用
- 1.InputStreamReader
- 2.OutputStreamWriter
- 七.File类
- 1.文件操作
-
- 2.文件夹操作
- 1)文件夹创建
- 2)文件夹删除
- 3)文件夹信息
- 4)文件夹判断
- 5)文件夹遍历
- 3.FileFilter接口
- 4.递归遍历文件和递归删除文件
- 1)一次运行访问目标文件夹下所有子文件夹及子文件
- 2)一次运行删除目标文件夹下所有子文件夹及文件
- 八.Properties
- 1.Properties
- 2.Properties使用
- 总结
前言
I/O流在Java中是一个不可或缺的框架,当我们需要使用文件的时候就需要使用到这个,所以在总结玩常用类之后就可以马上来学习I/O流了
一、什么是流?
在电脑中会有内存和硬盘这两种说法,而我们的程序就是存储在内存中,而其它文件则存储在硬盘中,当我们需要把硬盘中的文件写入内存或者把内存中的程序保存到硬盘中的时候,就需要使用到流。总而言之,流就是文件在内存和硬盘之间的通道
二、流的分类
1.根据流向来分
1)输入流
2)输出流
2.根据单位来分
1)字节流
2)字符流
3.根据功能来分
1)节点流
2)过滤流
三.字节流的使用
1.FileInputStream
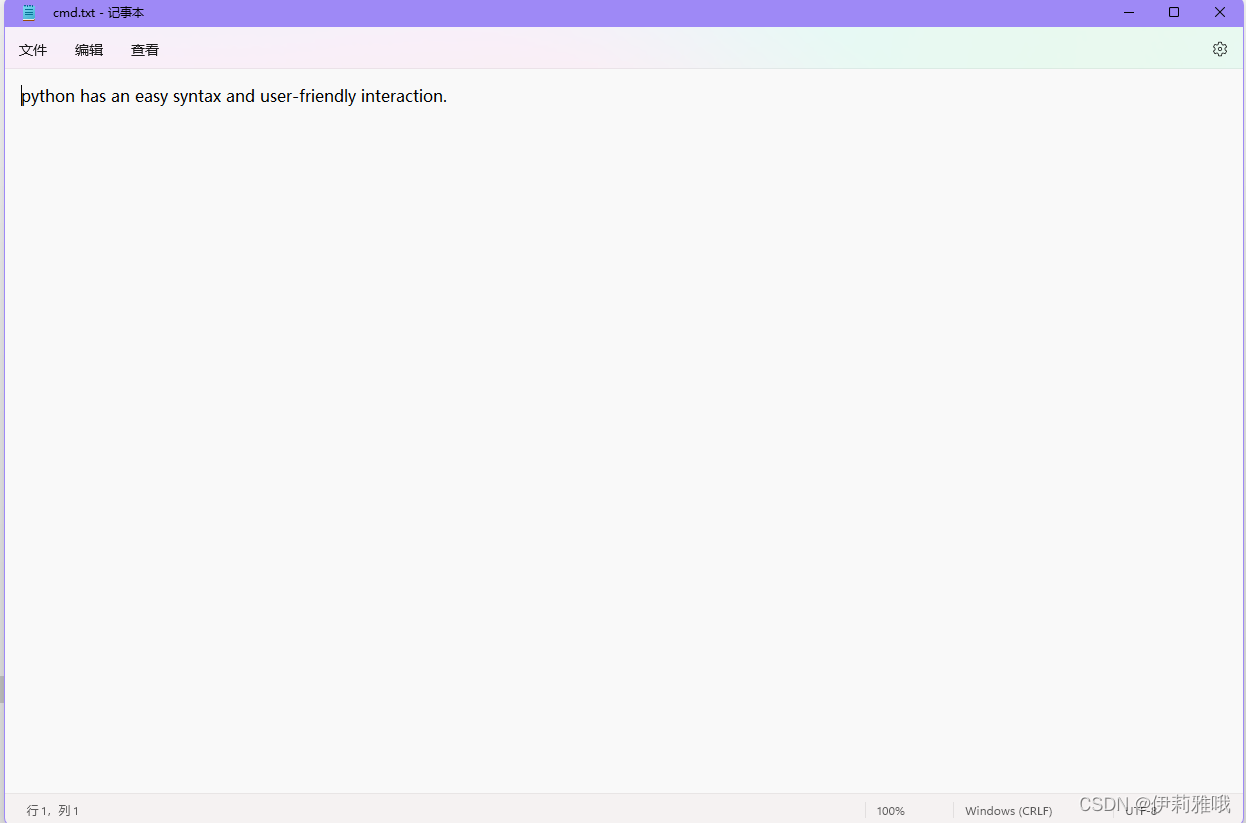
0)cmd.txt文件
1)read()方法
在FileInputStream如果不给参数,那么就是按一个字节一个字节的来读文件
示例
public class Test2 {
    public static void main(String[] args) throws IOException {
        FileInputStream fileInputStream = new FileInputStream("D:\\cmd.txt");
        int read =0;
        while((read=fileInputStream.read()) != -1){
            System.out.print((char)read);
        }
        fileInputStream.close();
    }
}
输出:
python has an easy syntax and user-friendly interaction.
但是这种方法是一个字节一个字节的来读文件,所以在效率上不是很理想
2)read(byte[] byte)方法
如果给定了一个字节数组参数,那么就会把读取到的字节存放在这个数组里面
示例代码
public class Test2 {
public static void main(String[] args) throws IOException {
FileInputStream fileInputStream = new FileInputStream("D:\\cmd.txt");
byte[] bytes = new byte[1024];
while(fileInputStream.read(bytes) != -1){
for (byte aByte : bytes) {
System.out.print((char)aByte);
}
}
fileInputStream.close();
}
}
输出:
python has an easy syntax and user-friendly interaction.
3)read(byte[] byte,int off,int lenth)方法
这个方法和前一个方法一样,只不过是限制了读取的其实位置和长度
示例代码
public class Test2 {
public static void main(String[] args) throws IOException {
FileInputStream fileInputStream = new FileInputStream("D:\\cmd.txt");
byte[] bytes = new byte[1024];
while(fileInputStream.read(bytes,0,12) != -1){
for (byte aByte : bytes) {
System.out.print((char)aByte);
}
}
fileInputStream.close();
}
}
输出:
python has a
这个的输出结果我们就可以看到是我们预期的长度了
2.FileOutputStream
0)构造方法
FileOutputStream这个类的构造方法分为两种
源代码
public FileOutputStream(String name) throws FileNotFoundException {
this(name != null ? new File(name) : null, false);
}
public FileOutputStream(String name, boolean append) throws FileNotFoundException {
this(name != null ? new File(name) : null, append);
}
第一种不带一个布尔类型的append 的时候,会自动判断所给文件是否存在,如果不存在则新建一个文件,但是若存在则会默认覆盖原本文件里面的所有内容,这点我们可以看三元判断可知
第二种则是会让我们去输入一个append的值,如果值为true那么在三元判断的时候就会执行append的值,从而在原文件后面**追加内容**,相反如果给定的值为false则会和第一种方法一样去覆盖掉原文件的全部内容
1)write(byte[] byte)方法
通过传入一个字节数组,再通过FileOutputStream流把数组中的内容写入文件
示例代码
public class Test2 {
public static void main(String[] args) throws IOException {
FileOutputStream fileOutputStream = new FileOutputStream("D:\\cmd.txt",true);
byte[] bytes = new byte[10];
Arrays.fill(bytes, (byte) '9');
for (byte aByte : bytes) {
System.out.println((char)aByte);
}
fileOutputStream.write(bytes);
fileOutputStream.close();
}
}
但是看到这个方法的实现是否觉得有些臃肿,所以我们可以借助String的getByte()方法来简化实现
源代码
public byte[] getBytes() {
        return StringCoding.encode(this.coder(), this.value);
    }
我们可以看到这个方法直接返回的是一个byte[]类型的值,所以我们可以直接用在write方法上
示例代码
public class Test2 {
public static void main(String[] args) throws IOException {
FileOutputStream fileOutputStream = new FileOutputStream("D:\\cmd.txt",true);
String s = "ciallo~";
fileOutputStream.write(s.getBytes());
fileOutputStream.close();
}
}
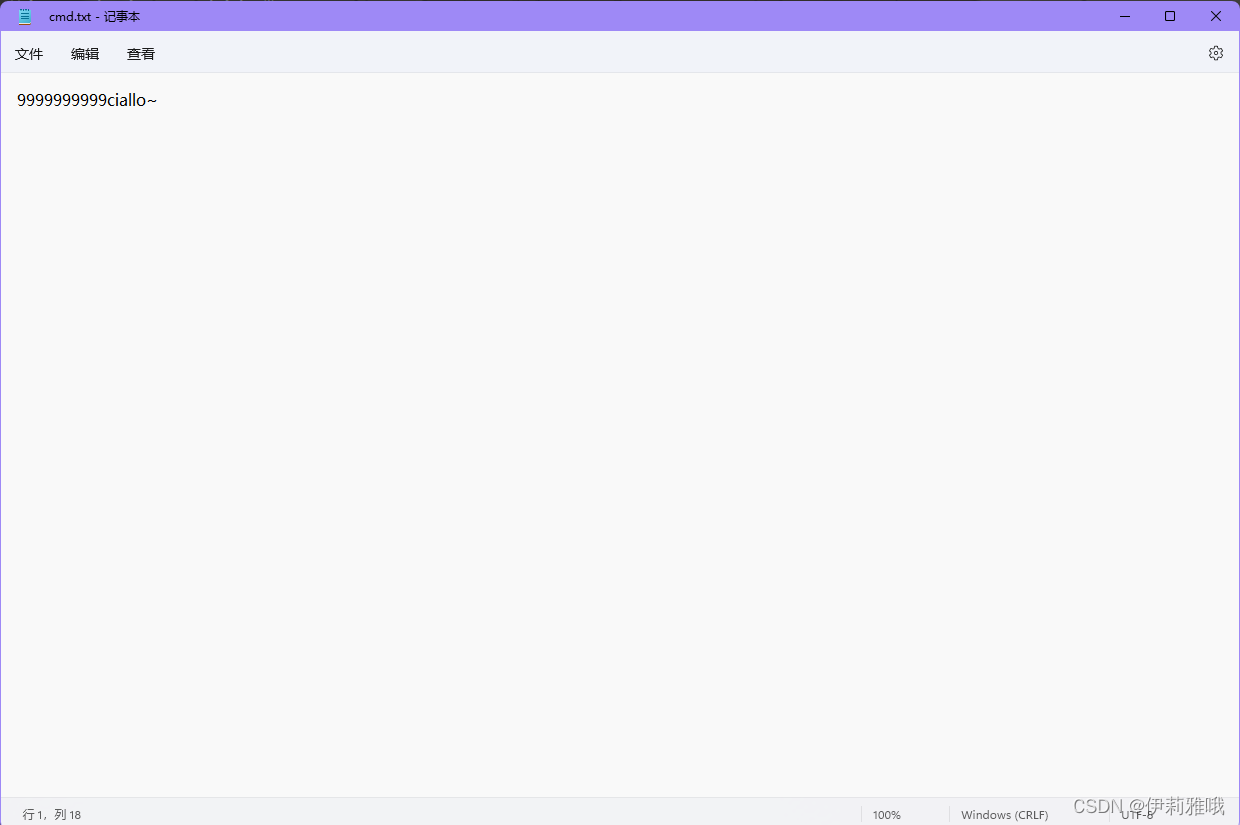
输出结果
2)write(byte[] byte,int off,int lenth)方法
这个方法和单个byte的使用方法近乎相同,只不过是多了一个其实位置和长度
示例代码
public class Test2 {
public static void main(String[] args) throws IOException {
FileOutputStream fileOutputStream = new FileOutputStream("D:\\cmd.txt",true);
String s = "ciallo~";
fileOutputStream.write(s.getBytes(),1,3);
fileOutputStream.close();
}
}
3.字节流复制文件
原理:只需要使用字节流的输入流方法来把文件存储到内存中,然后再使用输出流,把内存中存储到的文件再复制到硬盘中
读完再写的示例代码
public class Test2 {
public static void main(String[] args) throws IOException {
FileInputStream fileInputStream =
new FileInputStream("D:\\picture\\pixiv\\校园.png");
byte[] bytes = new byte[3051209];
int read = fileInputStream.read(bytes);
FileOutputStream fileOutputStream =
new FileOutputStream("D:\\picture\\pixiv\\test.png", false);
fileOutputStream.write(bytes);
System.out.println("复制成功!");
fileInputStream.close();
fileOutputStream.close();
}
}
边读边示例代码
public class Test2 {
public static void main(String[] args) throws IOException {
FileInputStream fileInputStream =
new FileInputStream("D:\\picture\\pixiv\\校园.png");
byte[] bytes = new byte[3051209];
int read = 0;
FileOutputStream fileOutputStream =
new FileOutputStream("D:\\picture\\pixiv\\test.png", false);
while((read=fileInputStream.read(bytes)) !=-1){
fileOutputStream.write(bytes,0,read);
}
System.out.println("复制成功!");
fileInputStream.close();
fileOutputStream.close();
}
}
4.BufferInputStream
本质是FileInputStream的增强类,其继承了FilterInputStream,并在此基础上创建了缓存区,所以当我们使用这个类后当访问重复的文件时,就不需要一遍又一遍的去硬盘中访问了,而是可以在缓存中直接访问
示例代码
public class Test2 {
public static void main(String[] args) throws IOException {
FileInputStream fileInputStream = new FileInputStream("D:\\cmd.txt");
BufferedInputStream bufferedInputStream =
new BufferedInputStream(fileInputStream,3051209);
int read = 0;
while((read = bufferedInputStream.read()) != -1){
System.out.print((char)read);
}
System.out.println();
System.out.println("读取成功");
bufferedInputStream.close();
}
}
输出:
9999999999ciallo~
读取成功
其实除了读的时候时调用的Buffer的,其他与File字节流的使用方法并没有太大方法
5.BufferOutputStream
本质是FileOutputStream的增强类,其继承了FilterInputStream,并在此基础上创建了缓存区,当我们需要将内容写入文件的时候就可以先写入缓存区然后再写入文件
示例代码
public class Test2 {
public static void main(String[] args) throws IOException {
FileOutputStream fileOutputStream = new FileOutputStream("D:\\cmd.txt",true);
BufferedOutputStream bufferedOutputStream =
new BufferedOutputStream(fileOutputStream,3051209);
String s = "YuKikaZeSaMaNaNoDa!";
bufferedOutputStream.write(s.getBytes());
System.out.println("写入成功");
bufferedOutputStream.close();
}
}
四.对象流的使用
0.实验对象,文件及注意事项
1)示例代码
import java.io.Serializable;
public class Cat implements Serializable {
private String catName;
private Integer catAge;
public Cat(String catName, Integer catAge) {
this.catName = catName;
this.catAge = catAge;
}
public String getCatName() {
return catName;
}
public void setCatName(String catName) {
this.catName = catName;
}
public Integer getCatAge() {
return catAge;
}
public void setCatAge(Integer catAge) {
this.catAge = catAge;
}
@Override
public String toString(){
return "猫名字是:"+this.catName+"\t"
+"猫年龄是:"+this.catAge;
}
@Override
public boolean equals(Object obj){
if(this.getClass() == obj.getClass()){
return true;
}
if (obj == null){
return false;
}
if(obj instanceof Cat){
Cat cat = (Cat)obj;
if(this.getCatName().equals(cat.getCatName()) || this.getCatAge().equals(cat.getCatAge())){
return true;
}
}
return false;
}
}
2)示例文件

3)注意事项
(1)在我们进行序列化的时候,编译器可能会报NotSerializableException这个异常,而这个异常我们需要在我们的实体类中去实现Serializable这个接口就可以正常的序列化了
(2)在序列化和反序列化的时候需要抛出ClassNotFound这个异常
(3)如果对象的属性有对象的话,那个对象也要实现Serializable这个接口
(4)若对象中某个属性修饰符为transient,那么这个属性就无法序列化
(5)静态属性无法序列化
(6)若要实现多个对象的序列化,请借助集合
1.序列化及其反序列化
我们知道流可以传输各种各样类型的文件或者数据,而流也可以传输对象,对象写入硬盘的过程叫做序列化,反之从硬盘读取到内存的过程叫做反序列化
示例代码
public class Test2 {
public static void main(String[] args) throws IOException,ClassNotFoundException{
FileOutputStream fileOutputStream = new FileOutputStream("D:\\new.txt",false);
ObjectOutputStream objectOutputStream = new ObjectOutputStream(fileOutputStream);
Cat cat = new Cat("dear",12);
objectOutputStream.writeObject(cat);
System.out.println("序列化完成");
System.out.println("开始反序列化");
FileInputStream fileInputStream = new FileInputStream("D:\\new.txt");
ObjectInputStream objectInputStream = new ObjectInputStream(fileInputStream);
Cat ob = (Cat)objectInputStream.readObject();
System.out.println("反序列化完成");
System.out.println(ob.toString());
objectInputStream.close();
objectOutputStream.close();
}
}
输出:
序列化完成
开始反序列化
猫名字是:dear 猫年龄是:12
反序列化完成
五.字符流的使用
1.字符流与字节流的区别
当我们使用字节流读取文件的时候时一个字节一个字节的读取文件的,但是我们可以在文件里面添加中文,这时候我们会发现,读取后会输出一串乱码
示例

这里输出的一串乱码正是因为字节流的原因,正是因其一个字节一个字节的读,才导致这样的乱码。我们的文件保存的格式是UTF-8

所以我们的中文汉字一个字就占用了三个字节,所以当一个一个的读后就把原来三个字节组成的文字拆分了,这样就输出了乱码。而为了解决这个问题我们就需要采用字符流来读取和存入
2.FileRead类
1)read()方法
这种不带参数的read方法就是按照文件对应的字符来读取
代码示例
public class Test2 {
    public static void main(String[] args) throws IOException,ClassNotFoundException{
        FileReader fileReader= new FileReader("D:\\new.txt");
        int read =0;
        while((read=fileReader.read()) != -1){
            System.out.print((char)read);
        }
        fileReader.close();
    }
}
2)read(char[] char)方法
若带这个字符数组的参数的话,就相当于自己创建了一个缓存区用来存放读取到的数据,最后再一并写入硬盘
代码示例
public class Test2 {
    public static void main(String[] args) throws IOException,ClassNotFoundException{
		FileReader fileReader = new FileReader("D:\\new.txt");
        char[] chars = new char[1024];
        int read = 0;
        while((read = fileReader.read(chars))!=-1){
            System.out.println(new String(chars));
        }
        fileReader.close();
    }
    }
    输出:
    我们知道流可以传输各种各样类型的文件或者数据,而流也可以传输对象,对象写入硬盘的过程叫做序列化,反之从硬盘读取到内存的过程叫做反序列化
3)read(char[] char,int off,int lenth)方法
和只带char数组的使用方法相同,但是可以在给定的缓存区较小且不足以一次性读完文件的时候可以避免在读最后几个字符时因小于给定缓存区而造成的自动填充
代码示例
public class Test2 {
    public static void main(String[] args) throws IOException, ClassNotFoundException {
        FileReader fileReader = new FileReader("D:\\new.txt");
        char[] chars = new char[24];
        int read = 0;
        while ((read = fileReader.read(chars)) != -1) {
            System.out.println(new String(chars, 0, read));
        }
        fileReader.close();
    }
}
输出:
我们知道流可以传输各种各样类型的文件或者数据,而
流也可以传输对象,对象写入硬盘的过程叫做序列化,
反之从硬盘读取到内存的过程叫做反序列化
3.FileWrite类
1)write(String s)方法
这个方法就是传入一个String类型的字符串,然后再写入到文件
代码示例
public class Test2 {
public static void main(String[] args) throws IOException, ClassNotFoundException {
FileWriter fileWriter = new FileWriter("D:\\new.txt",true);
String s = "ciallo~";
fileWriter.write(s);
fileWriter.close();
}
}
输出结果:
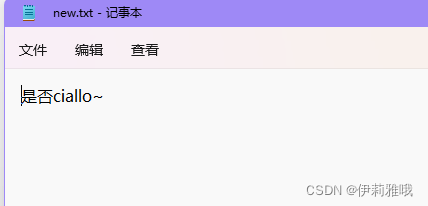
2)write(char[] char)方法
这个传入了一个char数组的方法,而这个方法一般是配合着字符输入流的用法,但是也可以单独使用
代码示例
public class Test2 {
public static void main(String[] args) throws IOException, ClassNotFoundException {
FileWriter fileWriter = new FileWriter("D:\\new.txt",true);
char[] chars = new char[1024];
Arrays.fill(chars,'你');
fileWriter.write(chars);
fileWriter.close();
}
}
4.字符流的复制文件
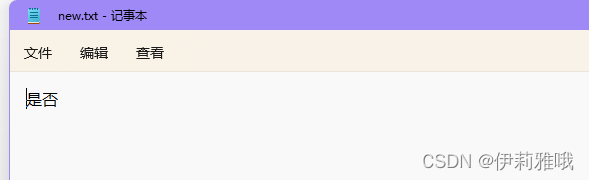
0)注意事项和文件内容
无法复制图片和二进制文件
文件内容

1)开始复制
代码示例
public class Test2 {
public static void main(String[] args) throws IOException, ClassNotFoundException {
FileReader fileReader = new FileReader("D:\\cmd.txt");
FileWriter fileWriter = new FileWriter("D:\\new.txt");
char[] chars = new char[1024];
int read = 0;
while((read = fileReader.read(chars))!=-1){
fileWriter.write(chars,0,read);
fileWriter.flush();
}
System.out.println("复制完成");
fileReader.close();
fileWriter.close();
}
}
2)结果

5.BufferedRead
1)BufferedRead的read方法
这个方法的使用本质和字节流的BufferInputStream的使用方法并没有太大区别,同样是使用read来读取文件并输出,且亦可自行创建char数组来实现缓存区
自行创建缓存区代码示例
public class Test2 {
public static void main(String[] args) throws IOException, ClassNotFoundException {
FileReader fileReader = new FileReader("D:\\new.txt");
BufferedReader bufferedReader = new BufferedReader(fileReader);
char[] chars = new char[1024];
int read = 0;
while((read=bufferedReader.read(chars))!=-1){
System.out.println(new String(chars,0,read));
}
bufferedReader.close();
}
}
不创建代码示例
public class Test2 {
public static void main(String[] args) throws IOException, ClassNotFoundException {
FileReader fileReader = new FileReader("D:\\new.txt");
BufferedReader bufferedReader = new BufferedReader(fileReader);
int read = 0;
while((read=bufferedReader.read())!=-1){
System.out.print((char)read);
}
bufferedReader.close();
}
}
2)BufferedRead的readLine方法
这个方法是用来读取一行的字符,所以当我们的文本有多行时就需要使用循环,且本方法返回值是一个String类型,所以当读取完毕后会返回Null
代码示例
public class Test2 {
public static void main(String[] args) throws IOException, ClassNotFoundException {
FileReader fileReader = new FileReader("D:\\new.txt");
BufferedReader bufferedReader = new BufferedReader(fileReader);
String read = null;
while((read=bufferedReader.readLine())!=null){
System.out.println(read);
}
bufferedReader.close();
}
}
6.BufferedWrite
1)write方法
此方法与字节流的无二异,任然是通过这个方法向文件里写入
代码示例
public class Test2 {
public static void main(String[] args) throws IOException, ClassNotFoundException {
FileWriter fileWriter = new FileWriter("d:\\new.txt",true);
BufferedWriter bufferedWriter = new BufferedWriter(fileWriter);
for (int i = 0; i <5 ; i++) {
bufferedWriter.write("hello");
bufferedWriter.newLine();
bufferedWriter.flush();
}
bufferedWriter.close();
System.out.println("写入完成");
}
}
2)newLine方法
在之前的字节流的时候,我们向文件里面写入文件后我们还需要自己在写入的地方添加\n,\r等,但是使用了这个方法后系统就会自动换行
7.prinWrite类
支持了原样输出,和更多种类的输出,实现了print和println的封装类
代码示例
public class Test2 {
public static void main(String[] args) throws IOException, ClassNotFoundException {
PrintWriter printWriter = new PrintWriter("d:\\print.txt");
printWriter.println(97);
printWriter.println('a');
printWriter.println(true);
printWriter.close();
System.out.println("写入完成");
}
}
六.转换流的使用
1.InputStreamReader
把字节转换成字符,从硬盘读入内存
代码示例
public class Test2 {
public static void main(String[] args) throws IOException, ClassNotFoundException {
FileInputStream fileInputStream = new FileInputStream("d:\\new.txt");
InputStreamReader inputStreamReader = new InputStreamReader(fileInputStream);
int read= 0;
while((read=inputStreamReader.read())!=-1){
System.out.print((char)read);
}
inputStreamReader.close();
}
}
2.OutputStreamWriter
把字节转换成字符,从内存写入硬盘
代码示例
public class Test2 {
public static void main(String[] args) throws IOException, ClassNotFoundException {
FileOutputStream fileOutputStream = new FileOutputStream("d:\\new.txt");
OutputStreamWriter outputStreamWriter = new OutputStreamWriter(fileOutputStream,"utf-8");
outputStreamWriter.write("yahoo");
outputStreamWriter.close();
System.out.println("写入完毕");
}
}
七.File类
1.文件操作
1)文件创建
通过createNewFile()方法的使用来创建一个新文件
代码示例
public class Test2 {
public static void main(String[] args) throws IOException, ClassNotFoundException, InterruptedException {
File file = new File("d:\\file.txt");
boolean result=false;
if(!file.exists()){
file.createNewFile();
result = true;
System.out.println(result);
}
System.out.println(result);
}
}
2)文件删除
通过使用delete()方法和deleteOnExit()方法来删除文件
前者则是在执行后立刻删除文件,后者则是在jvm结束后帮你删除文件
代码示例
public class Test2 {
public static void main(String[] args) throws IOException, ClassNotFoundException, InterruptedException {
File file = new File("d:\\file.txt");
file.deleteOnExit();
Thread.sleep(5000);
System.out.println(file.getAbsolutePath());
}
}
3)文件信息
通过getAbsolutePath,getName,getPath,length这几个方法来获取文件的绝对路径,文件名,给定路径,文件长度
代码示例
public class Test2 {
public static void main(String[] args) throws IOException, ClassNotFoundException, InterruptedException {
File file = new File("d:\\file.txt");
file.createNewFile();
System.out.println(file.getAbsolutePath()+file.getName()+file.getPath()+file.length());
}
}
4)文件判断
主要是通过canRead,isHidden,lastModified这三个方法来获取文件是否可读,是否为隐藏文件,并获取文件的创建时间
代码示例
public class Test2 {
public static void main(String[] args) throws IOException, ClassNotFoundException, InterruptedException {
File file = new File("d:\\file.txt");
file.createNewFile();
long l = file.lastModified();
boolean canRead = file.canRead();
boolean isHidden = file.isHidden();
System.out.println(canRead+" "+isHidden);
}
}
2.文件夹操作
1)文件夹创建
与文件的创建的过程类似,只是把creatNewFile改成了mkdir或者mkdirs,这两个方法的区别仅仅只是前者创建一级目录,后者创建多级目录
代码示例
public class Test2 {
public static void main(String[] args) throws IOException, ClassNotFoundException, InterruptedException {
File file = new File("d:\\aaa\\bbb\\ccc");
boolean result=false;
if(!file.exists()){
file.mkdirs();
result = true;
System.out.println(result);
}else{
System.out.println(result);
}
}
}
2)文件夹删除
与文件删除操作相同,且使用方法相同
代码示例
public class Test2 {
public static void main(String[] args) throws IOException, ClassNotFoundException, InterruptedException {
File file = new File("d:\\aaa\\bbb\\ccc");
boolean result=false;
if(!file.exists()){
file.mkdirs();
result = true;
System.out.println(result);
}else{
System.out.println(result);
}
file.deleteOnExit();
Thread.sleep(5000);
}
}
3)文件夹信息
获取文件夹的绝对路径,文件名,给定路径,父路径,创建时间
代码示例
public class Test2 {
public static void main(String[] args) throws IOException, ClassNotFoundException, InterruptedException {
File file = new File("d:\\aaa\\bbb\\ccc");
boolean result=false;
if(!file.exists()){
file.mkdirs();
result = true;
System.out.println(result);
}else{
System.out.println(result);
}
System.out.println(file.getAbsolutePath()+file.getName()+file.getPath()+file.getParent());
System.out.println(new Date(file.lastModified()).toLocaleString());
}
}
4)文件夹判断
判断文件是否
代码示例
public class Test2 {
public static void main(String[] args) throws IOException, ClassNotFoundException, InterruptedException {
File file = new File("d:\\aaa\\bbb\\ccc");
boolean result=false;
if(!file.exists()){
file.mkdirs();
result = true;
System.out.println(result);
}else{
System.out.println(result);
}
boolean canRead = file.canRead();
boolean isHidden = file.isHidden();
System.out.println(canRead+" "+isHidden);
}
}
5)文件夹遍历
通过list()方法来查看文件夹下的文件
代码示例
public class Test2 {
public static void main(String[] args) throws IOException, ClassNotFoundException, InterruptedException {
File file = new File("D:\\picture\\pixiv");
boolean result=false;
if(!file.exists()){
file.mkdirs();
result = true;
System.out.println(result);
}else{
System.out.println(result);
}
String[] list = file.list();
for (String s : list) {
System.out.println(s);
}
}
}
3.FileFilter接口
这个接口是通过传入一个File类型的参数进行过滤的,当你使用listFile这个方法的时候就可以在方法里面实现FileFilter接口并重写方法,然后就可以过滤你不需要的文件
代码示例
public class Test2 {
public static void main(String[] args) throws IOException, ClassNotFoundException, InterruptedException {
File file = new File("D:\\2019-2020学生工作处(校学生党员督察队)文件文档\\19-20");
String[] list = file.list();
for (String s : list) {
System.out.println(s);
}
System.out.println("============================");
System.out.println("使用过滤器后");
File[] files = file.listFiles(new FileFilter() {
@Override
public boolean accept(File filed) {
if(filed.getName().endsWith(".jpg")) {
return true;
}
return false;
}
});
for (File file1 : files) {
System.out.println(file1.getName());
}
}
}
4.递归遍历文件和递归删除文件
1)一次运行访问目标文件夹下所有子文件夹及子文件
我们使用list()方法是不能一次就把目标文件下的子文件夹里面的文件或者文件夹访问完毕的,所以我们需要自己创建一个方法来自己调用实现,当查找到文件下还有文件夹时就递归调用,知道结束
代码示例
public class Test2 {
public static void main(String[] args) throws IOException, ClassNotFoundException, InterruptedException, NullPointerException {
Look(new File("D:\\aaa"));
}
public static void Look(File dir) {
File[] dirs = dir.listFiles();
for (File file : dirs) {
if (file.isDirectory()) {
Look(file);
} else {
System.out.println(file.getName());
}
}
}
}
2)一次运行删除目标文件夹下所有子文件夹及文件
我们要删除一个文件夹的时候,如果里面任然还有文件或者文件夹,那么我们就得先把文件夹里面的文件或者文件夹删除才能删除这个文件夹,所以我们在使用delete方法的时候效率会非常低,所以此时我们需要递归调用来访问文件夹判断里面是否还有文件或者文件夹,进而删除
代码示例
public static void Delete(File dir){
File[] dirs1 = dir.listFiles();
if(dirs1 != null || dirs1.length>0){
for (File file : dirs1) {
if(file.isDirectory()){
Delete(file);
}else{
System.out.println(file.getAbsolutePath()+"删除:"+file.delete());
}
}
}
System.out.println(dir.getAbsolutePath()+"删除:"+dir.delete());
}
八.Properties
1.Properties
本质是一个集合,但是这个集合和流有关,可以使用这个来存储一些键值对,然后通过字节或字符流写入硬盘或者从硬盘读入
2.Properties使用
这个集合主要的使用地方是在存储键值对,然后对其遍历在输出。以及保存为文件,并读取所保存的文件
代码示例
public class Test2 {
public static void main(String[] args) throws IOException,NullPointerException {
Properties properties = new Properties();
properties.setProperty("UserName","LiHua");
properties.setProperty("Age","12");
Set<Object> objects = properties.keySet();
for (Object object : objects) {
System.out.println(object+properties.getProperty((String)object));
}
Set<String> strings = properties.stringPropertyNames();
for (String string : strings) {
System.out.println(string+properties.getProperty(string));
}
PrintWriter printWriter = new PrintWriter("d:\\pro.properties");
properties.store(printWriter,"Test");
printWriter.close();
Properties properties1 = new Properties();
FileInputStream fileInputStream = new FileInputStream("d:\\pro.properties");
properties1.load(fileInputStream);
fileInputStream.close();
System.out.println(properties1.toString());
}
}
总结
流的学习到这里就结束了,至少对我来说,把以前学习不牢固的地方又重新的学习了一遍,加深了印象,最后想着好的工作奋斗吧!
本文内容由网友自发贡献,版权归原作者所有,本站不承担相应法律责任。如您发现有涉嫌抄袭侵权的内容,请联系:hwhale#tublm.com(使用前将#替换为@)