文章目录
- 1 spring基础应用
- 1.1 引入依赖
- 1.2 创建服务类
- 1.3 创建配置文件
- 1.4 测试
- 2 依赖注入
- 2.1 依赖注入方式
- 2.1.1 构造方法
- 2.1.2 set方法
- 2.1.3 测试
- 2.2 依赖注入的数据类型
-
- 3 其他配置文件引入
1 spring基础应用
1.1 引入依赖
    <properties>
        <spring.version>5.3.13</spring.version>
    </properties>
    <dependencies>
        <dependency>
            <groupId>org.springframework</groupId>
            <artifactId>spring-context</artifactId>
            <version>${spring.version}</version>
        </dependency>
    </dependencies>
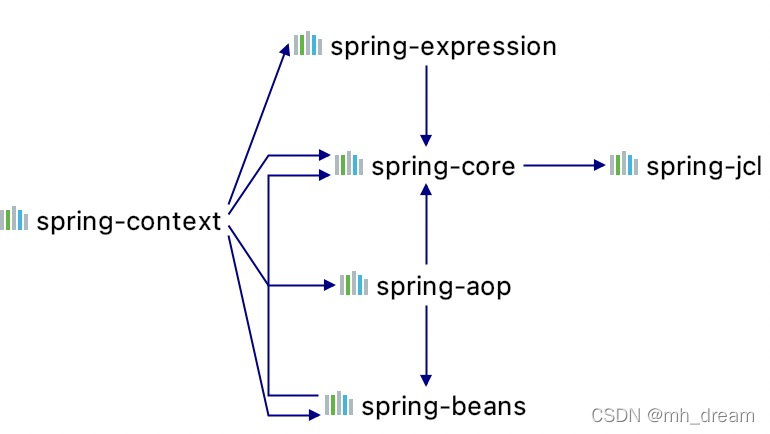
spring-context依赖了spring-aop、spring-beans、spring-core、spring-expression这些包,如上图。
1.2 创建服务类

1.3 创建配置文件
配置文件applicationContext.xml中添加bean,由spring容器来创建bean对象。默认情况下spring容器调用的是类中的无参构造函数,创建的是单例对象(scope="prototype"是多例)。
<?xml version="1.0" encoding="UTF-8" ?>
<beans xmlns="http://www.springframework.org/schema/beans"
       xmlns:xsi="http://www.w3.org/2001/XMLSchema-instance"
       xsi:schemaLocation="http://www.springframework.org/schema/beans
       http://www.springframework.org/schema/beans/spring-beans.xsd">

    <bean id="testDao" class="com.test.dao.impl.TestDaoImpl" scope="singleton"/>

</beans>
补充说明:
bean标签中的scope属性:
单例模式:对象随着spring容器的存在而存在;
多例模式:对象使用时创建,对象长时间不使用会被JVM回收。
bean实例化的三种方式(以无参构造方法创建实例说明):
默认的方式
<bean id="testDao" class="com.test.dao.impl.TestDaoImpl" />
工厂静态方法:
public class StaticFactory {
public static TestDao getTestDao(){
return new TestDaoImpl();
}
}
<bean id="testDao" class="com.test.factory.StaticFactory" factory-method="getTestDao"/>
工厂非静态方法:
public class NotStaticFactory {
    public TestDao getTestDao(){
        return new TestDaoImpl();
    }
}
    <bean id="notStaticFactory" class="com.test.factory.NotStaticFactory" />
    <bean id="testDao" factory-bean="notStaticFactory" factory-method="getTestDao"/>
1.4 测试
ApplicationContext applicationContext = new ClassPathXmlApplicationContext("applicationContext.xml");
TestDao testDao = (TestDao)applicationContext.getBean("testDao");
testDao.testSout();

2 依赖注入
依赖注入是spring的核心IOC(控制反转)的具体体现,IOC(将对象的创建交给了spring容器)降低了对象间的耦合,但是不能消除耦合,这个时候spring容器起到了管理耦合的作用。
2.1 依赖注入方式
service调用dao中的方法
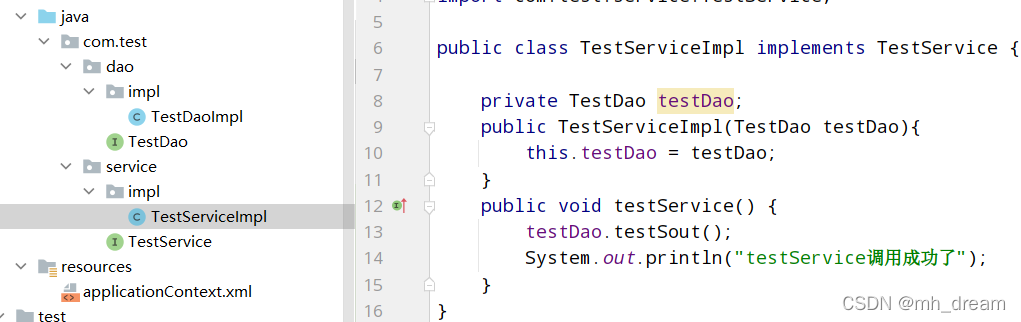
2.1.1 构造方法
TestServiceImpl中创建有参构造方法,TestDao作为参数。
    <bean id="testDao" class="com.test.dao.impl.TestDaoImpl"/>
    <bean id="testService" class="com.test.service.impl.TestServiceImpl">
        <constructor-arg name="testDao" ref="testDao"/>
    </bean>
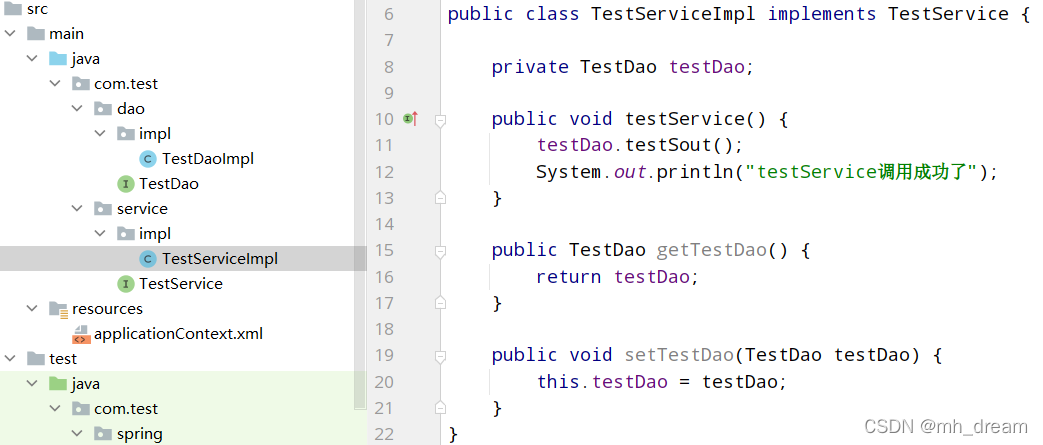
2.1.2 set方法
    <bean id="testDao" class="com.test.dao.impl.TestDaoImpl"/>
    <bean id="testService" class="com.test.service.impl.TestServiceImpl">
        <property name="testDao" ref="testDao"/>
    </bean>
或者引入p标签,配置中修改如下:
<?xml version="1.0" encoding="UTF-8" ?>
<beans xmlns="http://www.springframework.org/schema/beans"
       xmlns:xsi="http://www.w3.org/2001/XMLSchema-instance"
       xmlns:p="http://www.springframework.org/schema/p"
       xsi:schemaLocation="http://www.springframework.org/schema/beans
       http://www.springframework.org/schema/beans/spring-beans.xsd">

    <bean id="testDao" class="com.test.dao.impl.TestDaoImpl"/>
    <bean id="testService" class="com.test.service.impl.TestServiceImpl" p:testDao-ref="testDao"/>
</beans>
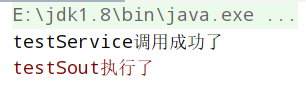
2.1.3 测试
ApplicationContext applicationContext = new ClassPathXmlApplicationContext("applicationContext.xml");
TestService testService = (TestService)applicationContext.getBean("testService");
testService.testService();
2.2 依赖注入的数据类型
spring容器中,除了2.1节中引用数据类型的注入,还可注入基本数据类型和集合类型,这里选择有参构造方式注入。
2.2.1 基本数据类型
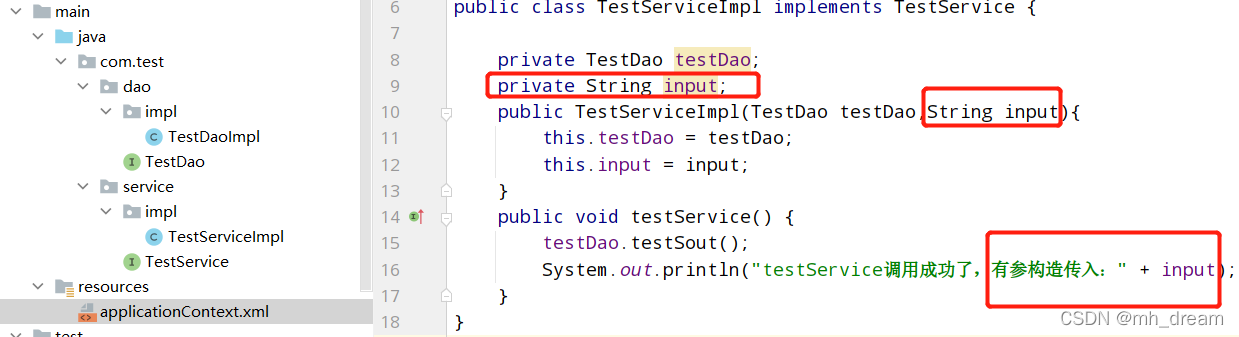
    <bean id="testDao" class="com.test.dao.impl.TestDaoImpl"/>
    <bean id="testService" class="com.test.service.impl.TestServiceImpl">
        <constructor-arg ref="testDao"/>
        <constructor-arg name="input" value="我很好"/>
    </bean>
测试结果:

2.2.2 集合类型
List类型注入:
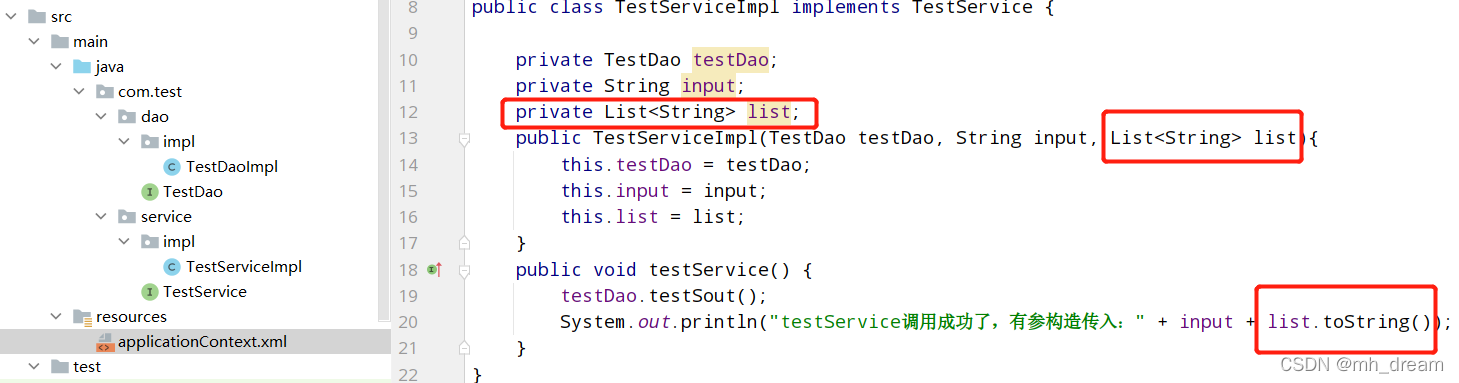
    <bean id="testDao" class="com.test.dao.impl.TestDaoImpl"/>
    <bean id="testService" class="com.test.service.impl.TestServiceImpl">
        <constructor-arg ref="testDao"/>
        <constructor-arg name="input" value="我很好"/>
        <constructor-arg name="list">
            <list>
                <value>hello</value>
                <value>world</value>
            </list>
        </constructor-arg>
    </bean>
测试结果:

List<引用类型>注入:
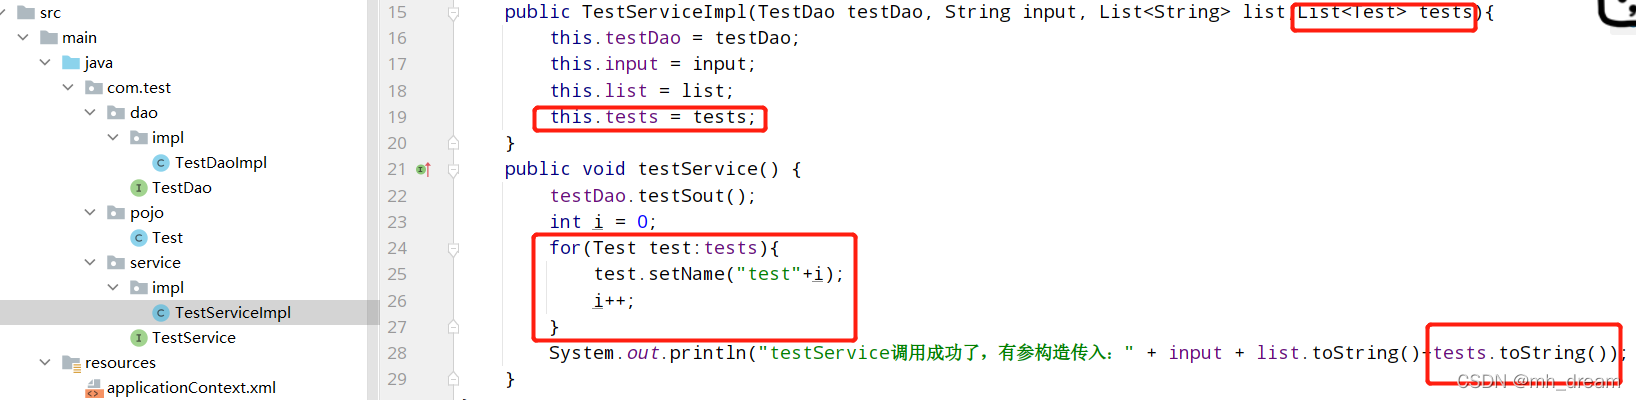
    <bean id="test1" class="com.test.pojo.Test"/>
    <bean id="test2" class="com.test.pojo.Test"/>
    <bean id="testDao" class="com.test.dao.impl.TestDaoImpl"/>
    <bean id="testService" class="com.test.service.impl.TestServiceImpl">
        <constructor-arg ref="testDao"/>
        <constructor-arg name="input" value="我很好"/>
        <constructor-arg name="list">
            <list>
                <value>hello</value>
                <value>world</value>
            </list>
        </constructor-arg>
        <constructor-arg name="tests">
            <list>
                <ref bean="test1"/>
                <ref bean="test2"/>
            </list>
        </constructor-arg>
    </bean>
测试结果:

Map<String,引用类型>:
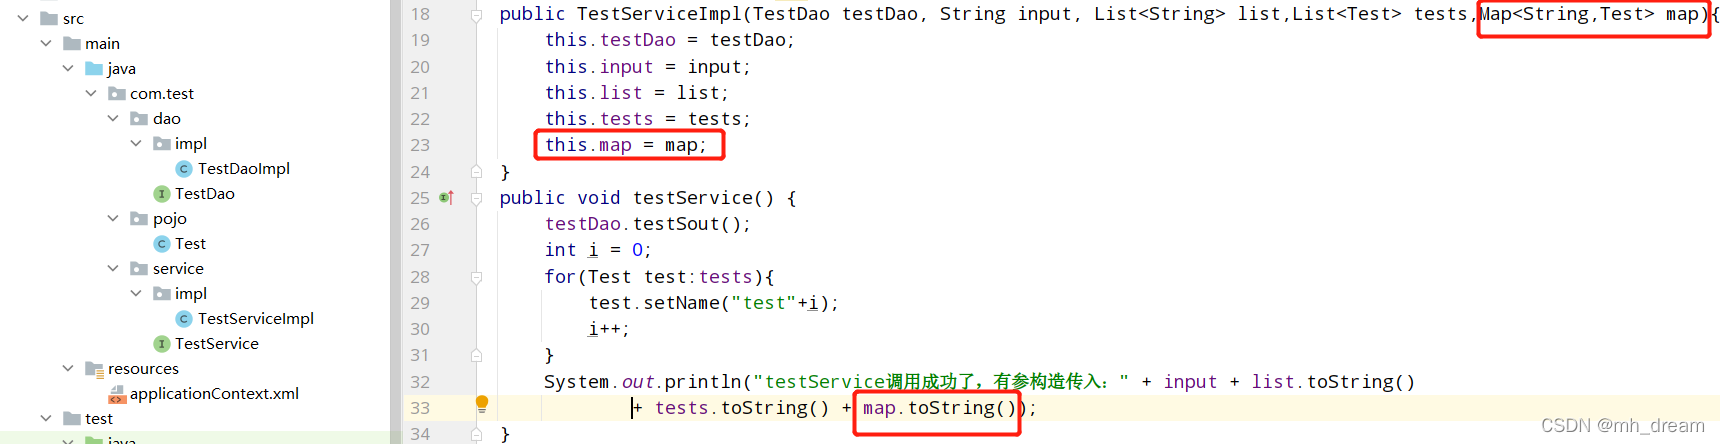
        <constructor-arg name="map">
            <map>
                <entry key="name" value-ref="test1"/>
                <entry key="value" value-ref="test2"/>
            </map>
        </constructor-arg>
Properties类型:
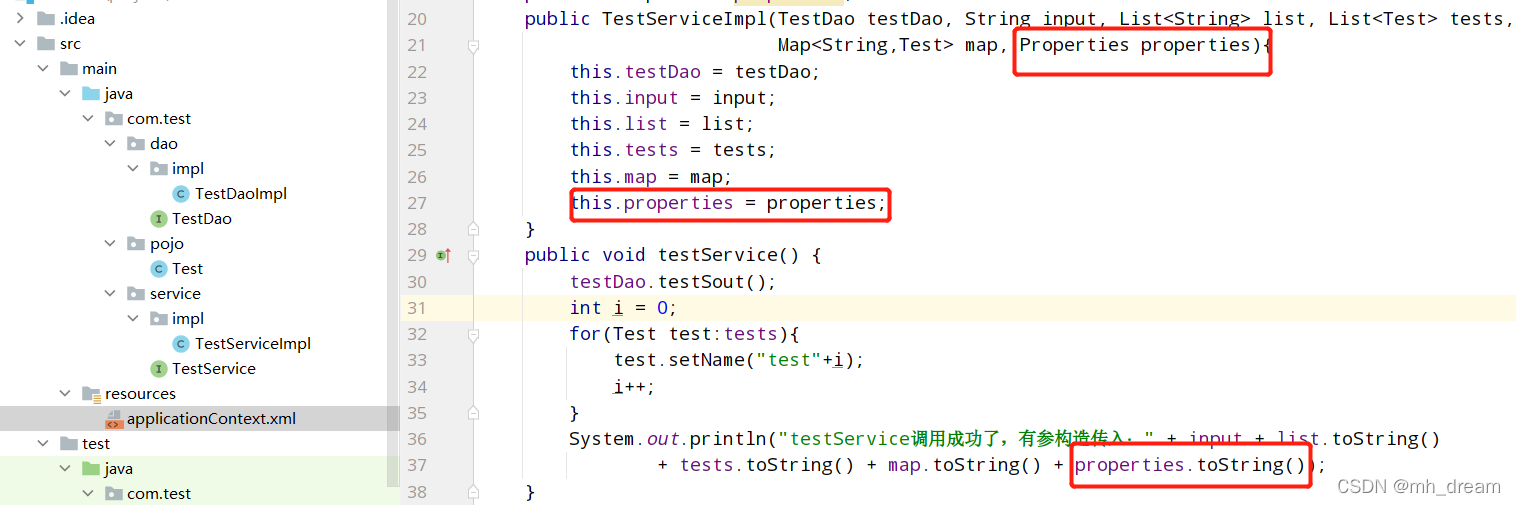
        <constructor-arg name="properties">
            <props>
                <prop key="kk">vv</prop>
                <prop key="ss">tt</prop>
            </props>
        </constructor-arg>
测试结果:

3 其他配置文件引入
项目中包含的模块比较多时,可以将配置文件进行拆分,在主配置文件application.xml文件中引入其他配置文件。
<import resource="配置文件路径/配置文件名称.xml"/>
本文内容由网友自发贡献,版权归原作者所有,本站不承担相应法律责任。如您发现有涉嫌抄袭侵权的内容,请联系:hwhale#tublm.com(使用前将#替换为@)