1下载启动arthas-tunnel-server
Arthas Tunnel | arthasarthas 使用文档 https://arthas.aliyun.com/doc/tunnel.html#%E4%B8%8B%E8%BD%BD%E9%83%A8%E7%BD%B2-arthas-tunnel-server
arthas-tunnel-server-3.6.6-fatjar.jar
启动默认8080端口,被占用可以指定其他端口,比如8081
nohup java -jar -Dserver.port=8081 arthas-tunnel-server-3.6.6-fatjar.jar &
2SpringBoot项目配置Arthas
TestController 代码
package com.example.myarthastest.controller;

import org.springframework.web.bind.annotation.RequestMapping;
import org.springframework.web.bind.annotation.RestController;

import java.time.LocalDateTime;

/**
 * @author: liuy
 * @date: 2022/11/3 22:12
 * @description:
 * @version: 1.0
 */
@RestController
@RequestMapping("/test")
public class TestController {

    @RequestMapping("/test1")
    public void test1() {
        while (true) {
            System.out.println("===test1==" + LocalDateTime.now());
        }
    }
}
application.yml 配置
server:
port: 8082
management:
endpoints:
web:
exposure:
include: "*"
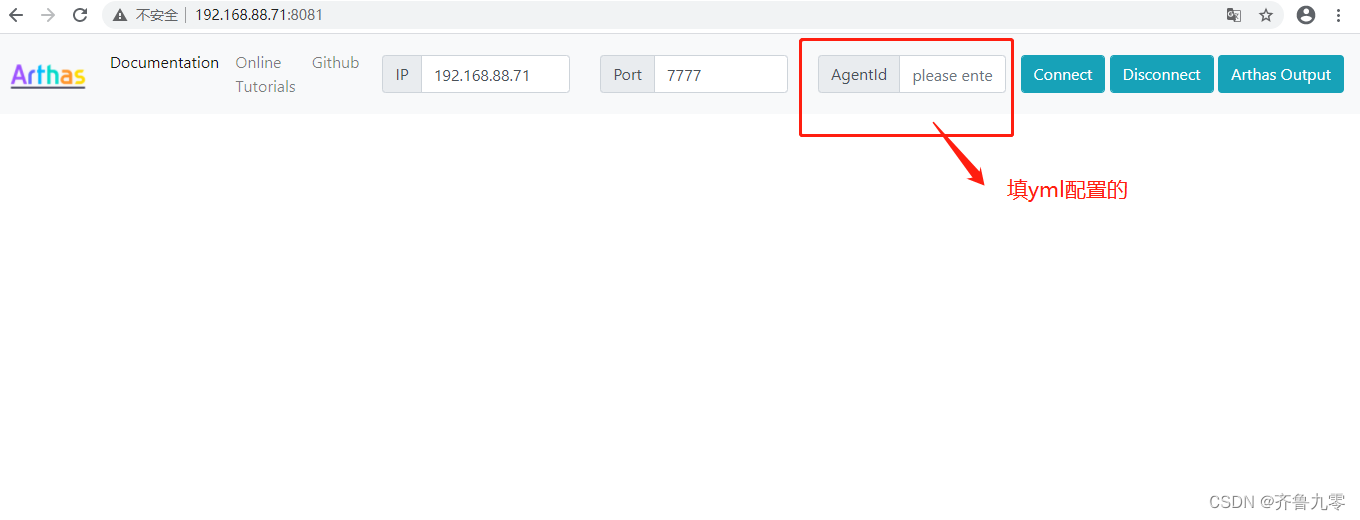
arthas:
agent-id: my-arthas-01 #可以自定义,后面访问的时候需要
tunnel-server: ws://192.168.88.71:7777/ws #指定tunnel-server部署的服务器
pom.xml引入下面依赖
 <dependency>
            <groupId>com.taobao.arthas</groupId>
            <artifactId>arthas-spring-boot-starter</artifactId>
            <version>3.6.6</version>
        </dependency>
        <dependency>
            <groupId>org.springframework.boot</groupId>
            <artifactId>spring-boot-starter-actuator</artifactId>
        </dependency>
3启动应用
非后台启动
java -jar my-arthas-test-0.0.1-SNAPSHOT.jar
4访问Arthas控制台
http://192.168.88.71:8081/
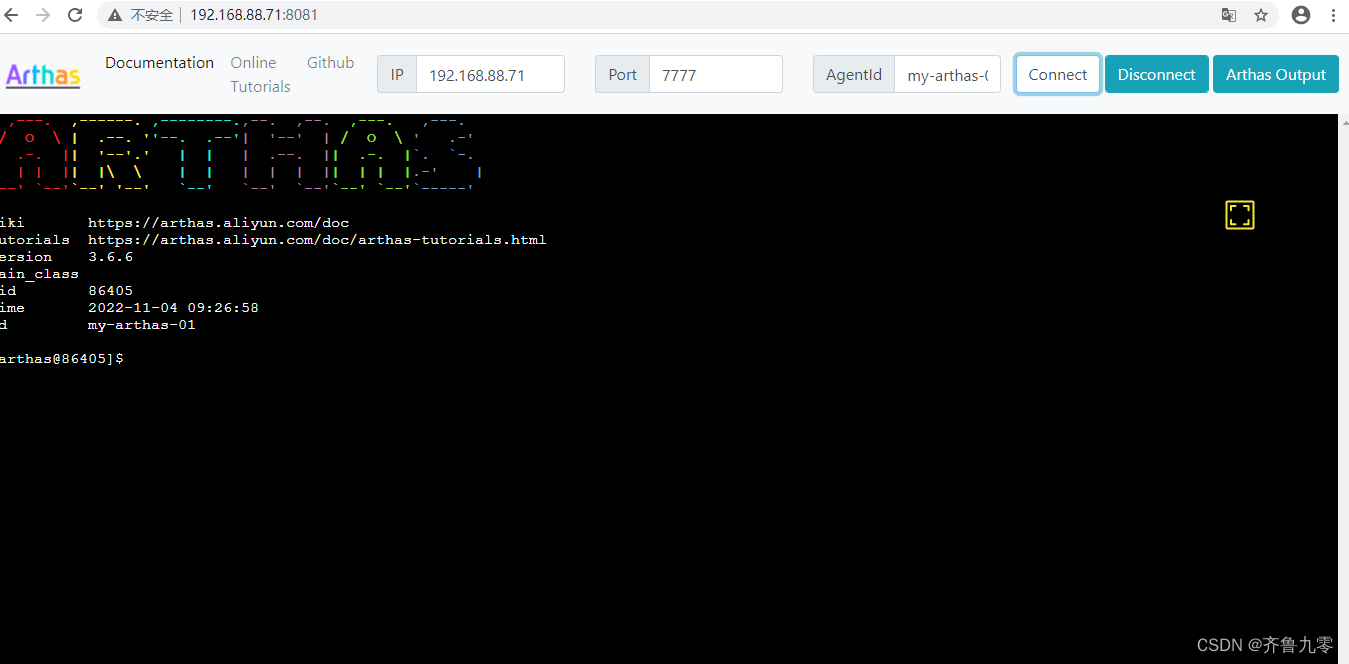
5命令操作
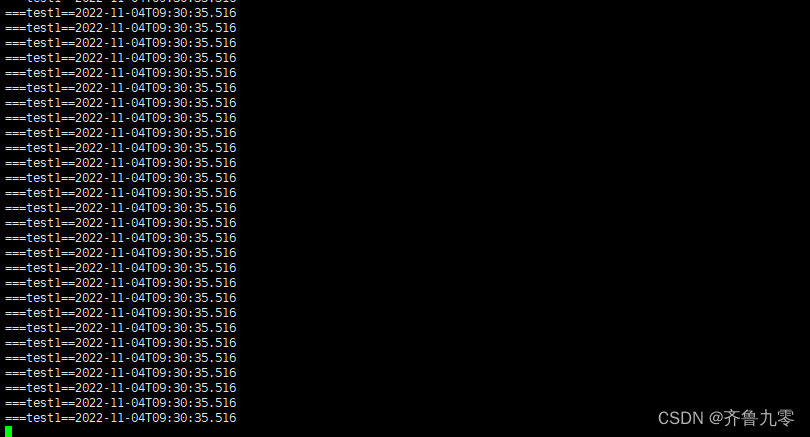
5.1访问应用url
http://192.168.88.71:8082/test/test1
可以看到服务器控制台打印
5.2在Arthas控制台操作相关命令
5.2.1dashboard

参考资料:
简介 | arthasarthas 使用文档https://arthas.aliyun.com/doc/