地址:申请腾讯云账号:腾讯云 产业智变·云启未来 - 腾讯

无脑下一步,唯一注意点就是可以选择共有读写,以及取一个存储桶的名称
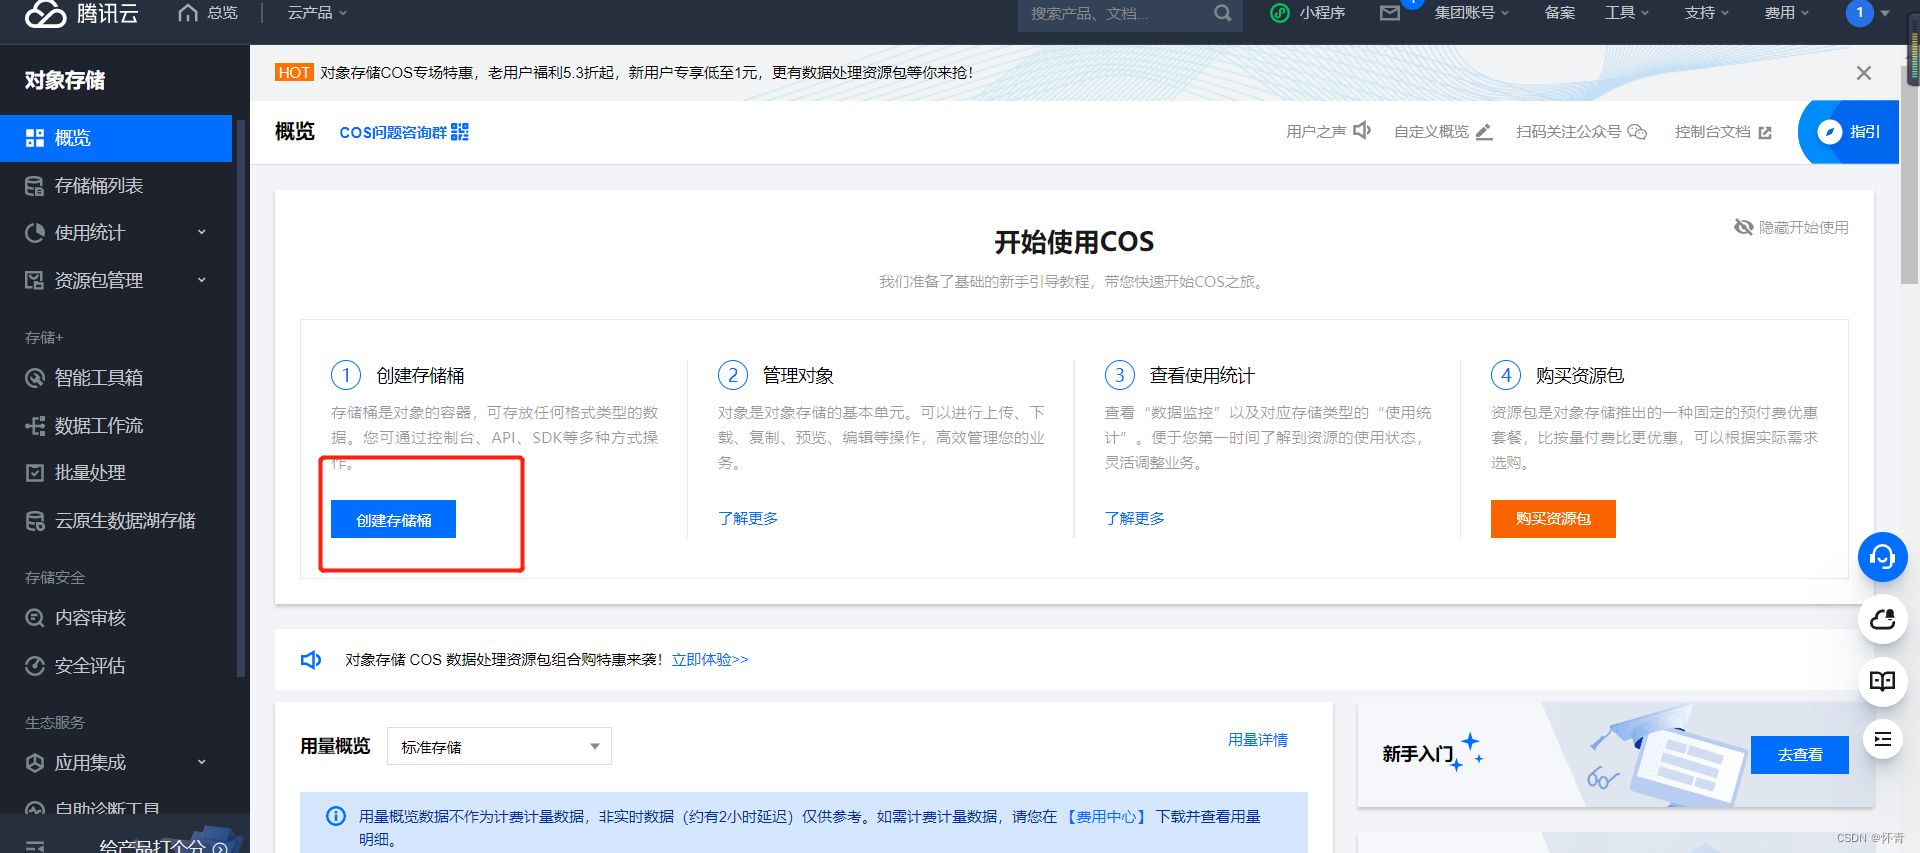

点击进某个存储桶后,可以上传文件后刷新页面,点击上传后文件名称查看文件地址,通过地址可以直接在页面中打开刚刚上传的文件

在pom文件导入依赖
<!-- 日期工具栏依赖 -->
        <dependency>
            <groupId>joda-time</groupId>
            <artifactId>joda-time</artifactId>
        </dependency>
        <dependency>
            <groupId>com.qcloud</groupId>
            <artifactId>cos_api</artifactId>
            <version>5.6.97</version>
        </dependency>
查看自己的秘钥

在application.properties配置相关信息
#不同的服务器,地址不同
tencent.cos.file.region=所属地域后面小括号的英文
tencent.cos.file.secretid=秘钥的id
tencent.cos.file.secretkey=秘钥的key
#bucket可以在控制台创建,也可以使用java代码创建
tencent.cos.file.bucketname=你创建的存储桶名称

#返回json的全局时间格式
spring.jackson.date-format=yyyy-MM-dd HH:mm:ss
spring.jackson.time-zone=GMT+8
-
接下来分别编写存储桶工具类,service,controller接口
工具类:
package com.atguigu.ggkt.vod.utils;

import org.springframework.beans.factory.InitializingBean;
import org.springframework.beans.factory.annotation.Value;
import org.springframework.stereotype.Component;

/**
 * description
 *
 * @author 王宇翔ヾ
 */
@Component
public class ConstantPropertiesUtil implements InitializingBean {
    //InitializingBean在创建时读取配置文件的值实现赋值
    @Value("${tencent.cos.file.region}")
    private String region;
    @Value("${tencent.cos.file.secretid}")
    private String secretid;
    @Value("${tencent.cos.file.secretkey}")
    private String secretkey;
    @Value("${tencent.cos.file.bucketname}")
    private String bucketname;
    public static String END_POINT;
    public static String ACCESS_KEY_ID;
    public static String ACCESS_KEY_SECRET;
    public static String BUCKET_NAME;

    @Override
    public void afterPropertiesSet() throws Exception {
        END_POINT = region;
        ACCESS_KEY_ID = secretid;
        ACCESS_KEY_SECRET = secretkey;
        BUCKET_NAME = bucketname;
    }
}
service接口:
package com.atguigu.ggkt.vod.service;

import org.springframework.web.multipart.MultipartFile;

/**
 * description
 *
 * @author 王宇翔ヾ
 */
public interface FileService {
    String upload(MultipartFile file);
}
service的实现类(通过工具类获取对应的值):
注意点:
1.参数MultipartFile表示获取上传的文件信息
2.如上传两次同名文件,后面一个会覆盖前一个,所以需要设置uuid(下面代码已完成设置)
3.可以设置一个文件的父文件名,以当前日期举例2023-4-2
package com.atguigu.ggkt.vod.service.impl;

import com.alibaba.fastjson.JSON;
import com.atguigu.ggkt.vod.service.FileService;
import com.atguigu.ggkt.vod.utils.ConstantPropertiesUtil;
import com.qcloud.cos.COSClient;
import com.qcloud.cos.ClientConfig;
import com.qcloud.cos.auth.BasicSessionCredentials;
import com.qcloud.cos.model.ObjectMetadata;
import com.qcloud.cos.model.PutObjectRequest;
import com.qcloud.cos.model.PutObjectResult;
import com.qcloud.cos.region.Region;
import org.joda.time.DateTime;
import org.springframework.stereotype.Service;
import org.springframework.web.multipart.MultipartFile;

import java.io.InputStream;
import java.util.UUID;

/**
 * description
 *
 * @author 王宇翔ヾ
 */
@Service
public class FileServiceImpl implements FileService {
    @Override
    public String upload(MultipartFile file) {
        // 1 传入获取到的临时密钥 (tmpSecretId, tmpSecretKey, sessionToken)
        String tmpSecretId = ConstantPropertiesUtil.ACCESS_KEY_ID;
        String tmpSecretKey = ConstantPropertiesUtil.ACCESS_KEY_SECRET;
        String bucketName = ConstantPropertiesUtil.BUCKET_NAME;
        String endpoint = ConstantPropertiesUtil.END_POINT;
        String sessionToken = "TOKEN";
        BasicSessionCredentials cred = new BasicSessionCredentials(tmpSecretId, tmpSecretKey, sessionToken);
        // 2 设置 bucket 的地域
        // clientConfig 中包含了设置 region, https(默认 http),
        // 超时, 代理等 set 方法, 使用可参见源码或者常见问题 Java SDK 部分
        Region region = new Region(ConstantPropertiesUtil.END_POINT); //COS_REGION 参数:配置成存储桶 bucket 的实际地域,例如 ap-beijing,更多 COS 地域的简称请参见 https://cloud.tencent.com/document/product/436/6224
        ClientConfig clientConfig = new ClientConfig(region);
        // 3 生成 cos 客户端
        COSClient cosClient = new COSClient(cred, clientConfig);
        try{
            // 指定要上传的文件
            InputStream inputStream = file.getInputStream();
            // 指定文件将要存放的存储桶
            // 指定文件上传到 COS 上的路径,即对象键。例如对象键为folder/picture.jpg,则表示将文件 picture.jpg 上传到 folder 路径下
            //上传同名的文件,后面会覆盖掉前面的,需要添加uuid让文件名不重复,并且为了美观可以将-去掉
            String key = UUID.randomUUID().toString().replaceAll("-","")+
                    file.getOriginalFilename();
            //对文件可以进行分组处理,比如当前2023/4/2,通过刚刚添加的依赖
            /**
             *  日期工具栏依赖
             *     <dependency>
             *         <groupId>joda-time</groupId>
             *         <artifactId>joda-time</artifactId>
             *     </dependency>
             */
            String dateUrl = new DateTime().toString("yyyy-MM-dd");
            key = dateUrl+"/"+key;

            ObjectMetadata objectMetadata = new ObjectMetadata();

            PutObjectRequest putObjectRequest =new PutObjectRequest
            (bucketName, key, inputStream,objectMetadata);

            PutObjectResult putObjectResult = cosClient.putObject(putObjectRequest);
            System.out.println(JSON.toJSONString(putObjectResult));
            //返回上传文件的路径
            //https://yu-1317492111.cos.ap-beijing.myqcloud.com/2.jpg
            String url = "https://"+bucketName+"."+"cos"+"."+endpoint+".myqcloud.com"+"/"+key;
            return url;
        } catch (Exception clientException) {
            clientException.printStackTrace();
            return null;
        }

    }
}
controller:
这里我使用的是swagger接口文档,如使用其他的可以把@Api、@ApiOperation注解删除
返回类Result是自己编写的,可以使用你熟悉的Map,或者你自己定义的结果类
package com.atguigu.ggkt.vod.controller;

import com.atguigu.ggkt.result.Result;
import com.atguigu.ggkt.vod.service.FileService;
import io.swagger.annotations.Api;
import io.swagger.annotations.ApiOperation;
import io.swagger.annotations.ApiParam;
import org.springframework.web.bind.annotation.PostMapping;
import org.springframework.web.bind.annotation.RequestMapping;
import org.springframework.web.bind.annotation.RequestParam;
import org.springframework.web.bind.annotation.RestController;
import org.springframework.web.multipart.MultipartFile;

import javax.annotation.Resource;

/**
 * description
 *
 * @author 王宇翔ヾ
 */
@Api(tags = "文件上传接口")
@RestController
@RequestMapping("/admin/vod/file")
public class FileUploadController {
    @Resource
    private FileService fileService;
    /**
     * 文件上传
     */
    @ApiOperation(value = "文件上传")
    @PostMapping("upload")
    public Result upload(//MultipartFile用于接收文件
            @ApiParam(name = "file", value = "文件", required = true)
            @RequestParam("file") MultipartFile file) {
        String url = fileService.upload(file);
        return Result.ok(url).message("文件上传成功");
    }
}
1.使用你熟悉的接口测试工具,这里使用的是swagger
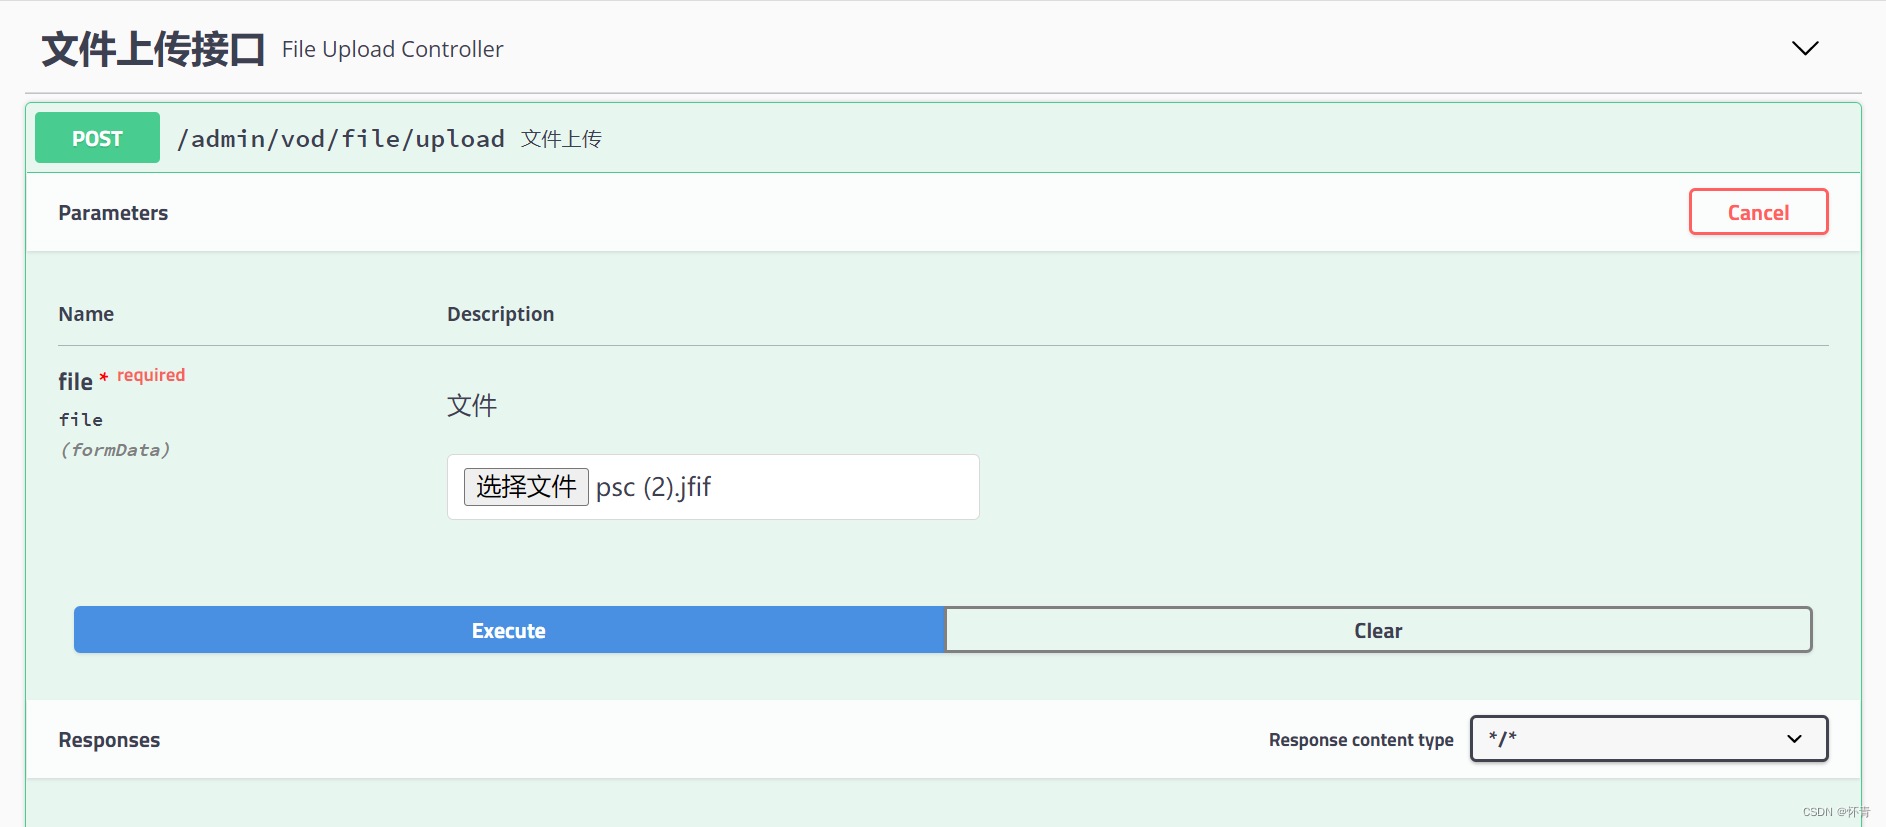

2.查看腾讯云存储桶是否有文件
可以看到一个以当前日期为名称的文件夹,里面上传的图片就是通过uuid加密后的文件,可以进行预览


以上就是腾讯云上传文件的全部内容了
如有空余时间,也会多多编写文章帮助大家开发~