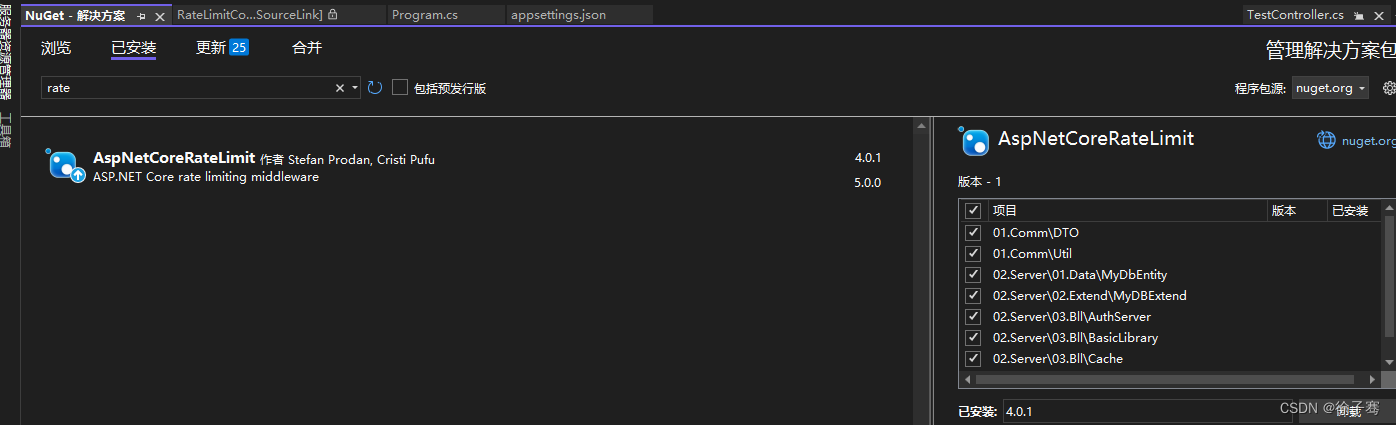
1-安装包 AspNetCoreRateLimit
2-在appsetting.cs中加入IpRateLimiting配置节点
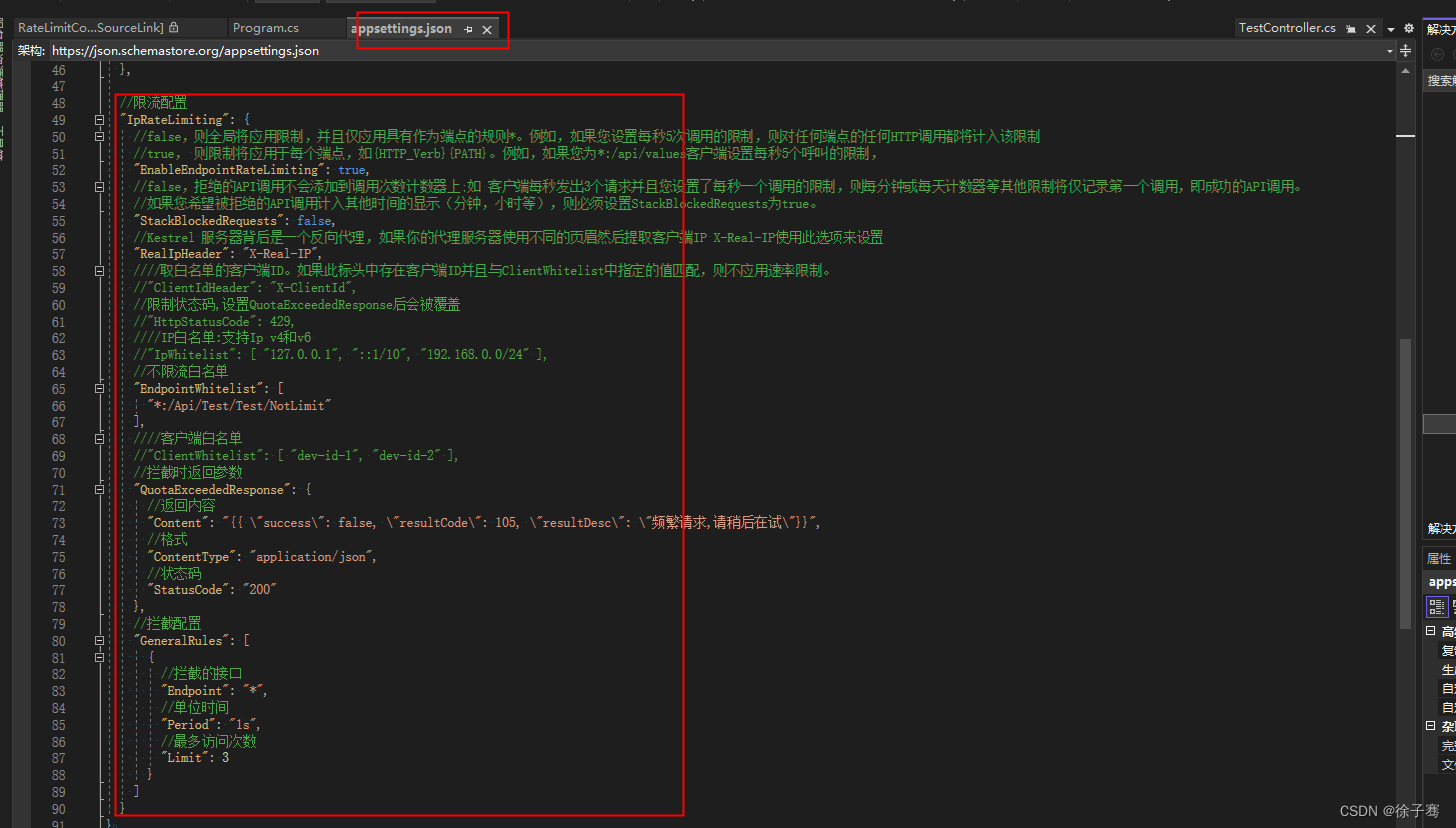
"IpRateLimiting": {
"EnableEndpointRateLimiting": true,
"StackBlockedRequests": false,
"RealIpHeader": "X-Real-IP",
"EndpointWhitelist": [
"*:/Api/Test/Test/NotLimit"
],
"QuotaExceededResponse": {
"Content": "{{ \"success\": false, \"resultCode\": 105, \"resultDesc\": \"频繁请求,请稍后在试\"}}",
"ContentType": "application/json",
"StatusCode": "200"
},
"GeneralRules": [
{
"Endpoint": "*",
"Period": "1s",
"Limit": 3
}
]
}
3-Program.cs中添加限流服务策略
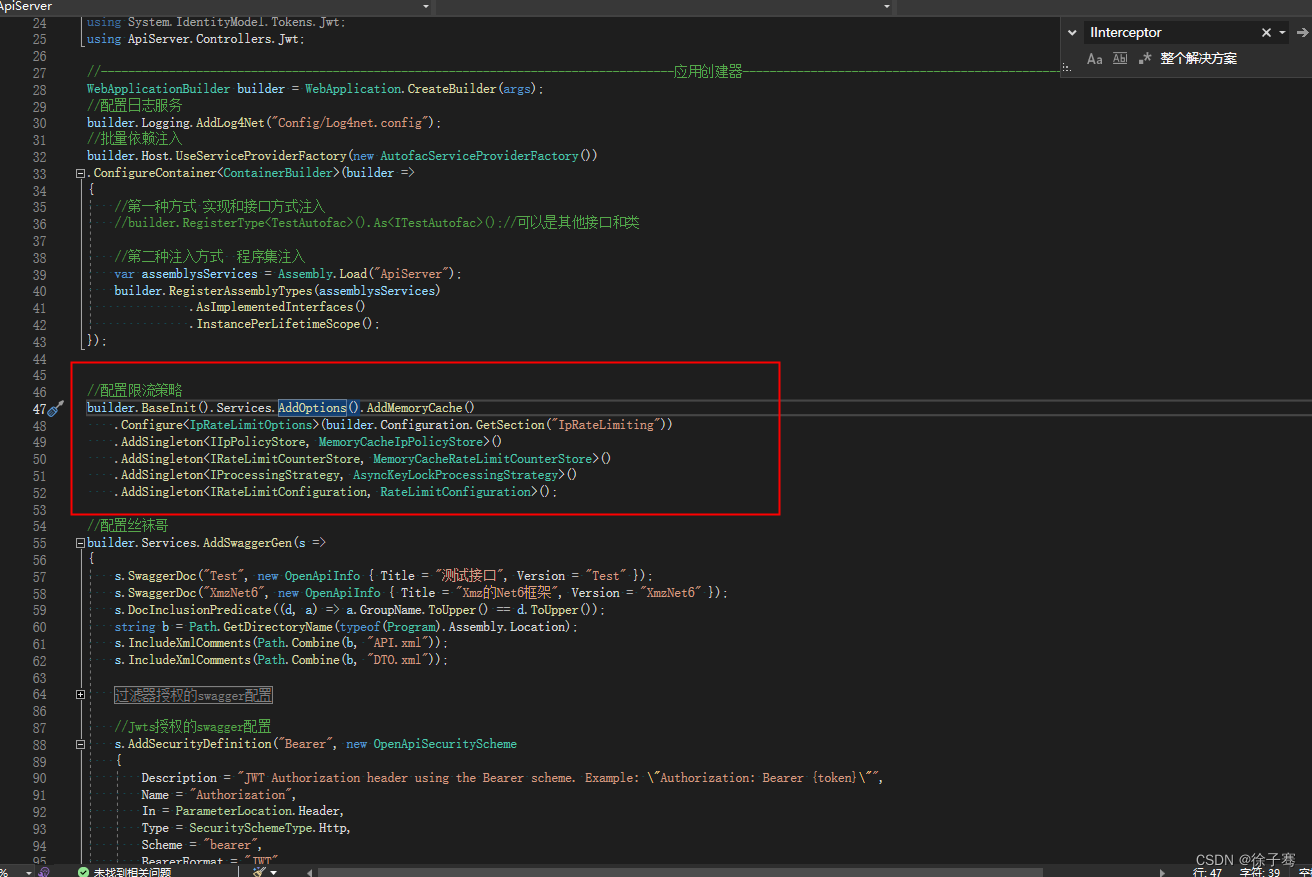
builder.BaseInit().Services.AddOptions().AddMemoryCache()
.Configure<IpRateLimitOptions>(builder.Configuration.GetSection("IpRateLimiting"))
.AddSingleton<IIpPolicyStore, MemoryCacheIpPolicyStore>()
.AddSingleton<IRateLimitCounterStore, MemoryCacheRateLimitCounterStore>()
.AddSingleton<IProcessingStrategy, AsyncKeyLockProcessingStrategy>()
.AddSingleton<IRateLimitConfiguration, RateLimitConfiguration>();
4-启用限流中间件(尽量放在中间件请求管道前面)
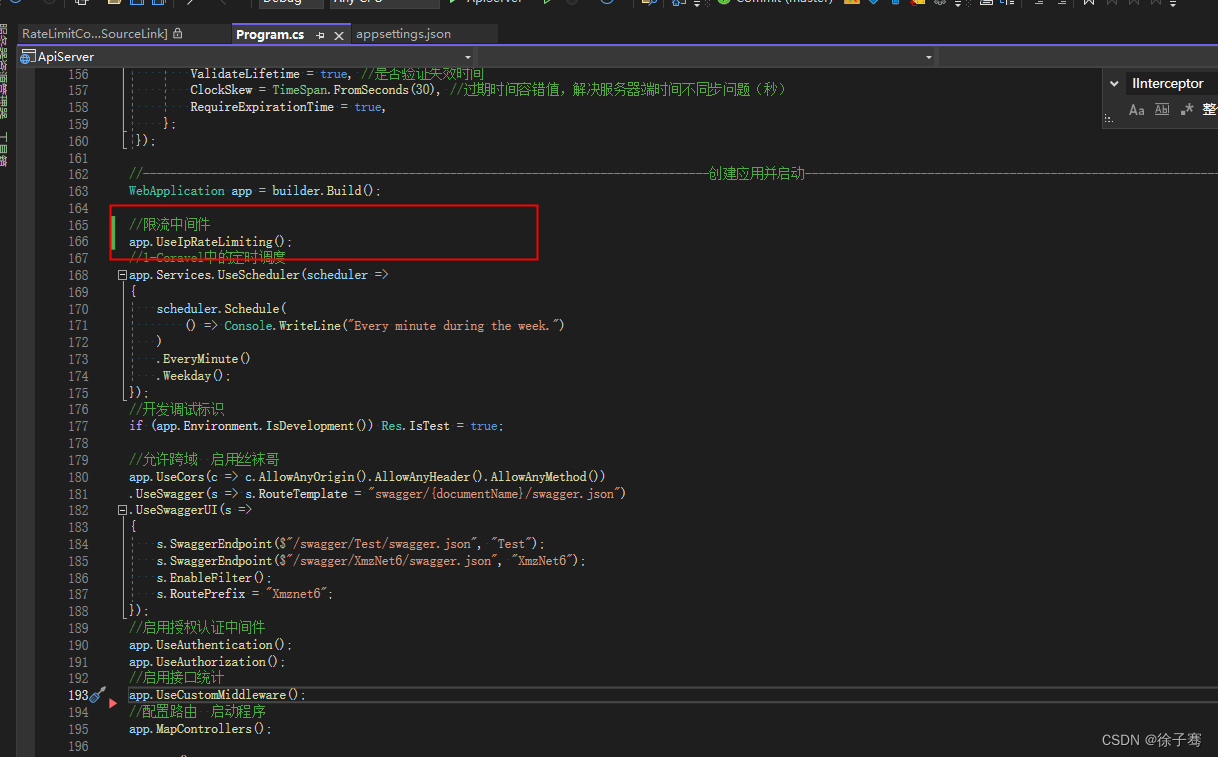
完事!
本文内容由网友自发贡献,版权归原作者所有,本站不承担相应法律责任。如您发现有涉嫌抄袭侵权的内容,请联系:hwhale#tublm.com(使用前将#替换为@)