FISCO BCOS JAVA SDK(环境搭建)
前言
参考官方文档
提示:以下是本篇文章正文内容,下面案例可供参考
一、环境准备
1.开发工具
Java:JDK 14 (JDK1.8 至JDK 14都支持)
IDE:IntelliJ IDE.
安装官网
2.开发环境
搭建一条FISCO BCOS链
FISCO BCOS安装搭建。
二、开发步骤
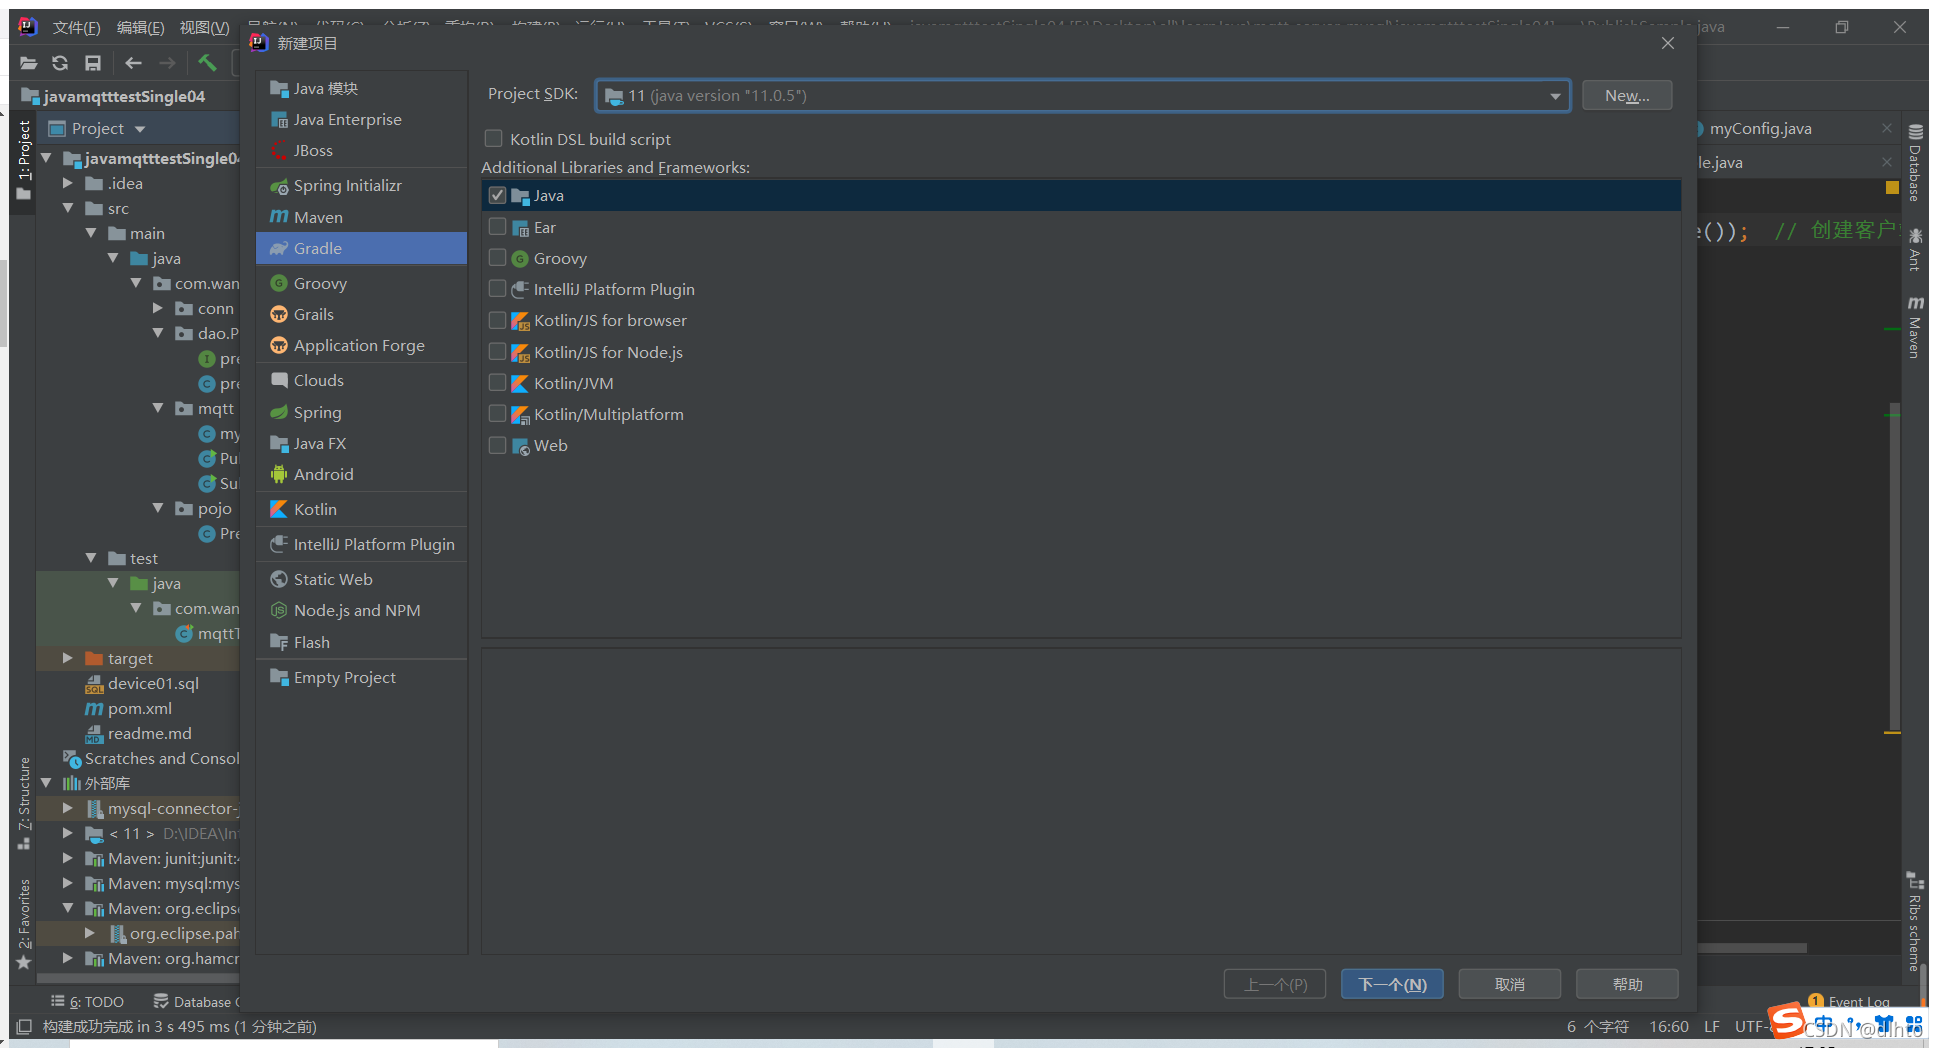
1.创建一个Gradle应用


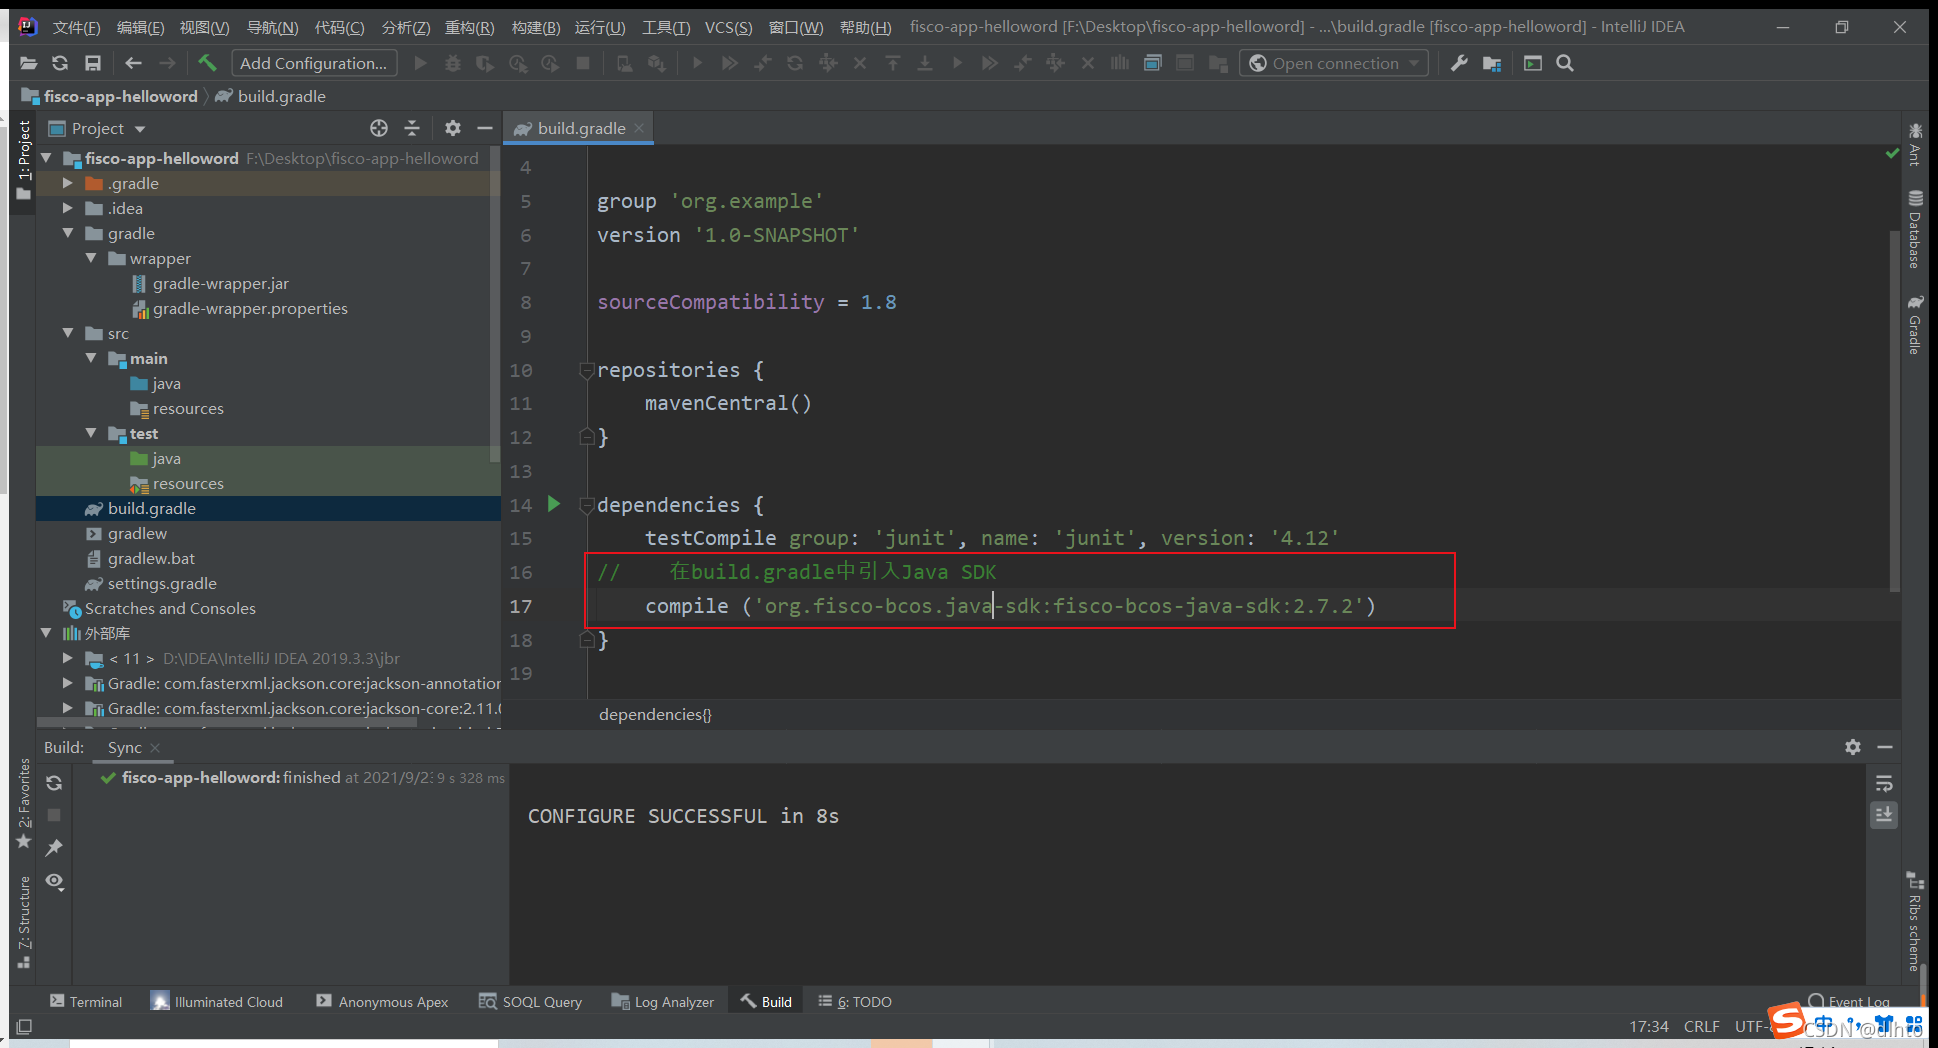
2.引入Java SDK
在build.gradle中引入Java SDK
compile ('org.fisco-bcos.java-sdk:fisco-bcos-java-sdk:2.7.2')
如果您使用maven 通过以下方法引入Java SDK
<dependency>
    <groupId>org.fisco-bcos.java-sdk</groupId>
    <artifactId>fisco-bcos-java-sdk</artifactId>
    <version>2.7.2</version>
</dependency>
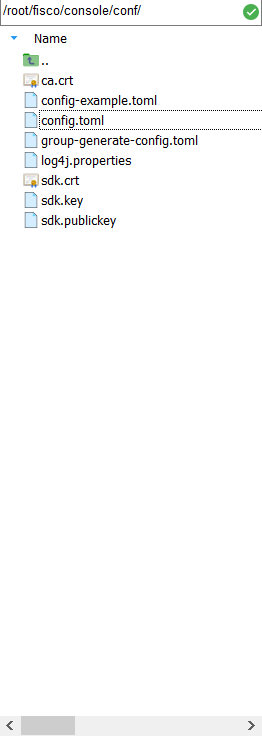
3.配置SDK证书
SDK证书位于(搭建第一个区块链网络)~/fisco/nodes/127.0.0.1/sdk/目录

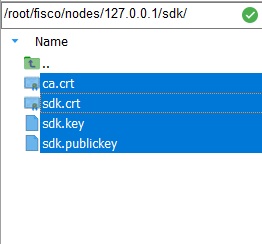
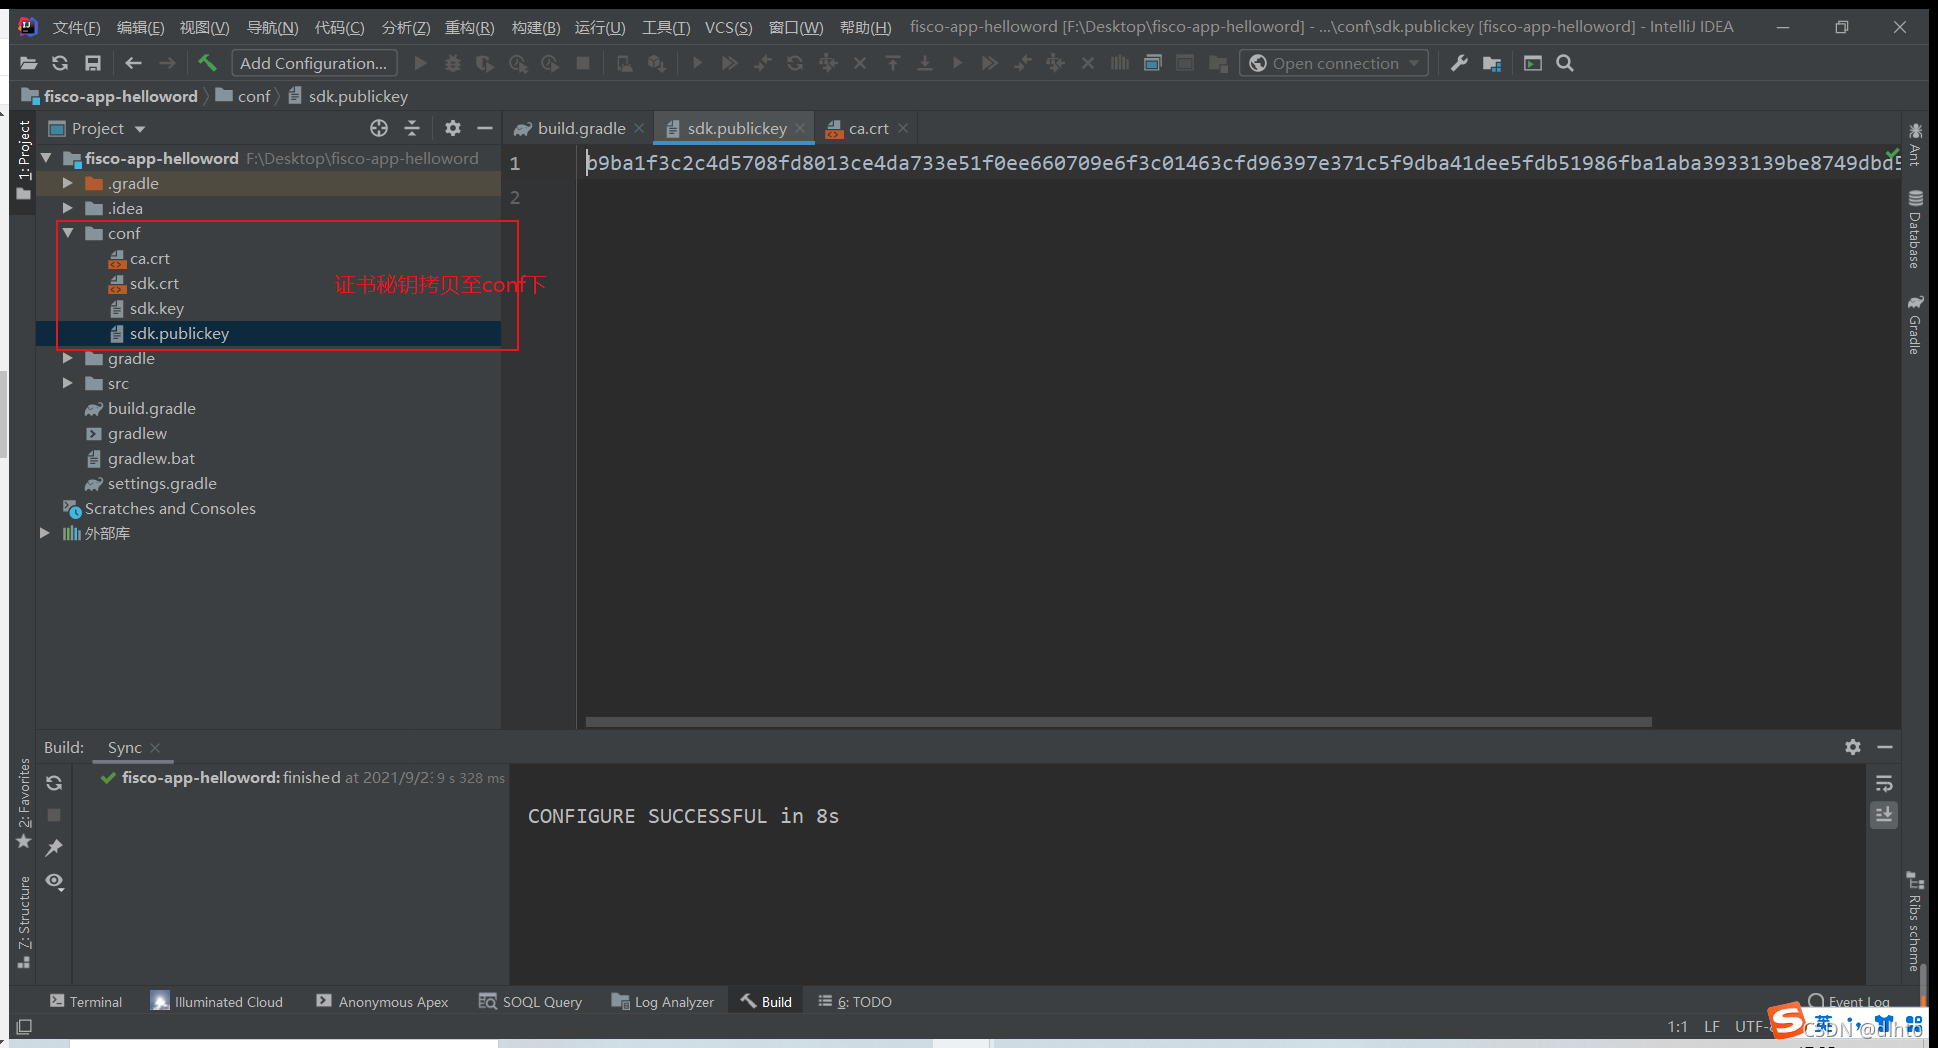
或者直接拷贝该文件夹
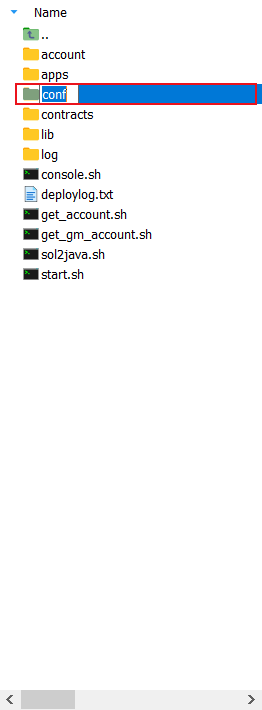
后续在对其中的配置文件进行修改
4.准备智能合约
控制台console和java-sdk-demo均提供了工具,可以将solidity合约生成出调用该合约java工具类。本例中使用console做为例子. 使用java-sdk-demo给智能合约生成调用它的Java工具类” 首先,下载控制台。
cd ~/fisco/console

然后,将您要用到的Solidity智能合约放入~/fisco/console/contracts/solidity的目录。本次我们用console中的HelloWorld.sol作为例子。保证HelloWorld.sol在指定的目录下。
cd ~/fisco/console/contracts/solidity
ls

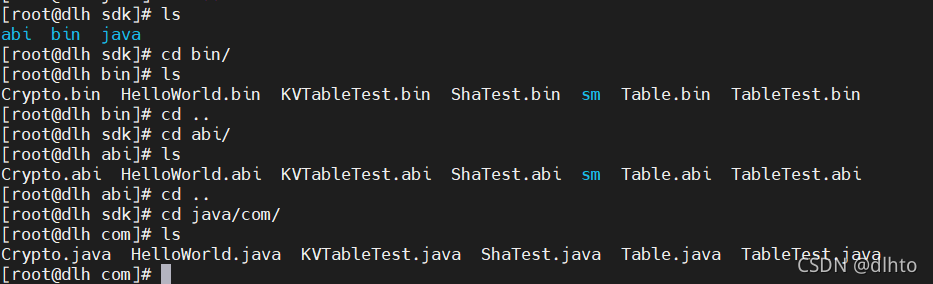
生成调用HelloWorld.sol智能合约的java类
代码如下(示例):
#使用sol2java.sh将contracts/solidity下的所有合约编译产生bin,abi,java工具类。
#当前目录~/fisco/console
 bash sol2java.sh org.com.fisco
#以上命令中参数“org.com.fisco”是指定产生的java类所属的包名。
#./sol2java.sh [packageName] [solidityFilePath] [javaCodeOutputDir]
未执行该脚本时:

执行脚本进行合约编译

5.创建配置文件
在项目中创建配置文件config.toml, 可参照配置向导进行配置,也可以参照config-example.toml,
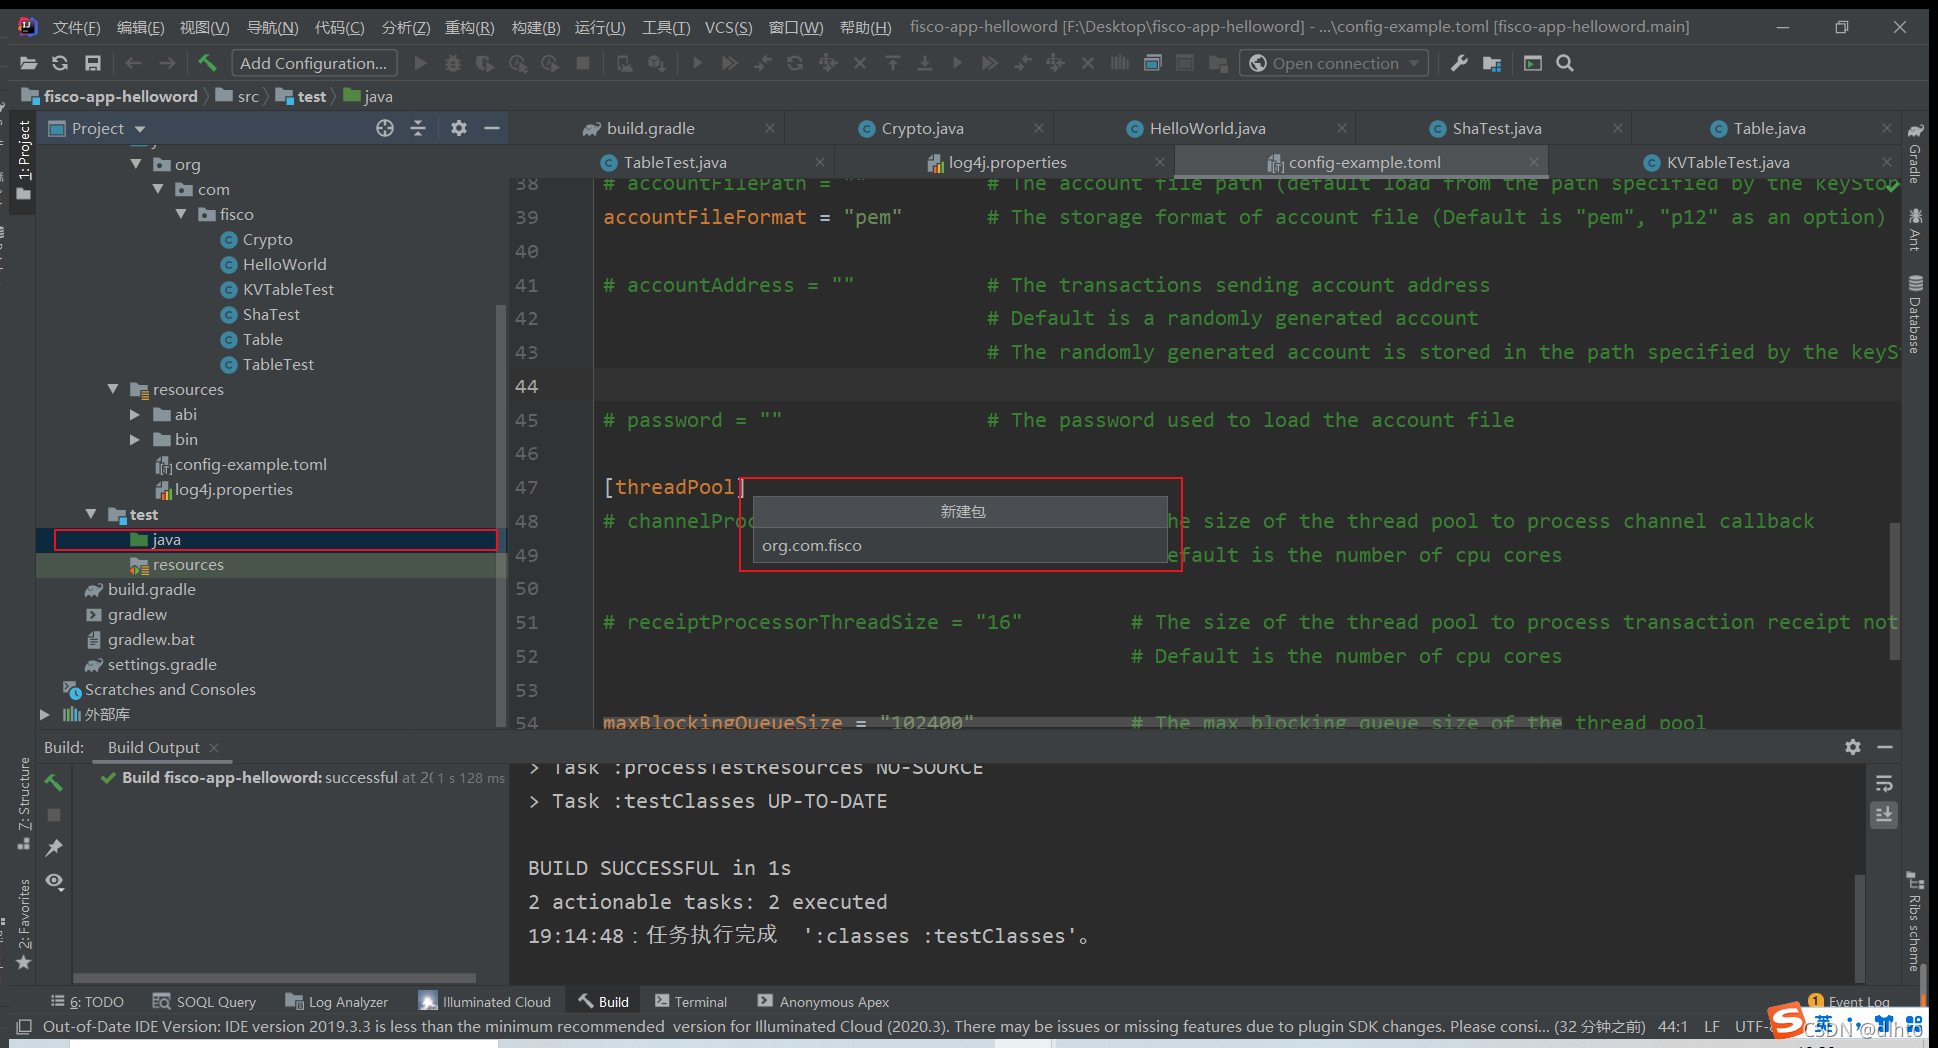
将编译生出的ABI和BIN以及两个配置文件放到resource目录下
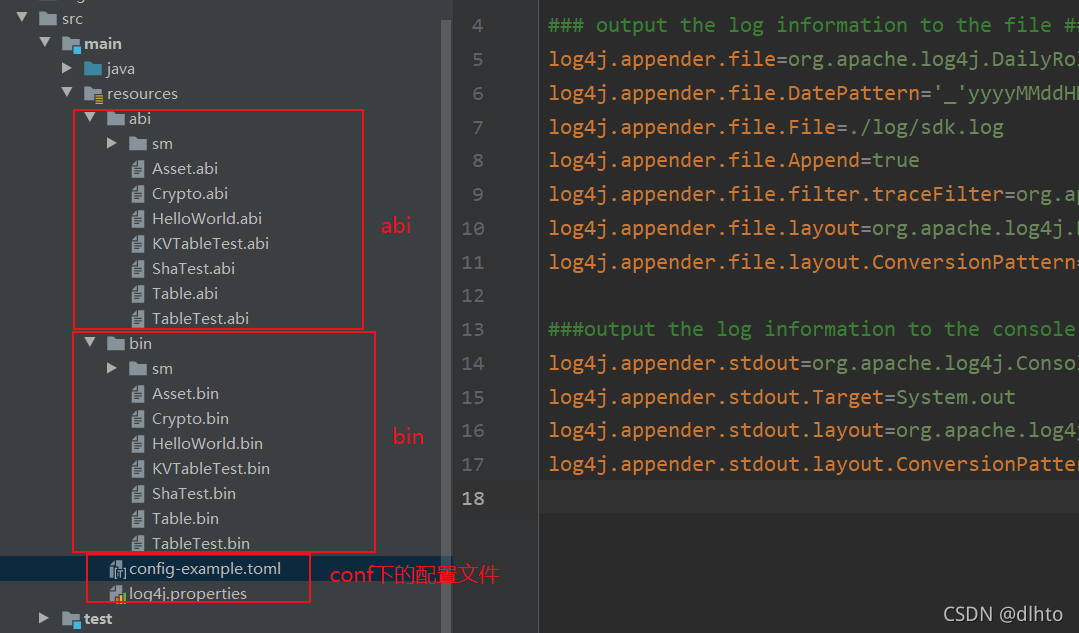
把编译生成的java类,放到新建包(org.com.fisco)下,点击构建项目无报错。

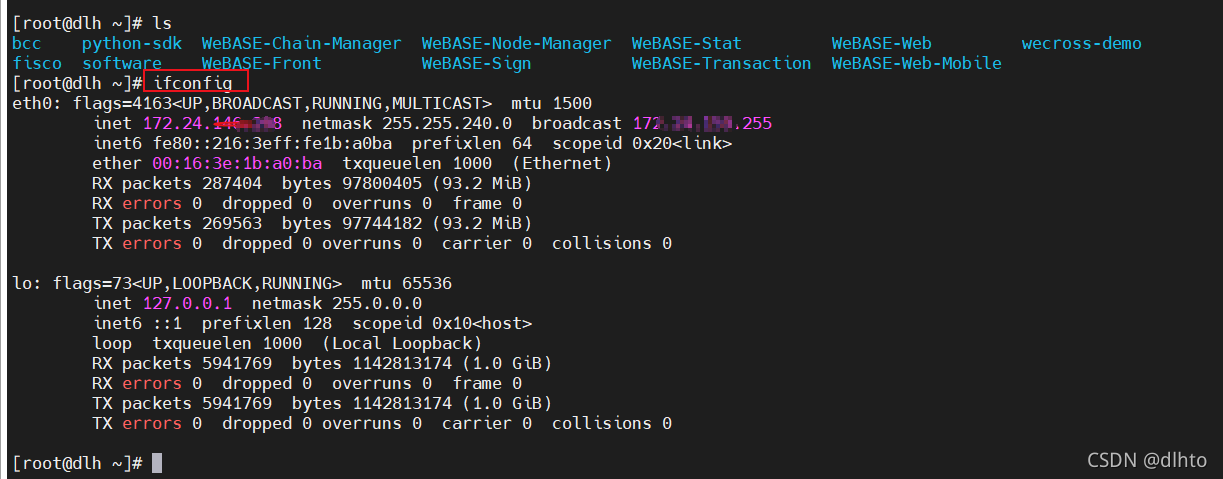
对配置文件进行修改,IDE工具在Windows系统,区块链网络为centos7服务器上。
如果是虚拟机我们用ifconfig查看IP进行配置,服务器就用服务器ip地址

log4j.propertise配置如下:
#
# Copyright 2014-2020  [fisco-dev]
#
# Licensed under the Apache License, Version 2.0 (the "License"); you may not use this file except
# in compliance with the License. You may obtain a copy of the License at
#
# http://www.apache.org/licenses/LICENSE-2.0
#
# Unless required by applicable law or agreed to in writing, software distributed under the License
# is distributed on an "AS IS" BASIS, WITHOUT WARRANTIES OR CONDITIONS OF ANY KIND, either express
# or implied. See the License for the specific language governing permissions and limitations under
# the License.
#
#

### set log levels ###
log4j.rootLogger=DEBUG, file

### output the log information to the file ###
log4j.appender.file=org.apache.log4j.DailyRollingFileAppender
log4j.appender.file.DatePattern='_'yyyyMMddHH'.log'
log4j.appender.file.File=./log/console.log
log4j.appender.file.Append=true
log4j.appender.file.filter.traceFilter=org.apache.log4j.varia.LevelRangeFilter
log4j.appender.file.layout=org.apache.log4j.PatternLayout
log4j.appender.file.layout.ConversionPattern=[%p] [%-d{yyyy-MM-dd HH:mm:ss}] %C{1}.%M(%L) | %m%n

###output the log information to the console ###
log4j.appender.stdout=org.apache.log4j.ConsoleAppender
log4j.appender.stdout.Target=System.out
log4j.appender.stdout.layout=org.apache.log4j.PatternLayout
log4j.appender.stdout.layout.ConversionPattern=[%p] [%-d{yyyy-MM-dd HH:mm:ss}] %C{1}.%M(%L) | %m%n
config-example.toml文件配置如下:
修改:

[cryptoMaterial]

certPath = "conf"                           # The certification path

# The following configurations take the certPath by default if commented
# caCert = "conf/ca.crt"                    # CA cert file path
                                            # If connect to the GM node, default CA cert path is ${certPath}/gm/gmca.crt

# sslCert = "conf/sdk.crt"                  # SSL cert file path
                                            # If connect to the GM node, the default SDK cert path is ${certPath}/gm/gmsdk.crt

# sslKey = "conf/sdk.key"                   # SSL key file path
                                            # If connect to the GM node, the default SDK privateKey path is ${certPath}/gm/gmsdk.key

# enSslCert = "conf/gm/gmensdk.crt"         # GM encryption cert file path
                                            # default load the GM SSL encryption cert from ${certPath}/gm/gmensdk.crt

# enSslKey = "conf/gm/gmensdk.key"          # GM ssl cert file path
                                            # default load the GM SSL encryption privateKey from ${certPath}/gm/gmensdk.key

[network]
#peers=["127.0.0.1:20200", "127.0.0.1:20201"]    # The peer list to connect
#修改为服务器IP地址
peers=["101.37.116.199:20200", "101.37.116.199:20201"]    # The peer list to connect
# Configure a private topic as a topic message sender.
# [[amop]]
# topicName = "PrivateTopic1"
# publicKeys = [ "conf/amop/consumer_public_key_1.pem" ]    # Public keys of the nodes that you want to send AMOP message of this topic to.

# Configure a private topic as a topic subscriber.
# [[amop]]
# topicName = "PrivateTopic2"
# privateKey = "conf/amop/consumer_private_key.p12"         # Your private key that used to subscriber verification.
# password = "123456"

[account]
keyStoreDir = "account"         # The directory to load/store the account file, default is "account"
# accountFilePath = ""          # The account file path (default load from the path specified by the keyStoreDir)
accountFileFormat = "pem"       # The storage format of account file (Default is "pem", "p12" as an option)

# accountAddress = ""           # The transactions sending account address
                                # Default is a randomly generated account
                                # The randomly generated account is stored in the path specified by the keyStoreDir

# password = ""                 # The password used to load the account file

[threadPool]
# channelProcessorThreadSize = "16"         # The size of the thread pool to process channel callback
                                            # Default is the number of cpu cores

# receiptProcessorThreadSize = "16"         # The size of the thread pool to process transaction receipt notification
                                            # Default is the number of cpu cores

maxBlockingQueueSize = "102400"             # The max blocking queue size of the thread pool
也可以通过xml配置. 使用xml配置进行配置”。
6.使用Java SDK部署和调用智能合约
BcosSDKTest代码如下(示例):
官方示例代码
public class BcosSDKTest {
// 获取配置文件路径
public final String configFile = BcosSDKTest.class.getClassLoader().getResource(“config-example.toml”).getPath();
public void testClient() throws ConfigException {
// 初始化BcosSDK
BcosSDK sdk = BcosSDK.build(configFile);
// 为群组1初始化client
Client client = sdk.getClient(Integer.valueOf(1));
    // 获取群组1的块高
    BlockNumber blockNumber = client.getBlockNumber();

    // 向群组1部署HelloWorld合约
    CryptoKeyPair cryptoKeyPair = client.getCryptoSuite().getCryptoKeyPair();
    HelloWorld helloWorld = HelloWorld.deploy(client, cryptoKeyPair);

    // 调用HelloWorld合约的get接口
    String getValue = helloWorld.get();

    // 调用HelloWorld合约的set接口
    TransactionReceipt receipt = helloWorld.set("Hello, fisco");
 } }
本运用中代码如下:
package org.com.fisco;
import org.fisco.bcos.sdk.BcosSDK;
import org.fisco.bcos.sdk.client.Client;
import org.fisco.bcos.sdk.client.protocol.response.BcosBlock;
import org.fisco.bcos.sdk.client.protocol.response.BcosTransactionReceipt;
import org.fisco.bcos.sdk.client.protocol.response.BlockNumber;
import org.fisco.bcos.sdk.config.exceptions.ConfigException;
import org.fisco.bcos.sdk.crypto.CryptoSuite;
import org.fisco.bcos.sdk.crypto.keypair.CryptoKeyPair;
import org.fisco.bcos.sdk.model.TransactionReceipt;
import org.fisco.bcos.sdk.transaction.codec.decode.TransactionDecoderInterface;
import org.fisco.bcos.sdk.transaction.codec.decode.TransactionDecoderService;
import org.fisco.bcos.sdk.transaction.model.exception.ContractException;
import org.junit.Test;
public class BcosSDKTest
{
// 获取配置文件路径
public final String configFile = BcosSDKTest.class.getClassLoader().getResource("config-example.toml").getPath();
@Test
public void testClient() throws ConfigException {
// 初始化BcosSDK
BcosSDK sdk = BcosSDK.build(configFile);
// 为群组1初始化client
Client client = sdk.getClient(Integer.valueOf(1));
// 获取群组1的块高
BlockNumber blockNumber = client.getBlockNumber();
// 向群组1部署HelloWorld合约
CryptoKeyPair cryptoKeyPair = client.getCryptoSuite().getCryptoKeyPair();
HelloWorld helloWorld = null;
try {
helloWorld = HelloWorld.deploy(client, cryptoKeyPair);
} catch (ContractException e) {
e.printStackTrace();
}
// 调用HelloWorld合约的get接口
String getValue= null;
try {
getValue = helloWorld.get();
} catch (ContractException e) {
e.printStackTrace();
}
// 调用HelloWorld合约的set接口
TransactionReceipt receipt = helloWorld.set("Hello, fisco");
BcosBlock block = client.getBlockByNumber(blockNumber.getBlockNumber(), false); //得到块的信息
Object o = block.getBlock().getTransactions().get(0).get(); //在块中得到交易哈希
Object b = block.getBlock().getHash();//在块中得到区块哈希
Object c=block.getBlock().getNumber();//当前块高
BcosTransactionReceipt transactionReceipt = client.getTransactionReceipt((String) o); //通过交易哈希得到交易回执
CryptoSuite cryptoSuite = client.getCryptoSuite(); // 获取当前群组对应的密码学接口
// 构造TransactionDecoderService实例,传入是否密钥类型参数。 事务解码器接口
TransactionDecoderInterface decoder = new TransactionDecoderService(cryptoSuite);
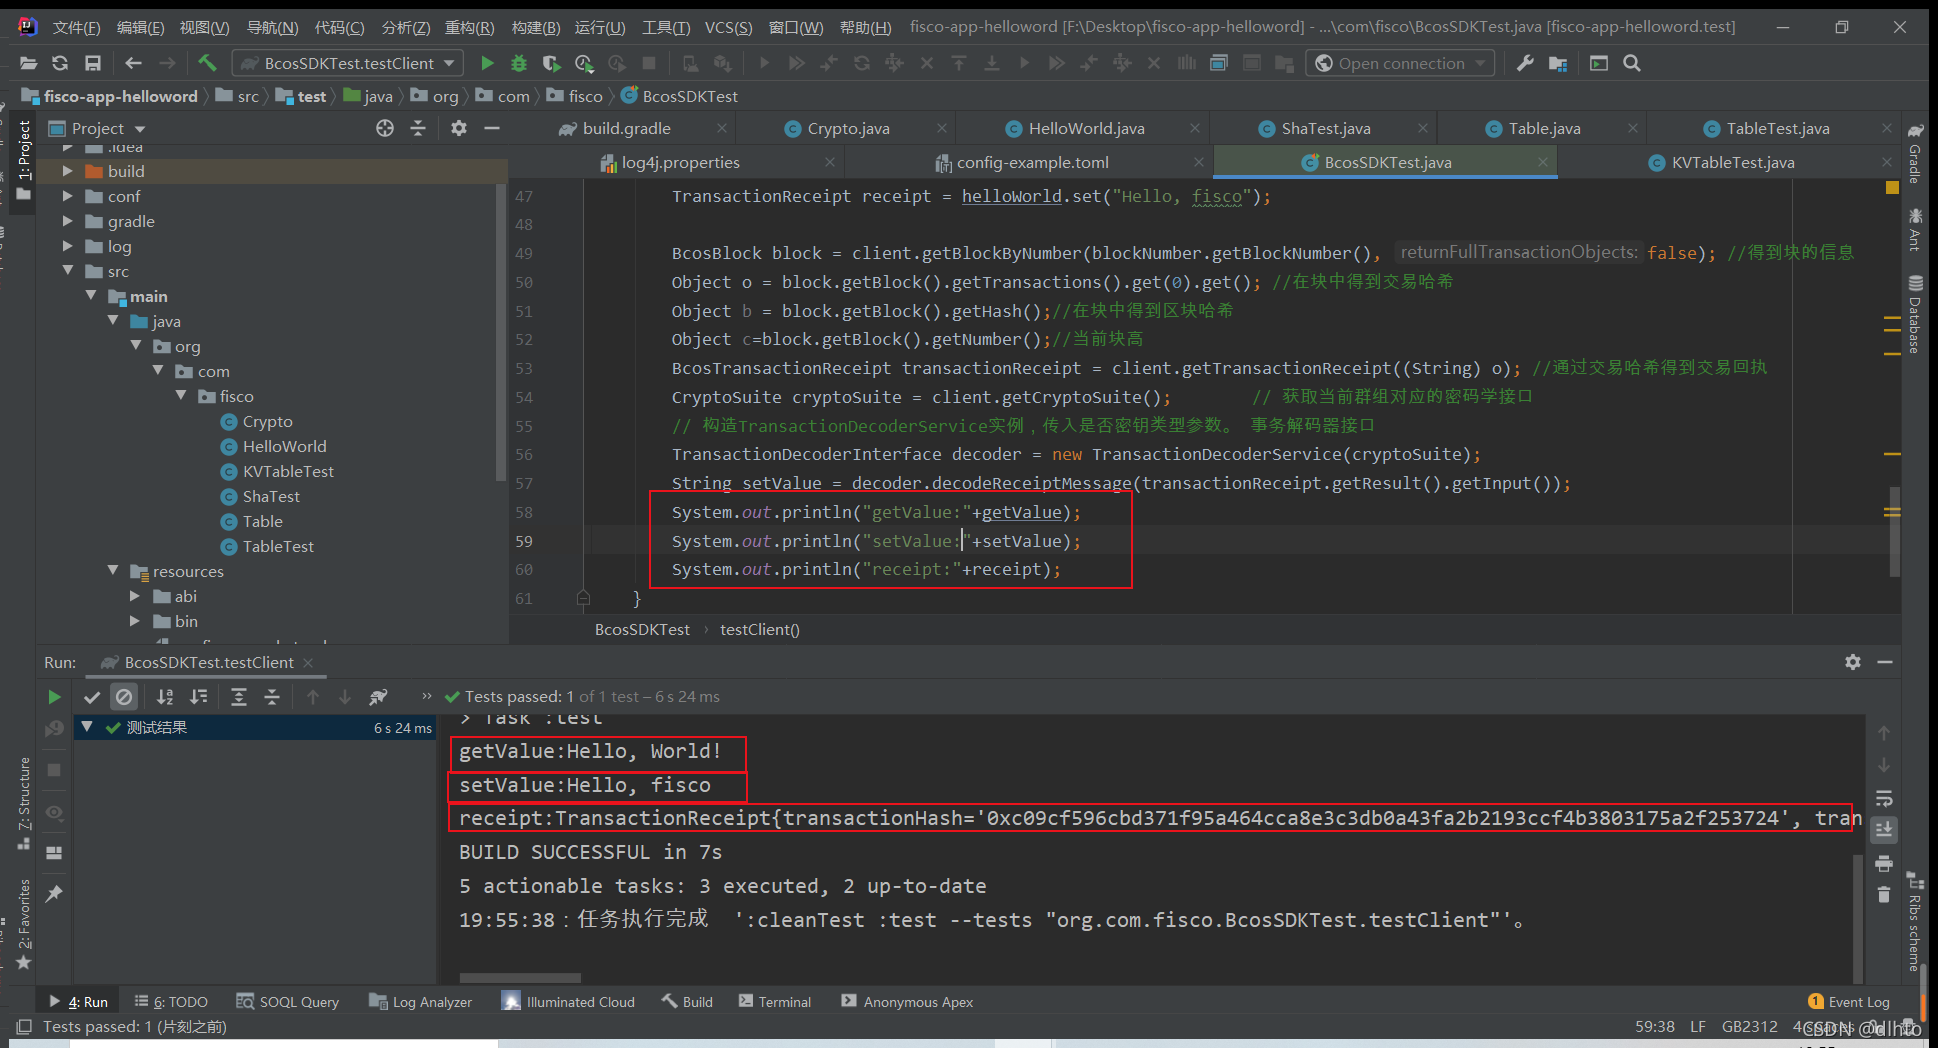
String setValue = decoder.decodeReceiptMessage(transactionReceipt.getResult().getInput());
System.out.println("getValue:"+getValue);
System.out.println("setValue:"+setValue);
System.out.println("receipt:"+receipt);
}
}
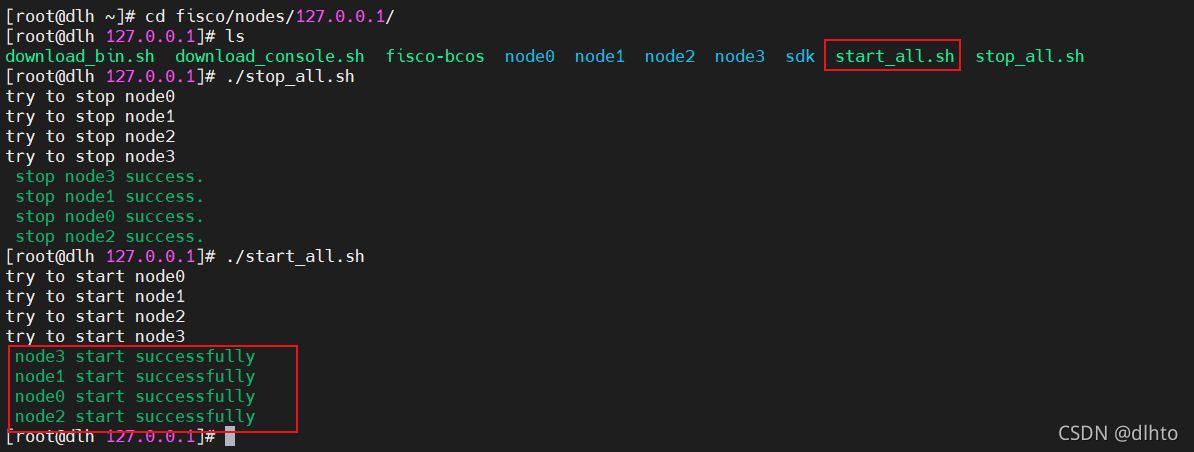
7.运用测试
首先确保我们的区块链网络节点处于运行状态
测试结果:
总结
欢迎交流!