Opencv图像轮廓提取
- 0. 实现结果如下:
- 1. 打开图像代码
- 2. 轮廓提取函数
- 3. 代码实现
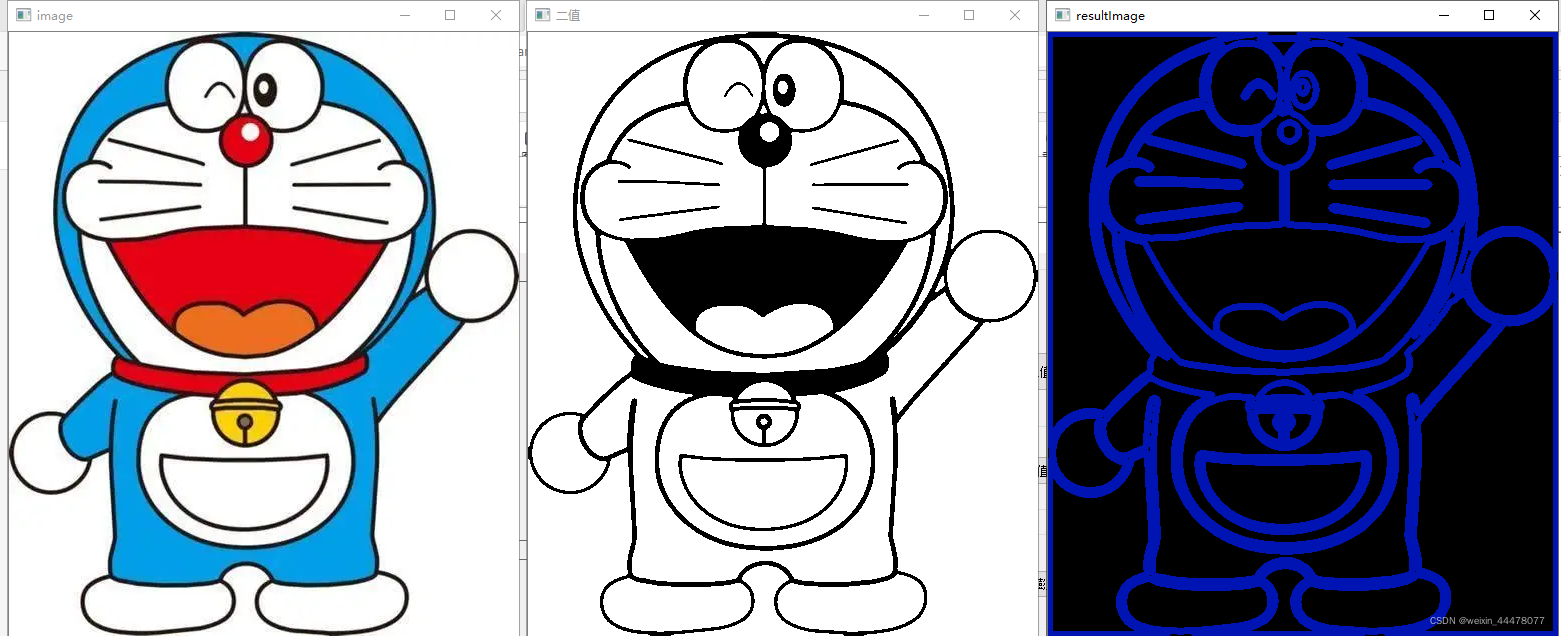
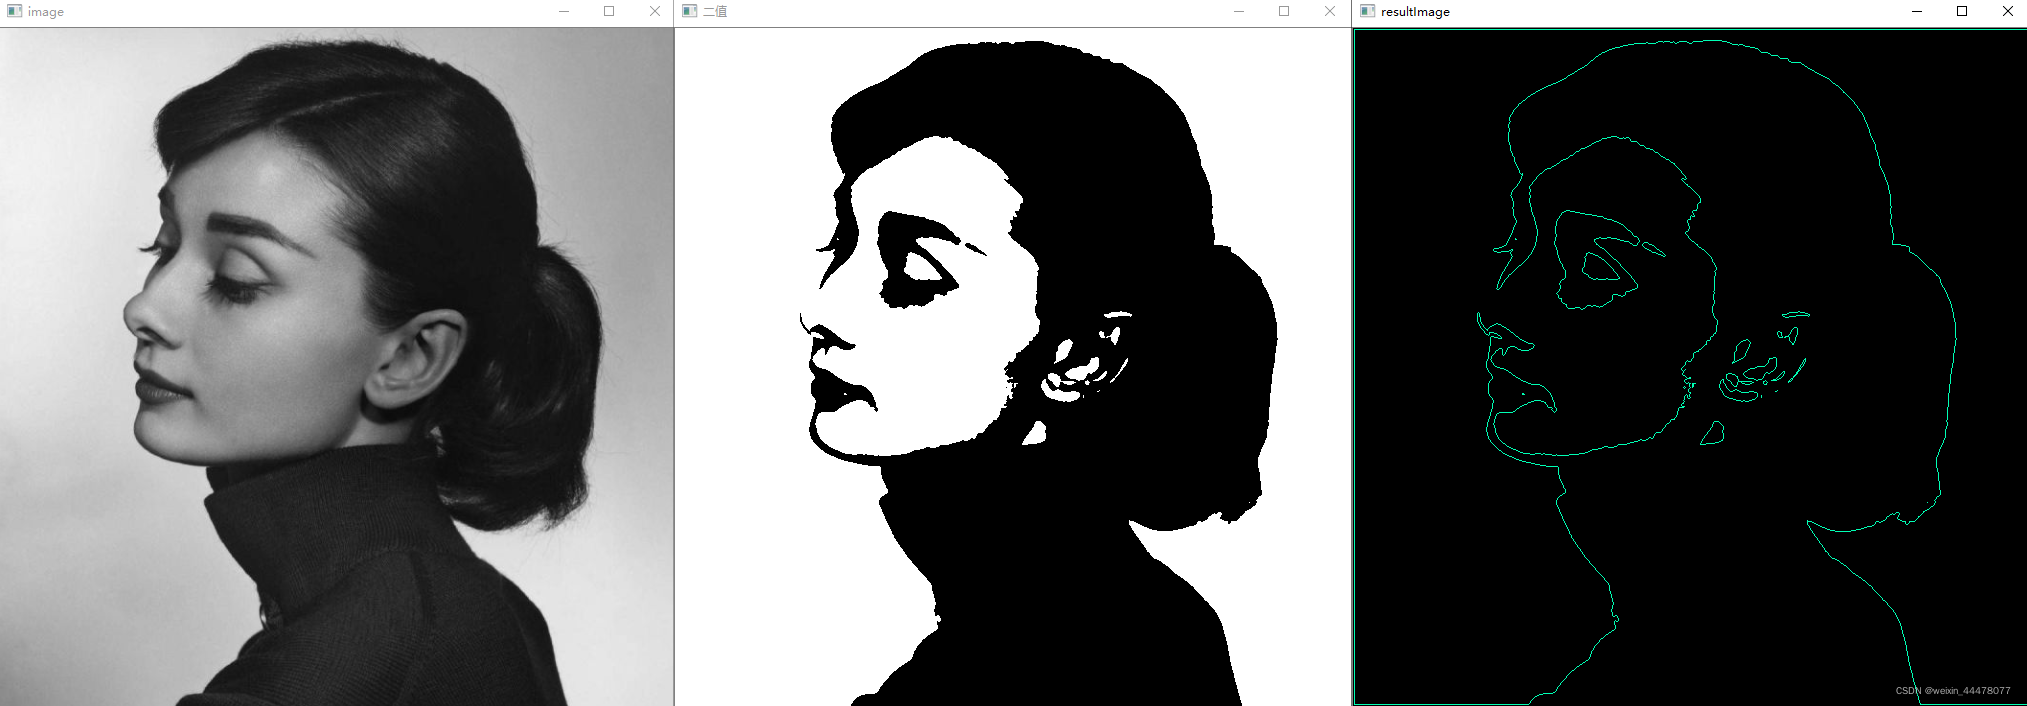
本文主要实现了图像的轮廓提取,首先先给出直观的轮廓实现结果:
0. 实现结果如下:

1. 打开图像代码
注意图片存放路径不能出现中文,不然会报错!
CString defaultDir = _T("请选择路径");
CString fileFilter = _T("文件(*.jpg;*.bmp)|*.jpg;*.bmp|All File (*.*)|*.*||");
CFileDialog fileDlg(true, defaultDir, _T(""), OFN_HIDEREADONLY | OFN_OVERWRITEPROMPT, fileFilter, NULL);
if (fileDlg.DoModal() == IDOK)
{
filePath = fileDlg.GetPathName();
CString filename = fileDlg.GetFileName();
}
char * A = CStringToChar(filePath);
Mat image = imread(A, 1);
imshow("image", image);
2. 轮廓提取函数
寻找轮廓函数:findContours()
void findContours
(
InputOutputArray image,
OutputArrayOfArrays contours,
OutputArray hierarchy,
int mode,
int method,
Point offset = Point()
)
绘制轮廓函数: drawContours()
void drawContours
(
InputOutputArray image,
InputArrayOfArrays contours,
int contourIdx,
const Scalar& color,
int thickness = 1,
int lineType = 8, /绘制轮廓的线的连通性
InputArray hierarchy = noArray(),
int maxLevel = INT_MAX,
Point offset = Point()
)
3. 代码实现
完整的C++与Opencv代码实现如下:
#include "opencv/highgui.h"
#include "opencv/cv.h"
using namespace cv;
void main()
{
CString defaultDir = _T("请选择路径");
CString fileFilter = _T("文件(*.jpg;*.bmp)|*.jpg;*.bmp|All File (*.*)|*.*||");
CFileDialog fileDlg(true, defaultDir, _T(""), OFN_HIDEREADONLY | OFN_OVERWRITEPROMPT, fileFilter, NULL);
if (fileDlg.DoModal() == IDOK)
{
filePath = fileDlg.GetPathName();
CString filename = fileDlg.GetFileName();
}
char * A = CStringToChar(filePath);
Mat image = imread(A, 1);
imshow("image", image);
Mat gray;
cvtColor(image, gray, CV_BGR2GRAY);
GaussianBlur(gray, gray, Size(3, 3), 3, 3);
Mat img;
threshold(gray, img, 100, 255, THRESH_BINARY);
imshow("二值", img);
vector<vector<Point>> contours;
vector<Vec4i> hierarchy;
findContours(img, contours, hierarchy, CV_RETR_CCOMP, CV_CHAIN_APPROX_NONE);
Mat resultImage = Mat::zeros(img.size(), CV_8UC3);
drawContours(resultImage, contours, -1, CV_RGB(0, 20, 180),3);
imshow("resultImage", resultImage);
}
本文内容由网友自发贡献,版权归原作者所有,本站不承担相应法律责任。如您发现有涉嫌抄袭侵权的内容,请联系:hwhale#tublm.com(使用前将#替换为@)