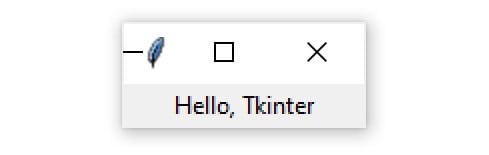
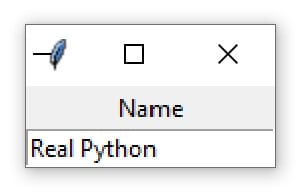
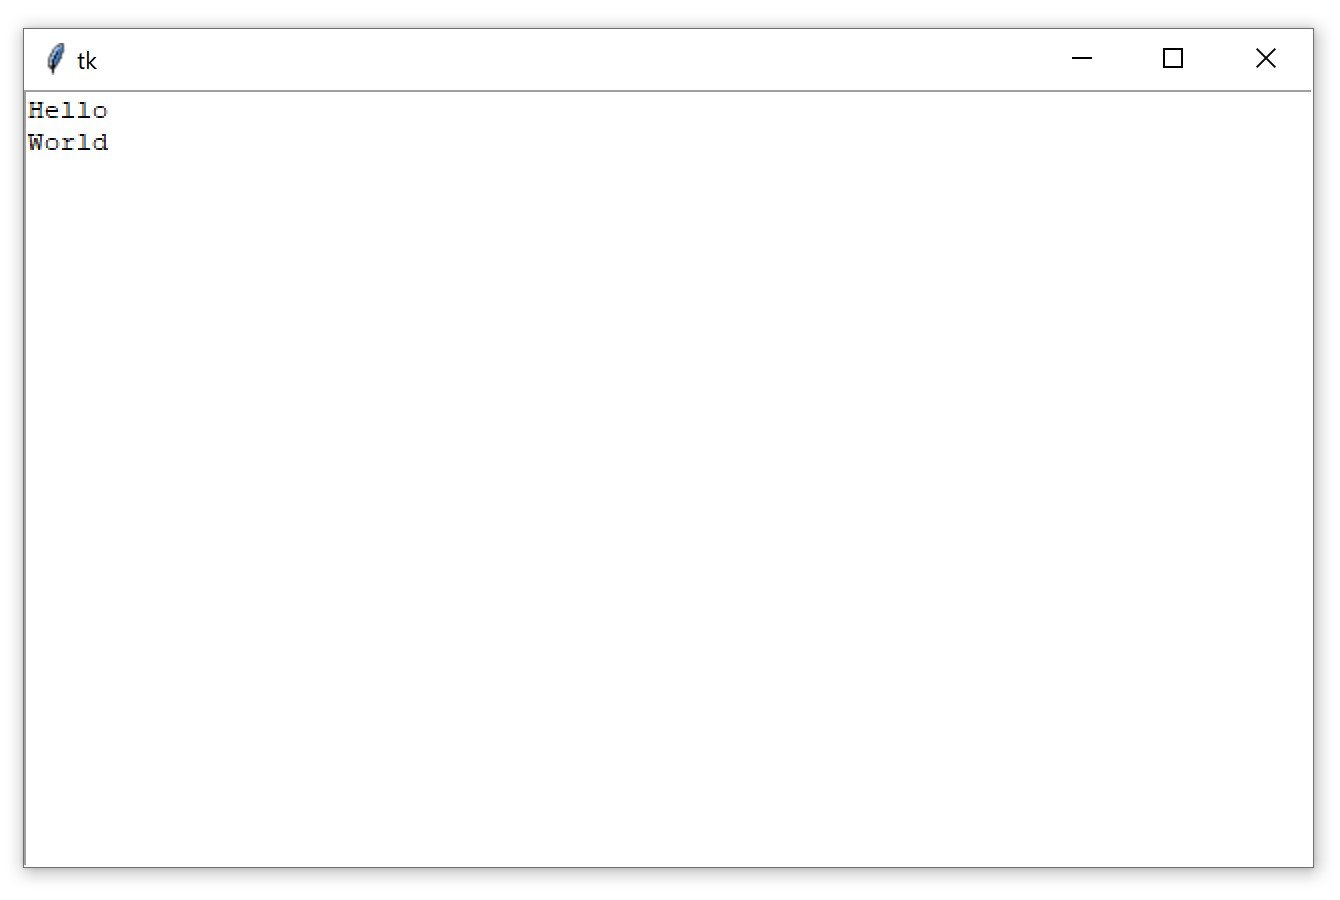
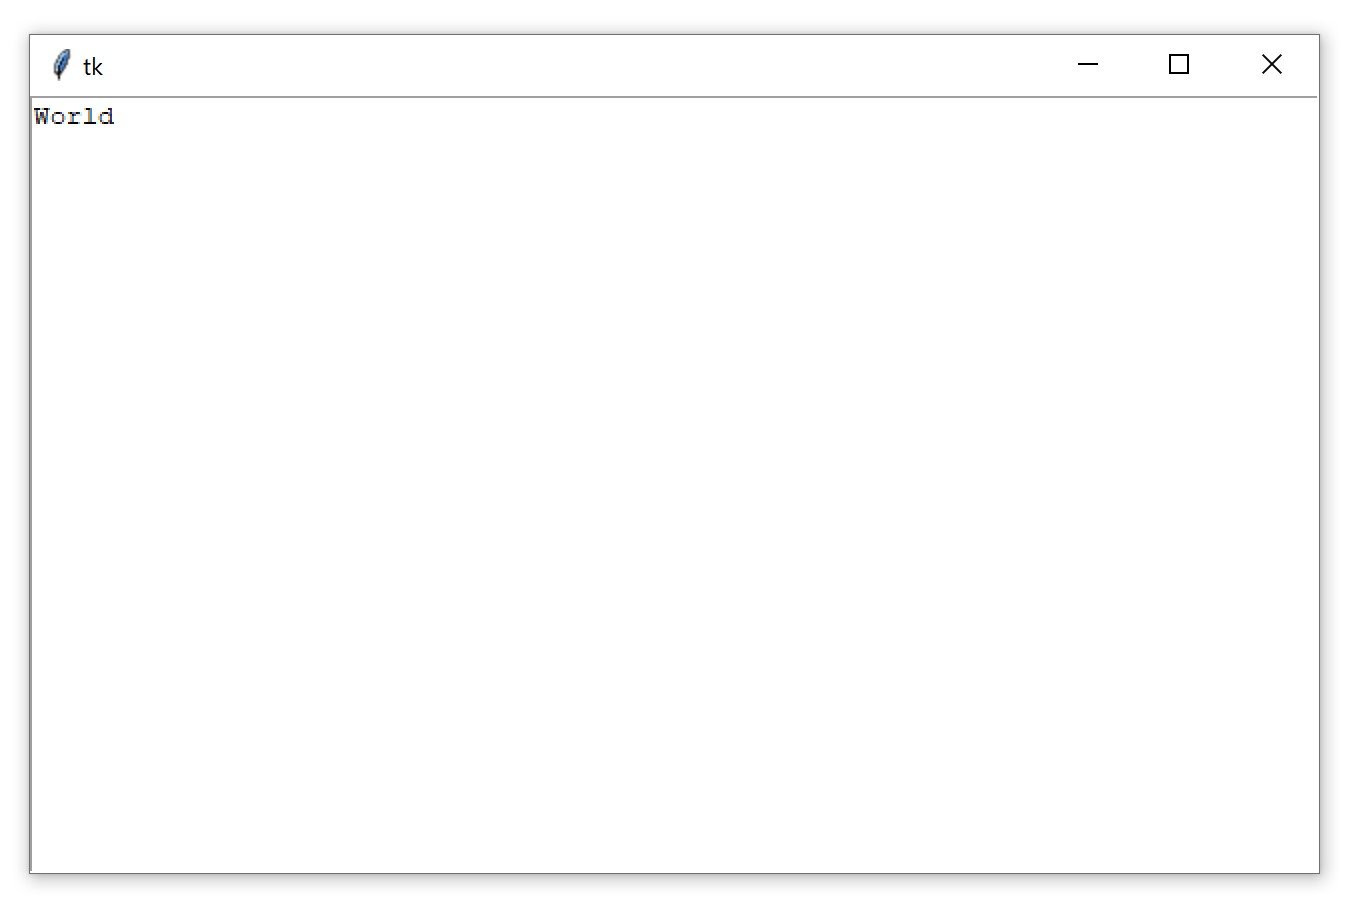
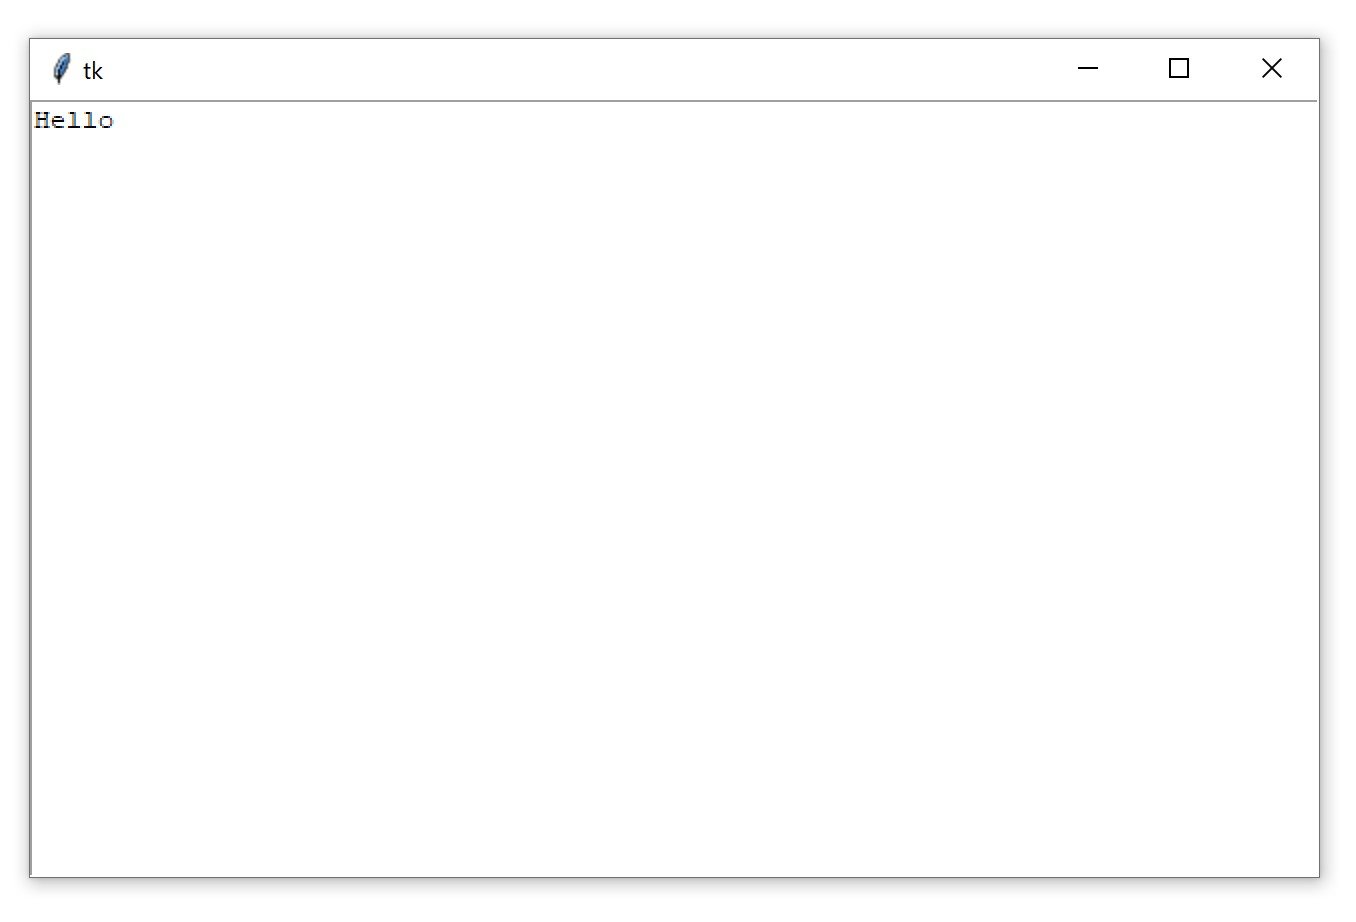
Click anywhere inside the window to activate the text box. Type in the word Hello. Then press Enter and type World on the second line. The window should now look like this:
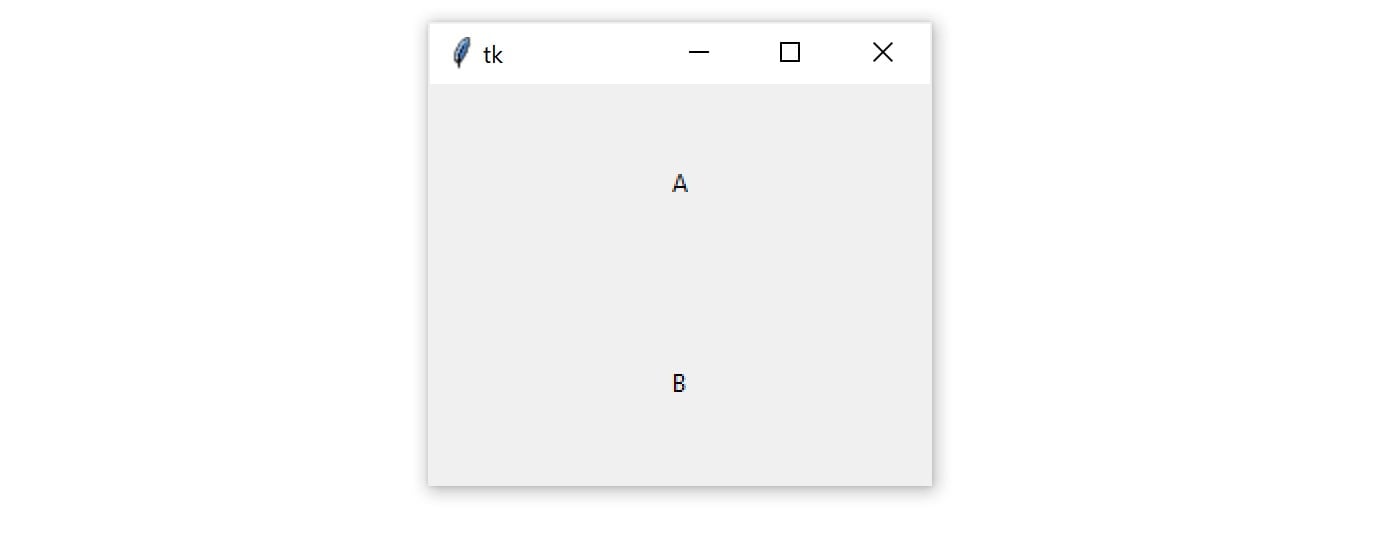
要了解其工作原理,请编写一个脚本来创建两个Frame小部件称为frame_a和frame_b。在这个脚本中,frame_a包含带有文本的标签"I'm in Frame A", 和frame_b包含标签"I'm in Frame B"。这是执行此操作的一种方法:
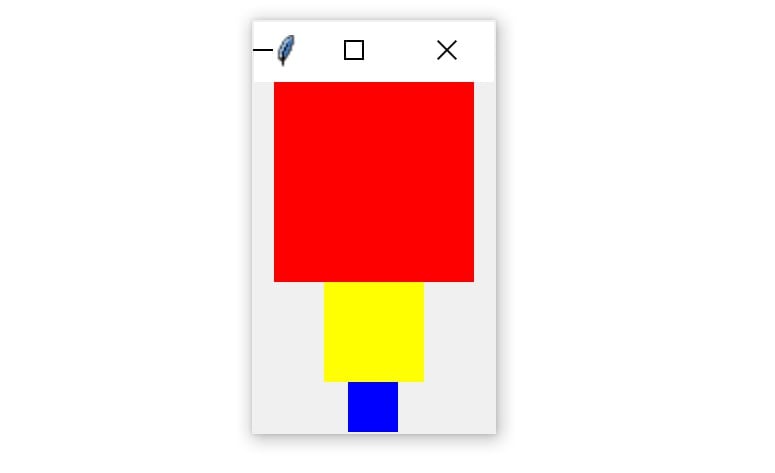
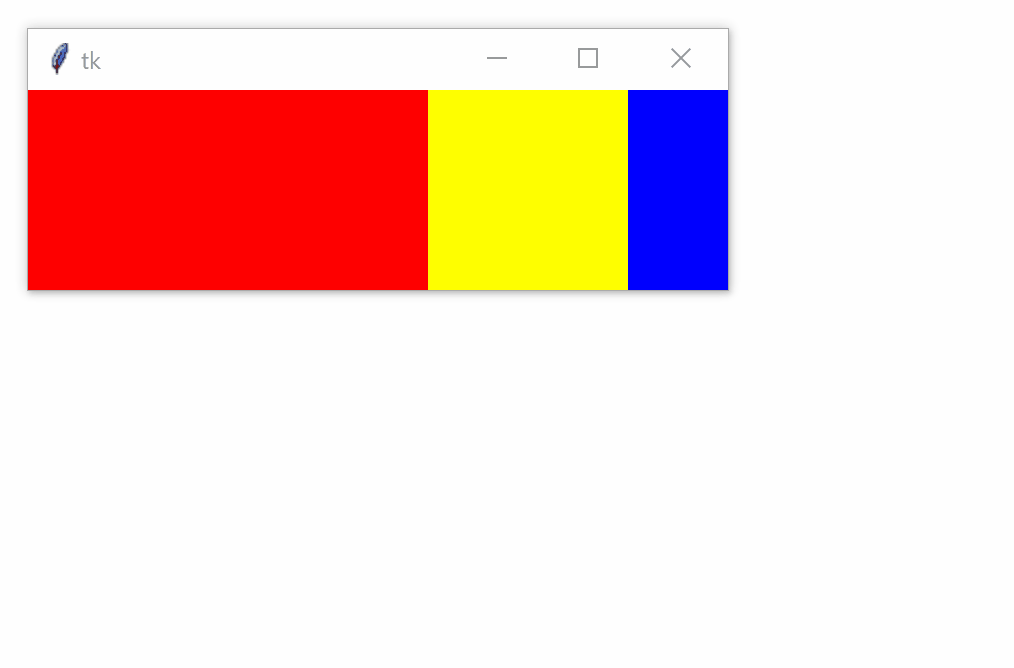
importtkinterastkwindow=tk.Tk()frame_a=tk.Frame()frame_b=tk.Frame()label_a=tk.Label(master=frame_a,text="I'm in Frame A")label_a.pack()label_b=tk.Label(master=frame_b,text="I'm in Frame B")label_b.pack()frame_a.pack()frame_b.pack()window.mainloop()
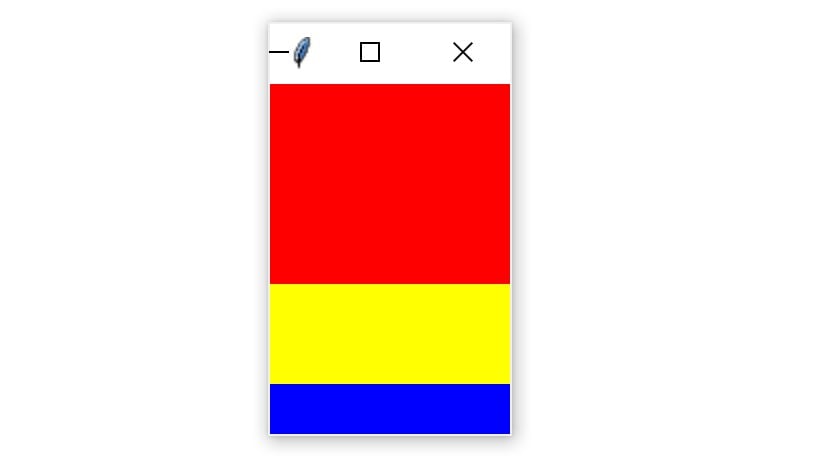
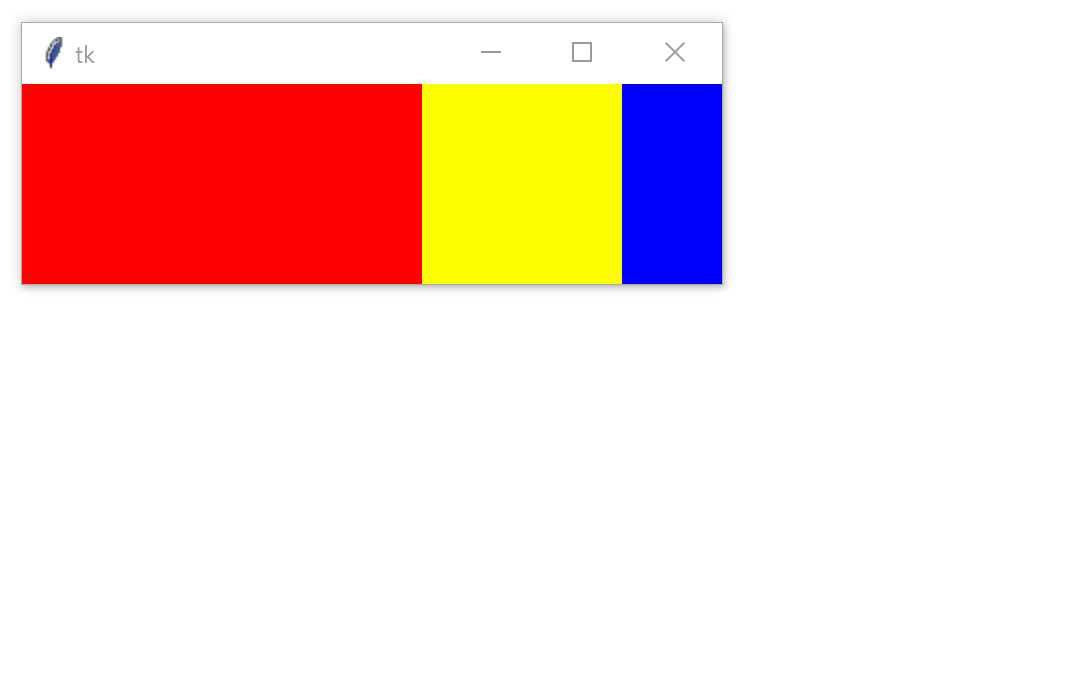
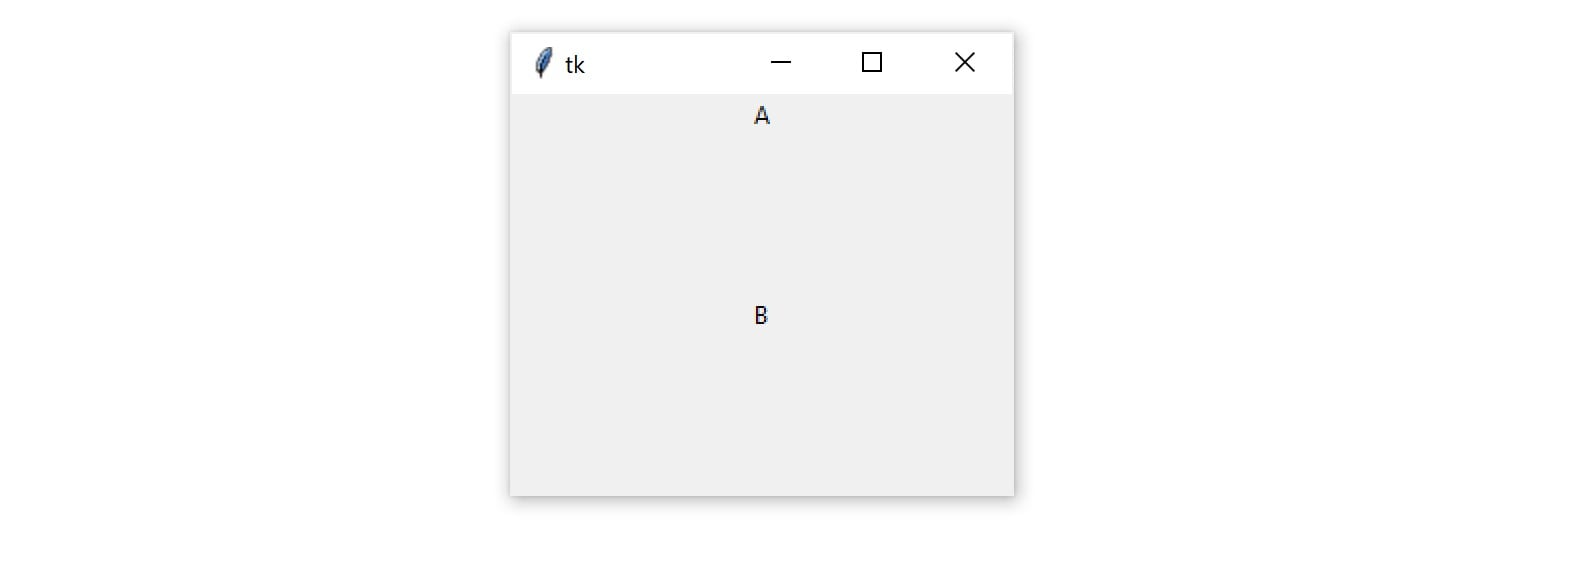
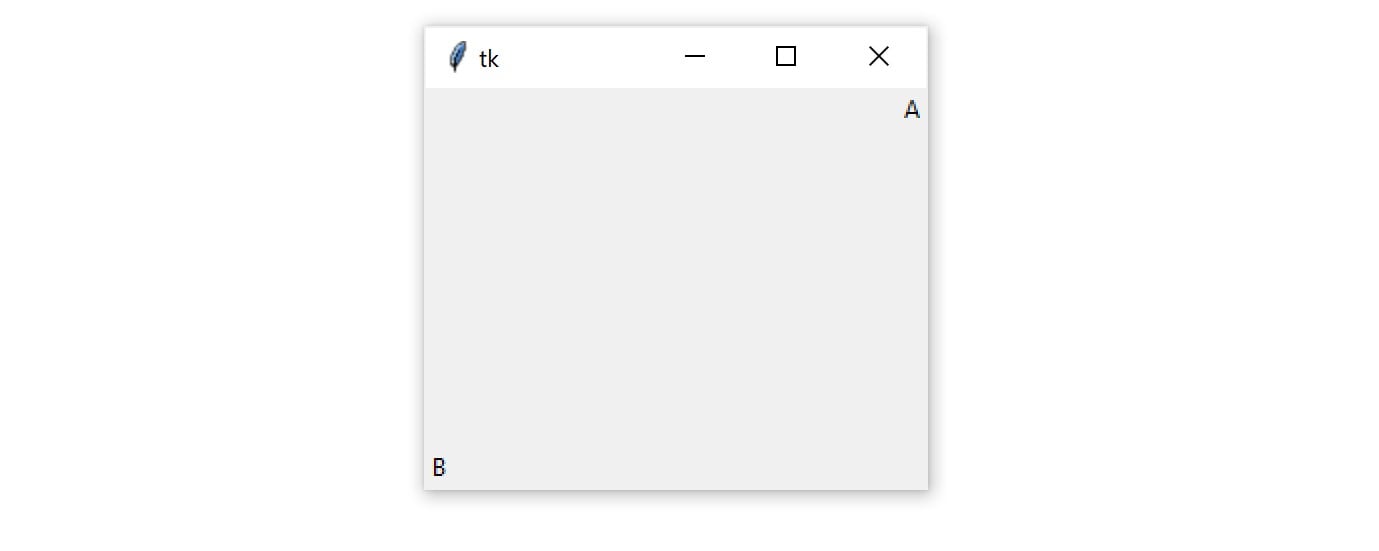
importtkinterastkwindow=tk.Tk()frame_a=tk.Frame()label_a=tk.Label(master=frame_a,text="I'm in Frame A")label_a.pack()frame_b=tk.Frame()label_b=tk.Label(master=frame_b,text="I'm in Frame B")label_b.pack()# Swap the order of `frame_a` and `frame_b`frame_b.pack()frame_a.pack()window.mainloop()
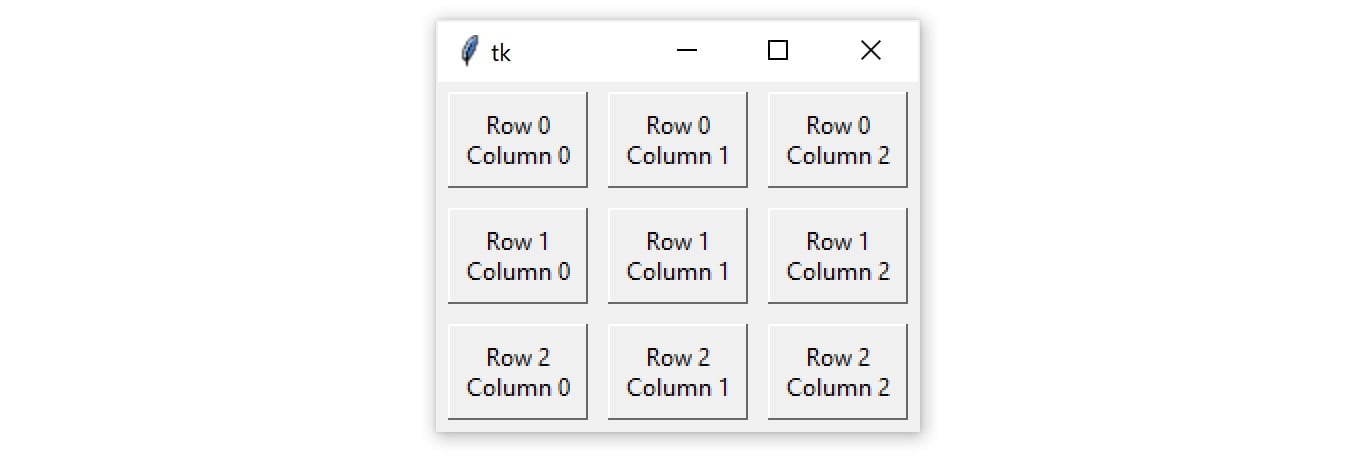
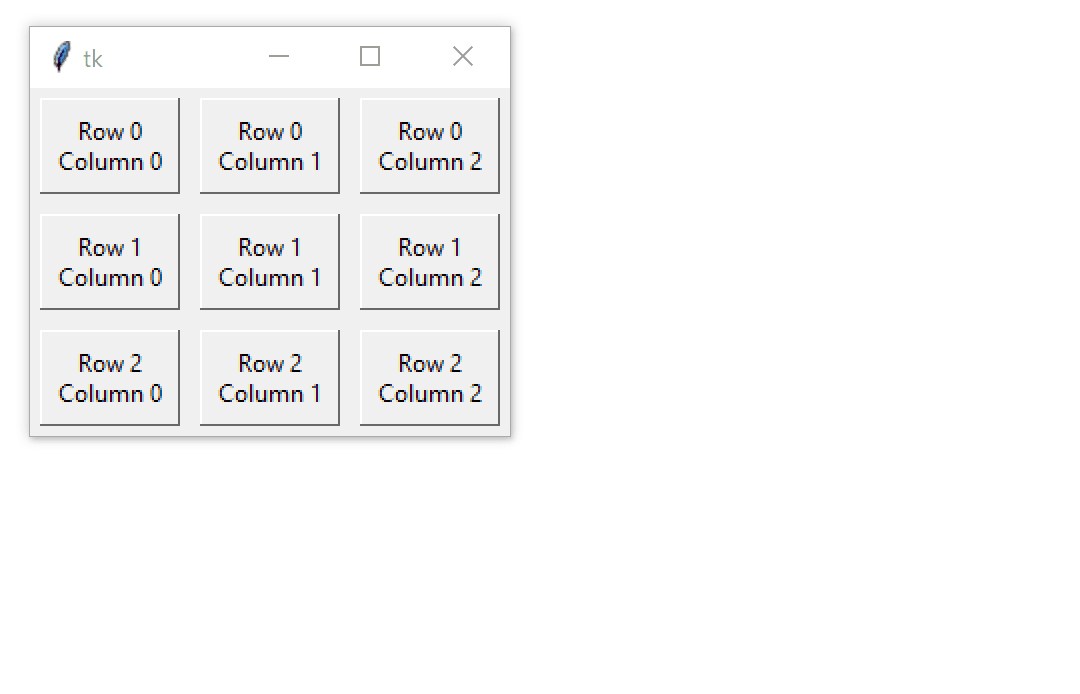
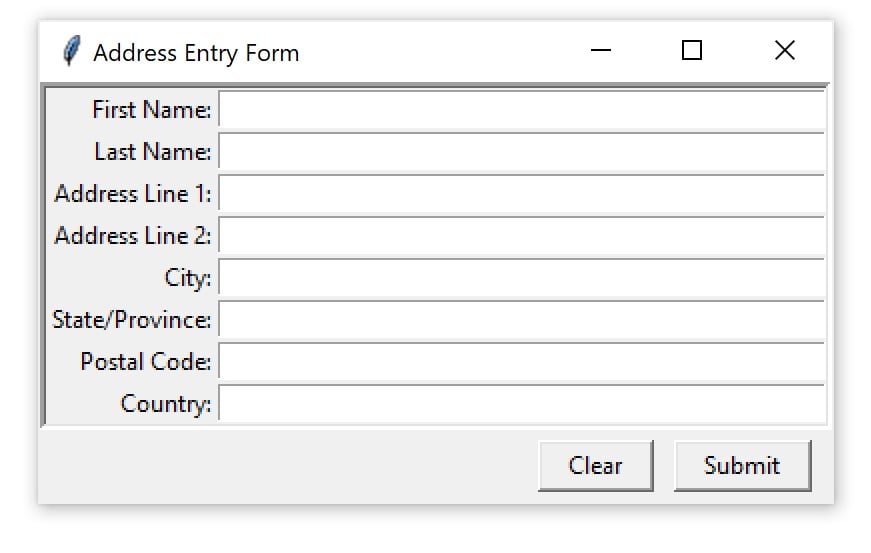
importtkinterastk# Create a new window with the title "Address Entry Form"window=tk.Tk()window.title("Address Entry Form")# Create a new frame `frm_form` to contain the Label# and Entry widgets for entering address informationfrm_form=tk.Frame(relief=tk.SUNKEN,borderwidth=3)# Pack the frame into the windowfrm_form.pack()# Create the Label and Entry widgets for "First Name"lbl_first_name=tk.Label(master=frm_form,text="First Name:")ent_first_name=tk.Entry(master=frm_form,width=50)# Use the grid geometry manager to place the Label and# Entry widgets in the first and second columns of the# first row of the gridlbl_first_name.grid(row=0,column=0,sticky="e")ent_first_name.grid(row=0,column=1)# Create the Label and Entry widgets for "Last Name"lbl_last_name=tk.Label(master=frm_form,text="Last Name:")ent_last_name=tk.Entry(master=frm_form,width=50)# Place the widgets in the second row of the gridlbl_last_name.grid(row=1,column=0,sticky="e")ent_last_name.grid(row=1,column=1)# Create the Label and Entry widgets for "Address Line 1"lbl_address1=tk.Label(master=frm_form,text="Address Line 1:")ent_address1=tk.Entry(master=frm_form,width=50)# Place the widgets in the third row of the gridlbl_address1.grid(row=2,column=0,sticky="e")ent_address1.grid(row=2,column=1)# Create the Label and Entry widgets for "Address Line 2"lbl_address2=tk.Label(master=frm_form,text="Address Line 2:")ent_address2=tk.Entry(master=frm_form,width=50)# Place the widgets in the fourth row of the gridlbl_address2.grid(row=3,column=0,sticky=tk.E)ent_address2.grid(row=3,column=1)# Create the Label and Entry widgets for "City"lbl_city=tk.Label(master=frm_form,text="City:")ent_city=tk.Entry(master=frm_form,width=50)# Place the widgets in the fifth row of the gridlbl_city.grid(row=4,column=0,sticky=tk.E)ent_city.grid(row=4,column=1)# Create the Label and Entry widgets for "State/Province"lbl_state=tk.Label(master=frm_form,text="State/Province:")ent_state=tk.Entry(master=frm_form,width=50)# Place the widgets in the sixth row of the gridlbl_state.grid(row=5,column=0,sticky=tk.E)ent_state.grid(row=5,column=1)# Create the Label and Entry widgets for "Postal Code"lbl_postal_code=tk.Label(master=frm_form,text="Postal Code:")ent_postal_code=tk.Entry(master=frm_form,width=50)# Place the widgets in the seventh row of the gridlbl_postal_code.grid(row=6,column=0,sticky=tk.E)ent_postal_code.grid(row=6,column=1)# Create the Label and Entry widgets for "Country"lbl_country=tk.Label(master=frm_form,text="Country:")ent_country=tk.Entry(master=frm_form,width=50)# Place the widgets in the eight row of the gridlbl_country.grid(row=7,column=0,sticky=tk.E)ent_country.grid(row=7,column=1)# Create a new frame `frm_buttons` to contain the# Submit and Clear buttons. This frame fills the# whole window in the horizontal direction and has# 5 pixels of horizontal and vertical padding.frm_buttons=tk.Frame()frm_buttons.pack(fill=tk.X,ipadx=5,ipady=5)# Create the "Submit" button and pack it to the# right side of `frm_buttons`btn_submit=tk.Button(master=frm_buttons,text="Submit")btn_submit.pack(side=tk.RIGHT,padx=10,ipadx=10)# Create the "Clear" button and pack it to the# right side of `frm_buttons`btn_clear=tk.Button(master=frm_buttons,text="Clear")btn_clear.pack(side=tk.RIGHT,ipadx=10)# Start the applicationwindow.mainloop()
这个解决方案没有任何问题。虽然有点长,但是一切都非常明确。如果你想改变什么,那么很清楚要做什么。
也就是说,通过认识到每个Entry具有相同的宽度,并且每个都需要Label是文本:
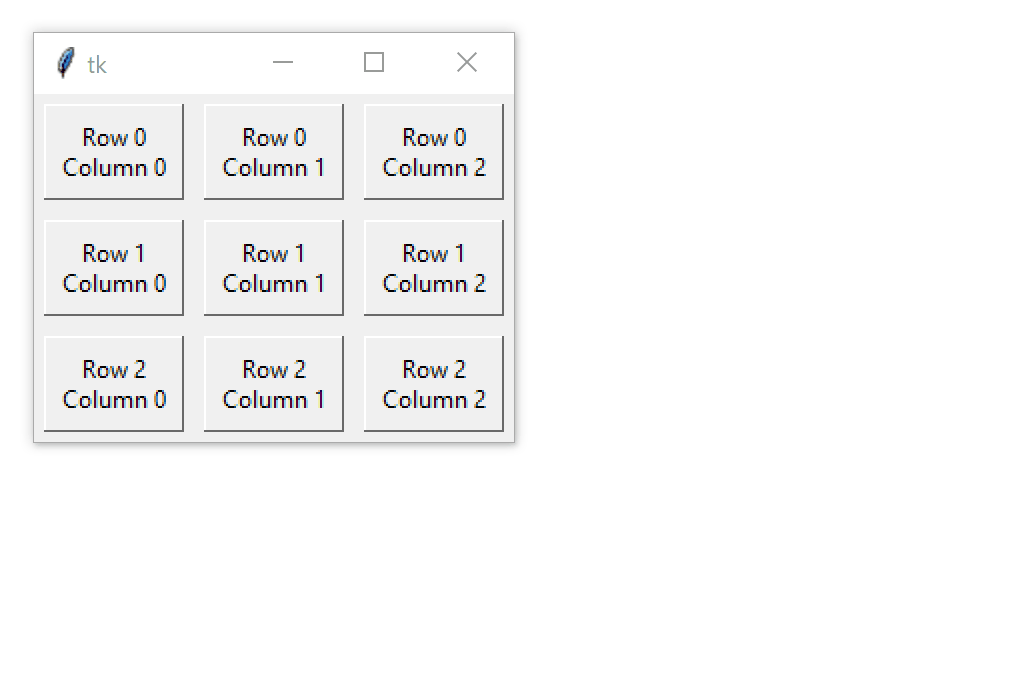
importtkinterastk# Create a new window with the title "Address Entry Form"window=tk.Tk()window.title("Address Entry Form")# Create a new frame `frm_form` to contain the Label# and Entry widgets for entering address informationfrm_form=tk.Frame(relief=tk.SUNKEN,borderwidth=3)# Pack the frame into the windowfrm_form.pack()# List of field labelslabels=["First Name:","Last Name:","Address Line 1:","Address Line 2:","City:","State/Province:","Postal Code:","Country:",]# Loop over the list of field labelsforidx,textinenumerate(labels):# Create a Label widget with the text from the labels listlabel=tk.Label(master=frm_form,text=text)# Create an Entry widgetentry=tk.Entry(master=frm_form,width=50)# Use the grid geometry manager to place the Label and# Entry widgets in the row whose index is idxlabel.grid(row=idx,column=0,sticky="e")entry.grid(row=idx,column=1)# Create a new frame `frm_buttons` to contain the# Submit and Clear buttons. This frame fills the# whole window in the horizontal direction and has# 5 pixels of horizontal and vertical padding.frm_buttons=tk.Frame()frm_buttons.pack(fill=tk.X,ipadx=5,ipady=5)# Create the "Submit" button and pack it to the# right side of `frm_buttons`btn_submit=tk.Button(master=frm_buttons,text="Submit")btn_submit.pack(side=tk.RIGHT,padx=10,ipadx=10)# Create the "Clear" button and pack it to the# right side of `frm_buttons`btn_clear=tk.Button(master=frm_buttons,text="Clear")btn_clear.pack(side=tk.RIGHT,ipadx=10)# Start the applicationwindow.mainloop()
# Assume that this list gets updated automaticallyevents=[]# Run the event loopwhileTrue:# If the event list is empty, then no events have occurred# and you can skip to the next iteration of the loopifevents==[]:continue# If execution reaches this point, then there is at least one# event object in the event listevent=events[0]
events=[]# Create an event handlerdefhandle_keypress(event):"""Print the character associated to the key pressed"""print(event.char)whileTrue:ifevents==[]:continueevent=events[0]# If event is a keypress event objectifevent.type=="keypress":# Call the keypress event handlerhandle_keypress(event)
importtkinterastk# Create a window objectwindow=tk.Tk()# Create an event handlerdefhandle_keypress(event):"""Print the character associated to the key pressed"""print(event.char)# Run the event loopwindow.mainloop()
importtkinterastkwindow=tk.Tk()defhandle_keypress(event):"""Print the character associated to the key pressed"""print(event.char)# Bind keypress event to handle_keypress()window.bind("<Key>",handle_keypress)window.mainloop()
你可以给btn_convert通过将其文本设置为值来实现一点点天赋"\N{RIGHTWARDS BLACK ARROW}",它显示一个指向右侧的黑色箭头。您还要确保lbl_result标签文本后始终带有摄氏度符号 (℃)"\N{DEGREE CELSIUS}"表明结果以摄氏度为单位。最终窗口如下所示:
1importtkinterastk 2 3deffahrenheit_to_celsius(): 4"""Convert the value for Fahrenheit to Celsius and insert the 5 result into lbl_result. 6 """ 7fahrenheit=ent_temperature.get() 8celsius=(5/9)*(float(fahrenheit)-32) 9lbl_result["text"]=f"{round(celsius,2)}\N{DEGREE CELSIUS}"1011# ...
20# ...2122btn_convert=tk.Button(23master=window,24text="\N{RIGHTWARDS BLACK ARROW}",25command=fahrenheit_to_celsius# <--- Add this line26)2728# ...
就是这样!您仅用二十六行代码就创建了一个功能齐全的温度转换器应用程序!很酷,对吧?
您可以展开下面的代码块以查看完整的脚本:
以下是完整的脚本供您参考:
importtkinterastkdeffahrenheit_to_celsius():"""Convert the value for Fahrenheit to Celsius and insert the result into lbl_result. """fahrenheit=ent_temperature.get()celsius=(5/9)*(float(fahrenheit)-32)lbl_result["text"]=f"{round(celsius,2)}\N{DEGREE CELSIUS}"# Set up the windowwindow=tk.Tk()window.title("Temperature Converter")window.resizable(width=False,height=False)# Create the Fahrenheit entry frame with an Entry# widget and label in itfrm_entry=tk.Frame(master=window)ent_temperature=tk.Entry(master=frm_entry,width=10)lbl_temp=tk.Label(master=frm_entry,text="\N{DEGREE FAHRENHEIT}")# Layout the temperature Entry and Label in frm_entry# using the .grid() geometry managerent_temperature.grid(row=0,column=0,sticky="e")lbl_temp.grid(row=0,column=1,sticky="w")# Create the conversion Button and result display Labelbtn_convert=tk.Button(master=window,text="\N{RIGHTWARDS BLACK ARROW}",command=fahrenheit_to_celsius)lbl_result=tk.Label(master=window,text="\N{DEGREE CELSIUS}")# Set up the layout using the .grid() geometry managerfrm_entry.grid(row=0,column=0,padx=10)btn_convert.grid(row=0,column=1,pady=10)lbl_result.grid(row=0,column=2,padx=10)# Run the applicationwindow.mainloop()
15# ...1617defsave_file():18"""Save the current file as a new file."""19filepath=asksaveasfilename(20defaultextension=".txt",21filetypes=[("Text Files","*.txt"),("All Files","*.*")],22)23ifnotfilepath:24return25withopen(filepath,mode="w",encoding="utf-8")asoutput_file:26text=txt_edit.get("1.0",tk.END)27output_file.write(text)28window.title(f"Simple Text Editor - {filepath}")2930# ...
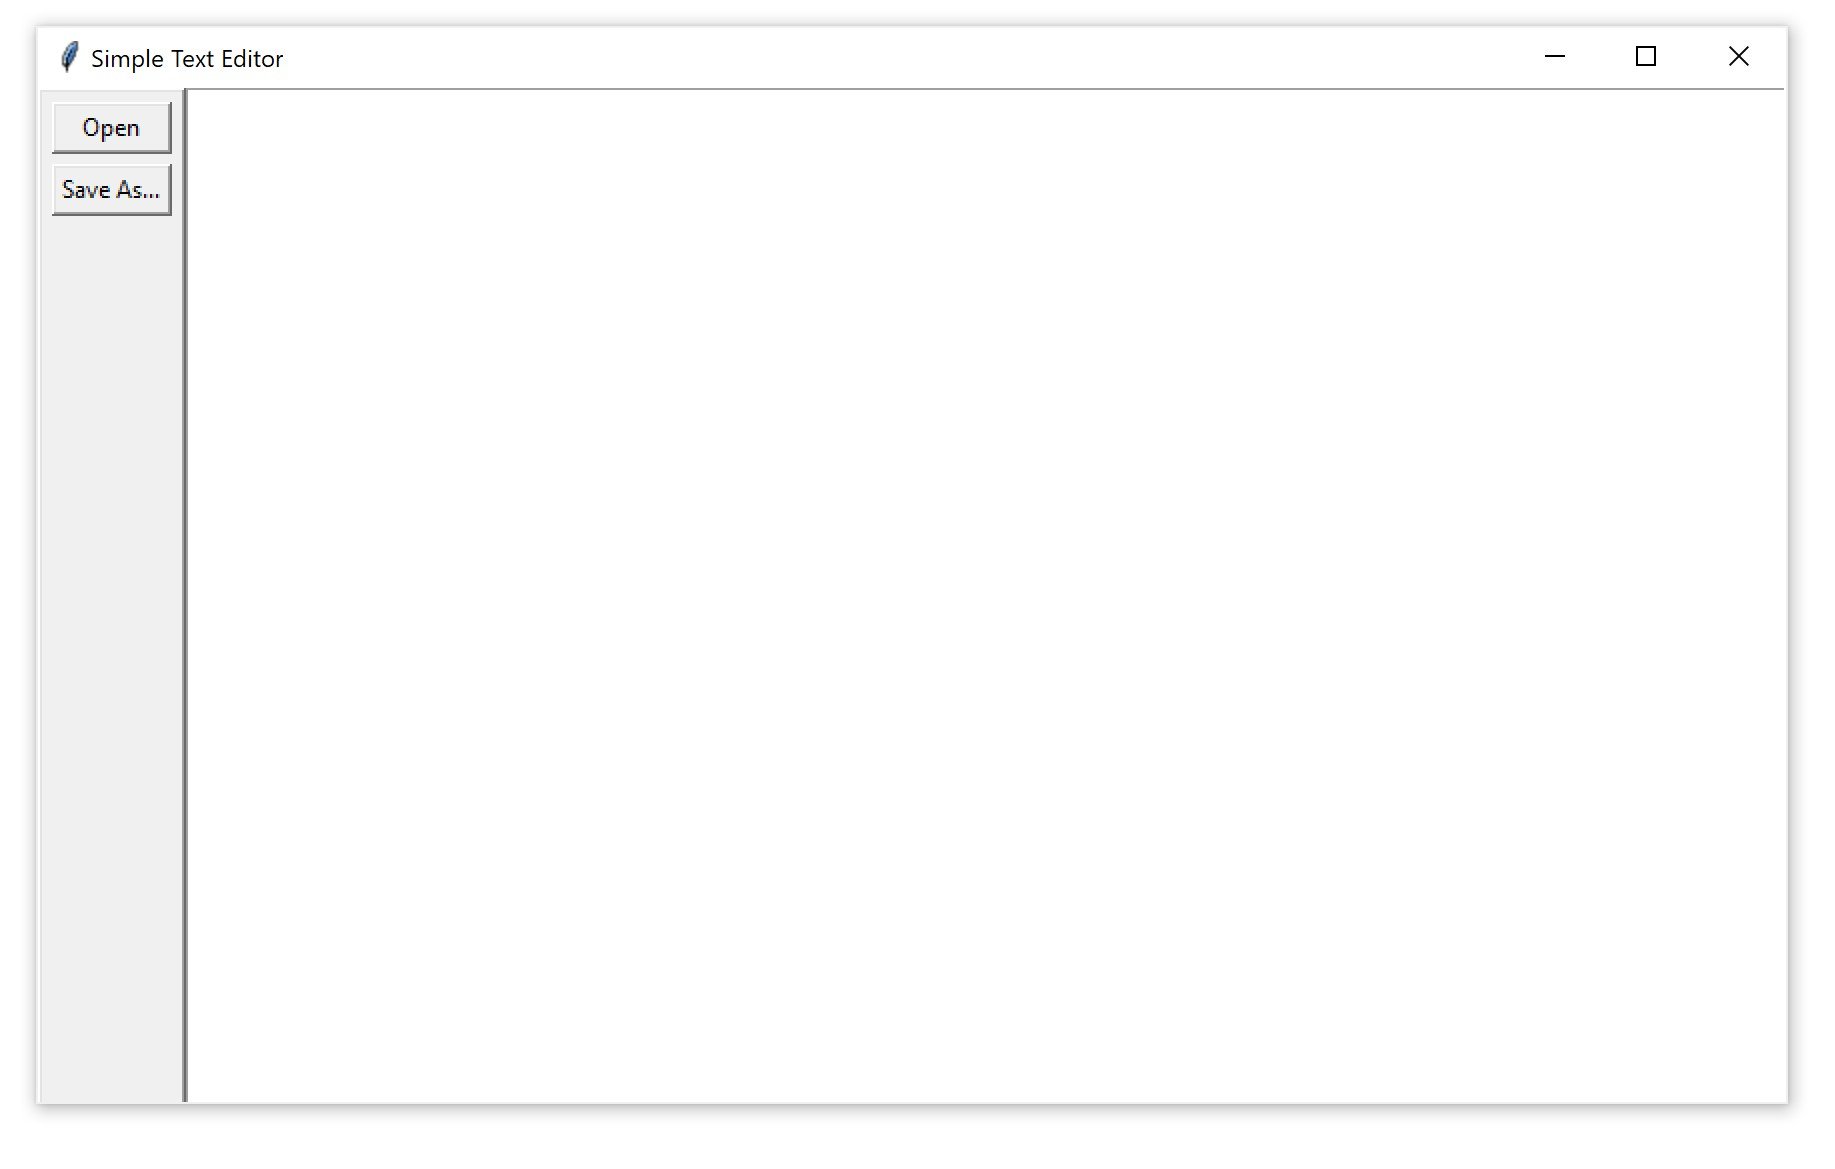
28# ...2930window=tk.Tk()31window.title("Simple Text Editor")3233window.rowconfigure(0,minsize=800,weight=1)34window.columnconfigure(1,minsize=800,weight=1)3536txt_edit=tk.Text(window)37frm_buttons=tk.Frame(window,relief=tk.RAISED,bd=2)38btn_open=tk.Button(frm_buttons,text="Open",command=open_file)39btn_save=tk.Button(frm_buttons,text="Save As...",command=save_file)4041btn_open.grid(row=0,column=0,sticky="ew",padx=5,pady=5)42btn_save.grid(row=1,column=0,sticky="ew",padx=5)4344frm_buttons.grid(row=0,column=0,sticky="ns")45txt_edit.grid(row=0,column=1,sticky="nsew")4647window.mainloop()
保存文件并运行它。您现在已经有了一个最小但功能齐全的文本编辑器!
您可以展开下面的代码块以查看完整的脚本:
以下是完整的脚本供您参考:
importtkinterastkfromtkinter.filedialogimportaskopenfilename,asksaveasfilenamedefopen_file():"""Open a file for editing."""filepath=askopenfilename(filetypes=[("Text Files","*.txt"),("All Files","*.*")])ifnotfilepath:returntxt_edit.delete("1.0",tk.END)withopen(filepath,mode="r",encoding="utf-8")asinput_file:text=input_file.read()txt_edit.insert(tk.END,text)window.title(f"Simple Text Editor - {filepath}")defsave_file():"""Save the current file as a new file."""filepath=asksaveasfilename(defaultextension=".txt",filetypes=[("Text Files","*.txt"),("All Files","*.*")],)ifnotfilepath:returnwithopen(filepath,mode="w",encoding="utf-8")asoutput_file:text=txt_edit.get("1.0",tk.END)output_file.write(text)window.title(f"Simple Text Editor - {filepath}")window=tk.Tk()window.title("Simple Text Editor")window.rowconfigure(0,minsize=800,weight=1)window.columnconfigure(1,minsize=800,weight=1)txt_edit=tk.Text(window)frm_buttons=tk.Frame(window,relief=tk.RAISED,bd=2)btn_open=tk.Button(frm_buttons,text="Open",command=open_file)btn_save=tk.Button(frm_buttons,text="Save As...",command=save_file)btn_open.grid(row=0,column=0,sticky="ew",padx=5,pady=5)btn_save.grid(row=1,column=0,sticky="ew",padx=5)frm_buttons.grid(row=0,column=0,sticky="ns")txt_edit.grid(row=0,column=1,sticky="nsew")window.mainloop()
The TkDocs Tkinter Tutorial is a fairly comprehensive guide for Tk, the underlying code library used by Tkinter. Examples are presented in Python, Ruby, Perl, and Tcl. You can find several examples of widgets beyond those covered here in two sections:
基本小部件涵盖与本教程相同的小部件,以及更多。
更多小部件涵盖了几个额外的小部件。
The official Python docs cover additional widgets: