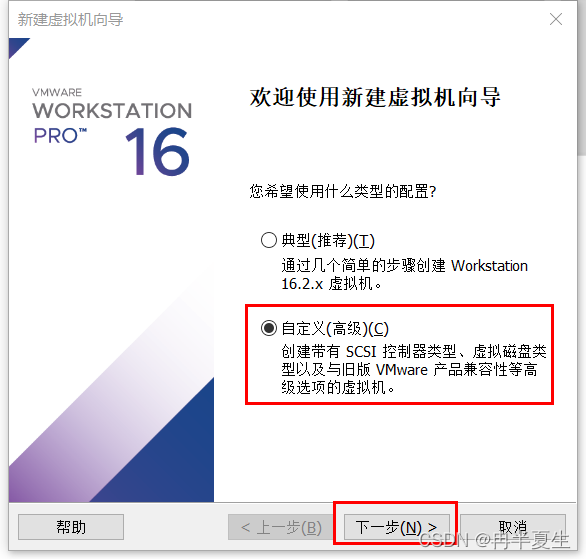
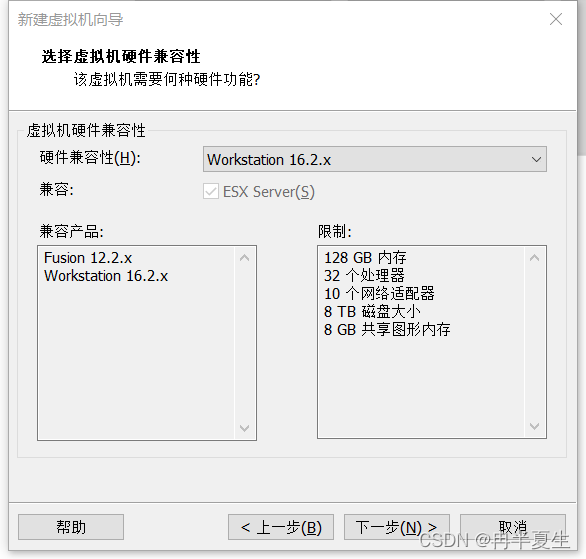
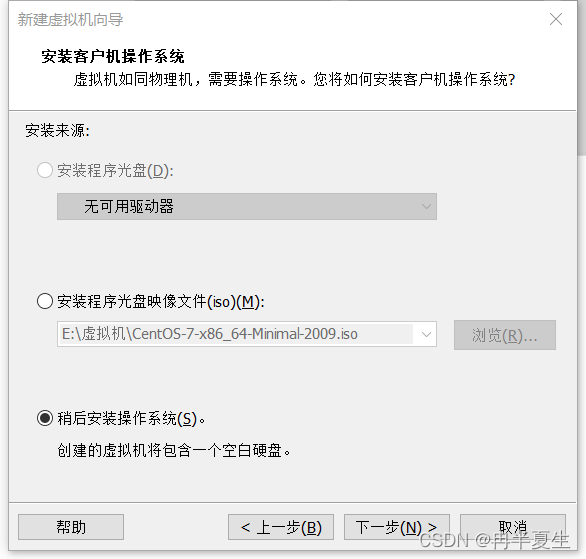
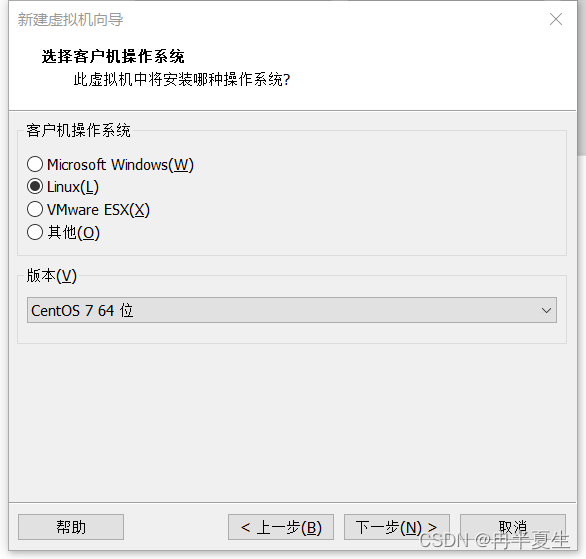
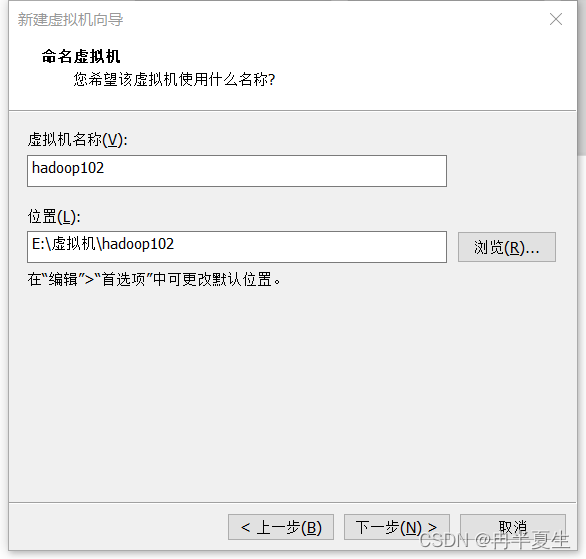
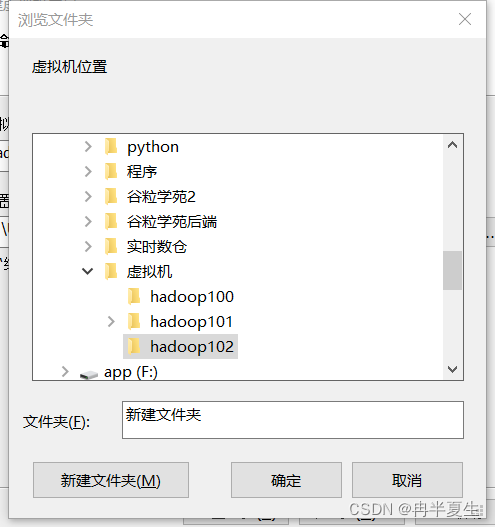
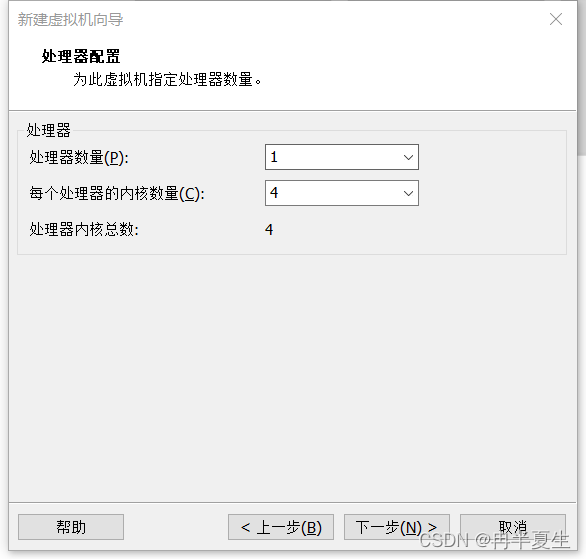
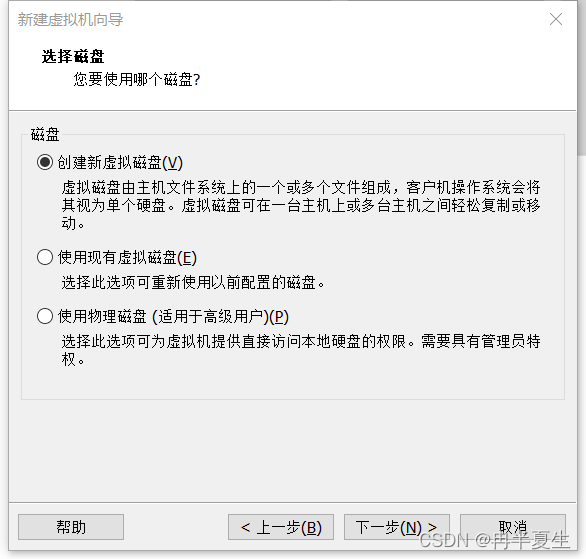
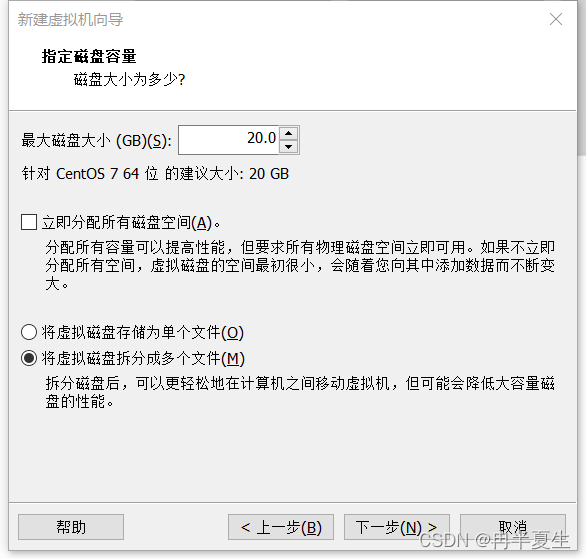
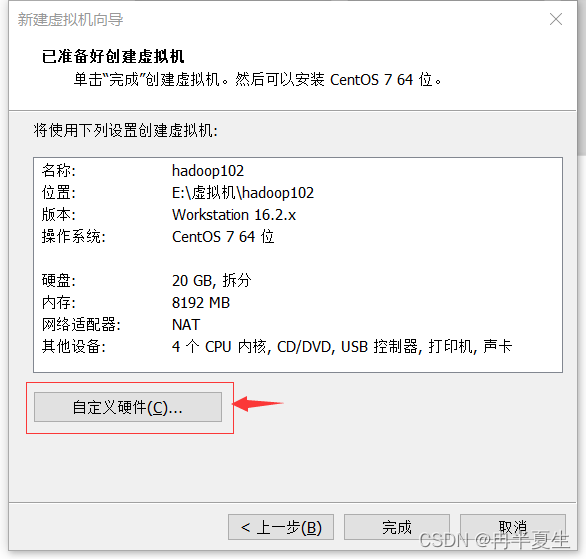
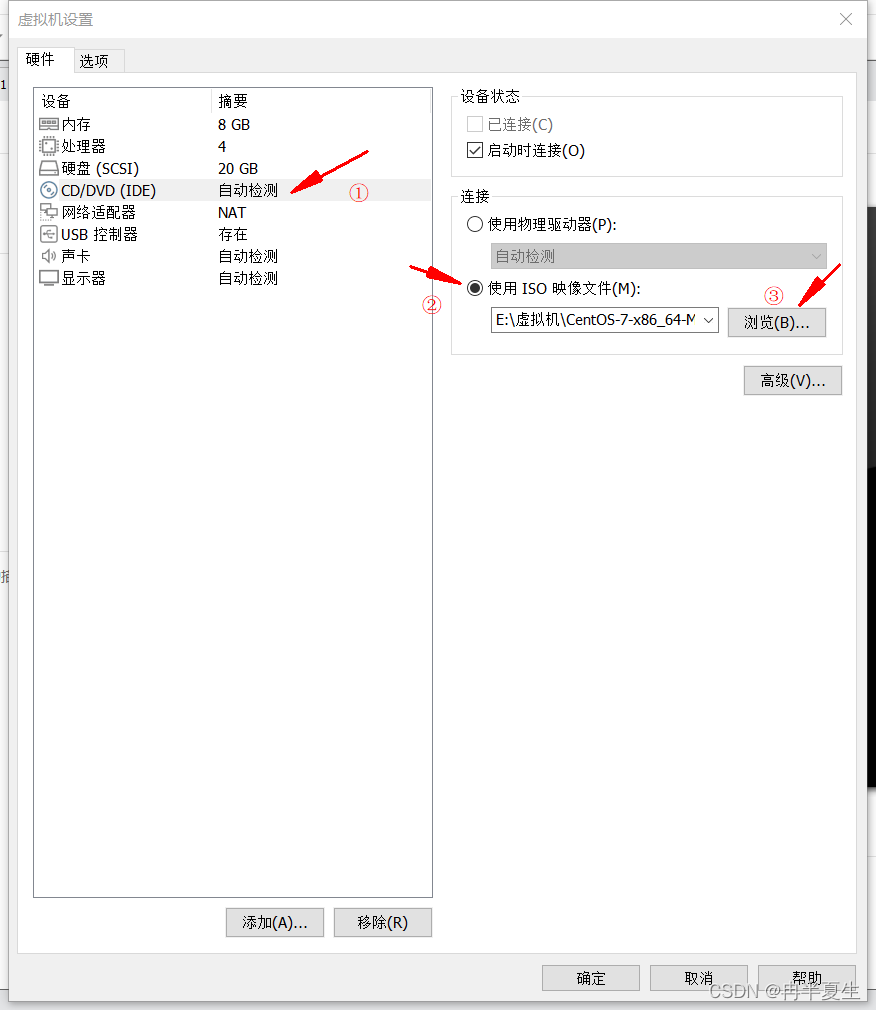
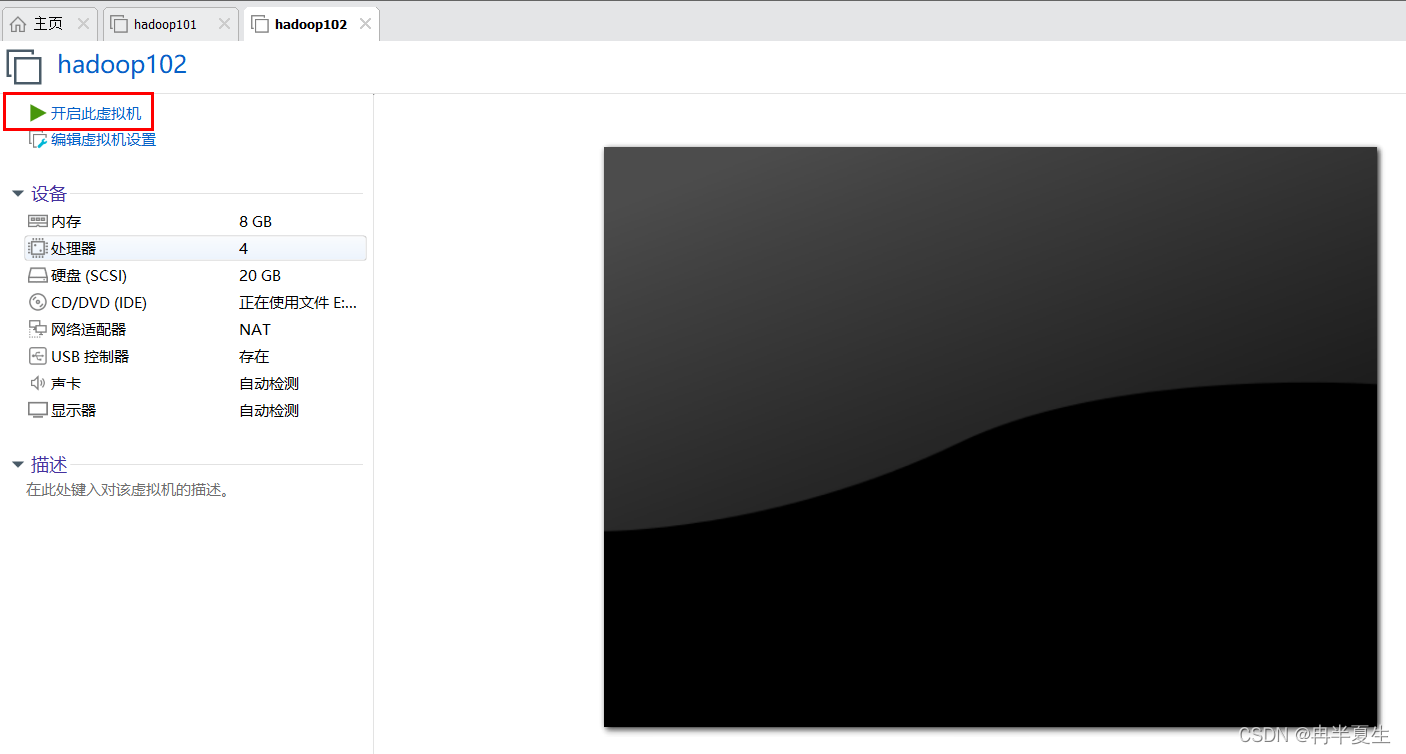
1、打开VMware Workstation,选择创建新的虚拟机 2、选择自定义,然后点击下一步 3、硬件兼容性看你VMware Workstation,尽量选高版本的,一般默认就是高版本的,所以直接点击下一步就行 4、选择稍后安装操作系统,然后点击下一步 5、操作系统肯定是linux,版本选择CentOS 7 64位,然后点击下一步 6、自定义虚拟机名字,我一般会以后面要设置的静态ip的最后4位为标识命名,然后新建一个文件夹,把内容存储到那个位置,千万不要存到c盘。 7、配置处理器数量,根据自己电脑配置来弄,我电脑是12核的 8、配置虚拟机内存,也是根据自己电脑配置来弄,我电脑是32G内存,配置差点的话推荐2G 9、选择NET地址转换,后面要配置静态ip地址 10、默认 11、磁盘容量一般20个G够用了,一定要选择将虚拟磁盘拆分为多个文件,容易移动 12、下一步,然后点击自定义硬件 13、移除打印机,一般用不到还会占内存和启动时间 14、添加ISO镜像文件,添加完成之后点击确定保存配置 15、开启虚拟机
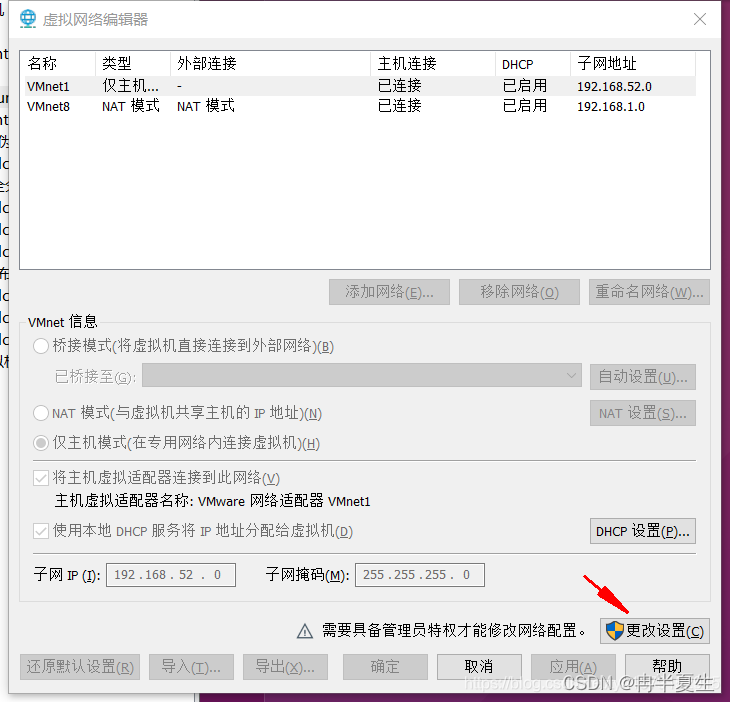
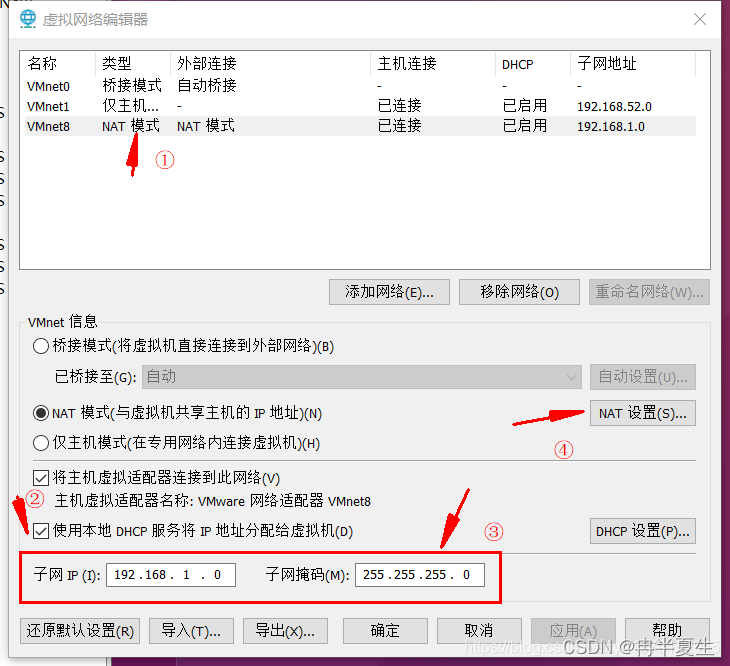
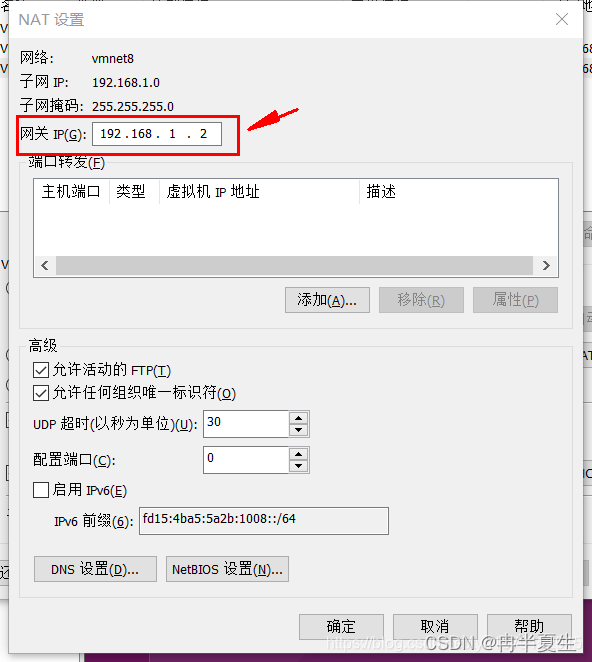
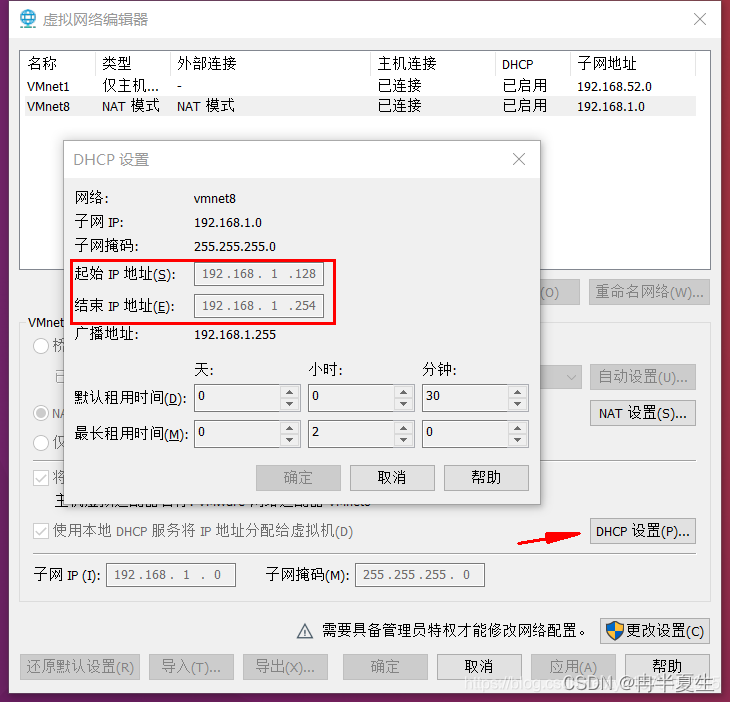
1、选择编辑下的虚拟网络编辑器,点击更改设置 2、进行一些配置 3、进入NET设置,修改网关 4、可以在DHCP中查看自己虚拟机可用的ip地址
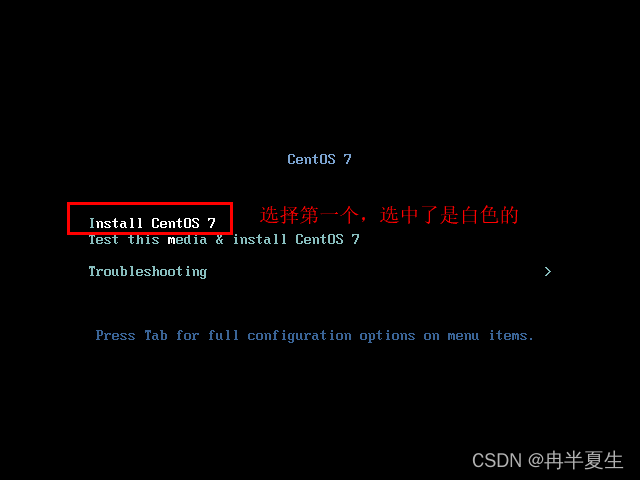
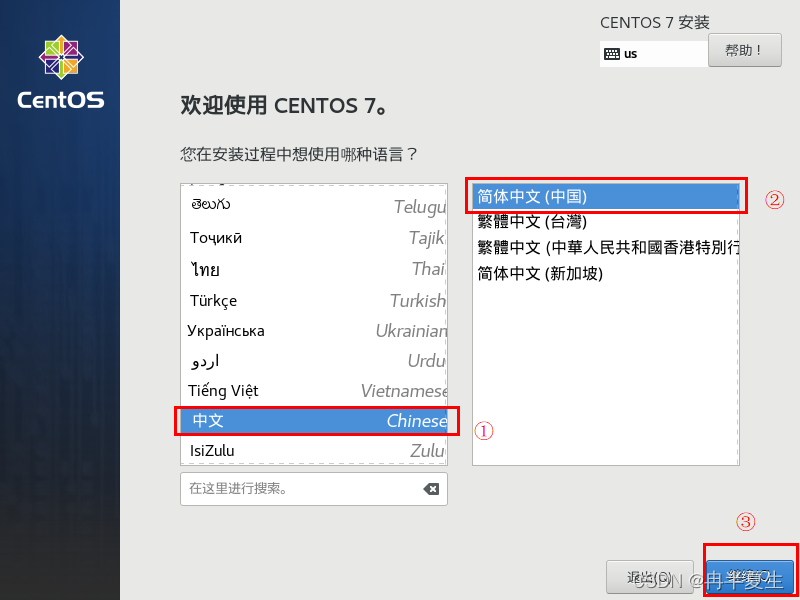
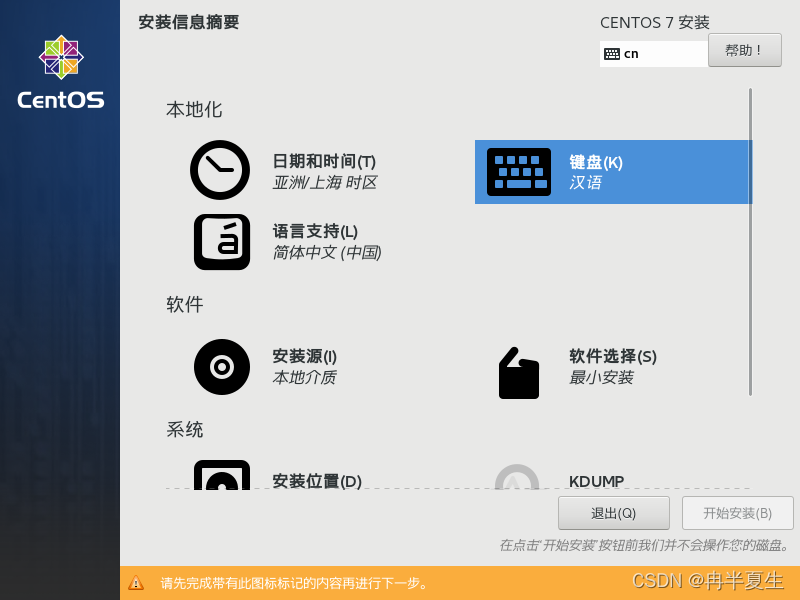
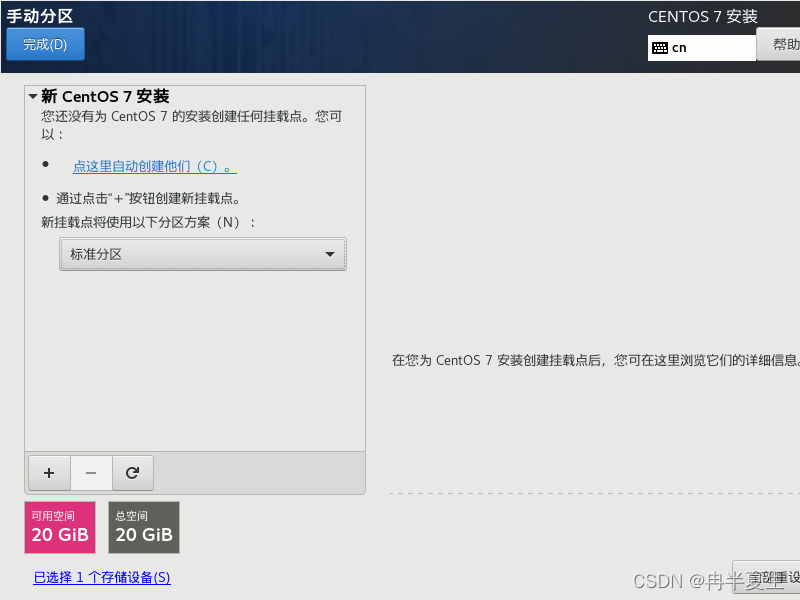
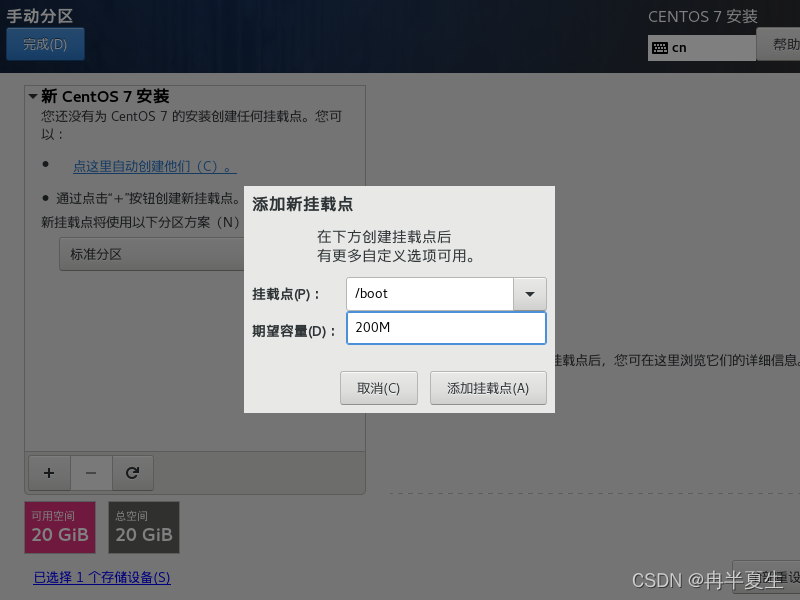
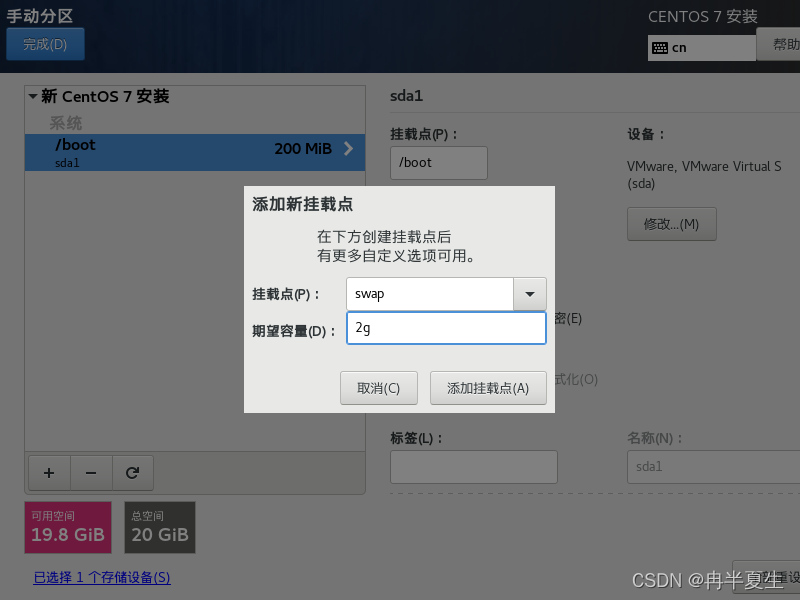
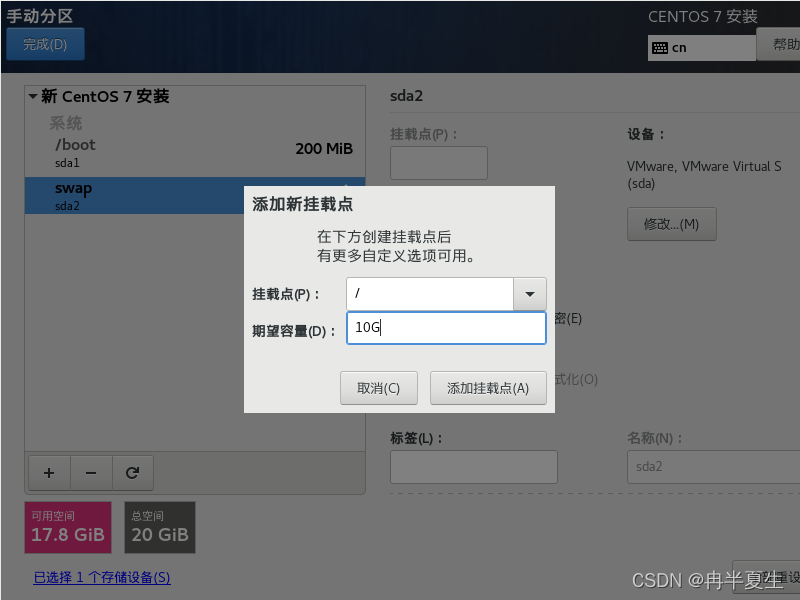
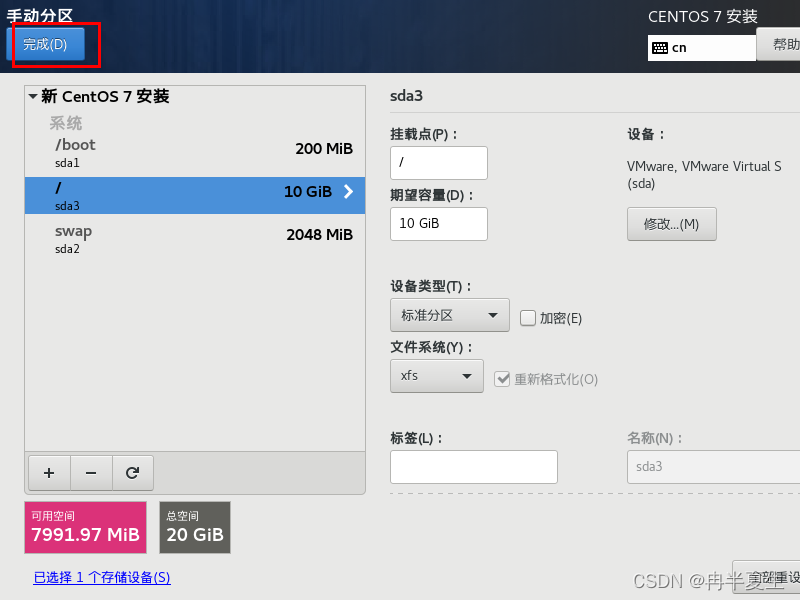
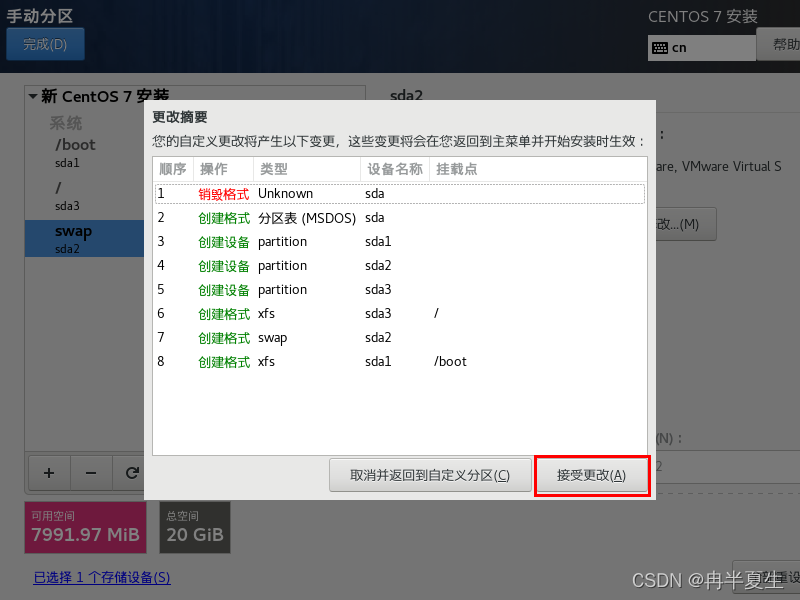
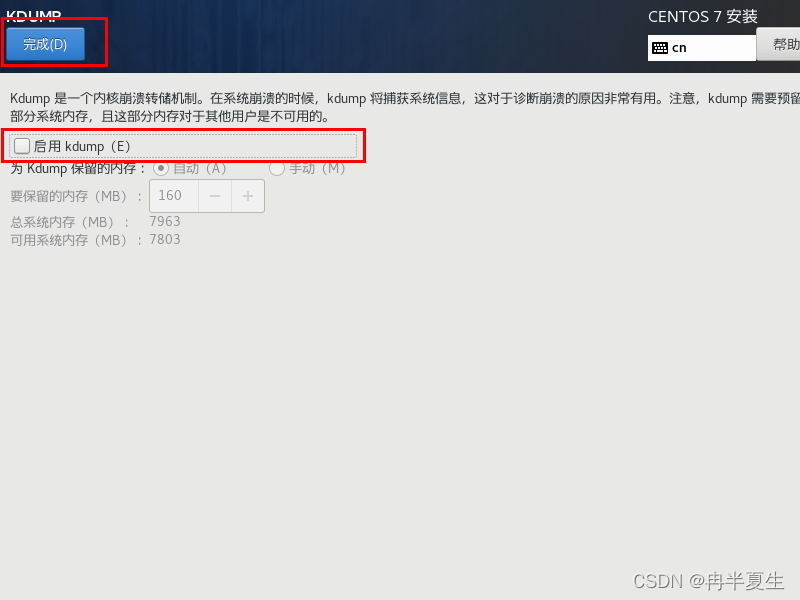
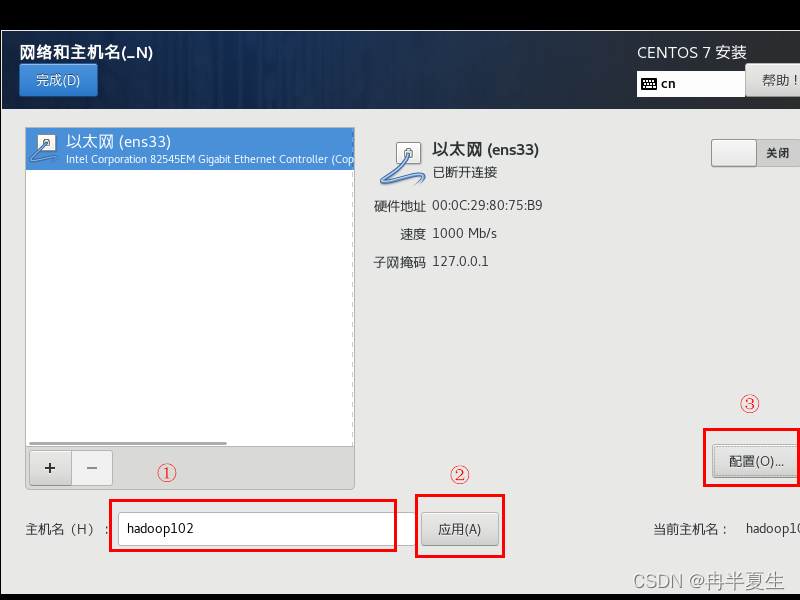
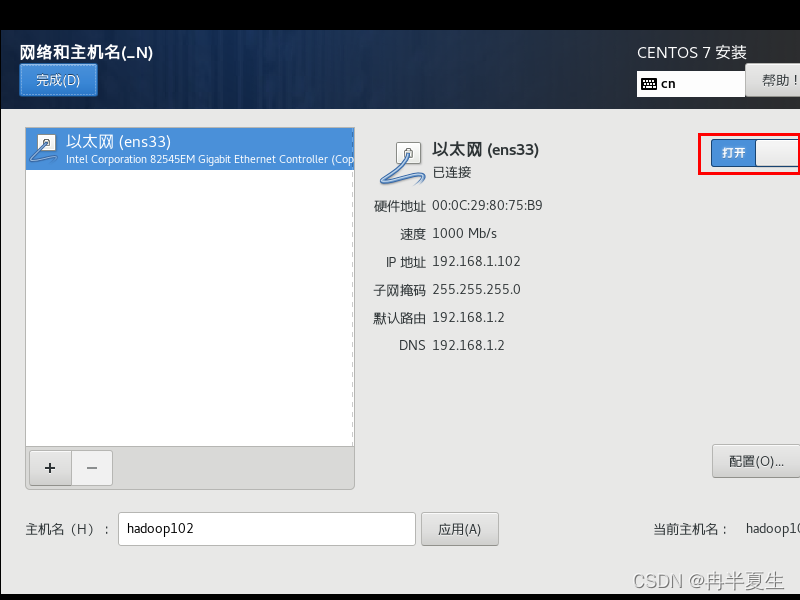
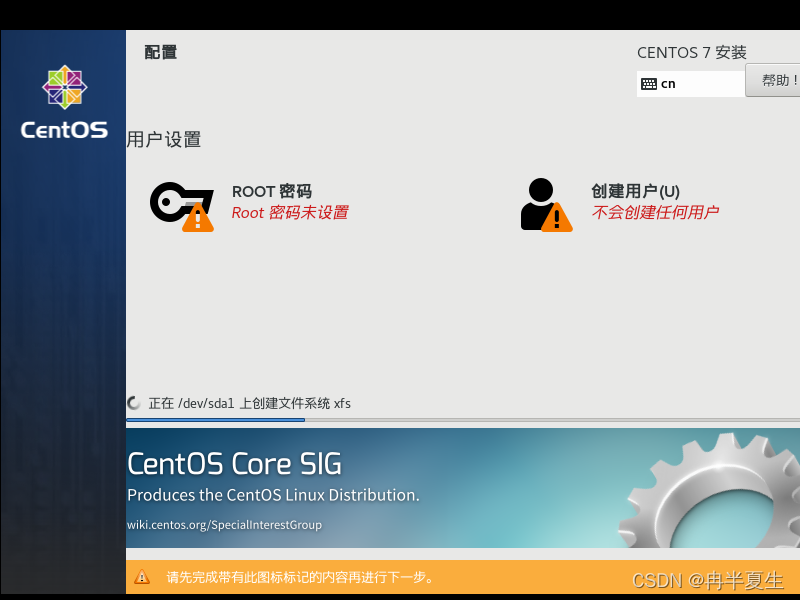
1、选择Install CentOS 7,选择后按Enter 2、选择中文进行安装 3、 本地化如果上一步选择了中文,那个这三个基本不用改; 软件方面因为我本身就是mini的CentOS镜像,所以软件这块基本不用,不是mini版的可以选择最小安装,然后勾选最小安装里的开发工具,需要图形化界面的可以加GUI和GNOME桌面 4、安装位置选择自动分区 选择标准分区,点击下面加号手动分配分区 boot分区:是引导分区;作用:系统启动,在boot分区存放着grub,内核文件等,一般200M就够了 swap交换分区:内存扩展分区,一般2-4G即可 / 根:所有文件的根 ,绝对路径的开始标志。 然后点击完成 点击接受更改就行 5、关闭kdump 6、直接在安装这里配置静态网络是最方便的 可以在这直接更改主机名,然后应用,点击配置进入静态ip配置界面 配置静态ip,选择ipv4配置,选择手动 点击打开 7、然后就可以开始安装了,安装过程中可以配置root密码和创建用户,完成后点击重启
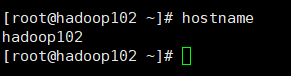
首先判断能否访问外网 查看主机名 1、安装wget 用于从网络上下载资源或安装插件,没有指定目录,下载资源回默认为当前目录。
yum install -y wget
2、配置yum源
cd /etc/yum.repos.d/
wget -nc http://mirrors.aliyun.com/repo/Centos-7.repo
mv CentOS-Base.repo CentOS-Base.repo.back
mv Centos-7.repo CentOS-Base.repo
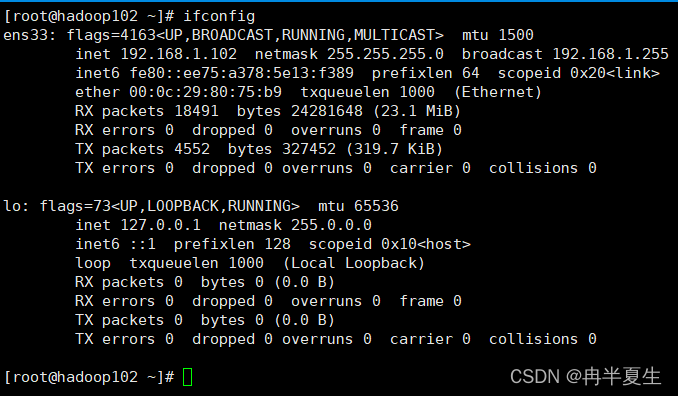
3、安装ifconfig
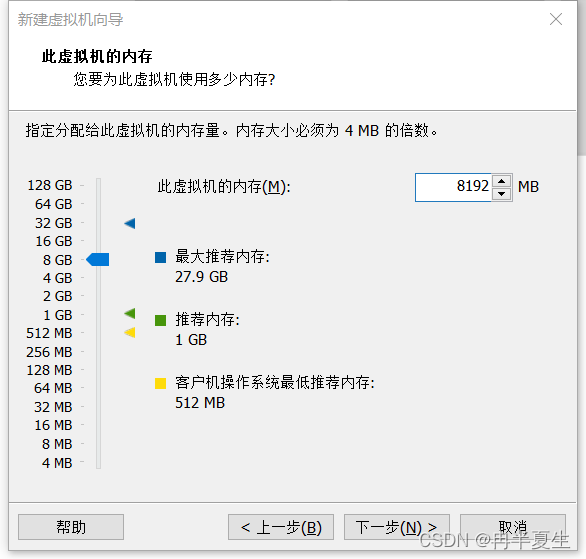
yum install -y net-tools
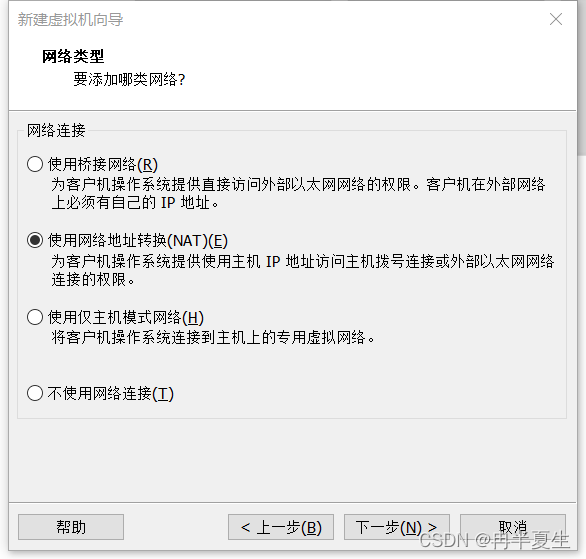
查看网络配置 4、修改/etc/hosts
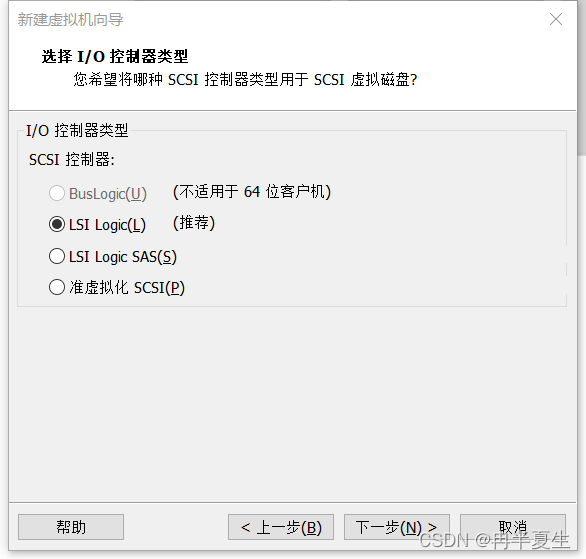
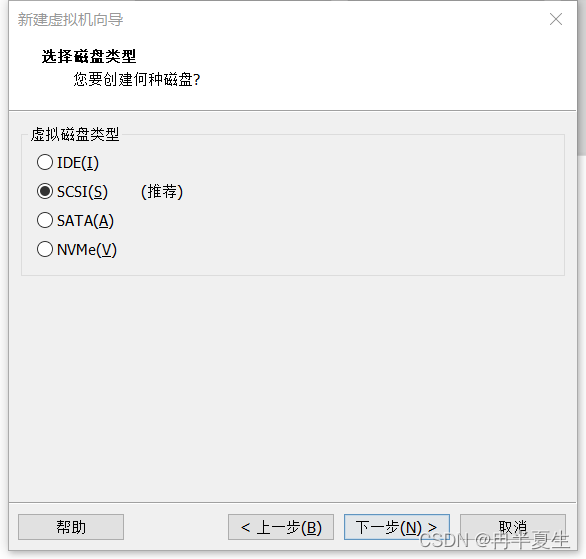
[root@hadoop102 ~]# vi /etc/hosts
[root@hadoop102 ~]# cat /etc/host
host.conf    hostname     hosts        hosts.allow  hosts.deny
[root@hadoop102 ~]# cat /etc/hosts
127.0.0.1   localhost localhost.localdomain localhost4 localhost4.localdomain4
::1         localhost localhost.localdomain localhost6 localhost6.localdomain6
192.168.1.100 hadoop100
192.168.1.101 hadoop101
192.168.1.102 hadoop102
192.168.1.103 hadoop103
192.168.1.104 hadoop104
192.168.1.105 hadoop105
192.168.1.106 hadoop106
192.168.1.107 hadoop107
192.168.1.108 hadoop108
192.168.1.109 hadoop109
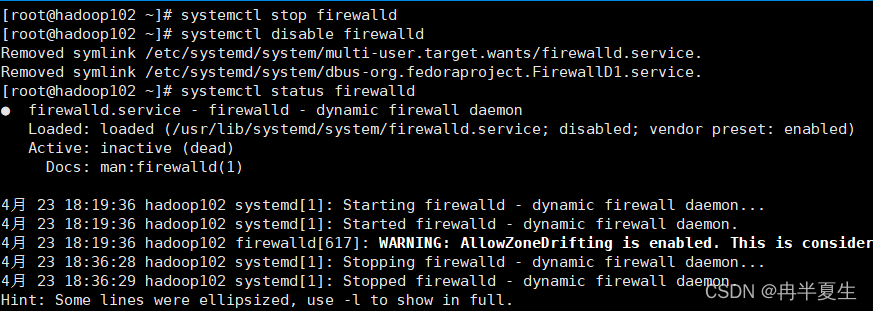
5、禁用防火墙
# 直接关闭防火墙
systemctl stop firewalld
# 禁止firewall开机启动
systemctl disable firewalld
# 查看状态:
systemctl status firewalld
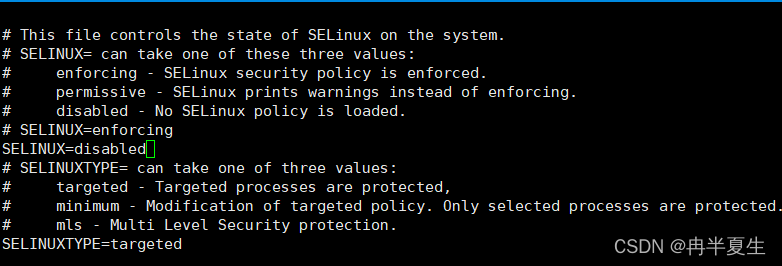
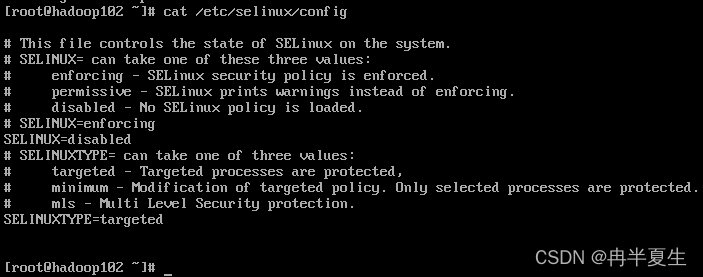
关闭selinux,将SELINUX=enforcing改为SELINUX=disabled。然后重启一下
vi /etc/selinux/config
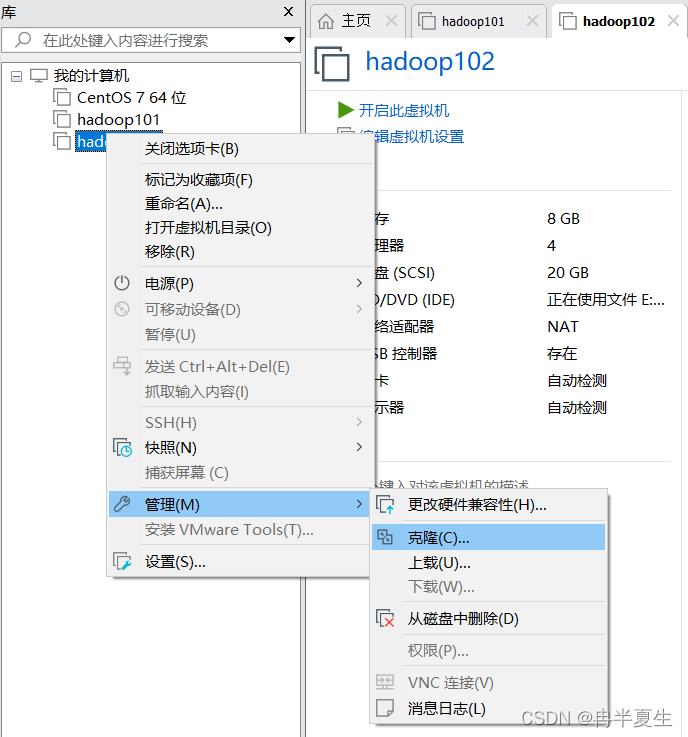
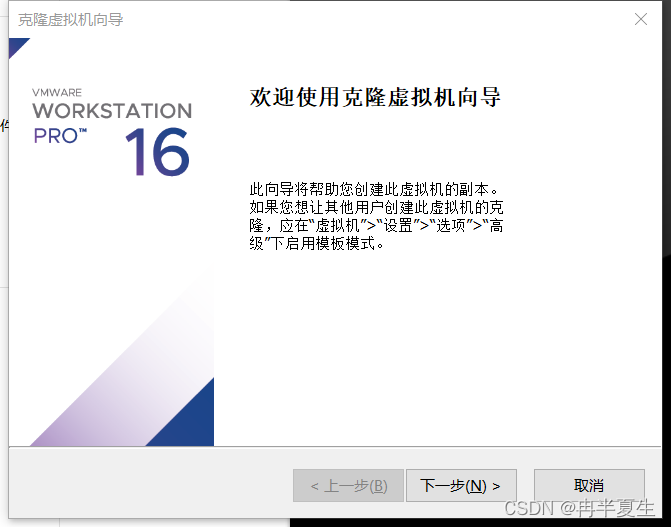
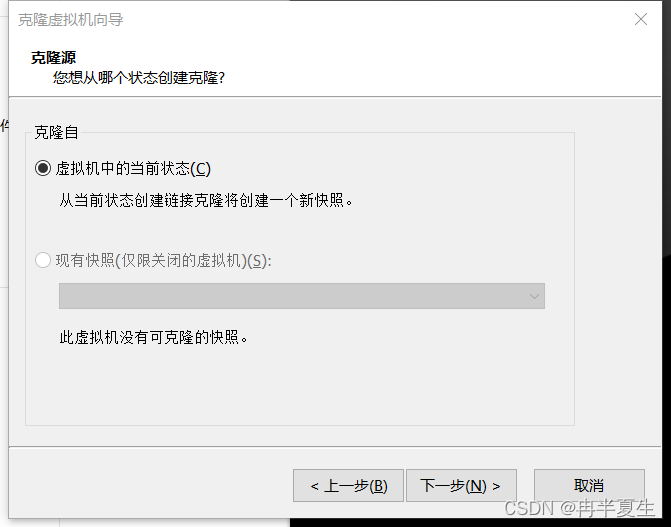
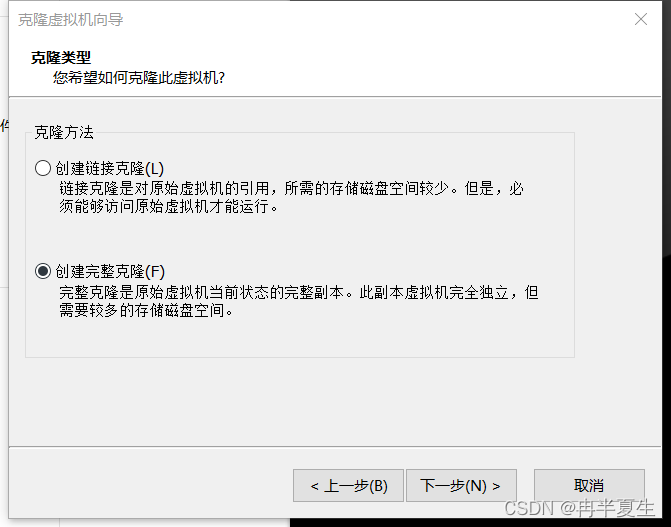
1、右键选中要克隆的虚拟机,选择管理里的克隆 2、下一步 3、选择虚拟机当前状态 4、选择创建完整克隆 5、选择位置和虚拟机名称 6、克隆完成,开启克隆的虚拟机
1、检测一些配置 ①查看防火墙配置文件: ②查看防火墙状态 2、修改静态ip
vi /etc/sysconfig/network-scripts/ifcfg-ens***(每个人不一定相同)
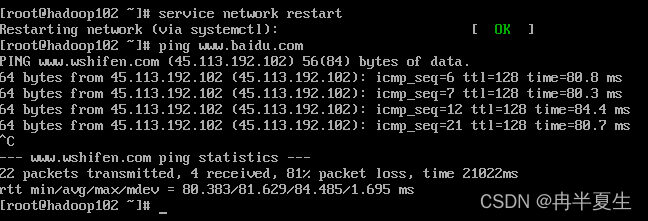
将UUID注释,并重新给IPADDR赋值 然后重启网卡,查看能否ping通外网
service network restart
此时就可以用远程连接软件了 3、修改主机名,然后重启
[root@hadoop102 ~]# hostnamectl set-hostname hadoop103
[root@hadoop102 ~]# hostname
hadoop103
[root@hadoop102 ~]# reboot
以我这三台虚拟机为例:
1、启动三台虚拟机,首先全都切到家目录中,生成.ssh文件夹(三台都要做)
[root@hadoop101 ~]# cd ~
# 进入.ssh文件夹中,如果找不到.ssh目录那么是没有使用过ssh登陆
[root@hadoop101 ~]# cd ./ssh
-bash: cd: ./ssh: 没有那个文件或目录
[root@hadoop101 ~]# ssh localhost
The authenticity of host 'localhost (::1)' can't be established.
ECDSA key fingerprint is SHA256:bIRqVbRI8oB16vCUVShPxyGh8P/fB/tsMM8g2LQ6v+I.
ECDSA key fingerprint is MD5:13:45:ff:4d:38:c3:b4:07:b0:83:77:23:11:17:f6:dd.
Are you sure you want to continue connecting (yes/no)? yes
Warning: Permanently added 'localhost' (ECDSA) to the list of known hosts.
root@localhost's password:
Last login: Sat Apr 23 20:13:03 2022 from 192.168.1.1
[root@hadoop101 ~]# ls -al
总用量 28
dr-xr-x---.  3 root root  147 4月  23 20:41 .
dr-xr-xr-x. 17 root root  244 4月  22 15:03 ..
-rw-------.  1 root root 1602 4月  22 14:52 anaconda-ks.cfg
-rw-------.  1 root root  488 4月  23 17:07 .bash_history
-rw-r--r--.  1 root root   18 12月 29 2013 .bash_logout
-rw-r--r--.  1 root root  176 12月 29 2013 .bash_profile
-rw-r--r--.  1 root root  176 12月 29 2013 .bashrc
-rw-r--r--.  1 root root  100 12月 29 2013 .cshrc
drwx------   2 root root   25 4月  23 20:42 .ssh
-rw-r--r--.  1 root root  129 12月 29 2013 .tcshrc
[root@hadoop101 ~]# exit
登出
Connection to localhost closed.
[root@hadoop101 ~]# cd ./.ssh
2、生成公钥和私钥 以下脚本每台机器上都要执行 ①生成公钥私钥,遇到提示直接敲回车即可
ssh-keygen -t rsa
②将公钥拷贝到要免密登录的目标机器上,包括自己
ssh-copy-id hadoop101
ssh-copy-id hadoop102
ssh-copy-id hadoop103
③随意ssh测试一下
vi /etc/profile
# 在脚本最下面添加环境变量
PATH=$PATH:/root
# 保存后,让环境变量生效
source /etc/profile
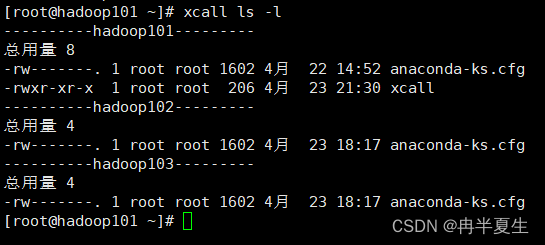
用来批量执行一个命令: 脚本如下
#!/bin/bash

pcount=$#
if((pcount==0));then
    echo no args;
    exit;
fi

for((host=101; host<104; host++)); do
    echo ----------hadoop$host---------
    ssh hadoop$host "source /etc/profile;$@"
done
# 1、进入家目录
cd ~
# 2、新建xcall文件
touch xcall
# 3、赋权限
chmod a+x xcall
# 4、编写脚本
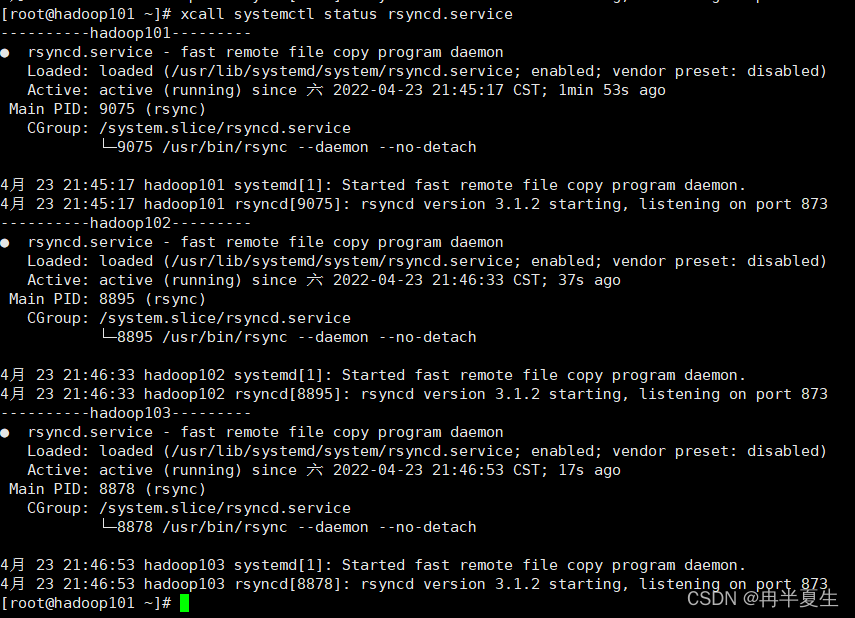
①所有机器都安装rsync
yum install rsync
# 启动rsync服务
systemctl start rsyncd.service
# 开启rsync开机自启动
systemctl enable rsyncd.service
# 查看rsync服务状态
systemctl status rsyncd.service
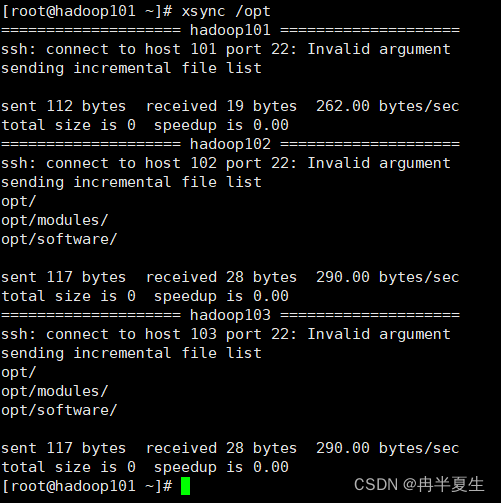
②编写xsync脚本
#!/bin/bash

#1. 判断参数个数
if [ $# -lt 1 ]
    then
    echo Not Enough Arguement!
    exit;
fi

#2. 遍历集群所有机器
for ((host = 101; host < 104; host++))
do
    echo ==================== hadoop$host ====================
	#3. 遍历所有目录,挨个发送
	for file in $@
	do
		#4. 判断文件是否存在
		if [ -e $file ]
			then
				#5. 获取父目录
				pdir=$(cd -P $(dirname $file); pwd)
				#6. 获取当前文件的名称
				fname=$(basename $file)
				ssh $host "mkdir -p $pdir"
				rsync -av $pdir/$fname hadoop$host:$pdir
			else
				echo $file does not exists!
		fi
	done
done
效果如下: