版本控制是一件非常cool的事,可以将我们的代码按照版本存储。
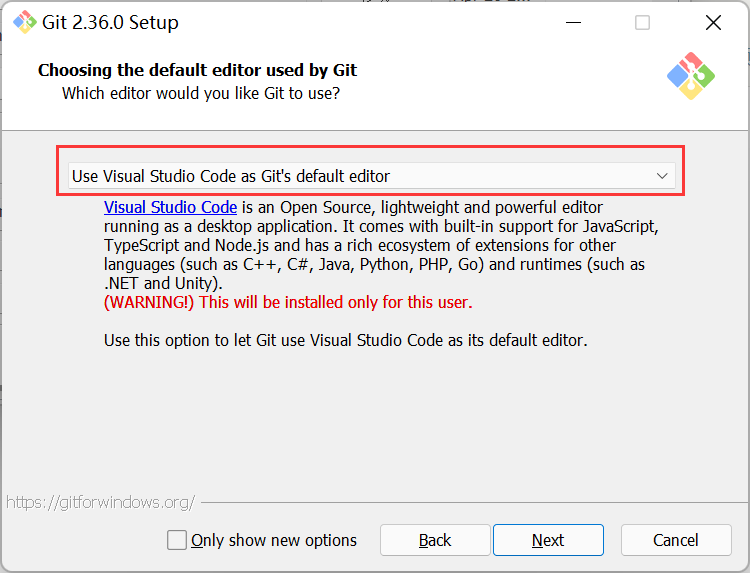
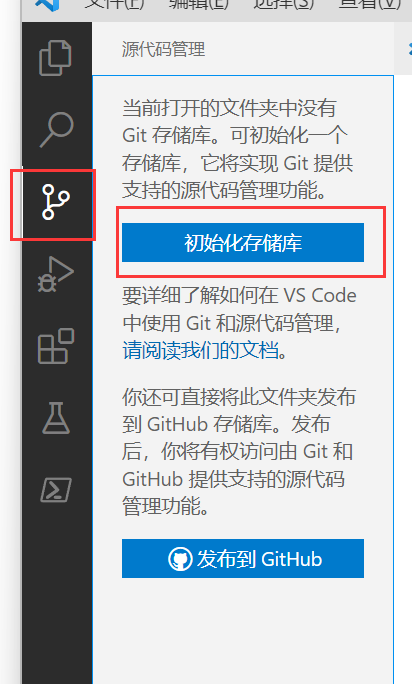
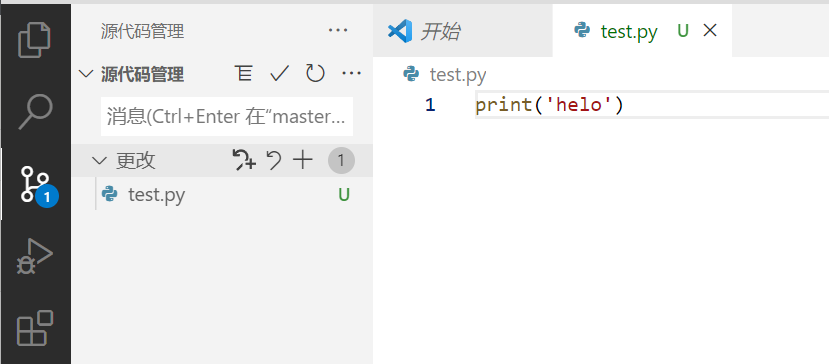
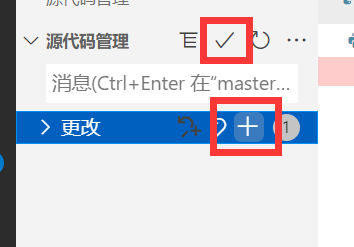
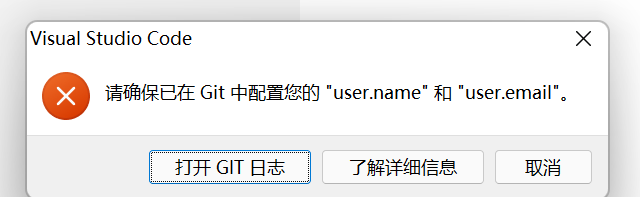
1 首先我们选择一个版本控制工具,这里我们选择git,点击下载安装,安装时选择vscode编辑器 2 安装好了之后打开vscode,打开一个项目或者新建一个项目,然后点击源代码管理器,点击初始化存储库 3 此时我们便可以看到我们的项目中,有显示新的更改 4 我们点击暂存更改,并提交 5 此时会弹出一个消息框,让我们输入提交位置,我们输入master 6 如果出现以下弹窗,需要设置user.name和user.email 7 在windows终端中输入如下两条命令进行配置:
master
user.name
user.email
git config --global user.name "your_username"
git config --global user.email "your_email"
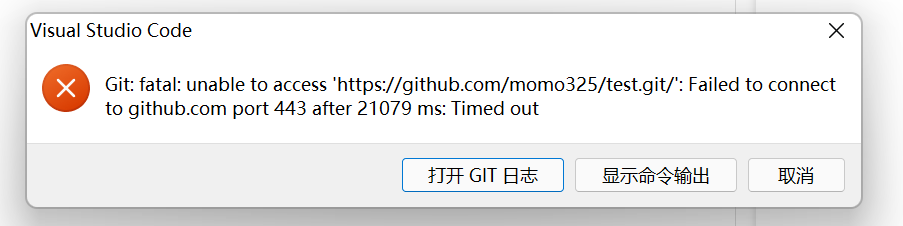
这里把name和email替换为自己的即可,例如: 8 此时我们重新提交代码,出现发布分支以及弹出我们的github页面,选择账号下的public的新建test仓 9 我们又遇到了小问题,那就是git链接不上guthub仓库,真是命运多舛 10 我们对git进行命令行设置 附:常见git关于proxy的命令
test
//http
git config --global https.proxy http://127.0.0.1:1080
//https
git config --global https.proxy https://127.0.0.1:1080

git config --global http.proxy socks5://127.0.0.1:1080
git config --global https.proxy socks5://127.0.0.1:1080

git config --global http.https://github.com.proxy socks5://127.0.0.1:1080
git config --global https.https://github.com.proxy socks5://127.0.0.1:1080

git config --global --unset http.https://github.com.proxy
git config --global --unset https.https://github.com.proxy

git config --global --unset http.proxy
git config --global --unset https.proxy
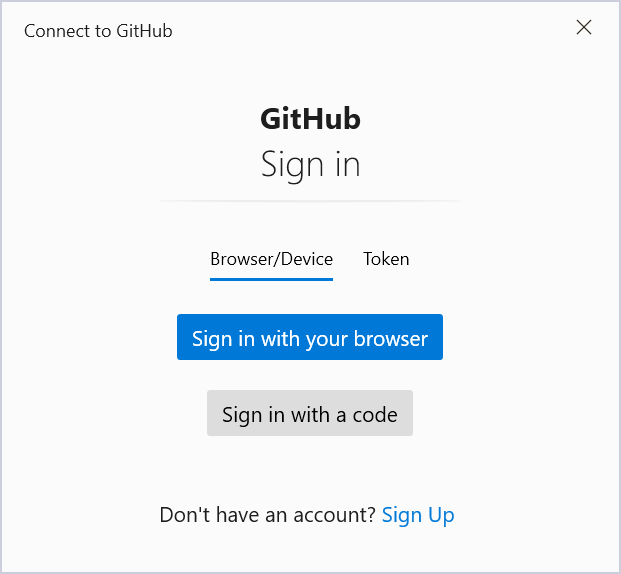
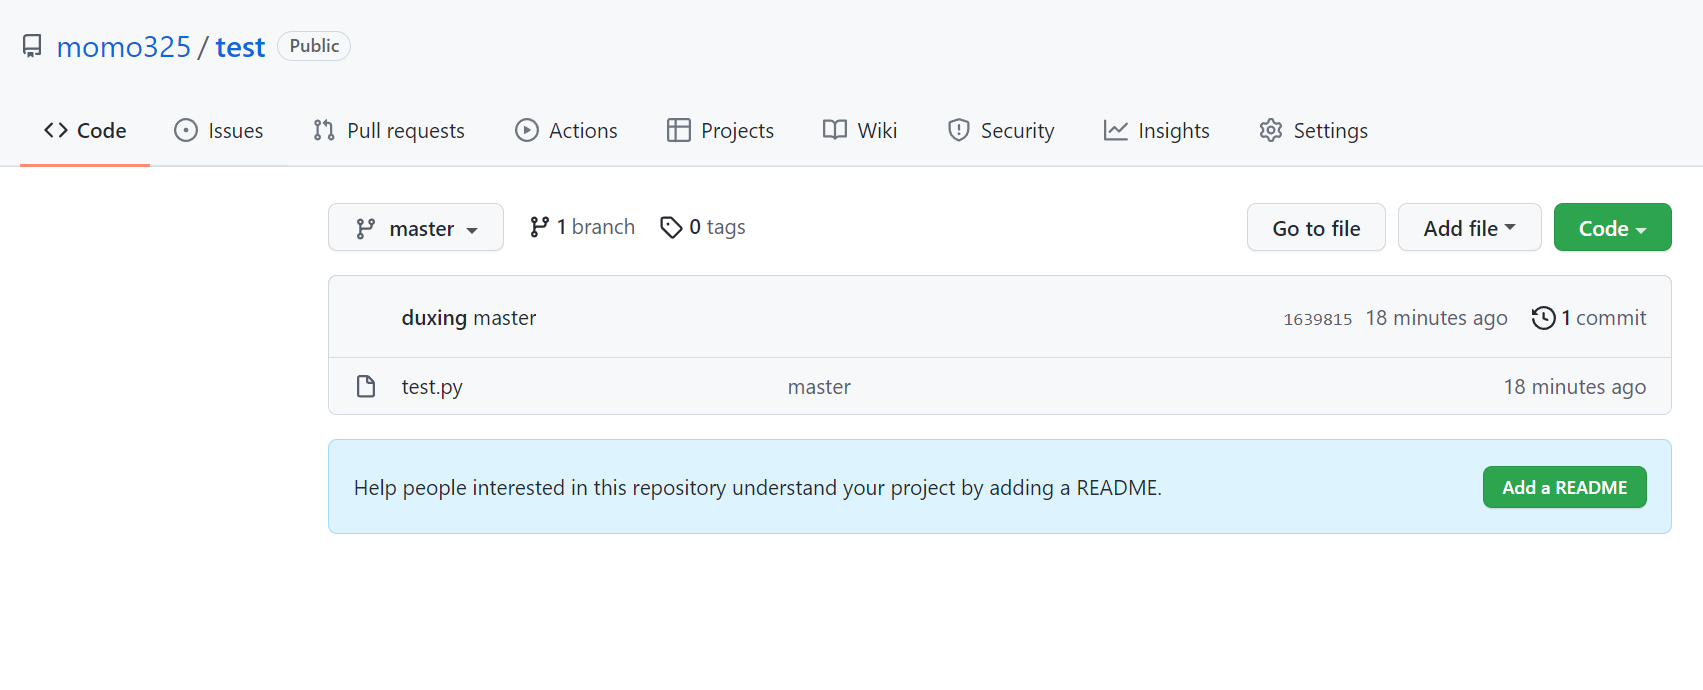
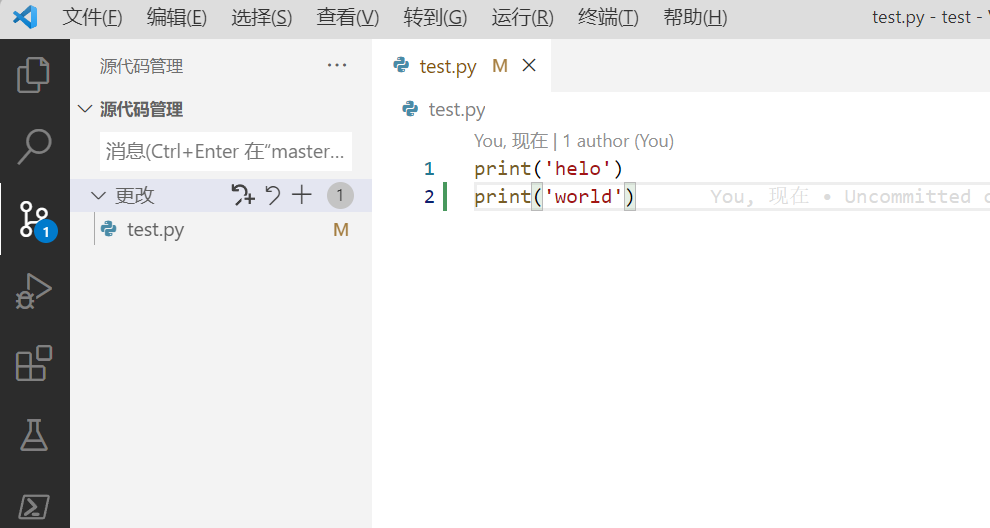
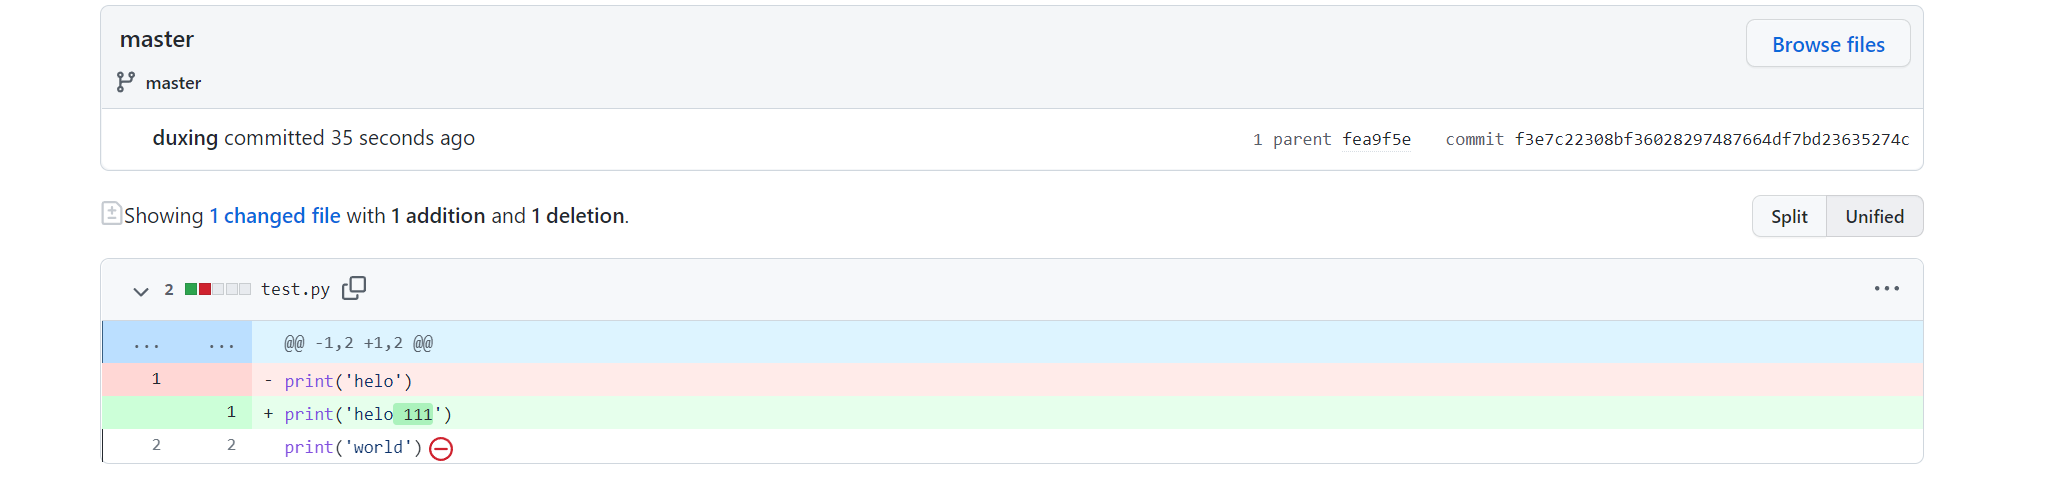
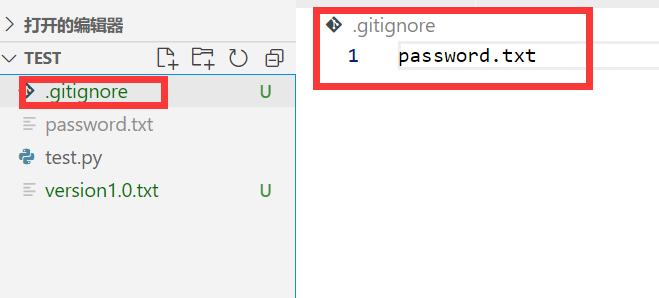
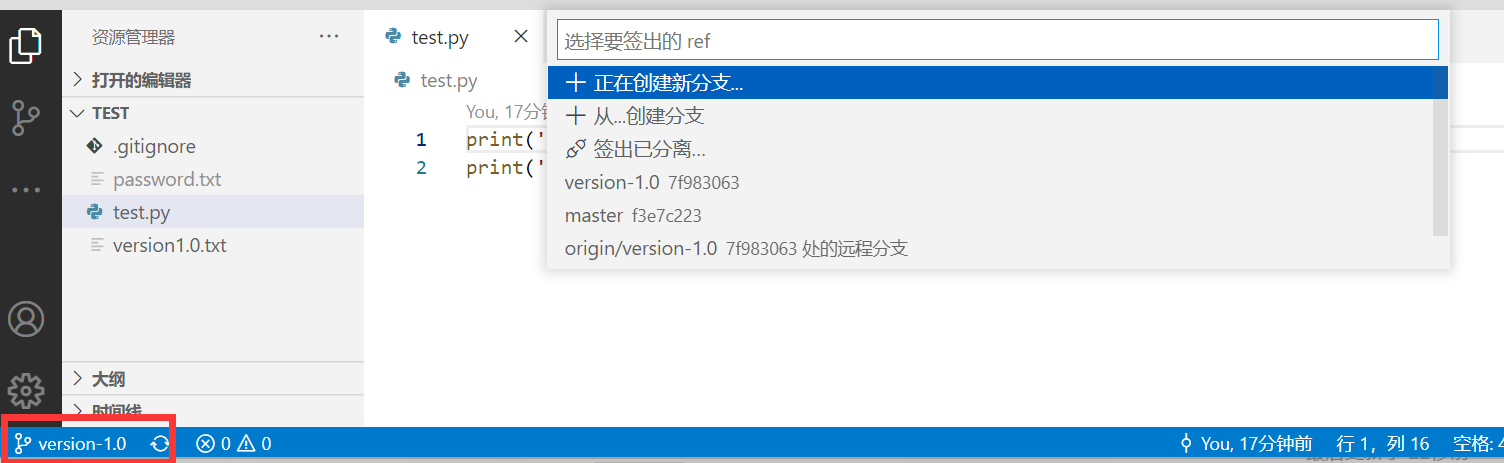
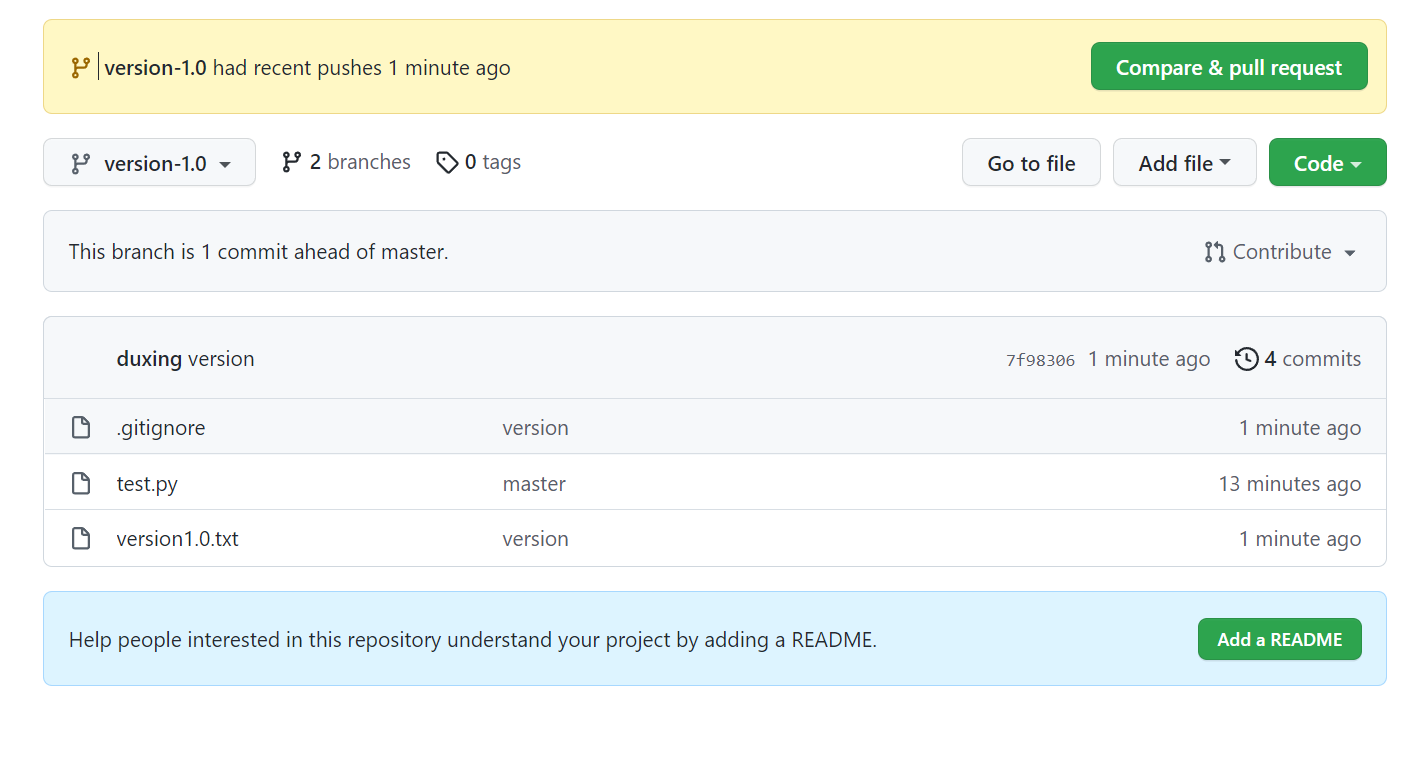
11 设置完后,我们重新提交,会让我们授权登录github 12 点击浏览器授权登录,授权登陆后,同步就会完成了,完成后我们可以在我们的github仓库看到新项目了 13 此时我们再在vscode中进行简单的更改 14 此时我们提交更改,并提交到master上后,github仓库便会显示我们后面的提交了 15 我们可以在github上在线查看更改记录 16 当我们选择不同分支时,相当于创建了不同的文件夹,我们可以创建.gitignore文件来屏蔽我们不想上传到github的文件 17 点击左下角即可创建分支 18 创建不同分支有利于我们对项目进行版本管理
.gitignore