官方文档
url: https://openpifpaf.github.io/intro.html
title: "Introduction — OpenPifPaf Guide"
host: openpifpaf.github.io
环境配置
url: https://openpifpaf.github.io/dev/dev.html
title: "Contribute — OpenPifPaf Guide DEV"
host: openpifpaf.github.io
git clone https://github.com/openpifpaf/openpifpaf.git
cd openpifpaf
pip3 install --editable '.[dev,train,test]'
pip3 install --editable '.[dev,train,test]' 这步很慢,看似卡着不动了,其实CPU占用率会有变化。会根据 setup.py 和 ~/setup.cfg 的内容去安装依赖,里面给出了 torch 和 torchvision 的版本,一般是比较新的,我从文档中看到建议是使用 torch-1.9 ,但是克隆下来的配置文件中给出的是 torch-1.11。可能默认的是 cpu 版的 pytorch ,需要自己安装 gpu 版的。
教程测试
Prediction
教程来源:openpifpaf/guide/predict_cli.ipynb
图像
python -m openpifpaf.predict coco/000000081988.jpg --image-output --json-output
python -m openpifpaf.predict coco/000000081988.jpg --image-output ./ --json-output ./
视频
python3 -m openpifpaf.video --source myvideotoprocess.mp4 --video-output --json-output
调试
python -m openpifpaf.predict coco/000000081988.jpg --image-output --json-output --debug
Examples
COCO
python -m openpifpaf.predict coco/000000188465.jpg -q --image-output --long-edge=1025
python -m openpifpaf.predict coco/000000114907.jpg -q --image-output
python -m openpifpaf.predict coco/000000188465.jpg -q --image-output --long-edge=1025 --checkpoint=shufflenetv2k30

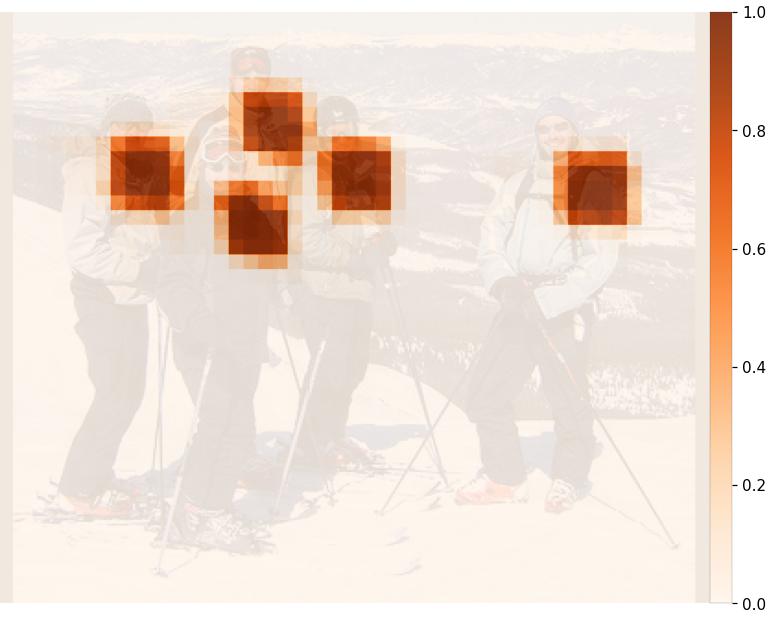
调试输出
python -m openpifpaf.predict coco/000000541055_cropped.jpeg -q --image-output --debug-indices cif:5 cifhr:5 caf:5 --save-all=coco_debug_example


本文内容由网友自发贡献,版权归原作者所有,本站不承担相应法律责任。如您发现有涉嫌抄袭侵权的内容,请联系:hwhale#tublm.com(使用前将#替换为@)