这篇博客实现了一个简单版本的Spring,主要包括Spring的Ioc和Aop功能
文章目录
- 这篇博客实现了一个简单版本的Spring,主要包括Spring的Ioc和Aop功能
- 🚀@ComponentScan注解
- ✈️@Component注解
- 🚁在spring中ioc容器的类是ApplicationContext
- 🚂测试类
- 🚊MySpringConfig类,统一的配置类
- 🚞OrderService类,一个普通的bean
-
- 🚡@Scope注解
- 🚟BeanDefinition 类
- 🚠要实现我们的@scope注解,我们需要改造一下我们的代码
- 🚜然后我们从beanDefinitionMap中实例化bean
- 🚙我们来看一下效果
- 🚘@Autowired注解
- 🚗UserService类,orderservice注入该类
- 🚗要使@Autowired注解生效,将bean实例化到一级缓存中方法需要改造一下
- 🚕BeanPostProcessor接口
- 🚖添加自己的BeanPostProcessor
- 🚛Aop
🚀@ComponentScan注解
ComponentScan做的事情就是告诉Spring从哪里找到bean
@Retention(RetentionPolicy.RUNTIME)
@Target(ElementType.TYPE)
public @interface ComponentScan {

	String[] value() default {};

}
✈️@Component注解
@Component是spring中的一个注解,它的作用就是实现bean的注入
@Target(ElementType.TYPE)
@Retention(RetentionPolicy.RUNTIME)
public @interface Component {

	String value() default "";


}
🚁在spring中ioc容器的类是ApplicationContext
所以我们需要创建一个ApplicationContext,有参构造传入config的class
public class ApplicationContext {

    public ApplicationContext(Class configClass) {

    }

}
存放bean的map
public class ApplicationContext {

 	private final Map<String, Object> singletonObjects = new ConcurrentHashMap<>(256);

    public ApplicationContext(Class configClass) {

    }

}
拿到ComponentScan的值
public class ApplicationContext {
private final Map<String, Object> singletonObjects = new ConcurrentHashMap<>(256);
public ApplicationContext(Class configClass) {
if (configClass.isAnnotationPresent(ComponentScan.class)) {
ComponentScan componentScanAnnotation = (ComponentScan) configClass.getAnnotation(ComponentScan.class);
String[] paths = componentScanAnnotation.value();
}
}
}
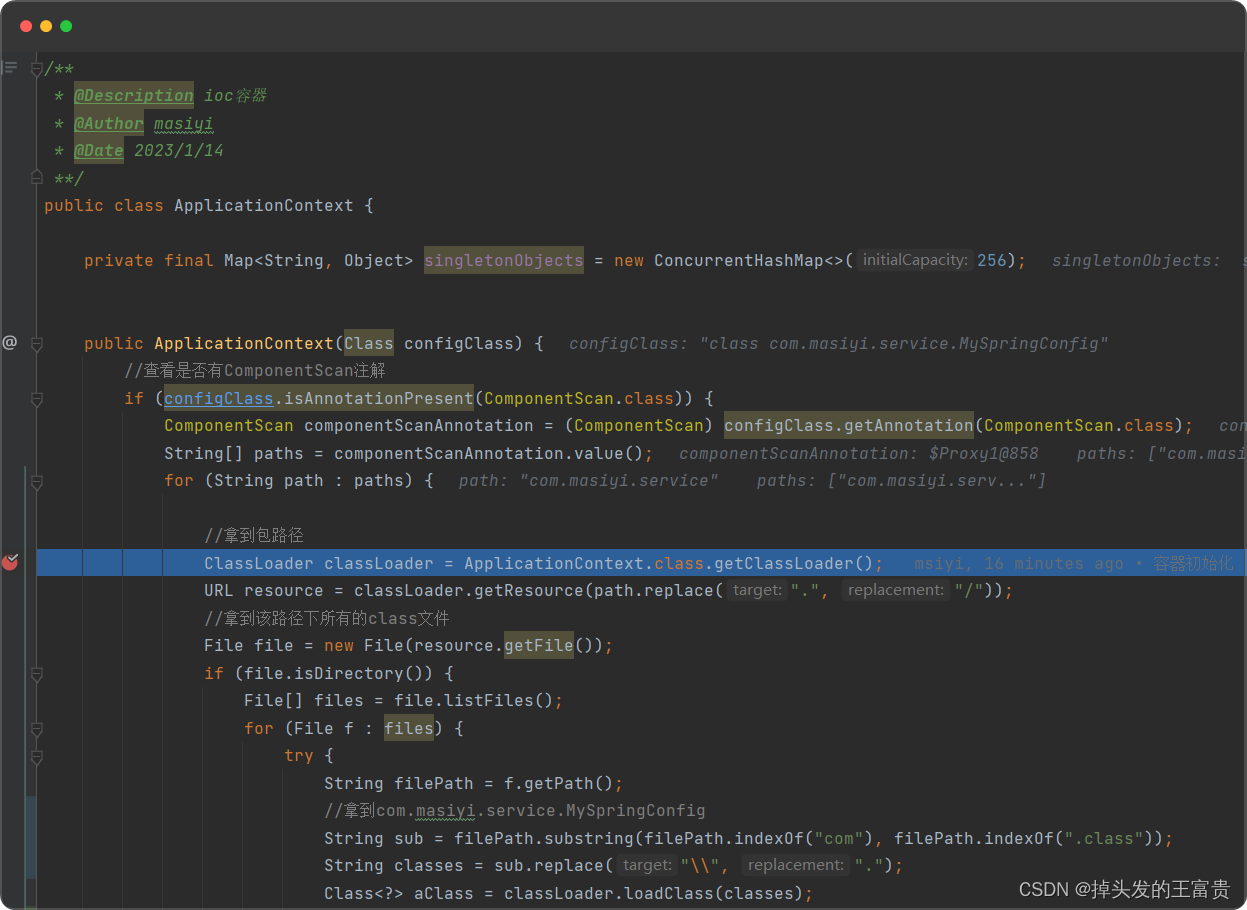
拿到该路径下所有的class文件
public class ApplicationContext {
private final Map<String, Object> singletonObjects = new ConcurrentHashMap<>(256);
public ApplicationContext(Class configClass) {
if (configClass.isAnnotationPresent(ComponentScan.class)) {
ComponentScan componentScanAnnotation = (ComponentScan) configClass.getAnnotation(ComponentScan.class);
String[] paths = componentScanAnnotation.value();
for (String path : paths) {
ClassLoader classLoader = ApplicationContext.class.getClassLoader();
URL resource = classLoader.getResource(path.replace(".", "/"));
File file = new File(resource.getFile());
if (file.isDirectory()) {
File[] files = file.listFiles();
for (File f : files) {
}
}
}
}
}
}
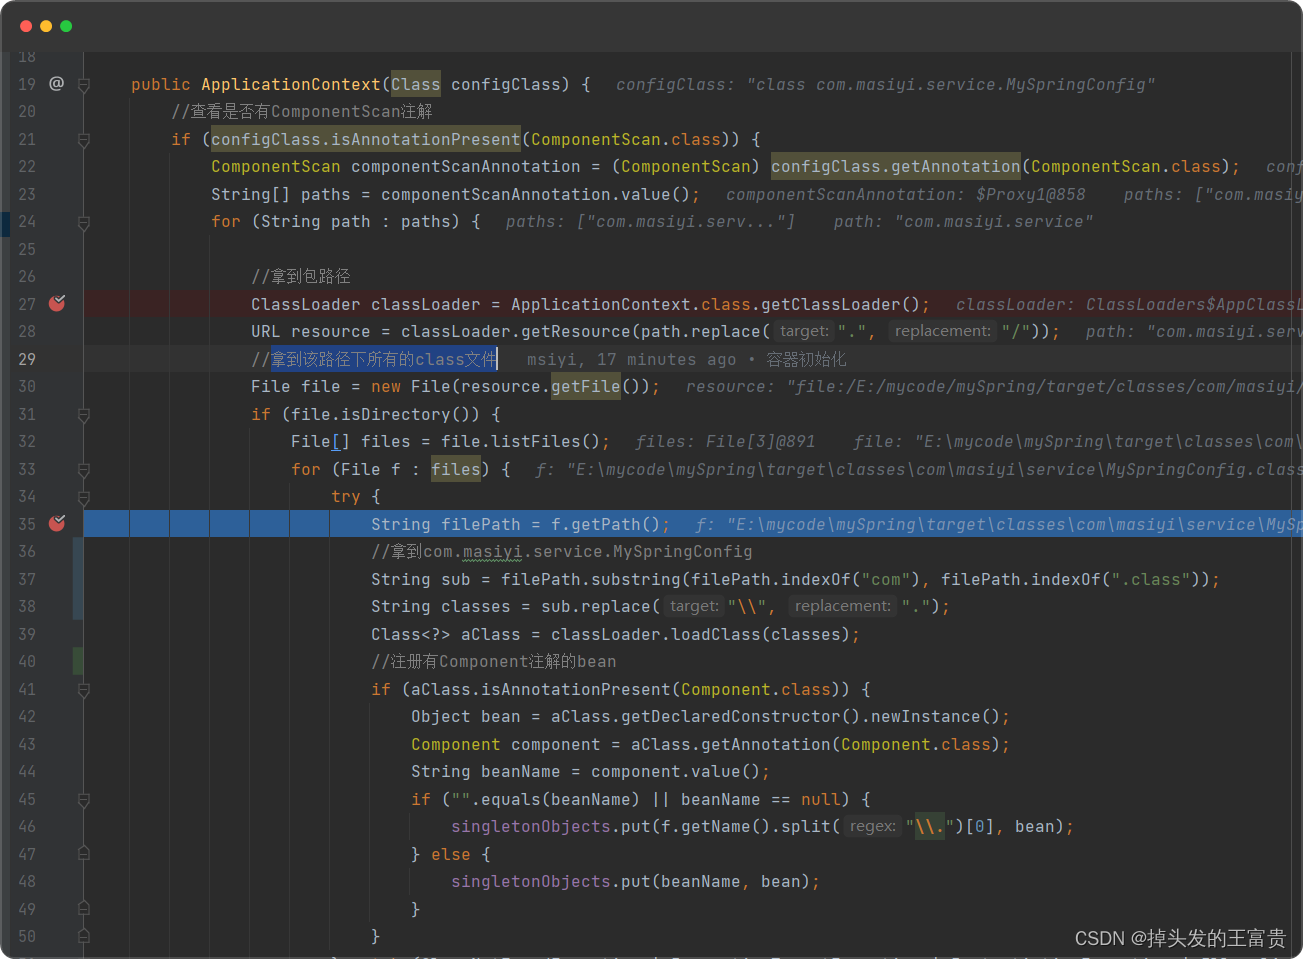
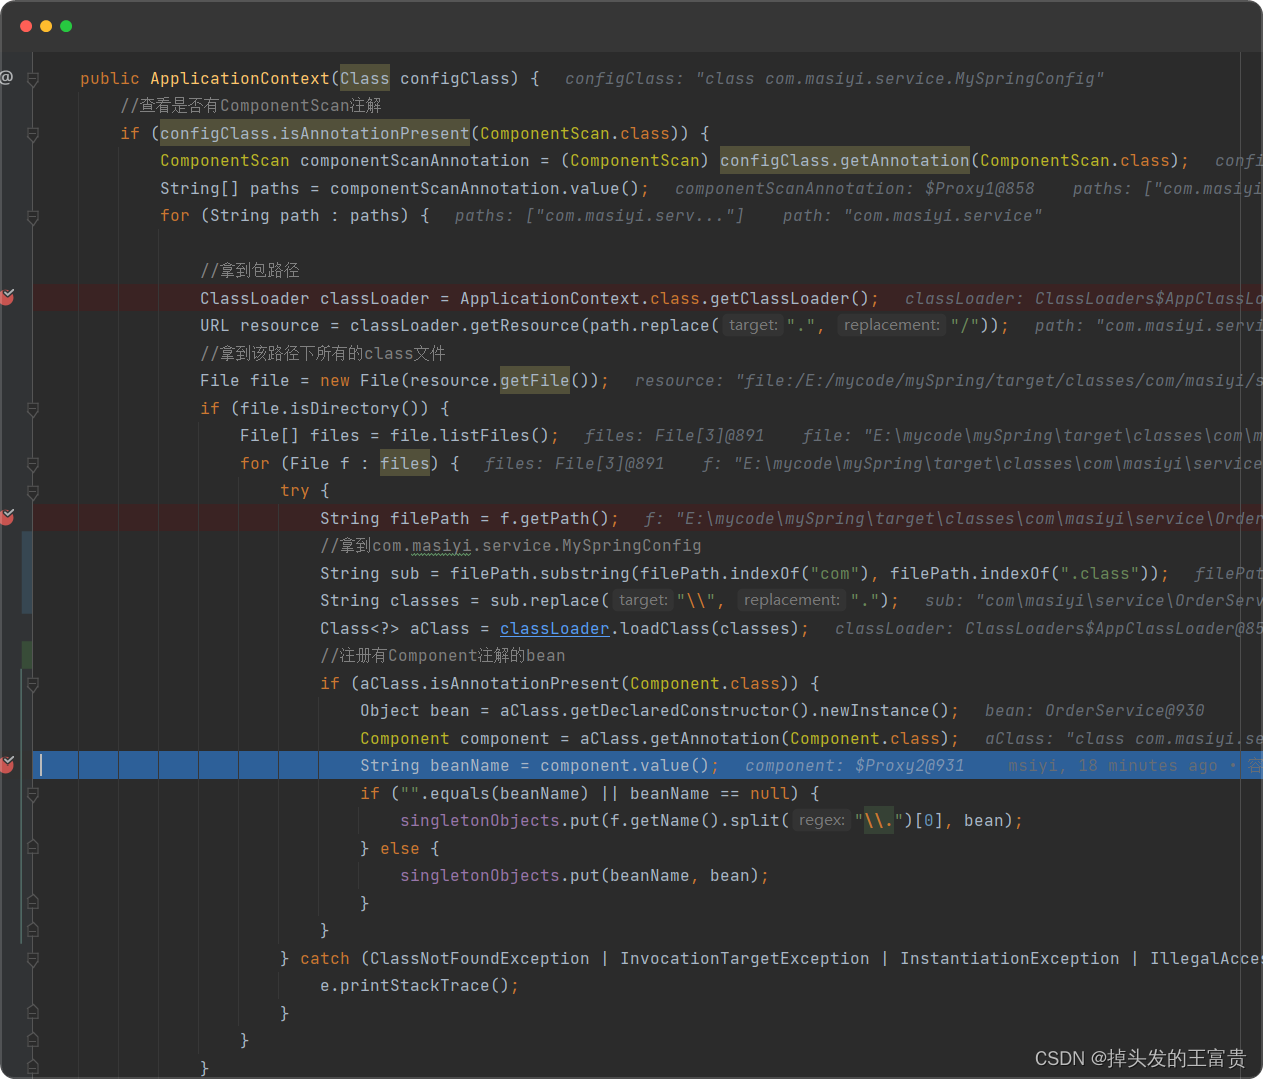
注册有Component注解的bean
public class ApplicationContext {
private final Map<String, Object> singletonObjects = new ConcurrentHashMap<>(256);
public ApplicationContext(Class configClass) {
if (configClass.isAnnotationPresent(ComponentScan.class)) {
ComponentScan componentScanAnnotation = (ComponentScan) configClass.getAnnotation(ComponentScan.class);
String[] paths = componentScanAnnotation.value();
for (String path : paths) {
ClassLoader classLoader = ApplicationContext.class.getClassLoader();
URL resource = classLoader.getResource(path.replace(".", "/"));
File file = new File(resource.getFile());
if (file.isDirectory()) {
File[] files = file.listFiles();
for (File f : files) {
try {
String filePath = f.getPath();
String sub = filePath.substring(filePath.indexOf("com"), filePath.indexOf(".class"));
String classes = sub.replace("\\", ".");
Class<?> aClass = classLoader.loadClass(classes);
if (aClass.isAnnotationPresent(Component.class)) {
Object bean = aClass.getDeclaredConstructor().newInstance();
Component component = aClass.getAnnotation(Component.class);
String beanName = component.value();
if ("".equals(beanName) || beanName == null) {
singletonObjects.put(f.getName().split("\\.")[0], bean);
} else {
singletonObjects.put(beanName, bean);
}
}
} catch (ClassNotFoundException | InvocationTargetException | InstantiationException | IllegalAccessException | NoSuchMethodException e) {
e.printStackTrace();
}
}
}
}
}
}
}
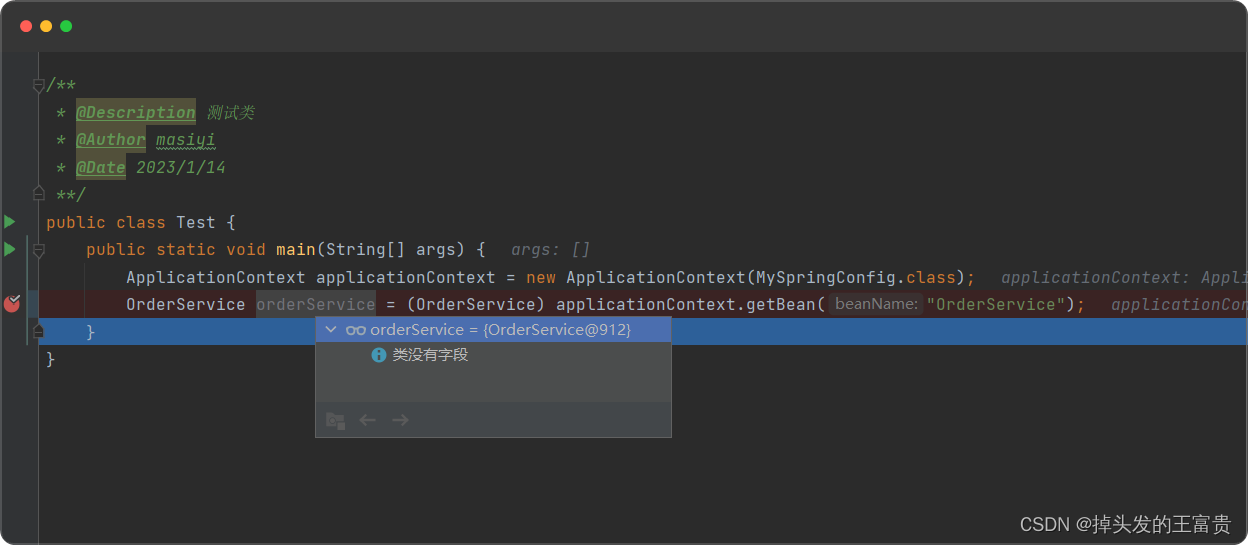
🚂测试类
现在我们最基础的spring的ioc已经基本实现了,我们新建一个测试类来测试
public class Test {
    public static void main(String[] args) {
        ApplicationContext applicationContext = new ApplicationContext(MySpringConfig.class);

    }
}
🚊MySpringConfig类,统一的配置类
@ComponentScan("com.masiyi.service")
public class MySpringConfig {

}
🚞OrderService类,一个普通的bean
@Component
public class OrderService {
}
🚲来测试一下功能
拿到包路径
拿到该路径下所有的class文件
注册有Component注解的bean
注册进ioc
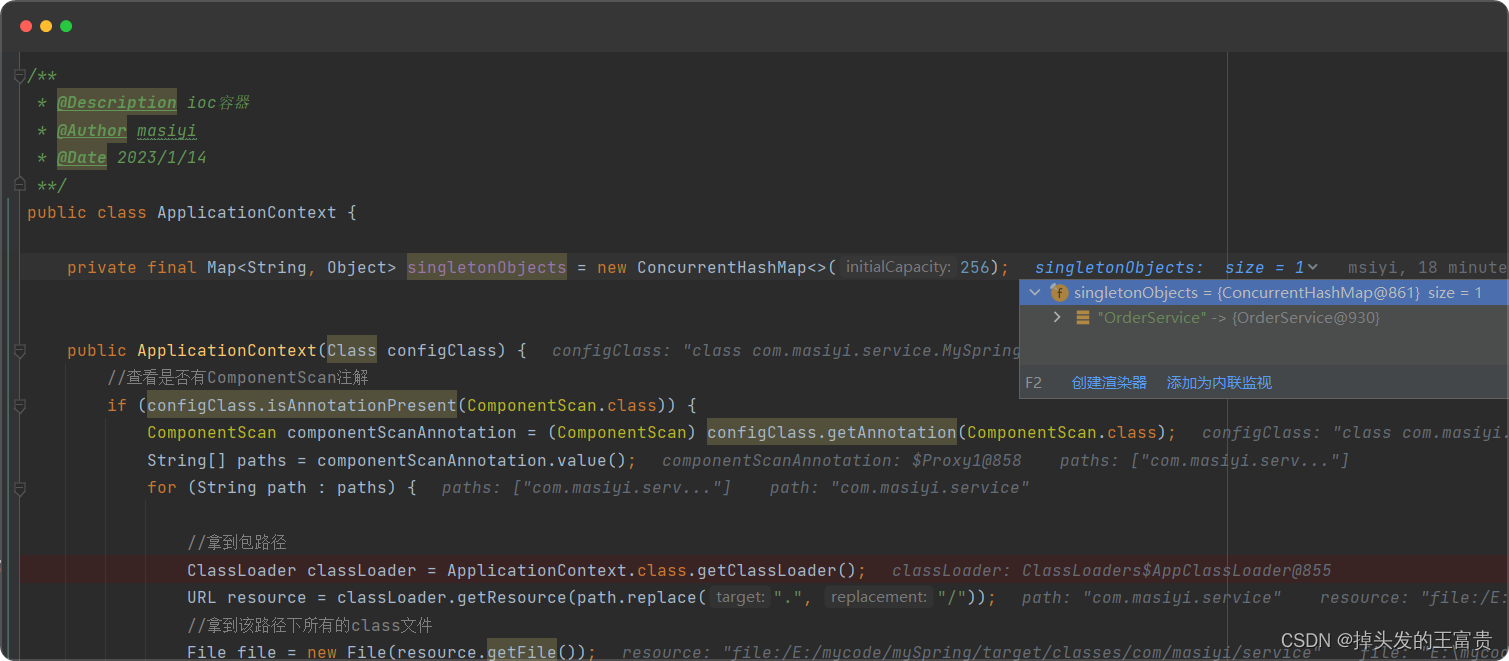
getBean方法
  public Object getBean(String beanName) {
        return this.singletonObjects.get(beanName);
    }
🚡@Scope注解
@Scope注解是 Spring IOC 容器中的一个作用域
🚟BeanDefinition 类
BeanDefinition 是定义 Bean 的配置元信息接口,可以理解为创建bean过程中的一个中间类,扩展bean,存储更多的信息
public class BeanDefinition {
    private String scope;
    private Class aClass;

    public String getScope() {
        return scope;
    }

    public void setScope(String scope) {
        this.scope = scope;
    }

    public Class getaClass() {
        return aClass;
    }

    public void setaClass(Class aClass) {
        this.aClass = aClass;
    }
}
🚠要实现我们的@scope注解,我们需要改造一下我们的代码
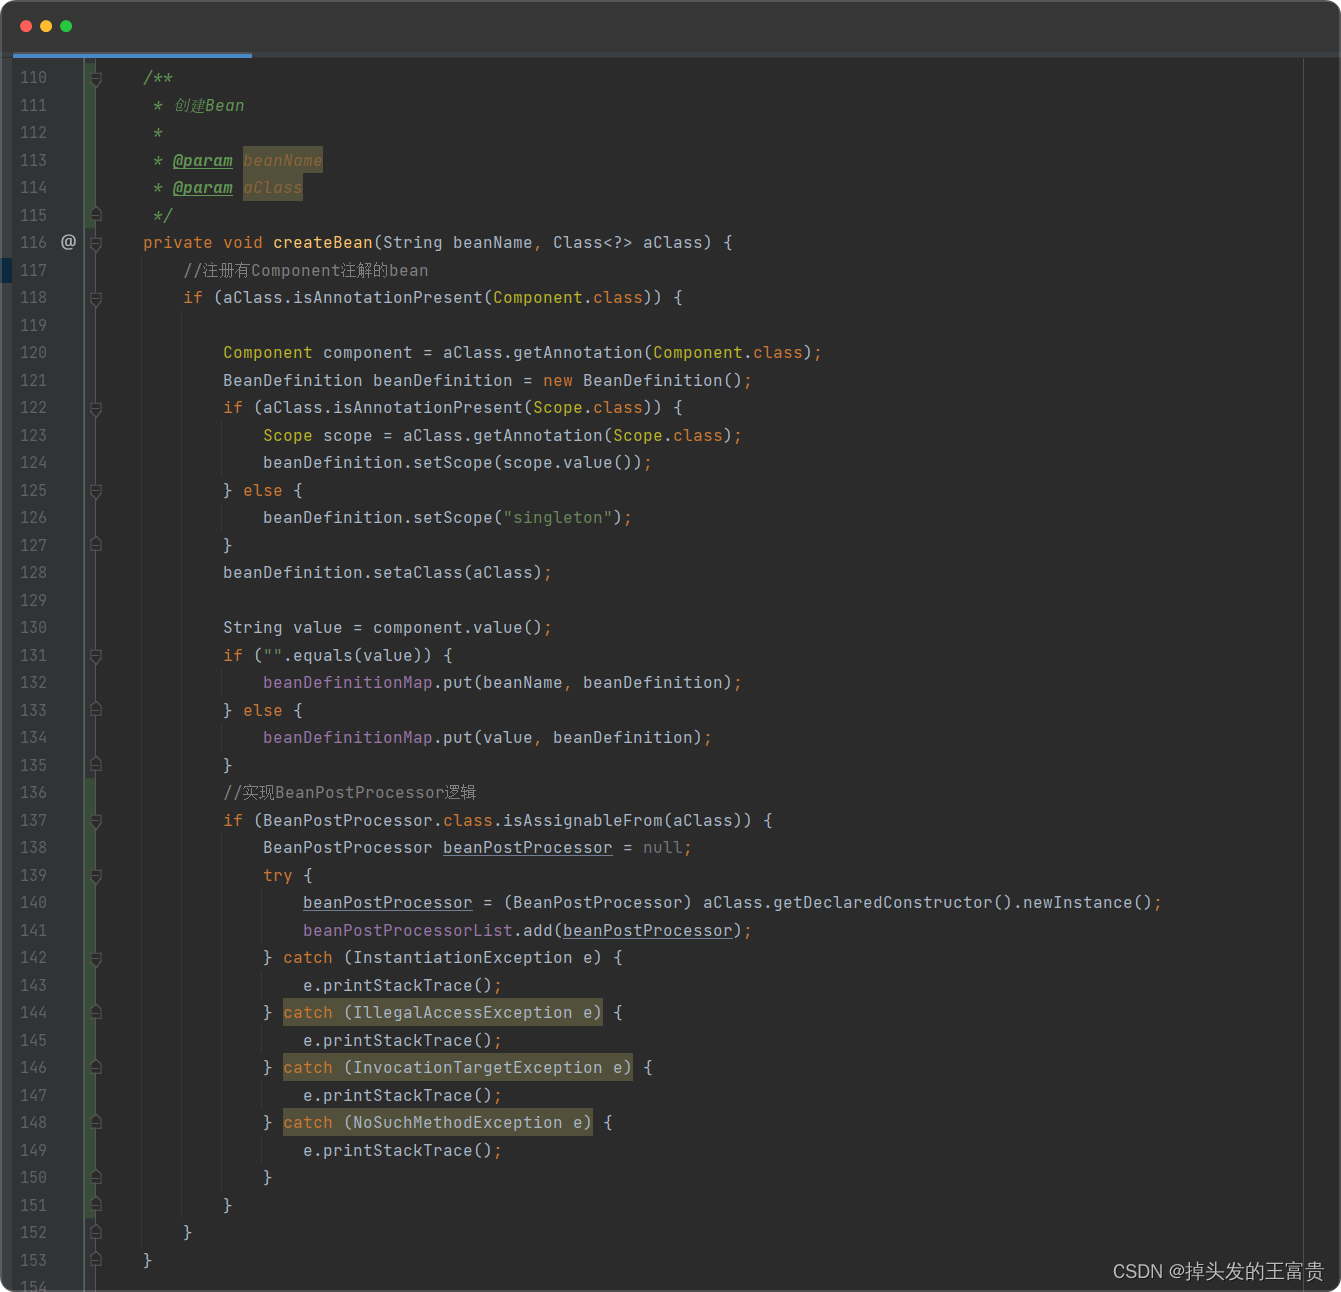
把createBean方法抽离出来
private void createBean(String beanName,Class<?> aClass){
if (aClass.isAnnotationPresent(Component.class)) {
Component component = aClass.getAnnotation(Component.class);
BeanDefinition beanDefinition = new BeanDefinition();
if (aClass.isAnnotationPresent(Scope.class)) {
Scope scope = aClass.getAnnotation(Scope.class);
beanDefinition.setScope(scope.value());
} else {
beanDefinition.setScope("singleton");
}
beanDefinition.setaClass(aClass);
String value = component.value();
if ("".equals(value)) {
beanDefinitionMap.put(beanName, beanDefinition);
} else {
beanDefinitionMap.put(value, beanDefinition);
}
}
}
扫描ComponentScan注解的方法体改一下
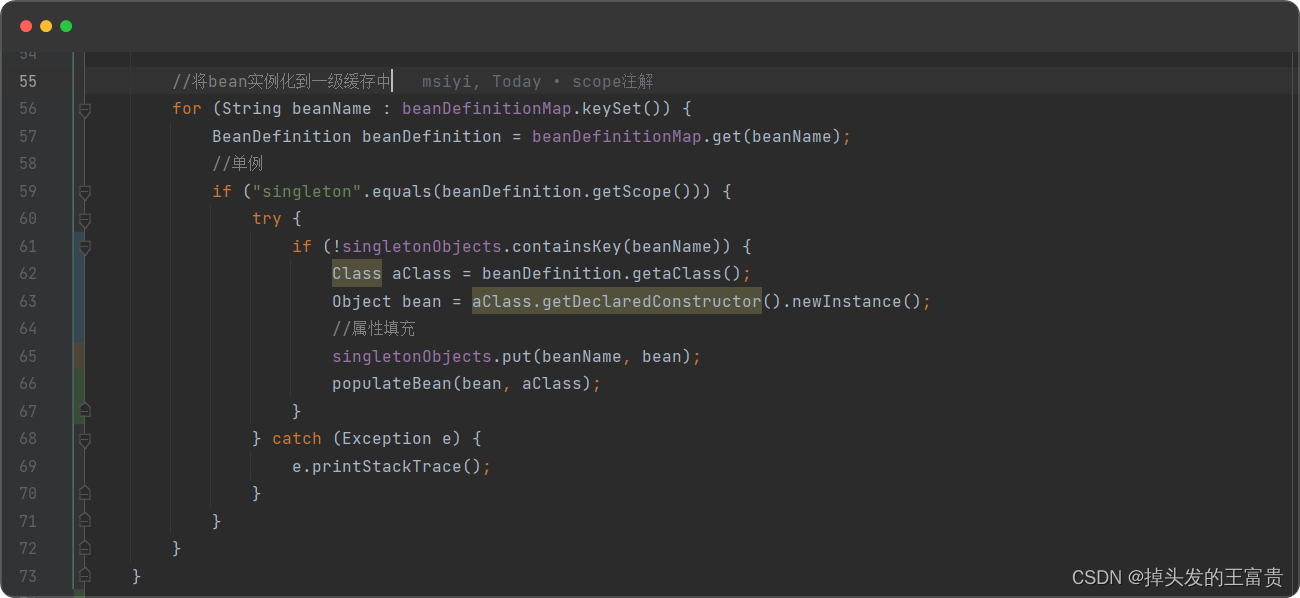
🚜然后我们从beanDefinitionMap中实例化bean
for (String beanName : beanDefinitionMap.keySet()) {
BeanDefinition beanDefinition = beanDefinitionMap.get(beanName);
if ("singleton".equals(beanDefinition.getScope())) {
try {
Object bean = beanDefinition.getaClass().getDeclaredConstructor().newInstance();
singletonObjects.put(beanName, bean);
} catch (Exception e) {
e.printStackTrace();
}
}
}
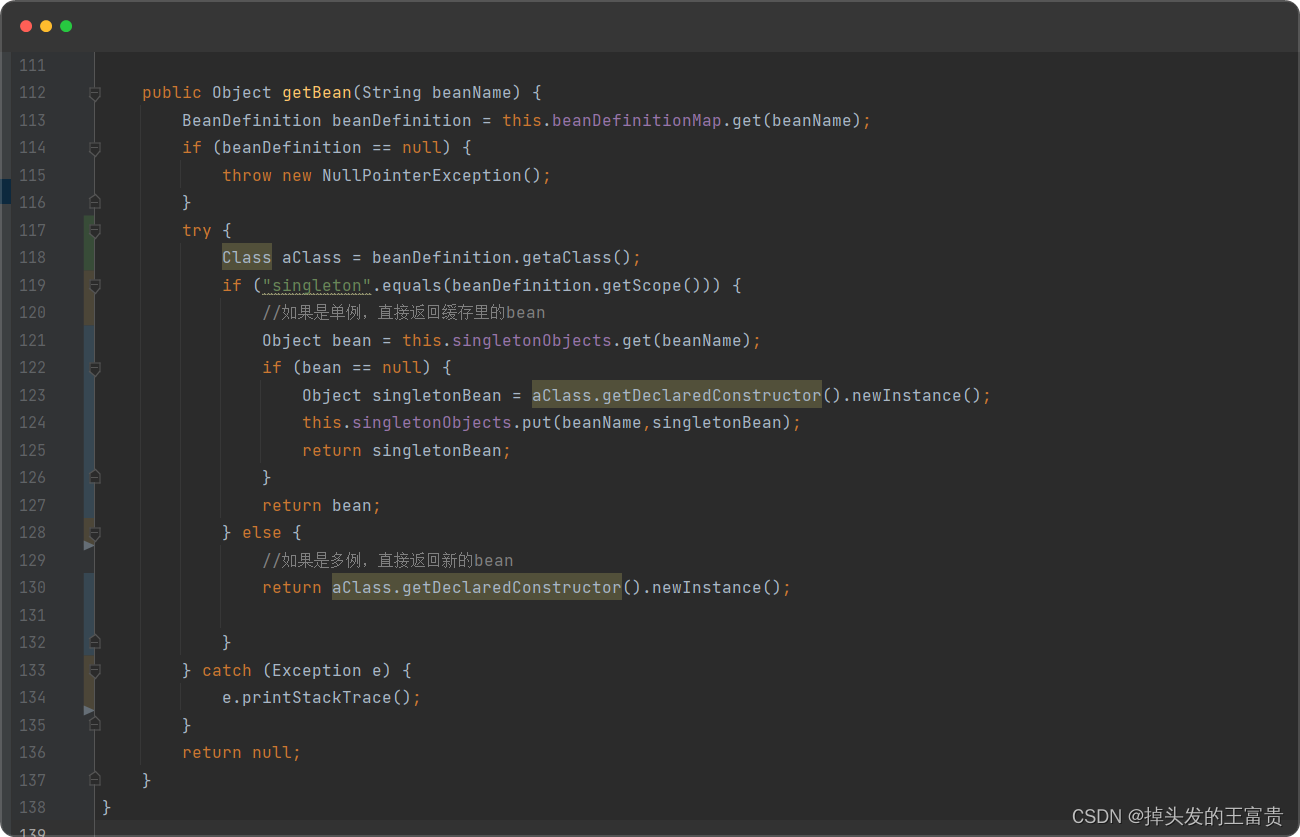
getBean方法也需要改造
public Object getBean(String beanName) {
BeanDefinition beanDefinition = this.beanDefinitionMap.get(beanName);
if (beanDefinition == null) {
throw new NullPointerException();
}
if ("singleton".equals(beanDefinition.getScope())) {
return this.singletonObjects.get(beanName);
} else {
try {
return beanDefinition.getaClass().getDeclaredConstructor().newInstance();
} catch (Exception e) {
e.printStackTrace();
}
}
return null;
}
🚙我们来看一下效果
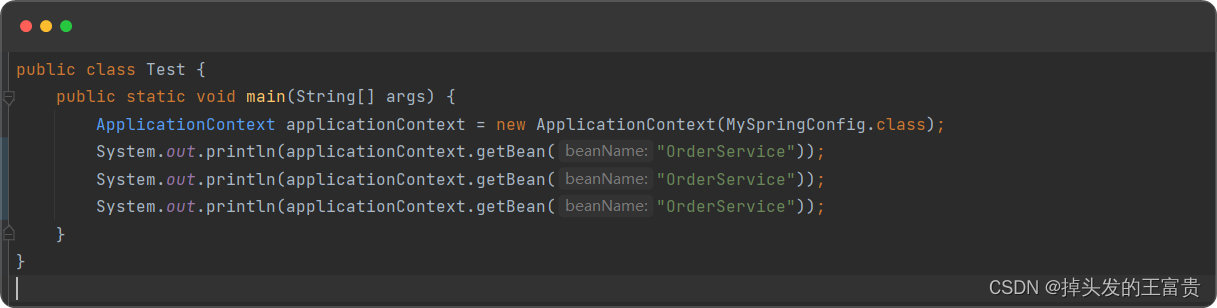
这是没有加scope注解
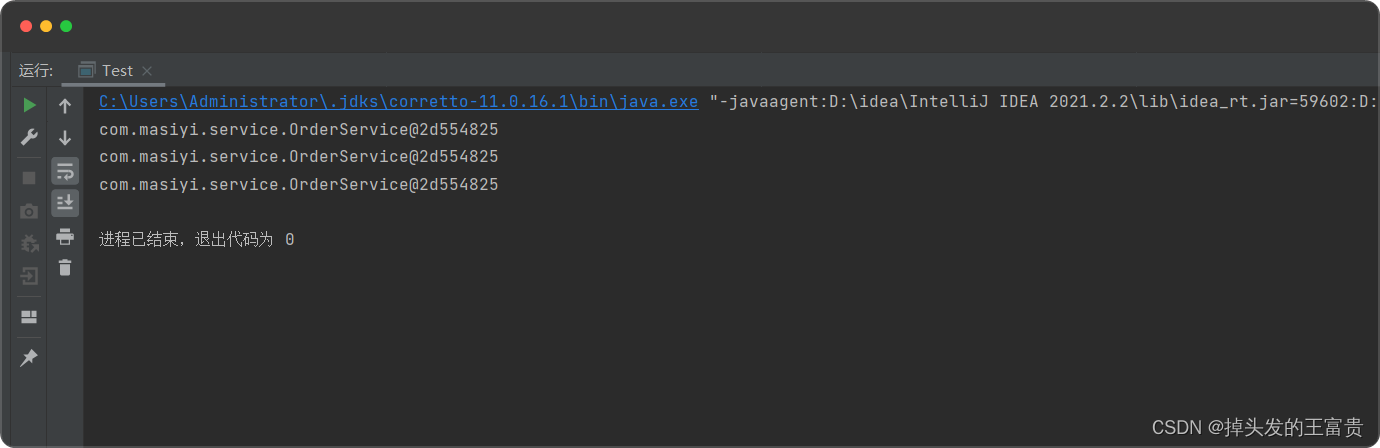
返回的bean都是一个对象
我们给bean加上scope注解
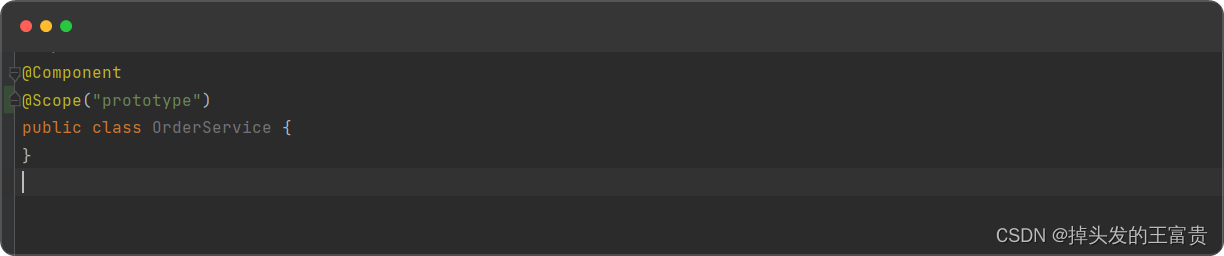
返回来的bean每个都不一样

🚘@Autowired注解
spring中实现依赖注入的注解
@Target({ElementType.CONSTRUCTOR, ElementType.METHOD, ElementType.PARAMETER, ElementType.FIELD, ElementType.ANNOTATION_TYPE})
@Retention(RetentionPolicy.RUNTIME)
public @interface Autowired {

}
🚗UserService类,orderservice注入该类
@Component("userService")
public class UserService {
}
@Component
public class OrderService {
    @Autowired
    private UserService userService;


    public UserService getUserService() {
        return userService;
    }
}
🚗要使@Autowired注解生效,将bean实例化到一级缓存中方法需要改造一下
新增populateBean方法,用来初始bean
    private void populateBean(Object bean, Class aClass) {
        Field[] declaredFields = aClass.getDeclaredFields();
        for (Field declaredField : declaredFields) {
            if (declaredField.isAnnotationPresent(Autowired.class)) {
                declaredField.setAccessible(true);
                try {
                    declaredField.set(bean, getBean(declaredField.getName()));
                } catch (IllegalAccessException e) {
                    e.printStackTrace();
                }
            }
        }
    }
getBean方法也需要改造一下
这样我们的orderservice里面的userservice就有值了

🚕BeanPostProcessor接口
该接口在显示调用初始化方法的前后添加我们自己的逻辑
public interface BeanPostProcessor {
default Object postProcessBeforeInitialization(Object bean, String beanName) {
return bean;
}
default Object postProcessAfterInitialization(Object bean, String beanName) {
return bean;
}
}
我们创建存储BeanPostProcessor的list

在扫描的时候添加BeanPostProcessor
🚖添加自己的BeanPostProcessor
@Component
public class OrderPostProcessor implements BeanPostProcessor {
@Override
public Object postProcessBeforeInitialization(Object bean, String beanName) {
System.out.println(beanName+"执行前");
return BeanPostProcessor.super.postProcessBeforeInitialization(bean, beanName);
}
@Override
public Object postProcessAfterInitialization(Object bean, String beanName) {
System.out.println(beanName+"执行后");
return BeanPostProcessor.super.postProcessAfterInitialization(bean, beanName);
}
}
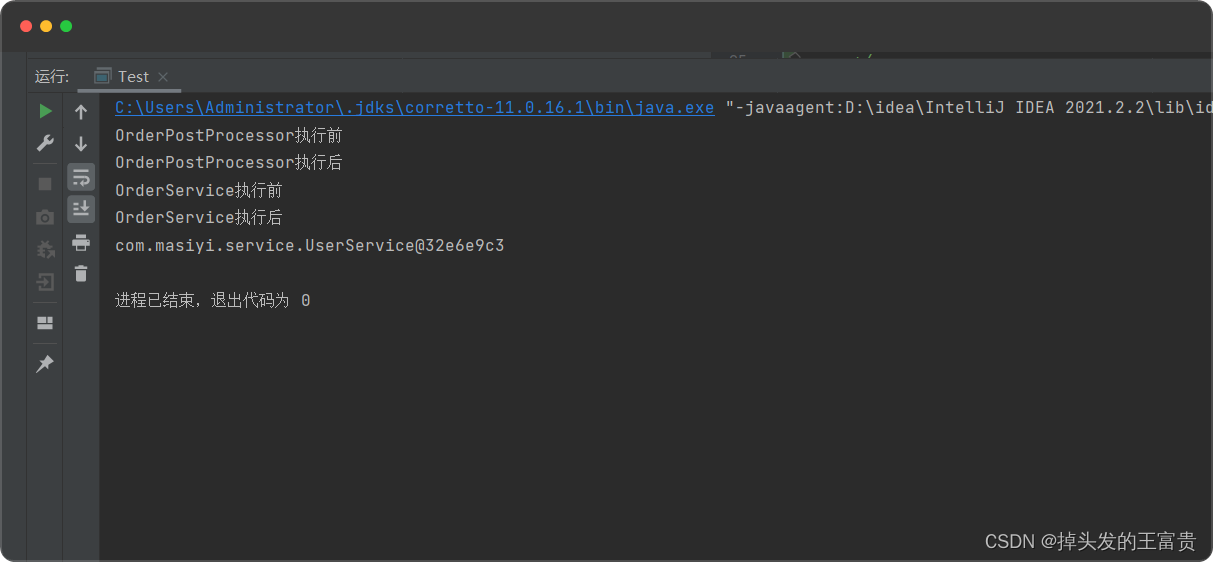
实例化的时候执行BeanPostProcessor逻辑
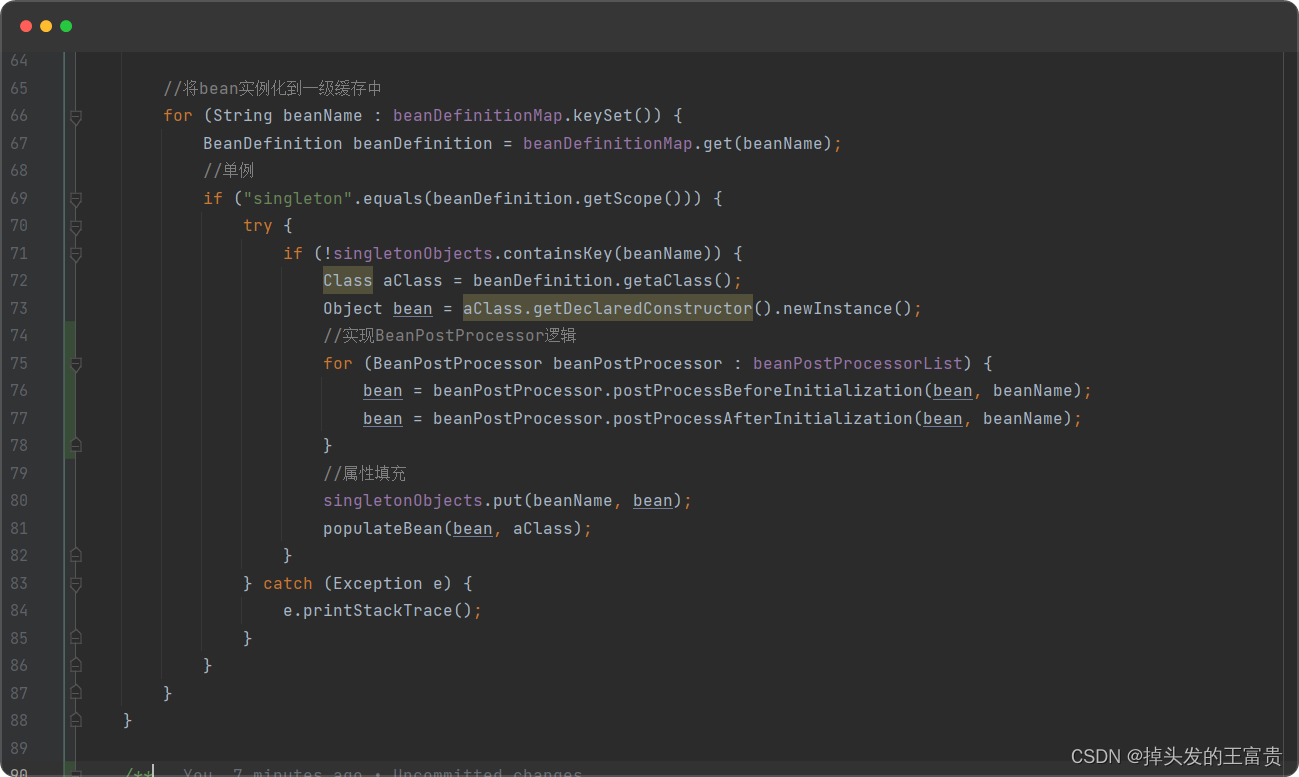
运行结果
🚛Aop
jdk的动态代理是基于接口生成的代理对象
public interface OrderInterface {
    void test();
}

在OrderPostProcessor类中加以改造
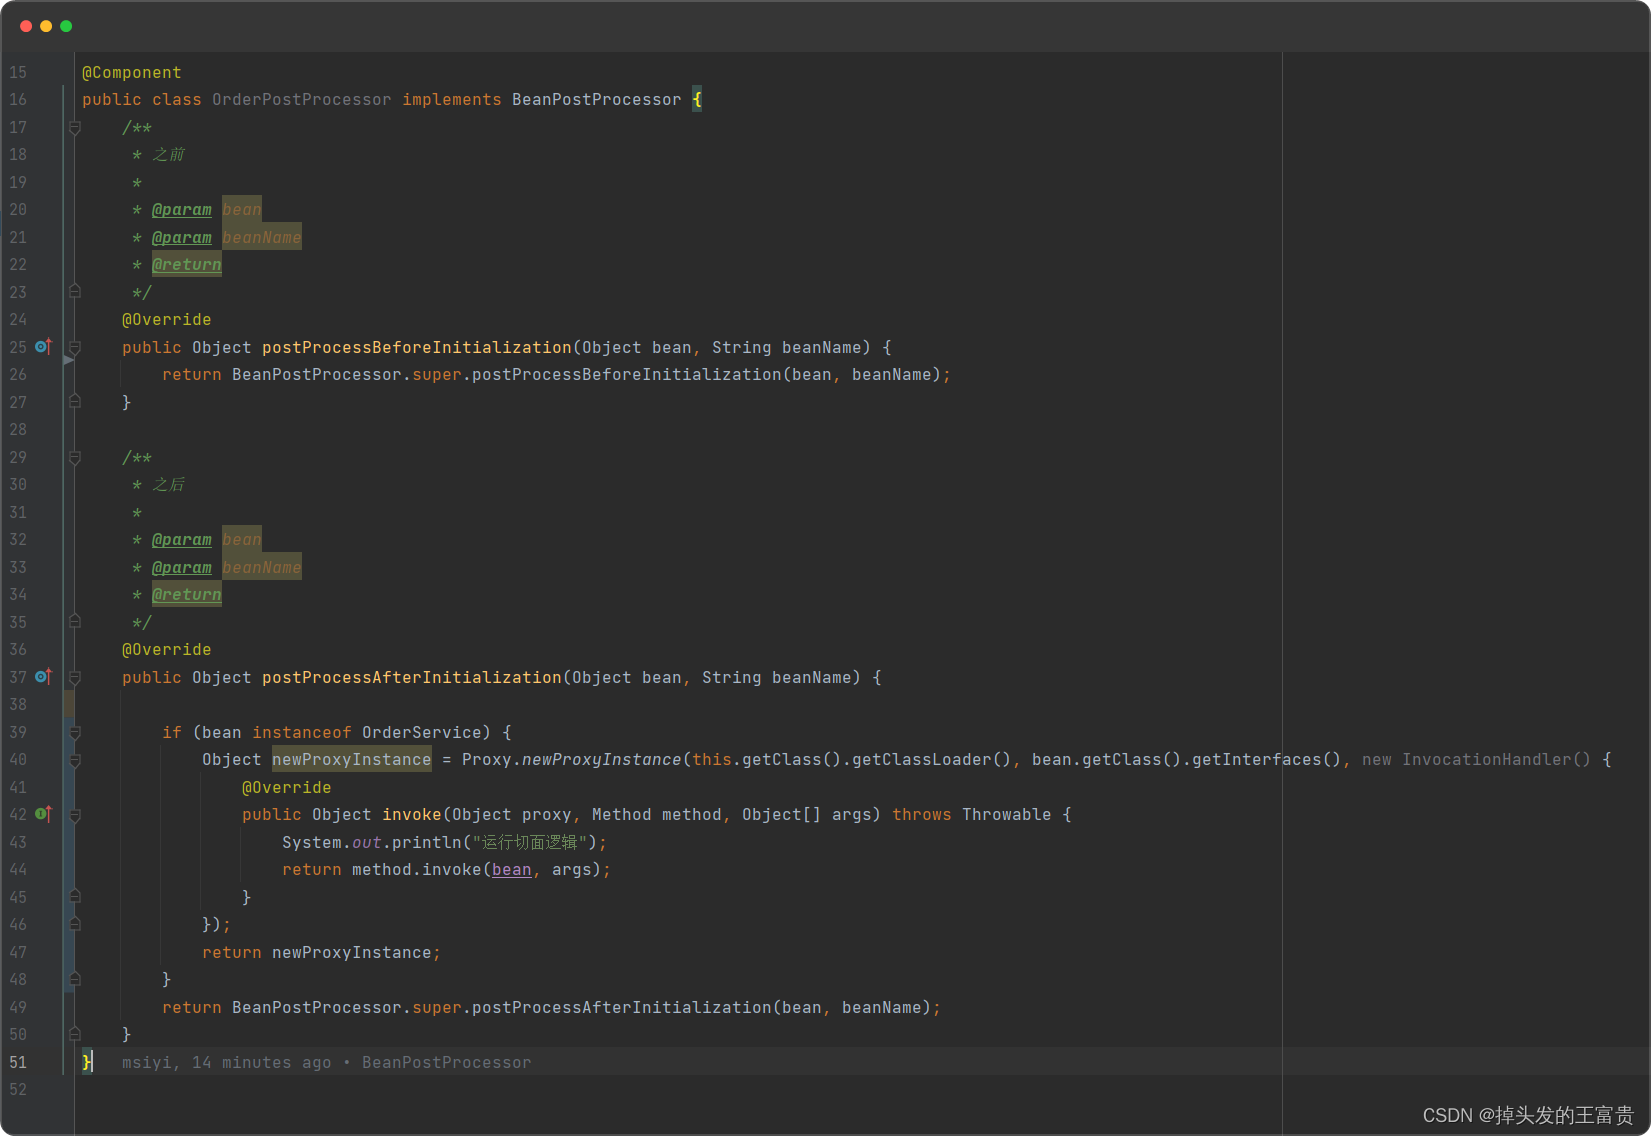
这样我们就可以动态代理切入我们的orderservice类


以上就是全部内容
实现了以下
- 🚀@ComponentScan注解
- ✈️@Component注解
- 🚁ApplicationContext类
- 🚡@Scope注解
- 🚟BeanDefinition 类
- 🚘@Autowired注解
- 🚕BeanPostProcessor接口
- 🚛Aop
内容,完成了一个超级简单且基础的spring源码
项目源码
博客码了两天,创作不易,多多点赞

本文内容由网友自发贡献,版权归原作者所有,本站不承担相应法律责任。如您发现有涉嫌抄袭侵权的内容,请联系:hwhale#tublm.com(使用前将#替换为@)