用D435i录制自己的数据集运行ORBslam2并构建稠密点云

2023-05-16

一、录制rosbag

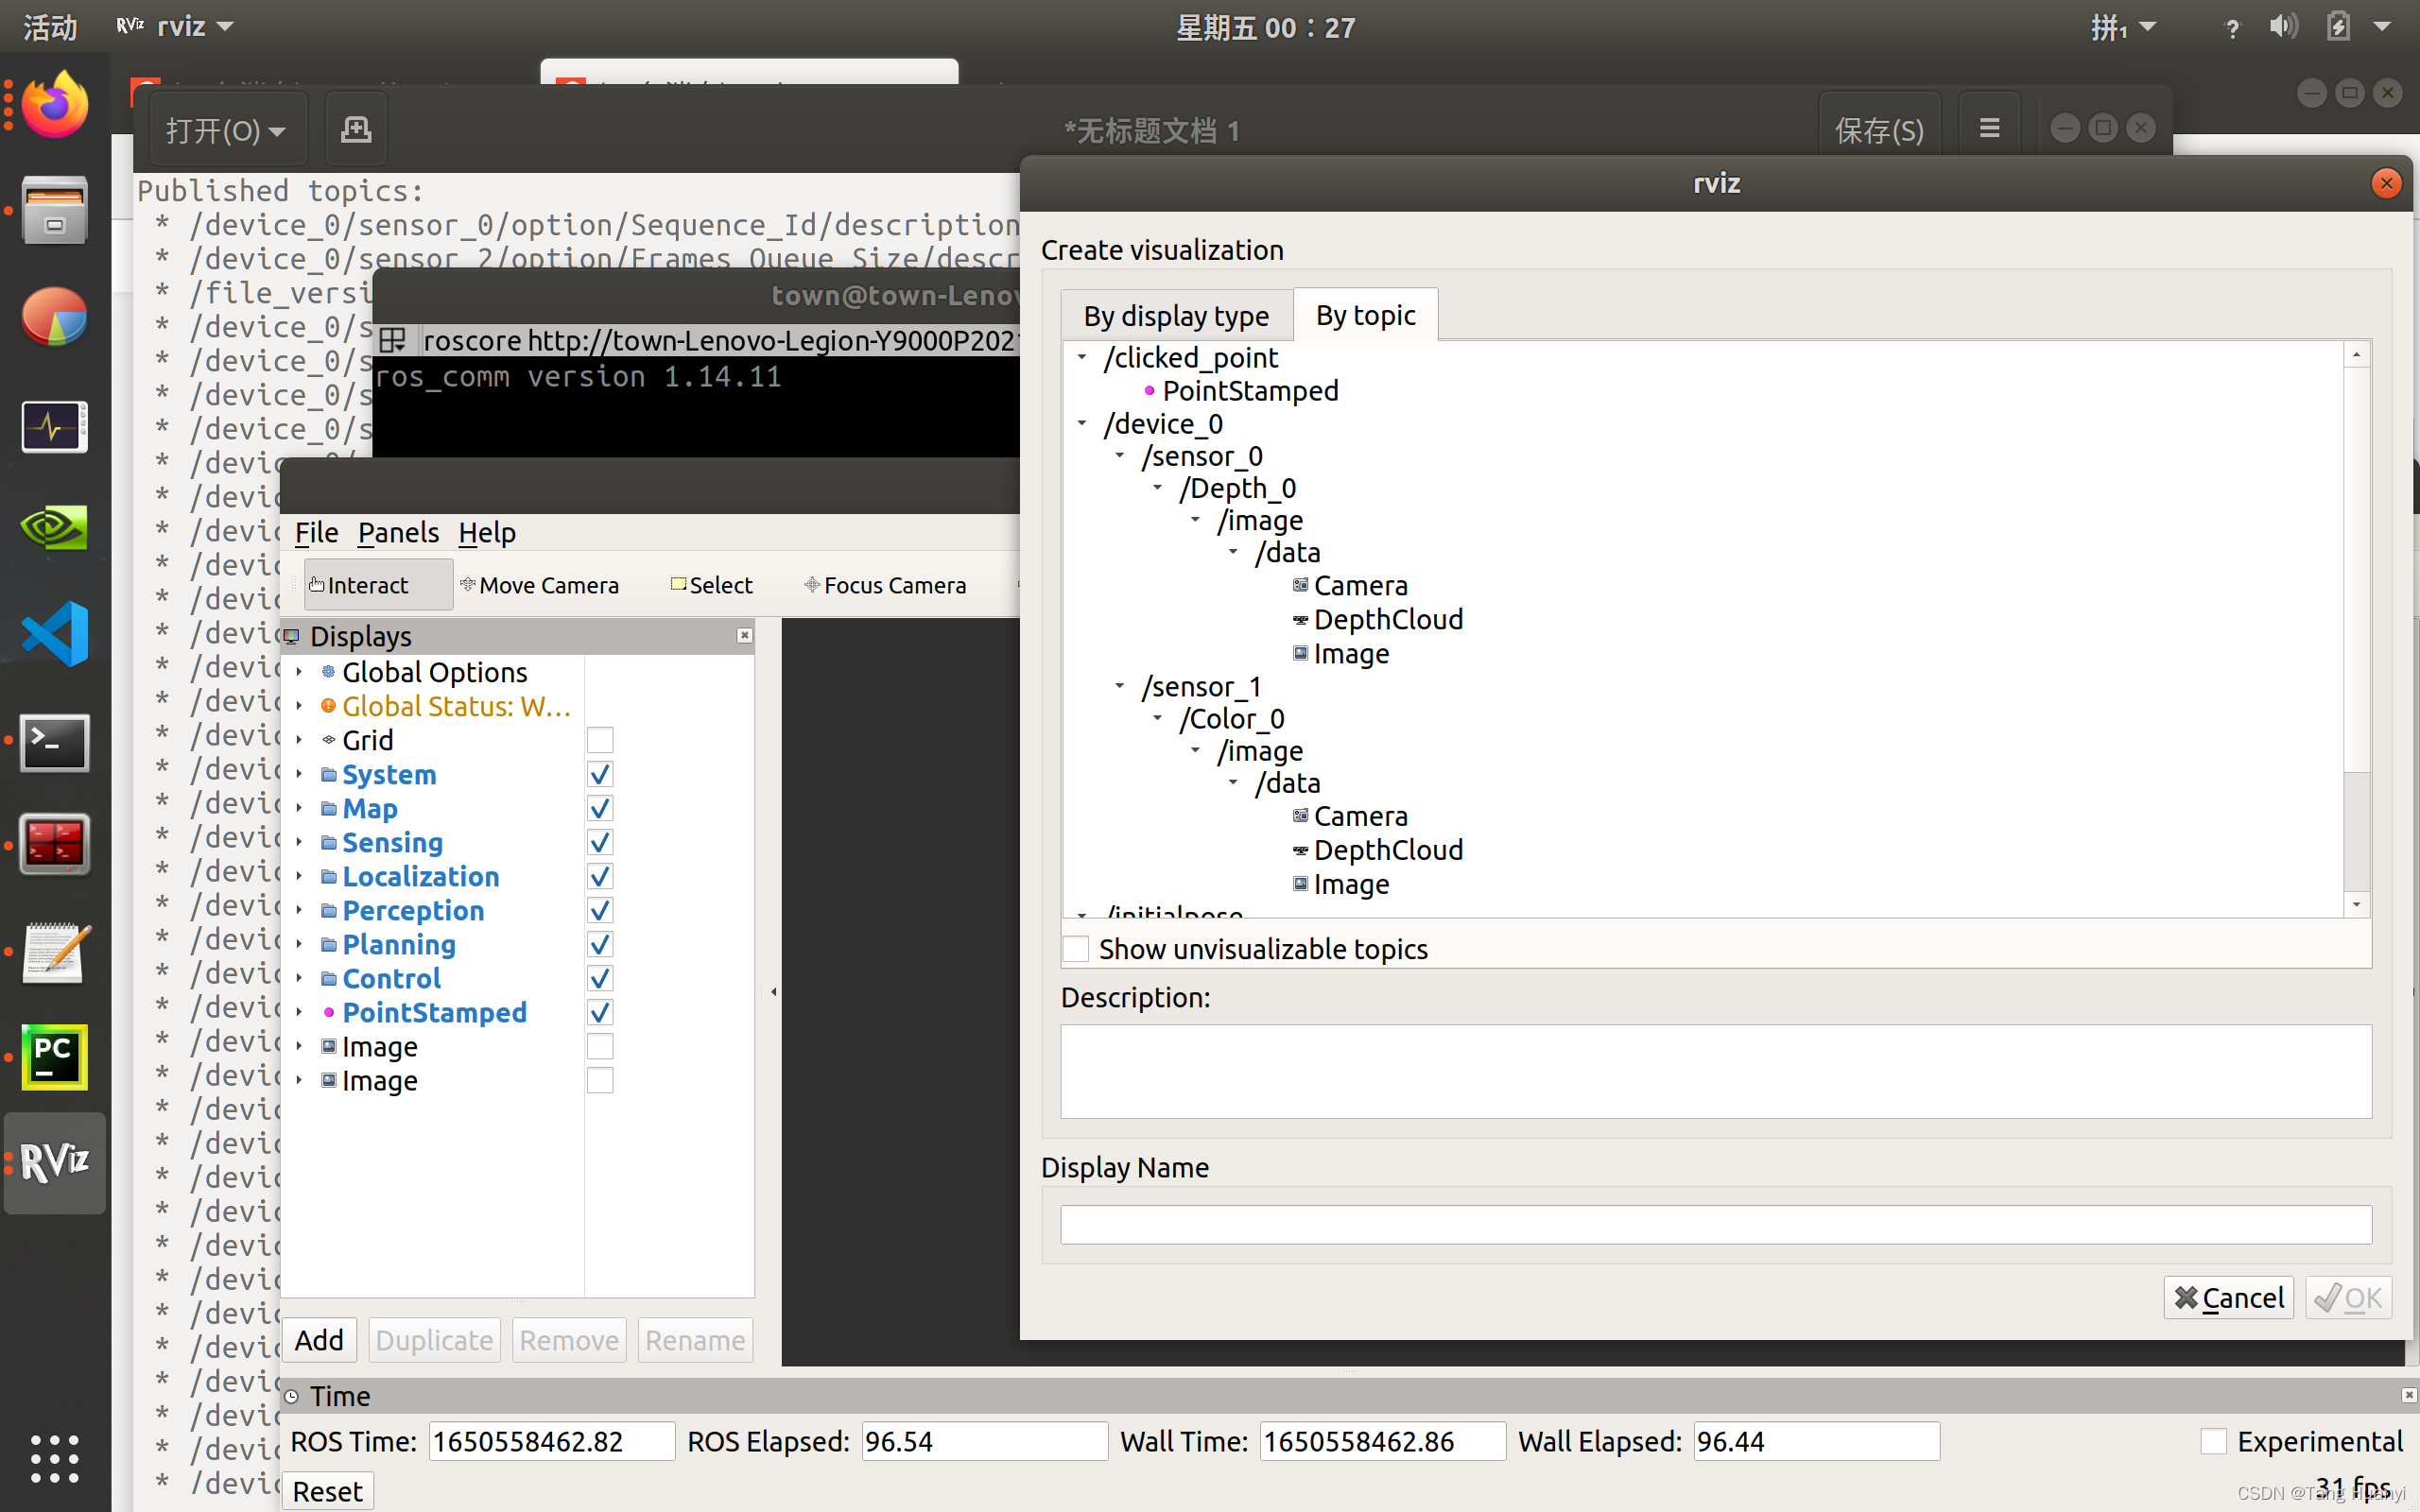
二、播放rosbag并用rviz查看topic,记下rgb和depth流话题名

在这里插入图片描述

三、用如下脚本(python2而不是3)保存rgb和depth图片同时生成rgb.txt、depth.txt

import roslib
import rosbag
import rospy
import cv2
import os
from sensor_msgs.msg import Image
from cv_bridge import CvBridge
from cv_bridge import CvBridgeError

rgb = '/home/town/data/dataset/rgb/'  #rgb path
depth = '/home/town/data/dataset/depth/'   #depth path
bridge = CvBridge()

file_handle1 = open('/home/town/data/dataset/rgb.txt', 'w')
file_handle2 = open('/home/town/data/dataset/depth.txt', 'w')

with rosbag.Bag('/home/town/data/20220423_054352.bag', 'r') as bag:
    for topic,msg,t in bag.read_messages():

        if topic == "/device_0/sensor_1/Color_0/image/data":   #rgb topic
            cv_image = bridge.imgmsg_to_cv2(msg,"bgr8")
            timestr = "%.6f" %  msg.header.stamp.to_sec()   #rgb time stamp
            image_name = timestr+ ".png"
            path = "rgb/" + image_name
            file_handle1.write(timestr + " " + path + '\n')
            cv2.imwrite(rgb + image_name, cv_image)

        if topic == "/device_0/sensor_0/Depth_0/image/data":  #depth topic
            cv_image = bridge.imgmsg_to_cv2(msg)
            #cv_image = bridge.imgmsg_to_cv2(msg, '32FC1')
            #cv_image = cv_image * 255
            timestr = "%.6f" %  msg.header.stamp.to_sec()   #depth time stamp
            image_name = timestr+ ".png"
            path = "depth/" + image_name
            file_handle2.write(timestr + " " + path + '\n')
            cv2.imwrite(depth + image_name, cv_image)
file_handle1.close()
file_handle2.close()

可以把alias python='/usr/bin/python2.7’写进bashrc,用完后记得注释掉。

四、用该脚本associate.py生成associate.txt

import argparse
import sys
import os
import numpy
 
 
def read_file_list(filename):
    """
    Reads a trajectory from a text file. 
     
    File format:
    The file format is "stamp d1 d2 d3 ...", where stamp denotes the time stamp (to be matched)
    and "d1 d2 d3.." is arbitary data (e.g., a 3D position and 3D orientation) associated to this timestamp. 
     
    Input:
    filename -- File name
     
    Output:
    dict -- dictionary of (stamp,data) tuples
     
    """
    file = open(filename)
    data = file.read()
    lines = data.replace(","," ").replace("\t"," ").split("\n") 
    list = [[v.strip() for v in line.split(" ") if v.strip()!=""] for line in lines if len(line)>0 and line[0]!="#"]
    list = [(float(l[0]),l[1:]) for l in list if len(l)>1]
    return dict(list)
 
def associate(first_list, second_list,offset,max_difference):
    """
    Associate two dictionaries of (stamp,data). As the time stamps never match exactly, we aim 
    to find the closest match for every input tuple.
     
    Input:
    first_list -- first dictionary of (stamp,data) tuples
    second_list -- second dictionary of (stamp,data) tuples
    offset -- time offset between both dictionaries (e.g., to model the delay between the sensors)
    max_difference -- search radius for candidate generation
 
    Output:
    matches -- list of matched tuples ((stamp1,data1),(stamp2,data2))
     
    """
    first_keys = first_list.keys()
    second_keys = second_list.keys()
    potential_matches = [(abs(a - (b + offset)), a, b) 
                         for a in first_keys 
                         for b in second_keys 
                         if abs(a - (b + offset)) < max_difference]
    potential_matches.sort()
    matches = []
    for diff, a, b in potential_matches:
        if a in first_keys and b in second_keys:
            first_keys.remove(a)
            second_keys.remove(b)
            matches.append((a, b))
     
    matches.sort()
    return matches
 
if __name__ == '__main__':
     
    # parse command line
    parser = argparse.ArgumentParser(description='''
    This script takes two data files with timestamps and associates them   
    ''')
    parser.add_argument('first_file', help='first text file (format: timestamp data)')
    parser.add_argument('second_file', help='second text file (format: timestamp data)')
    parser.add_argument('--first_only', help='only output associated lines from first file', action='store_true')
    parser.add_argument('--offset', help='time offset added to the timestamps of the second file (default: 0.0)',default=0.0)
    parser.add_argument('--max_difference', help='maximally allowed time difference for matching entries (default: 0.02)',default=0.02)
    args = parser.parse_args()
 
    first_list = read_file_list(args.first_file)
    second_list = read_file_list(args.second_file)
 
    matches = associate(first_list, second_list,float(args.offset),float(args.max_difference))    
 
    if args.first_only:
        for a,b in matches:
            print("%f %s"%(a," ".join(first_list[a])))
    else:
        for a,b in matches:
            print("%f %s %f %s"%(a," ".join(first_list[a]),b-float(args.offset)," ".join(second_list[b])))
python2 associate.py depth.txt rgb.txt > associate.txt

python2 associate.py rgb.txt depth.txt > associate.txt

确保associate.txt内rgb在前?

五、测试

/Examples/RGB-D/rgbd_tum Vocabulary/ORBvoc.txt Examples/RGB-D/TUM1.yaml ./rgbd_dataset_freiburg1_desk/  ./fr1_desk.txt
/Examples/RGB-D/rgbd_tum ./Vocabulary/ORBvoc.txt ./Examples/RGB-D/D435i.yaml ./dataset/ ./dataset/associate.txt

在这里插入图片描述

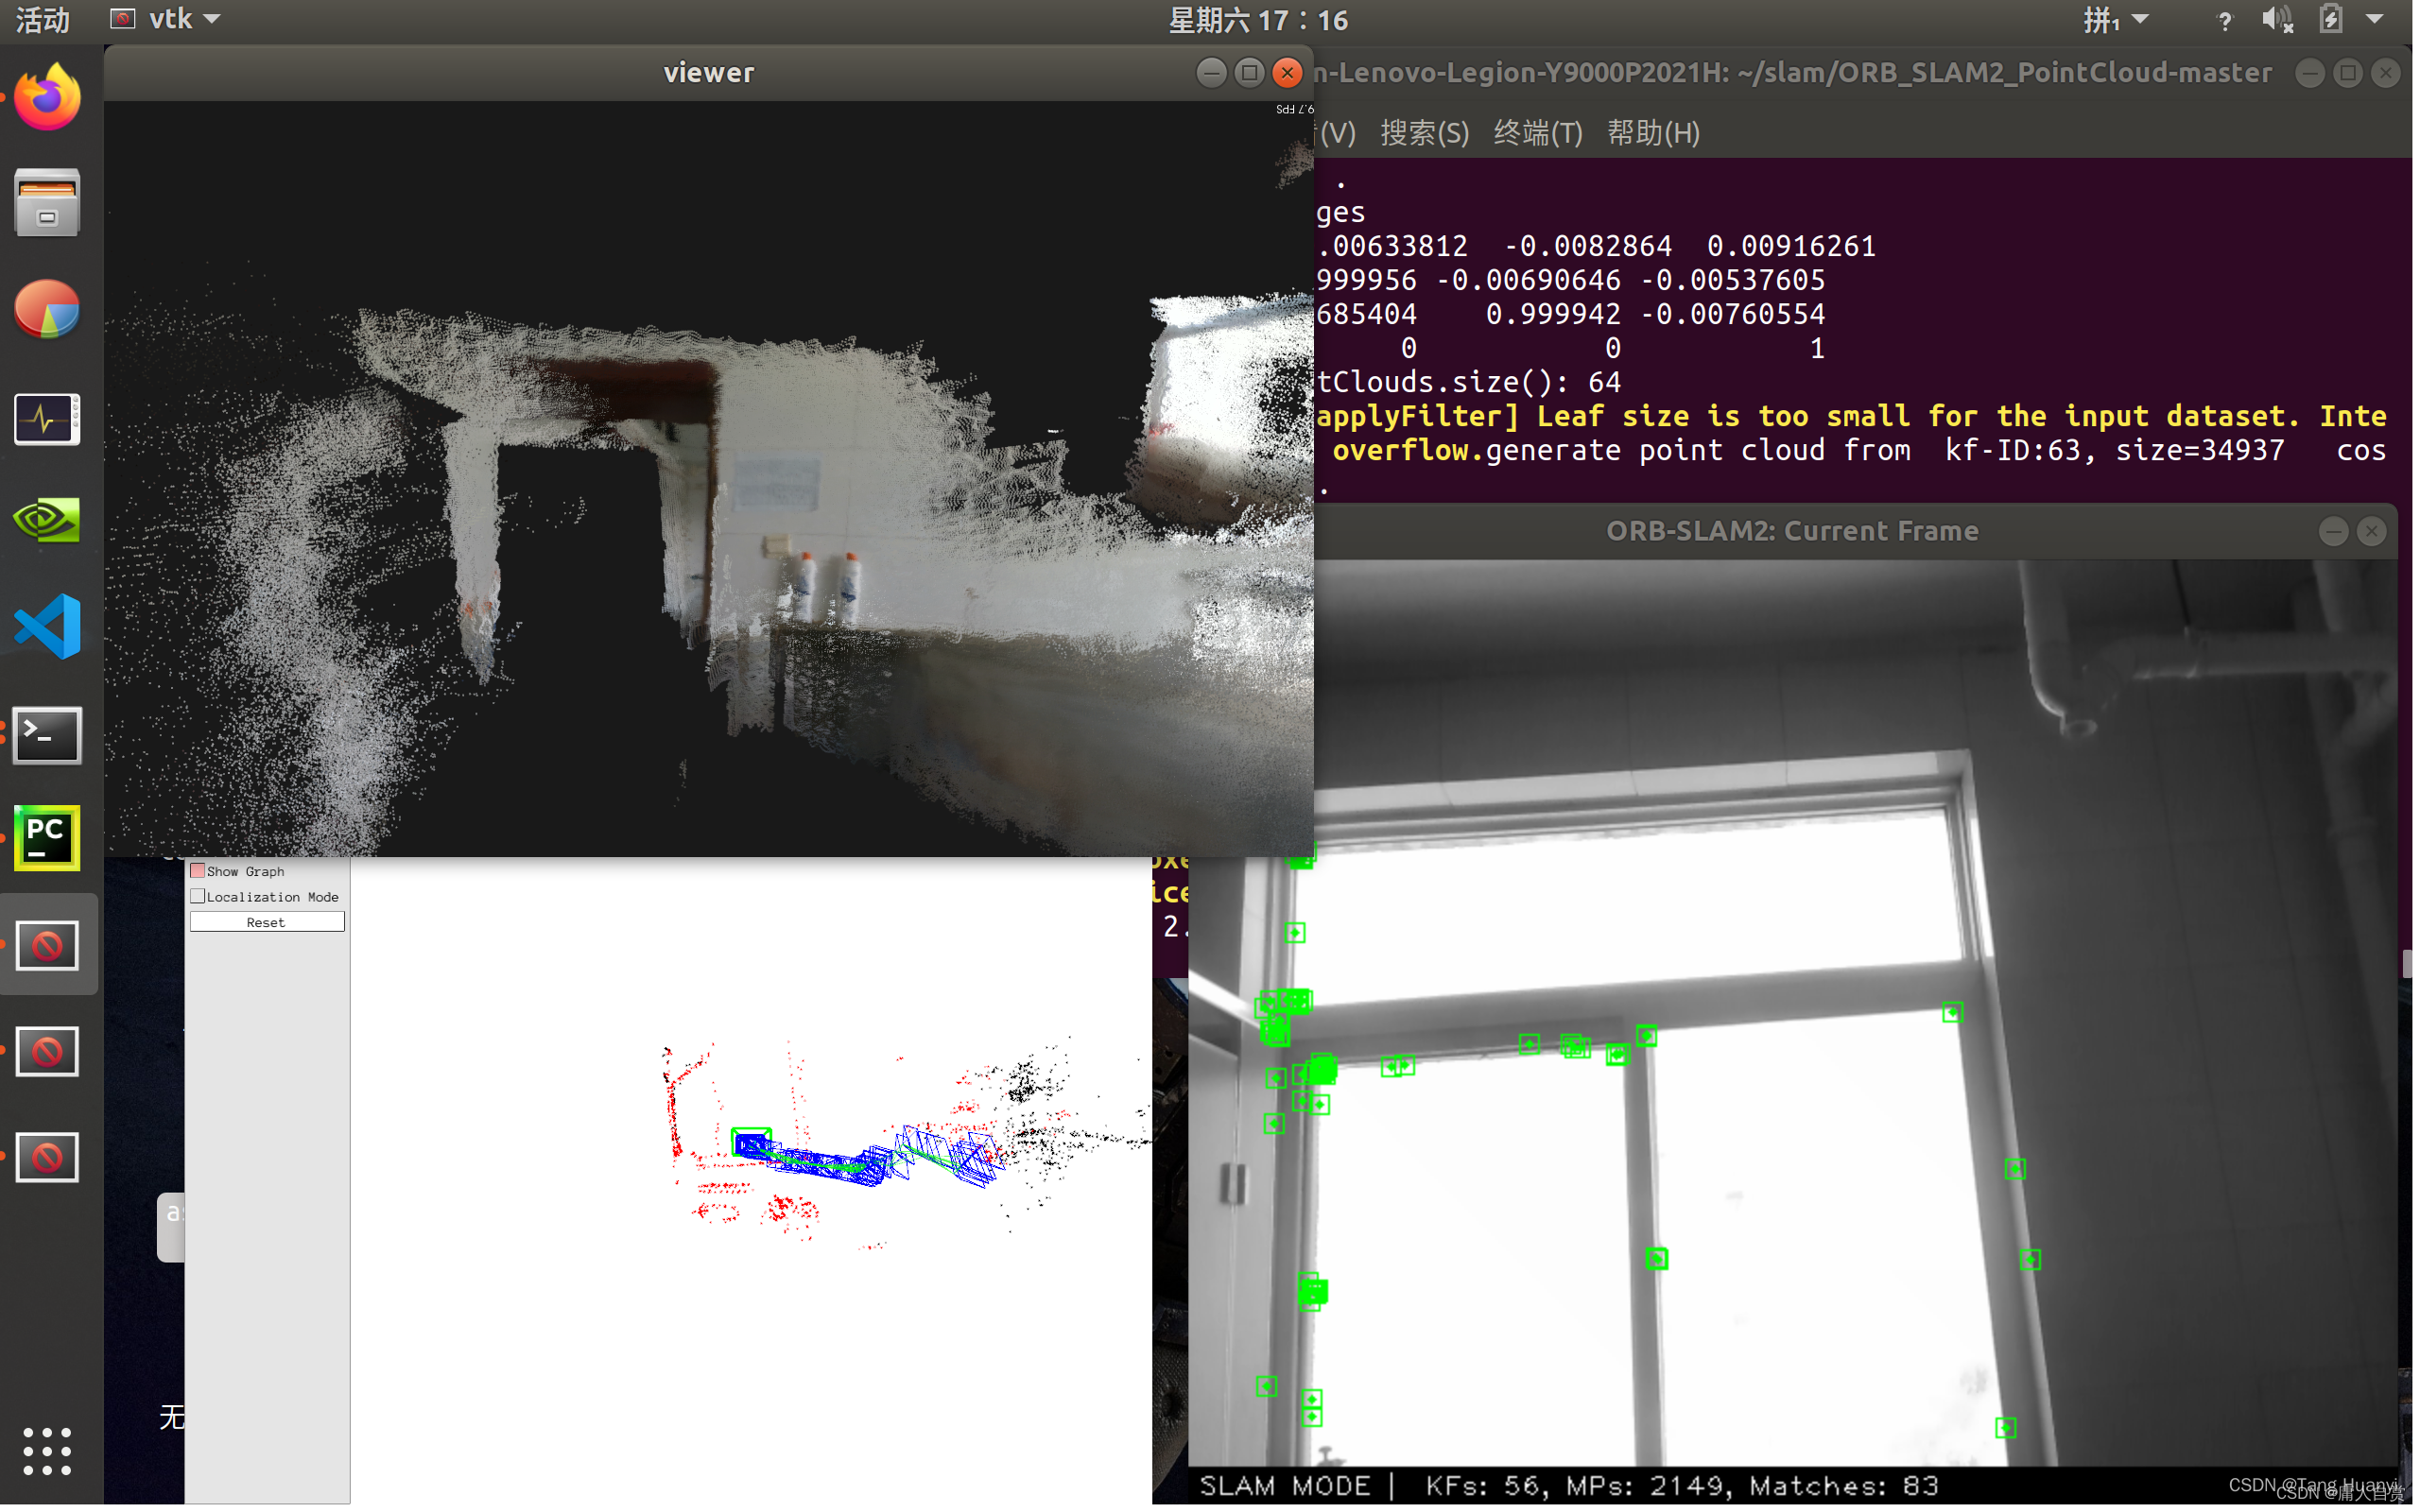
若遇到Track lost soon after initialisation, reseting…,不妨把数据集前一部分图片舍弃后再试试。

#附一份D435i.yaml

%YAML:1.0

#--------------------------------------------------------------------------------------------
# Camera Parameters. Adjust them!
#--------------------------------------------------------------------------------------------

# Camera calibration and distortion parameters (OpenCV) 
Camera.fx: 615.9417724609375
Camera.fy: 616.0935668945312
Camera.cx: 322.3533630371094
Camera.cy: 240.44674682617188

Camera.k1: 0.0
Camera.k2: 0.0
Camera.p1: 0.0
Camera.p2: 0.0
Camera.p3: 0.0

Camera.width: 640
Camera.height: 480

# Camera frames per second 
Camera.fps: 30.0

# IR projector baseline times fx (aprox.)
# bf = baseline (in meters) * fx, D435i的 baseline = 50 mm 
Camera.bf: 30.797   

# Color order of the images (0: BGR, 1: RGB. It is ignored if images are grayscale)
Camera.RGB: 1

# Close/Far threshold. Baseline times.
ThDepth: 40.0

# Deptmap values factor
DepthMapFactor: 1000.0

#--------------------------------------------------------------------------------------------
# ORB Parameters
#--------------------------------------------------------------------------------------------

# ORB Extractor: Number of features per image
ORBextractor.nFeatures: 1000

# ORB Extractor: Scale factor between levels in the scale pyramid 	
ORBextractor.scaleFactor: 1.2

# ORB Extractor: Number of levels in the scale pyramid	
ORBextractor.nLevels: 8

# ORB Extractor: Fast threshold
# Image is divided in a grid. At each cell FAST are extracted imposing a minimum response.
# Firstly we impose iniThFAST. If no corners are detected we impose a lower value minThFAST
# You can lower these values if your images have low contrast			
ORBextractor.iniThFAST: 20
ORBextractor.minThFAST: 7

#--------------------------------------------------------------------------------------------
# Viewer Parameters
#--------------------------------------------------------------------------------------------
Viewer.KeyFrameSize: 0.05
Viewer.KeyFrameLineWidth: 1
Viewer.GraphLineWidth: 0.9
Viewer.PointSize: 2
Viewer.CameraSize: 0.08
Viewer.CameraLineWidth: 3
Viewer.ViewpointX: 0
Viewer.ViewpointY: -0.7
Viewer.ViewpointZ: -1.8
Viewer.ViewpointF: 500

T265.yaml

%YAML:1.0

#--------------------------------------------------------------------------------------------
# Camera Parameters. Adjust them!
#--------------------------------------------------------------------------------------------
Camera.type: "PinHole"

# Camera calibration and distortion parameters (OpenCV) 
Camera.fx: 286.419189453125
Camera.fy: 286.384307861328
Camera.cx: 101.355010986328
Camera.cy: 102.183197021484

Camera.k1: 0.0
Camera.k2: 0.0
Camera.p1: 0.0
Camera.p2: 0.0

Camera.width: 848
Camera.height: 800

# Camera frames per second 
Camera.fps: 30.0

# IR projector baseline times fx (aprox.)
Camera.bf: 40.0

# Color order of the images (0: BGR, 1: RGB. It is ignored if images are grayscale)
Camera.RGB: 1

# Close/Far threshold. Baseline times.
ThDepth: 40.0

# Deptmap values factor
DepthMapFactor: 1.0

#--------------------------------------------------------------------------------------------
# ORB Parameters
#--------------------------------------------------------------------------------------------

# ORB Extractor: Number of features per image
ORBextractor.nFeatures: 1000

# ORB Extractor: Scale factor between levels in the scale pyramid   
ORBextractor.scaleFactor: 1.2

# ORB Extractor: Number of levels in the scale pyramid  
ORBextractor.nLevels: 8

# ORB Extractor: Fast threshold
# Image is divided in a grid. At each cell FAST are extracted imposing a minimum response.
# Firstly we impose iniThFAST. If no corners are detected we impose a lower value minThFAST
# You can lower these values if your images have low contrast           
ORBextractor.iniThFAST: 20
ORBextractor.minThFAST: 7

#--------------------------------------------------------------------------------------------
# Viewer Parameters
#--------------------------------------------------------------------------------------------
Viewer.KeyFrameSize: 0.05
Viewer.KeyFrameLineWidth: 1
Viewer.GraphLineWidth: 0.9
Viewer.PointSize: 2
Viewer.CameraSize: 0.08
Viewer.CameraLineWidth: 3
Viewer.ViewpointX: 0
Viewer.ViewpointY: -0.7
Viewer.ViewpointZ: -1.8
Viewer.ViewpointF: 500

https://dgzc.ganahe.top/ganahe/2021/wrjzzdhcgqtgrfbh.html

本文内容由网友自发贡献,版权归原作者所有,本站不承担相应法律责任。如您发现有涉嫌抄袭侵权的内容,请联系:hwhale#tublm.com(使用前将#替换为@)

用D435i录制自己的数据集运行ORBslam2并构建稠密点云 的相关文章

随机推荐

  • openshift/origin学习记录(0)——Ansible安装多节点openshift集群

    本节内容是基于Ansible Playbook自动部署openshift集群 xff0c 之后几节内容会通过一个AllInOne的集群手动添加组件 xff0c 研究实现的流程 本部分内容是3 6 0 xff0c 可能不适用3 6 1 xff
  • openshift/origin学习记录(9)——S2I镜像定制(基于Git)

    参考 开源容器云Openshift 一书 xff0c 制作一个Tomcat的S2I镜像 xff08 从Git下载代码 xff0c Maven打包 xff0c 部署到Tomcat上 xff09 从Svn下载代码的S2I镜像可以参考https
  • Docker学习记录(4)——docker pull默认从本地镜像仓库拉取镜像

    主机操作系统为Centos7 3 xff0c 内网环境下使用docker pull xff0c 直接从本地镜像仓库下载镜像 本地镜像仓库的搭建方法多样 xff0c 这里不做记录 我的本地镜像仓库的地址为master example com
  • Centos7.2学习记录(4)——调整root和home大小

    df h查看磁盘使用情况 备份 home文件夹下内容 span class hljs preprocessor cp r home homebak span 卸载 home span class hljs preprocessor umou
  • ubuntu的终端log怎么保存

    script screen log 之后再在终端的输入就被记在screen log exit 退出
  • HDU 1215 七夕节(约数之和)

    七夕节 Time Limit 2000 1000 MS Java Others Memory Limit 65536 32768 K Java Others Total Submission s 39837 Accepted Submiss
  • 为什么无穷大总是0x3f3f3f3f?

    转自 http aikilis tk 如果问题中各数据的范围明确 xff0c 那么无穷大的设定不是问题 xff0c 在不明确的情况下 xff0c 很多程序 员都取0x7fffffff作为无穷大 xff0c 因为这是32 bit int的最大
  • CSU 1333 & Uva 12661 Funny Car Racing【最短路变形+spfa算法,链式前向星建图】

    Funny Car Racing Memory Limit 131072KB64bit IO Format lld amp llu Status Description There is a funny car racing in a ci
  • 根据Oracle数据库scott模式下的scott.emp表和dept表,完成下列操作.

    题目要求 xff1a 根据Oracle数据库scott模式下的emp表和dept表 xff0c 完成下列操作 将scott用户解锁 xff1a alter user scott account unlock scott的初始密码是tiger
  • 【死磕 Java 集合】— ConcurrentSkipListMap源码分析

    转自 xff1a http cmsblogs com p 61 4773 隐藏目录 前情提要简介存储结构源码分析 主要内部类构造方法添加元素添加元素举例删除元素删除元素举例查找元素查找元素举例彩蛋 作者 xff1a 彤哥 出处 xff1a
  • STL-set (集合)之删除元素

    set概述 和vector list不同 xff0c set map都是关联式容器 set内部是基于红黑树实现的 插入和删除操作效率较高 xff0c 因为只需要修改相关指针而不用进行数据的移动 在进行数据删除操作后 xff0c 迭代器会不会
  • 经典算法之一:快速排序

    快速排序由于排序效率在同为O N logN 的几种排序方法中效率较高 xff0c 因此经常被采用 xff0c 再加上快速排序思想 分治法也确实实用 xff0c 因此很多软件公司的笔试面试 xff0c 包括像腾讯 xff0c 微软等知名IT公
  • 矩阵乘法测试

    对于时间的函数 gettimeofday 函数使用方法 xff1a http blog csdn net hurmishine article details 60326345 矩阵乘法测试 xff1a 代码 xff1a 1 为了试验简单
  • Python爬虫自动获取CSDN博客收藏文章

    CSDN的Python创意编程活动开始第一天就看到了 xff0c 但是认为自己是菜鸟 xff0c 就向当 吃瓜群众 xff0c 后来看到有好多人的代码是关于爬虫的 xff0c 当初我就是由于对爬虫 感兴趣才自学的Python 现在也打算参加
  • 全网最!详!细!Tarjan算法讲解。

    Tarjan算法讲解的博客网上找到三篇比较好的 现在都转载了 个人只研究了第一篇 正如博主所说 讲的标比较详细 清晰 剩下两篇也可以看一下 卿学姐视频讲解 https www bilibili com video av7330663 以下内
  • MFC计算机图形学(1)

    这学期上了计算机图形学 xff0c 用MFC来绘制简单的图形 下面就简单介绍一下用cv 43 43 来绘制图形 VC 43 43 安装 VC 43 43 我基本不用的 xff0c 平时写C C 43 43 的代码都用Code Blocks
  • MFC计算机图形学(2)

    这里呢 xff0c 先把上一讲的联系讲一下 一般人都用是一个一个的去画 xff0c 但是那样好麻烦 xff0c 计算机的有点就是容易处理重复的事情 xff0c 那就定义成一个画正方形函数吧 xff0c 每次调用就可以了 怎么自定义函数呢 x
  • MFC计算机图形学(3)

    之前我们已经可以画出直线和曲线了 但是算法虽容易理解 xff0c 但是复杂度高 xff0c 今天就介绍比较流行的DDA画线法 xff0c 还有 xff0c 对鼠标进行事件有所响应 xff0c 即 xff0c 在画板上 xff0c 鼠标左键单
  • Ubuntu18.04安装realsense viewer

    一 下载realsense安装包 mkdir p librealsense install cd librealsense install git clone b v2 31 0 https github com IntelRealSens
  • 用D435i录制自己的数据集运行ORBslam2并构建稠密点云

    一 录制rosbag 二 播放rosbag并用rviz查看topic xff0c 记下rgb和depth流话题名 三 用如下脚本 xff08 python2而不是3 xff09 保存rgb和depth图片同时生成rgb txt depth