简介
在现实世界中,我们常常需要等待其它任务完成,才能继续执行下一步。Java实现等待子线程完成再继续执行的方式很多。我们来一一查看一下。
Thread的join方法
该方法是Thread提供的方法,调用join()时,会阻塞主线程,等该Thread完成才会继续执行,代码如下:
private static void threadJoin() {
  List<Thread> threads = new ArrayList<>();

  for (int i = 0; i < NUM; i++) {
    Thread t = new Thread(new PkslowTask("Task " + i));
    t.start();
    threads.add(t);
  }
  threads.forEach(t -> {
    try {
      t.join();
    } catch (InterruptedException e) {
      throw new RuntimeException(e);
    }
  });

  System.out.println("threadJoin Finished All Tasks...");

}
结果:
Task 6 is running
Task 9 is running
Task 3 is running
Task 4 is running
Task 7 is running
Task 0 is running
Task 2 is running
Task 1 is running
Task 5 is running
Task 8 is running
Task 1 is completed
Task 8 is completed
Task 6 is completed
Task 4 is completed
Task 3 is completed
Task 0 is completed
Task 7 is completed
Task 9 is completed
Task 2 is completed
Task 5 is completed
threadJoin Finished All Tasks...
CountDownLatch
CountDownLatch是一个很好用的并发工具,初始化时要指定线程数,如10。在子线程调用countDown()时计数减1。直到为0时,await()方法才不会阻塞。代码如下:
private static void countDownLatch() {
  CountDownLatch latch = new CountDownLatch(NUM);
  for (int i = 0; i < NUM; i++) {
    Thread t = new Thread(() -> {
      System.out.println("countDownLatch running...");
      try {
        Thread.sleep(1000);
        System.out.println("countDownLatch Finished...");
        latch.countDown();
      } catch (InterruptedException e) {
        throw new RuntimeException(e);
      }
    });
    t.start();
  }

  try {
    latch.await();
  } catch (InterruptedException e) {
    throw new RuntimeException(e);
  }
  System.out.println("countDownLatch Finished All Tasks...");
}
结果:
countDownLatch running...
countDownLatch running...
countDownLatch running...
countDownLatch running...
countDownLatch running...
countDownLatch running...
countDownLatch running...
countDownLatch running...
countDownLatch running...
countDownLatch running...
countDownLatch Finished...
countDownLatch Finished...
countDownLatch Finished...
countDownLatch Finished...
countDownLatch Finished...
countDownLatch Finished...
countDownLatch Finished...
countDownLatch Finished...
countDownLatch Finished...
countDownLatch Finished...
countDownLatch Finished All Tasks...
CyclicBarrier
CyclicBarrier与CountDownLatch类似,但CyclicBarrier可重置,可重用。代码如下:
private static void cyclicBarrier() {
  CyclicBarrier barrier = new CyclicBarrier(NUM + 1);

  for (int i = 0; i < NUM; i++) {
    Thread t = new Thread(() -> {
      System.out.println("cyclicBarrier running...");
      try {
        Thread.sleep(1000);
        System.out.println("cyclicBarrier Finished...");
        barrier.await();
      } catch (InterruptedException | BrokenBarrierException e) {
        throw new RuntimeException(e);
      }
    });
    t.start();
  }

  try {
    barrier.await();
  } catch (InterruptedException | BrokenBarrierException e) {
    throw new RuntimeException(e);
  }
  System.out.println("cyclicBarrier Finished All Tasks...");
}
结果:
cyclicBarrier running...
cyclicBarrier running...
cyclicBarrier running...
cyclicBarrier running...
cyclicBarrier running...
cyclicBarrier running...
cyclicBarrier running...
cyclicBarrier running...
cyclicBarrier running...
cyclicBarrier running...
cyclicBarrier Finished...
cyclicBarrier Finished...
cyclicBarrier Finished...
cyclicBarrier Finished...
cyclicBarrier Finished...
cyclicBarrier Finished...
cyclicBarrier Finished...
cyclicBarrier Finished...
cyclicBarrier Finished...
cyclicBarrier Finished...
cyclicBarrier Finished All Tasks...
executorService.isTerminated()
ExecutorService调用shutdown()方法后,可以通过方法isTerminated()来判断任务是否完成。代码如下:
private static void executeServiceIsTerminated() {
  ExecutorService executorService = Executors.newFixedThreadPool(THREADS);
  IntStream.range(0, NUM)
    .forEach(i -> executorService.execute(new PkslowTask("Task " + i)));
  executorService.shutdown();
  while (!executorService.isTerminated()) {
    //waiting...
  }
  System.out.println("executeServiceIsTerminated Finished All Tasks...");

}
结果:
Task 0 is running
Task 2 is running
Task 1 is running
Task 3 is running
Task 4 is running
Task 0 is completed
Task 2 is completed
Task 5 is running
Task 4 is completed
Task 7 is running
Task 3 is completed
Task 1 is completed
Task 8 is running
Task 6 is running
Task 9 is running
Task 5 is completed
Task 9 is completed
Task 7 is completed
Task 6 is completed
Task 8 is completed
executeServiceIsTerminated Finished All Tasks...
executorService.awaitTermination
executorService.awaitTermination方法会等待任务完成,并给一个超时时间,代码如下:
private static void executeServiceAwaitTermination() {
  ExecutorService executorService = Executors.newFixedThreadPool(THREADS);
  IntStream.range(0, NUM)
    .forEach(i -> executorService.execute(new PkslowTask("Task " + i)));
  executorService.shutdown();

  try {
    if (!executorService.awaitTermination(1, TimeUnit.MINUTES)) {
      executorService.shutdownNow();
    }
  } catch (InterruptedException e) {
    throw new RuntimeException(e);
  }
  System.out.println("executeServiceAwaitTermination Finished All Tasks...");
}
结果:
Task 0 is running
Task 1 is running
Task 2 is running
Task 3 is running
Task 4 is running
Task 0 is completed
Task 5 is running
Task 1 is completed
Task 4 is completed
Task 7 is running
Task 3 is completed
Task 8 is running
Task 2 is completed
Task 9 is running
Task 6 is running
Task 5 is completed
Task 7 is completed
Task 9 is completed
Task 8 is completed
Task 6 is completed
executeServiceAwaitTermination Finished All Tasks...
executorService.invokeAll
使用invokeAll提交所有任务,代码如下:
private static void executeServiceInvokeAll() {
  ExecutorService executorService = Executors.newFixedThreadPool(THREADS);
  List<Callable<Void>> tasks = new ArrayList<>();

  IntStream.range(0, NUM)
    .forEach(i -> tasks.add(new PkslowTask("Task " + i)));

  try {
    executorService.invokeAll(tasks);
  } catch (InterruptedException e) {
    throw new RuntimeException(e);
  }

  executorService.shutdown();
  System.out.println("executeServiceInvokeAll Finished All Tasks...");
}
结果:
Task 1 is running
Task 2 is running
Task 0 is running
Task 3 is running
Task 4 is running
Task 1 is completed
Task 3 is completed
Task 0 is completed
Task 2 is completed
Task 4 is completed
Task 8 is running
Task 5 is running
Task 6 is running
Task 9 is running
Task 7 is running
Task 8 is completed
Task 5 is completed
Task 6 is completed
Task 9 is completed
Task 7 is completed
executeServiceInvokeAll Finished All Tasks...
ExecutorCompletionService
ExecutorCompletionService通过take()方法,会返回最早完成的任务,代码如下:
private static void executorCompletionService() {
  ExecutorService executorService = Executors.newFixedThreadPool(10);
  CompletionService<String> service = new ExecutorCompletionService<>(executorService);

  List<Callable<String>> callables = new ArrayList<>();
  callables.add(new DelayedCallable(2000, "2000ms"));
  callables.add(new DelayedCallable(1500, "1500ms"));
  callables.add(new DelayedCallable(6000, "6000ms"));
  callables.add(new DelayedCallable(2500, "2500ms"));
  callables.add(new DelayedCallable(300, "300ms"));
  callables.add(new DelayedCallable(3000, "3000ms"));
  callables.add(new DelayedCallable(1100, "1100ms"));
  callables.add(new DelayedCallable(100, "100ms"));
  callables.add(new DelayedCallable(100, "100ms"));
  callables.add(new DelayedCallable(100, "100ms"));

  callables.forEach(service::submit);

  for (int i = 0; i < NUM; i++) {
    try {
      Future<String> future = service.take();
      System.out.println(future.get() + " task is completed");
    } catch (InterruptedException | ExecutionException e) {
      throw new RuntimeException(e);
    }
  }

  System.out.println("executorCompletionService Finished All Tasks...");

  executorService.shutdown();
  awaitTerminationAfterShutdown(executorService);
}
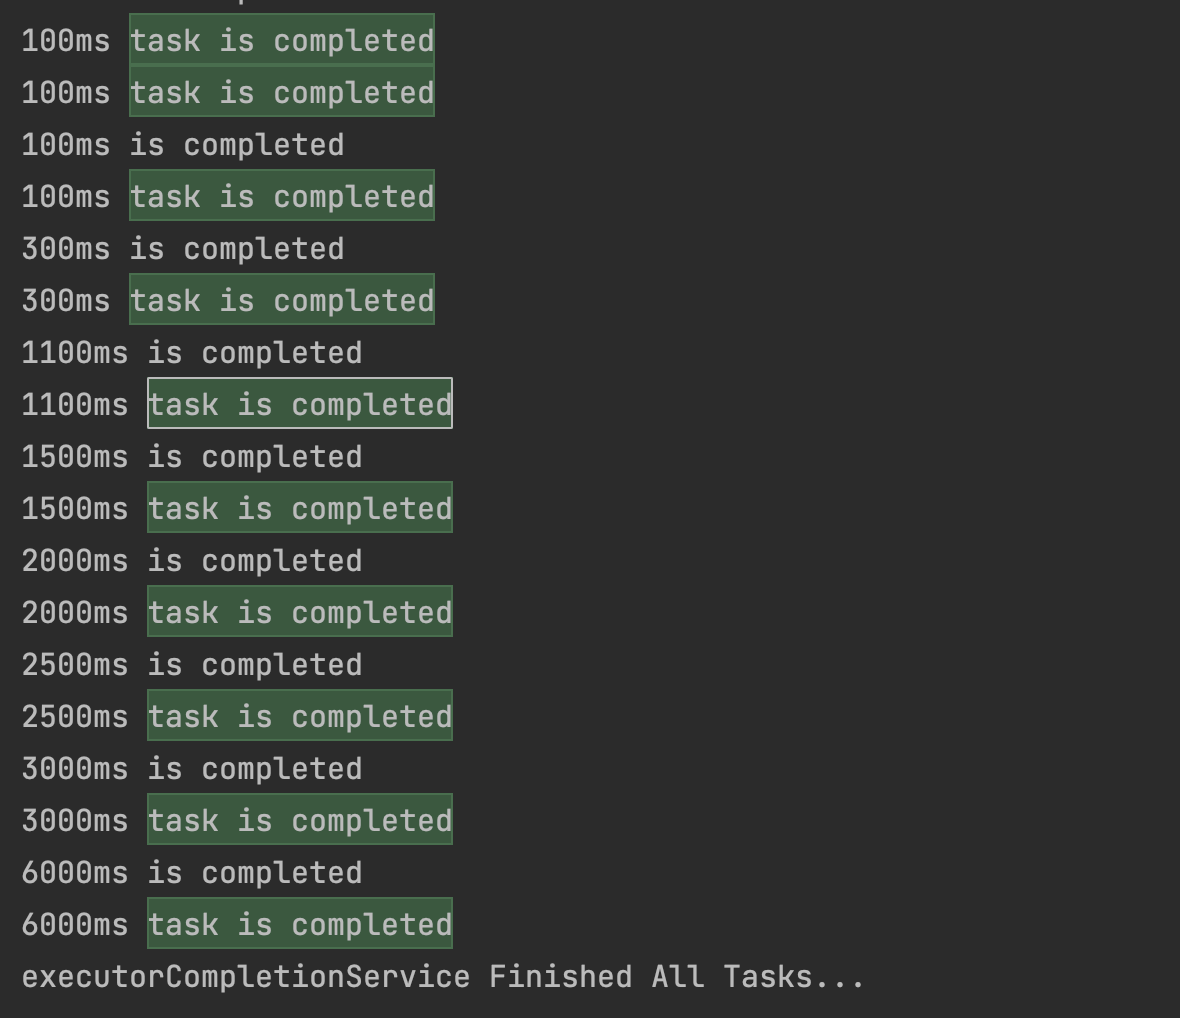
这里不同任务的时长是不一样的,但会先返回最早完成的任务:
2000ms is running
2500ms is running
300ms is running
1500ms is running
6000ms is running
3000ms is running
1100ms is running
100ms is running
100ms is running
100ms is running
100ms is completed
100ms is completed
100ms task is completed
100ms task is completed
100ms is completed
100ms task is completed
300ms is completed
300ms task is completed
1100ms is completed
1100ms task is completed
1500ms is completed
1500ms task is completed
2000ms is completed
2000ms task is completed
2500ms is completed
2500ms task is completed
3000ms is completed
3000ms task is completed
6000ms is completed
6000ms task is completed
executorCompletionService Finished All Tasks...
代码
代码请看GitHub: https://github.com/LarryDpk/pkslow-samples
本文内容由网友自发贡献,版权归原作者所有,本站不承担相应法律责任。如您发现有涉嫌抄袭侵权的内容,请联系:hwhale#tublm.com(使用前将#替换为@)