1.前言
如果你拿到一个USB升级包,你会发现升级包的结构基本相似。
但是里面并不是直接就有包括system.img、boot.img和recovery.img在内的镜像文件。
如果我们需要在Android手机上获取Magisk。提取内核(boot.img)就至关重要。当然其他镜像根据你的需要也有其他用处。
这时,如果你需要这些镜像文件,怎么做呢?

关注 "升级包>update.zip>payload.bin"。我们这篇的博客的目的就是从payload.bin中提取出镜像文件。
2. 环境准备的提取步骤
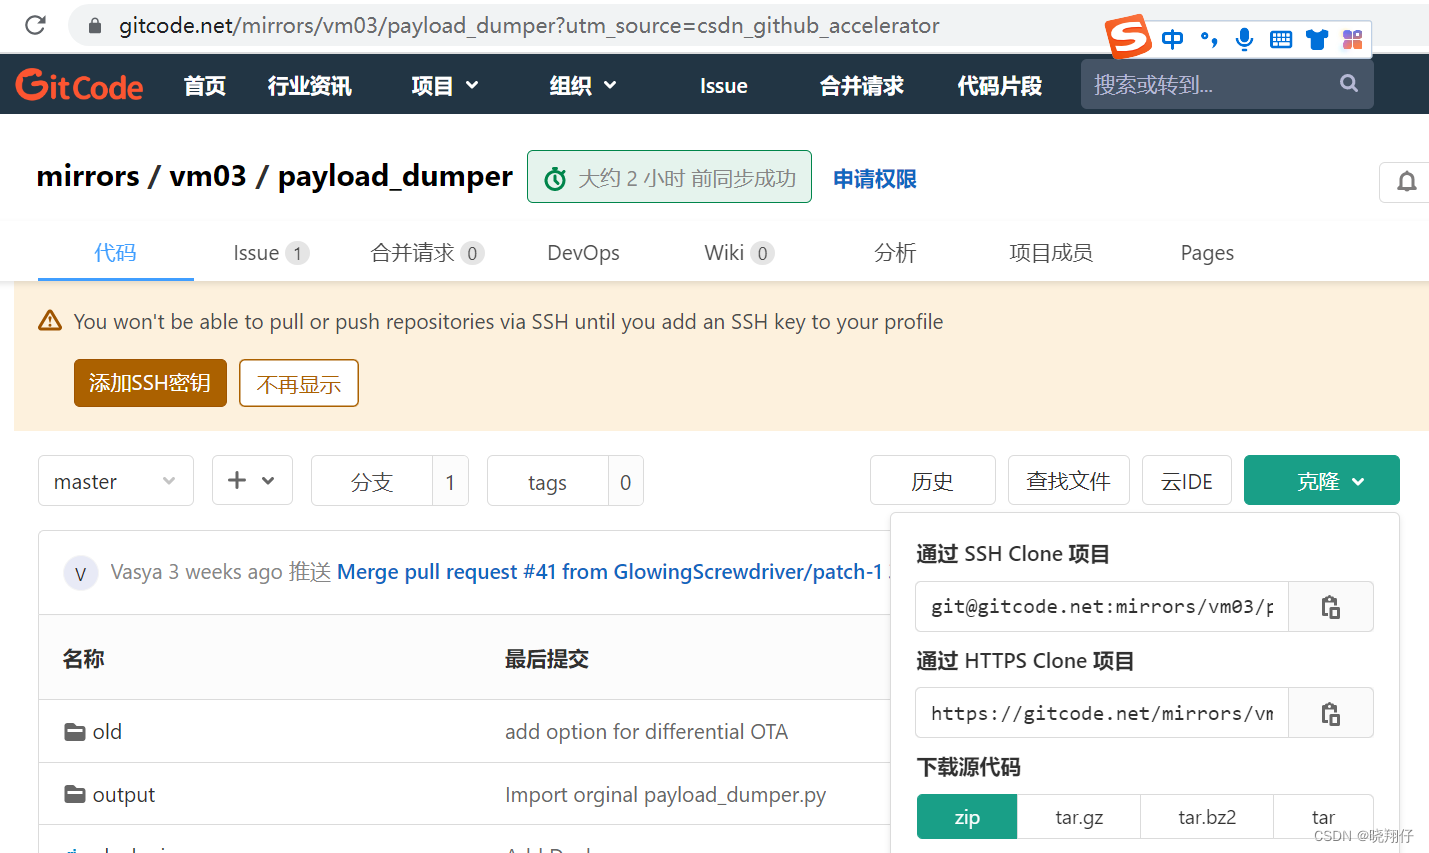
2.1 下载payload_dumper
打开
- GitHub - vm03/payload_dumper: Android OTA payload dumper
获取程序的压缩包解压放置合适的目录
2.2 安装库文件
从压缩包里检查requirements.txt,里面有需要的python库的版本:
protobuf>=3.19.3, <=3.20.1
six>=1.16.0
bsdiff4>=1.1.5
安装指定版本的python库:
D:\zyy\payload_dumper-master\payload_dumper-master>pip install bsdiff4
Collecting bsdiff4
  Downloading bsdiff4-1.2.3-cp39-cp39-win_amd64.whl (18 kB)
Installing collected packages: bsdiff4
Successfully installed bsdiff4-1.2.3


D:\Users\zhangyy\AppData\Local\Programs\Python\Python39\Lib\site-packages\protobuf-python-3.20.1\protobuf-3.20.1>pip install protobuf==3.20.1
Collecting protobuf==3.20.1
  Downloading protobuf-3.20.1-cp39-cp39-win_amd64.whl (904 kB)
     ━━━━━━━━━━━━━━━━━━━━━━━━━━━━━━━━━━━━━━━━ 904.1/904.1 kB 202.8 kB/s eta 0:00:00
Installing collected packages: protobuf
Successfully installed protobuf-3.20.1

[notice] A new release of pip available: 22.3.1 -> 23.0.1
[notice] To update, run: python.exe -m pip install --upgrade pip
检查是否都安装成功:
D:\Users\zhangyy\AppData\Local\Programs\Python\Python39\Lib\site-packages\protobuf-python-3.20.1\protobuf-3.20.1>pip lis
t
Package      Version
------------ -------
asgiref      3.5.2
bcrypt       4.0.1
bsdiff4      1.2.3
cffi         1.15.1
cryptography 38.0.4
Django       4.1.3
paramiko     2.12.0
pip          22.3.1
protobuf     3.20.1
pycparser    2.21
PyNaCl       1.5.0
setuptools   56.0.0
six          1.16.0
sqlparse     0.4.3
tzdata       2022.6
OK,都安装成功而且版本合适。
2.3 执行镜像提取
将USB升级包的update.zip解压后拖到payload_dumper.py的同级目录执行
D:\zyy\payload_dumper-master\payload_dumper-master>python payload_dumper.py ota_package_update\payload.bin
Processing abl partition.Done
Processing bluetooth partition.Done
Processing boot partition................................Done
Processing cmnlib partition.Done
Processing cmnlib64 partition.Done
Processing devcfg partition.Done
Processing dsp partition................Done
Processing dtbo partition....Done
Processing hyp partition.Done
Processing imagefv partition.Done
Processing keymaster partition.Done
Processing modem partition....................................................Done
Processing product partition........................................................................................................................Done
Processing qupfw partition.Done
Processing recovery partition................................................Done
Processing rpm partition.Done
Processing system partition............................................................................................................................................................................................................................................................................................................................................................................................................................................................................................................................................................................................................................................................................................................................................................................................................................................................................................................................................................................................................................................................................................................................................................................................................................................................................................................Done
Processing tz partition.Done
Processing uefisecapp partition.Done
Processing vbmeta partition.Done
Processing vbmeta_system partition.Done
Processing vendor partition....................................................................................................................................................................................................................................................Done
Processing xbl partition..Done
Processing xbl_config partition.Done
执行完成后查看output目录
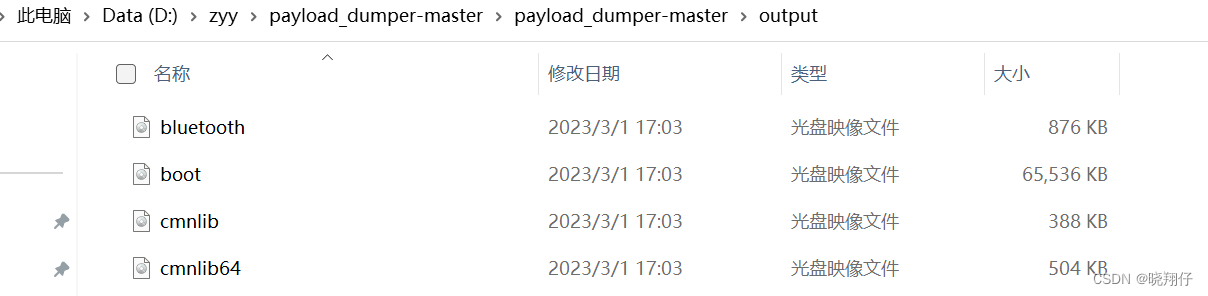
OK,这样就成功了,是不是很简单。
3. 利用脚本批量提取boot.img
将大量USB升级包放在 E:\store materials\all_firms_bak 目录下。
由于里面文件很多,经过分析,将“ "**" in nm and "ota" not in nm and len(nm) < 56” 作为筛选合适的USB升级包的判断条件。
payload_dumper-master脚本安装在 D:\zyy\payload_dumper-master\payload_dumper-master。
根据这些已知条件,编写python代码如下:
import os
import shutil
import zipfile
import time

count = 0


def extract_img():
    global count
    zip_dir = r"E:\store materials\all_firms_bak"
    for rt, dirs, fl in os.walk(zip_dir, topdown=True):
        for nm in fl:
            # if nm == "boot.img":
            if "**" in nm and "ota" not in nm and len(nm) < 56:
                file_path_name = str(rt) + "\\" + str(nm)
                print("文件:", file_path_name)
                unzip_and_extract_bootimg(file_path_name)

                count = count + 1
                print("bootimg count is:", count)

                # 获取当前时间
                current_time = int(time.time())
                print(current_time)  # 1631186249
                # 转换为localtime
                localtime = time.localtime(current_time)
                # 利用strftime()函数重新格式化时间
                dt = time.strftime('%Y:%m:%d %H:%M:%S', localtime)
                print(dt)  # 返回当前时间:2021:09:09 19:17:29

        # for _dir in dirs:
        # print("目录:", str(rt) + "\\" + str(_dir))


# 解压缩
def unzip_and_extract_bootimg(file_name):
    payload_dumper_path = r"D:\zyy\payload_dumper-master\payload_dumper-master"
    payload_dumper_ota_package_path = r"D:\zyy\payload_dumper-master\payload_dumper-master\ota_package_update/"
    payload_dumper_putput_path = r"D:\zyy\payload_dumper-master\payload_dumper-master\output"

    print("file_name is: ", file_name)
    zip_file = zipfile.ZipFile(file_name)
    if os.path.isdir(file_name + "_files"):
        print("dir already exits! do not need unzip")
    else:
        # 从升级压缩包提取出update.zip子压缩包
        os.mkdir(file_name + "_files")
        filepath_package = file_name + "_files/"
        print("destfilepath is: ", filepath_package)
        zip_file.extractall(path=filepath_package, members=['update.zip'])
        # 打印此时update.zip所在路径
        file_path_updatezip = filepath_package + r"update.zip"
        print("the path of update.zip is: ", file_path_updatezip)
        # 从update.zip里提取payload.bin(payload.bin通过脚本制作出boot.img)
        zip_file_bin = zipfile.ZipFile(file_path_updatezip)
        zip_file_bin.extractall(path=filepath_package + "update/", members=["payload.bin"])
        file_path_payloadbin = filepath_package + r"update/" + r"payload.bin"
        print("file path payloadbin is ", file_path_payloadbin)
        print("close zip_file")
        zip_file.close()
        mycopyfile(file_path_payloadbin, payload_dumper_ota_package_path)
        print("move payload.bin sucess!")
        os.chdir(payload_dumper_path)
        print(os.getcwd())
        ret = os.system(
            "python payload_dumper.py ota_package_update\payload.bin")
        store_bootimg_path = str(file_path_payloadbin).replace("all_firms_bak", "all_boot_test") + r"/"
        if os.path.exists(payload_dumper_putput_path + r"\boot.img"):
            mycopyfile(payload_dumper_putput_path + r"\boot.img", store_bootimg_path)
            os.remove(r"D:\zyy\payload_dumper-master\payload_dumper-master\ota_package_update\payload.bin")
            for f in os.listdir(r"D:\zyy\payload_dumper-master\payload_dumper-master\output"):
                os.remove(os.path.join(r"D:\zyy\payload_dumper-master\payload_dumper-master\output", f))
            time.sleep(3)
            print("extract bootimg completed!")
            return
        else:
            print("boot.img not exits!")


def mycopyfile(srcfile, dstpath):  # 复制函数
    if not os.path.isfile(srcfile):
        print("%s not exist!" % (srcfile))
    else:
        fpath, fname = os.path.split(srcfile)  # 分离文件名和路径
        if not os.path.exists(dstpath):
            os.makedirs(dstpath)  # 创建路径
        shutil.copy(srcfile, dstpath + fname)  # 复制文件
        print("copy %s -> %s" % (srcfile, dstpath + fname))


# Press the green button in the gutter to run the script.
if __name__ == '__main__':
    extract_img()

# See PyCharm help at https://www.jetbrains.com/help/pycharm/
执行结果:
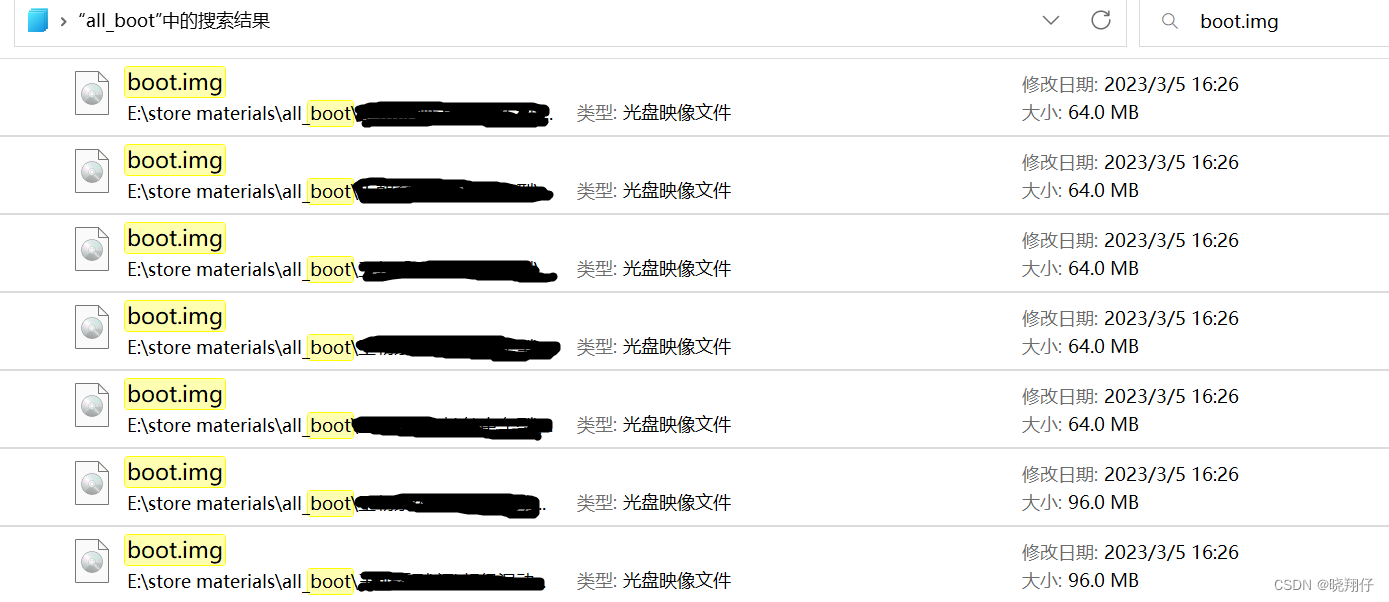
只需要半天的时间,脚本成功帮助我们提取了数百个boot.img。
4.总结
安卓系统USB升级包里其实是有镜像信息的,需要你做一个提取。
本文内容由网友自发贡献,版权归原作者所有,本站不承担相应法律责任。如您发现有涉嫌抄袭侵权的内容,请联系:hwhale#tublm.com(使用前将#替换为@)