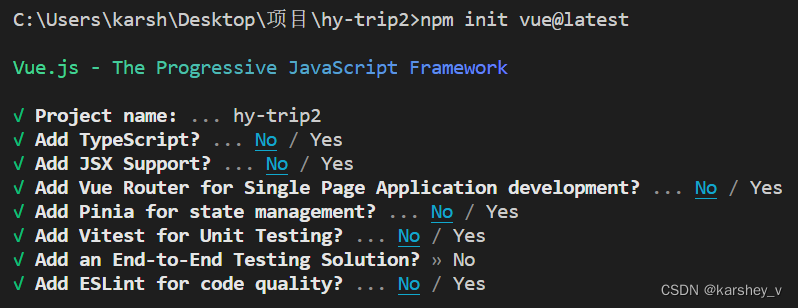
创建项目
npm init vue@latest
本项目相关选择:
安装相关依赖:
npm install
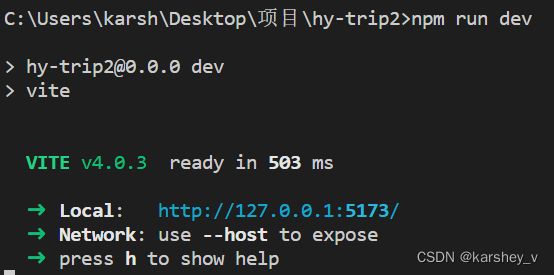
试着跑一下:
npm run dev
出现以下语句表示成功:
搭建和配置项目:项目目录结构划分
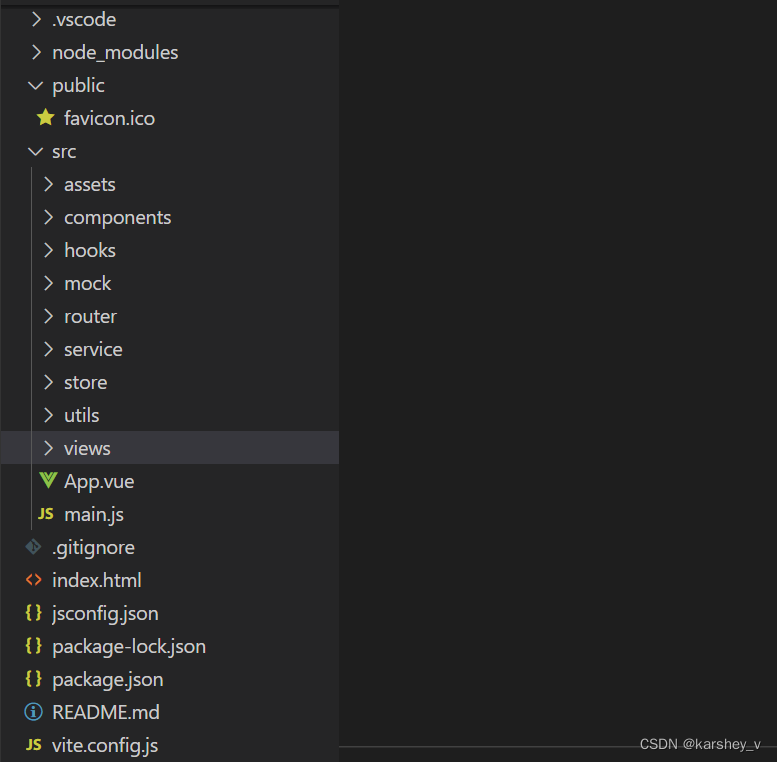
- assets:静态资源,如img,css、font、audio
- components:抽取组件
- hooks:逻辑
- mock:mock模拟数据
- router:配置路由
- service:网络请求
- utils:工具
- views:页面
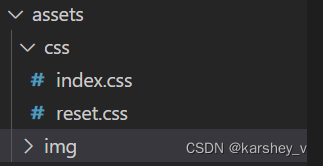
重置CSS
重置css分为两步:
normalize.css
是总结了大部分前端重置的重置代码。
在终端安装:
npm install normalize.css
在main.js引入:
import "normalize.css"
reset.css
/**
 * Eric Meyer's Reset CSS v2.0 (http://meyerweb.com/eric/tools/css/reset/)
 * http://cssreset.com
 */

html, body, div, span, applet, object, iframe,
h1, h2, h3, h4, h5, h6, p, blockquote, pre,
a, abbr, acronym, address, big, cite, code,
del, dfn, em, img, ins, kbd, q, s, samp,
small, strike, strong, sub, sup, tt, var,
b, u, i, center,
dl, dt, dd, ol, ul, li,
fieldset, form, label, legend,
table, caption, tbody, tfoot, thead, tr, th, td,
article, aside, canvas, details, embed,
figure, figcaption, footer, header, hgroup,
menu, nav, output, ruby, section, summary,
time, mark, audio, video{
  margin: 0;
  padding: 0;
  border: 0;
  font-size: 100%;
  font: inherit;
  font-weight: normal;
  vertical-align: baseline;
}
/* HTML5 display-role reset for older browsers */
article, aside, details, figcaption, figure,
footer, header, hgroup, menu, nav, section{
  display: block;
}
ol, ul, li{
  list-style: none;
}
blockquote, q{
  quotes: none;
}
blockquote:before, blockquote:after,
q:before, q:after{
  content: '';
  content: none;
}
table{
  border-collapse: collapse;
  border-spacing: 0;
}

/* custom */
a{
  color: #7e8c8d;
  text-decoration: none;
  -webkit-backface-visibility: hidden;
}
::-webkit-scrollbar{
  width: 5px;
  height: 5px;
}
::-webkit-scrollbar-track-piece{
  background-color: rgba(0, 0, 0, 0.2);
  -webkit-border-radius: 6px;
}
::-webkit-scrollbar-thumb:vertical{
  height: 5px;
  background-color: rgba(125, 125, 125, 0.7);
  -webkit-border-radius: 6px;
}
::-webkit-scrollbar-thumb:horizontal{
  width: 5px;
  background-color: rgba(125, 125, 125, 0.7);
  -webkit-border-radius: 6px;
}
html, body{
  width: 100%;
  font-family: "Arial", "Microsoft YaHei", "黑体", "宋体", "微软雅黑", sans-serif;
}
body{
  line-height: 1;
  -webkit-text-size-adjust: none;
  -webkit-tap-highlight-color: rgba(0, 0, 0, 0);
}
html{
  overflow-y: scroll;
}

/*清除浮动*/
.clearfix:before,
.clearfix:after{
  content: " ";
  display: inline-block;
  height: 0;
  clear: both;
  visibility: hidden;
}
.clearfix{
  *zoom: 1;
}

/*隐藏*/
.dn{
  display: none;
}
目录结构
reset是重置样式表。
我们把所有的css文件写进index.css,如:
@import "./reset.css";
然后在main中引入index.css:注意,normalize.css不要放进index.css,它们是分开的。
import "./assets/css/index.css"
配置router
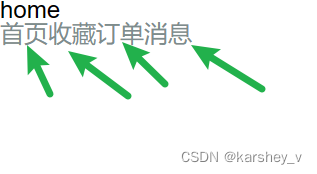
目标:四个页面,点就跳转。
对应页面组件
目录结构:
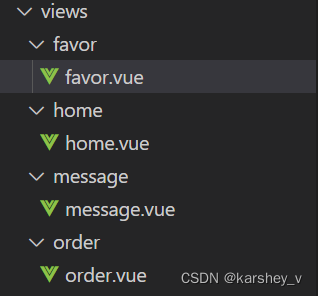
页面内容(以favor为例):
<template>
    <div class="favor">
        <h2>favor</h2>
    </div>
</template>

<script setup>

</script>

<style lang="less" scoped>

</style>
index.js
安装依赖:
npm install vue-router
index.js:
import {createRouter,createWebHashHistory} from 'vue-router'

const router=createRouter({
    history:createWebHashHistory(),
    routes:[
        {
            path:'/',
            redirect:'/home' //重定向到home
        },
        {
            path:'/home',
            component:()=>import("@/views/home/home.vue")
        },
        {
            path:'/favor',
            component:()=>import("@/views/favor/favor.vue")
        },
        {
            path:'/order',
            component:()=>import("@/views/order/order.vue")
        },
        {
            path:'/message',
            component:()=>import("@/views/message/message.vue")
        },
    ]
})

export default router
在main中引入并use:
import router from './router'

createApp(App).use(router).mount('#app')
在App中写router-view:
<template>
    <div class="app">
        <router-view/>
        <router-link to="/home">首页</router-link>
        <router-link to="/favor">收藏</router-link>
        <router-link to="/order">订单</router-link>
        <router-link to="/message">消息</router-link>
    </div>
</template>
效果:
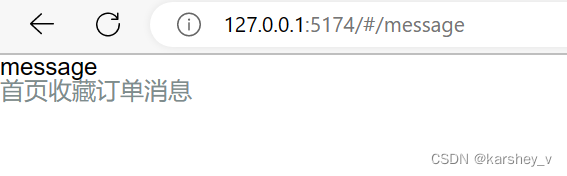
我们这里要把router-view写在router-link的上面。我们要点击跳转到的路由界面在选择的上面。
配置store
我们这里用的是pinia。
安装依赖:
npm install pinia
配置:
import {createPinia} from 'pinia'

const pinia = createPinia()

export default pinia
在main中引入并use:
import pinia from './store'

createApp(App).use(router).use(pinia).mount('#app')