一 引入
文件上传在日常的开发中是一项基本的操作,在前端中得以广泛的使用,因此将其封装成一个组件显得极为重要,本文主要是基于vue实现的自定义多图片上传组件.
二 自定义vue上传组件
MultiUpload组件的封装
<template>
<div>
<el-upload :disabled="uploadEdit" class="uploader" :headers="authorToken" :action="UPLOAD_URL" :auto-upload="true"
:file-list="fileList" list-type="picture-card" :limit="limit?limit:9" :accept="fileType?fileType:'image/*'"
:on-success="handleGoodsImagesUploadSuccess" :before-upload="handlebeforeUpload" :multiple="true"
ref="fileupload" :on-exceed="handleUploadExceed" :on-remove="handleRemove"
:on-preview="handlePictureCardPreview">
<i class="el-icon-plus"></i>
</el-upload>
<el-dialog :disabled="uploadEdit" :append-to-body="true" :visible.sync="dialogImgVisible" style="z-index: 3000;text-align: center;"
:close-on-click-modal="false" :close-on-press-escape="false" custom-class="pub_dialog">
<img width="80%" :src="dialogImageUrl" alt="" />
</el-dialog>
</div>
</template>
<!--
使用用例
uploadEdit 是否启用编辑 true false
fileType可以是
audio/*表示“任何音频文件
video/*表示“任何视频文件
image/*表示“任何图像文件
还可以以逗号拼接,如image/*,.pdf
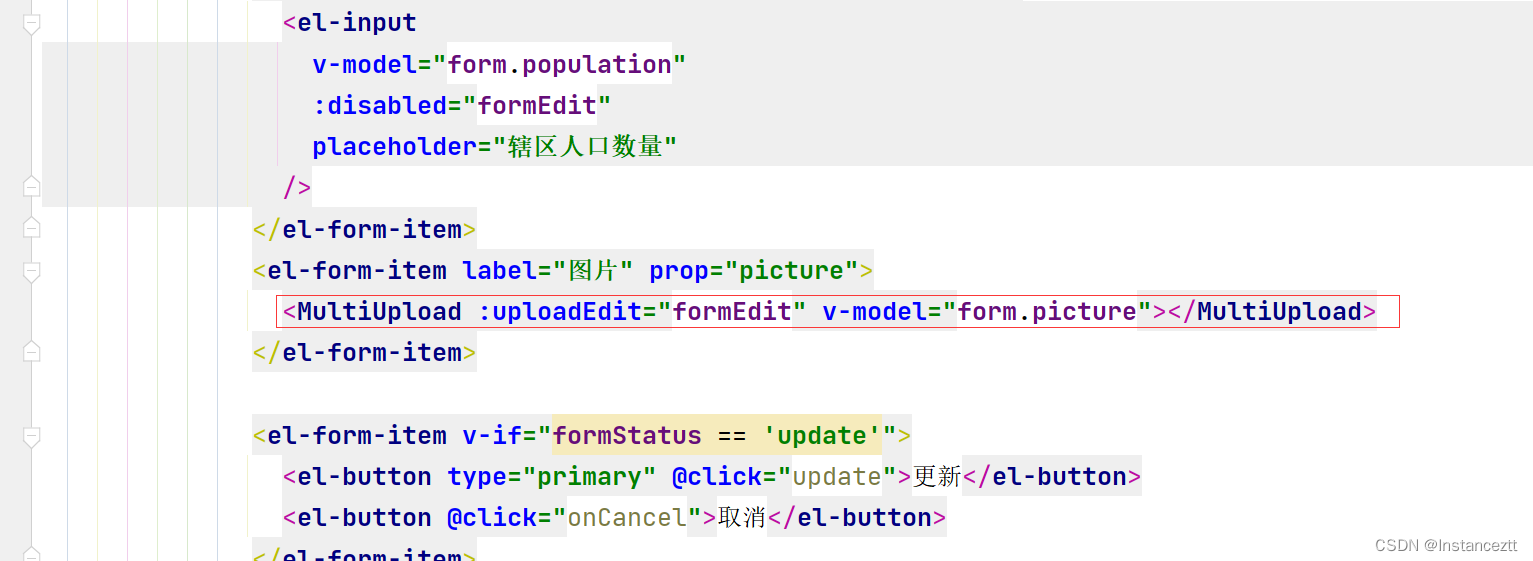
<multi-upload v-model="form.voucherUrlList" :fileType="image/*"></multi-upload>
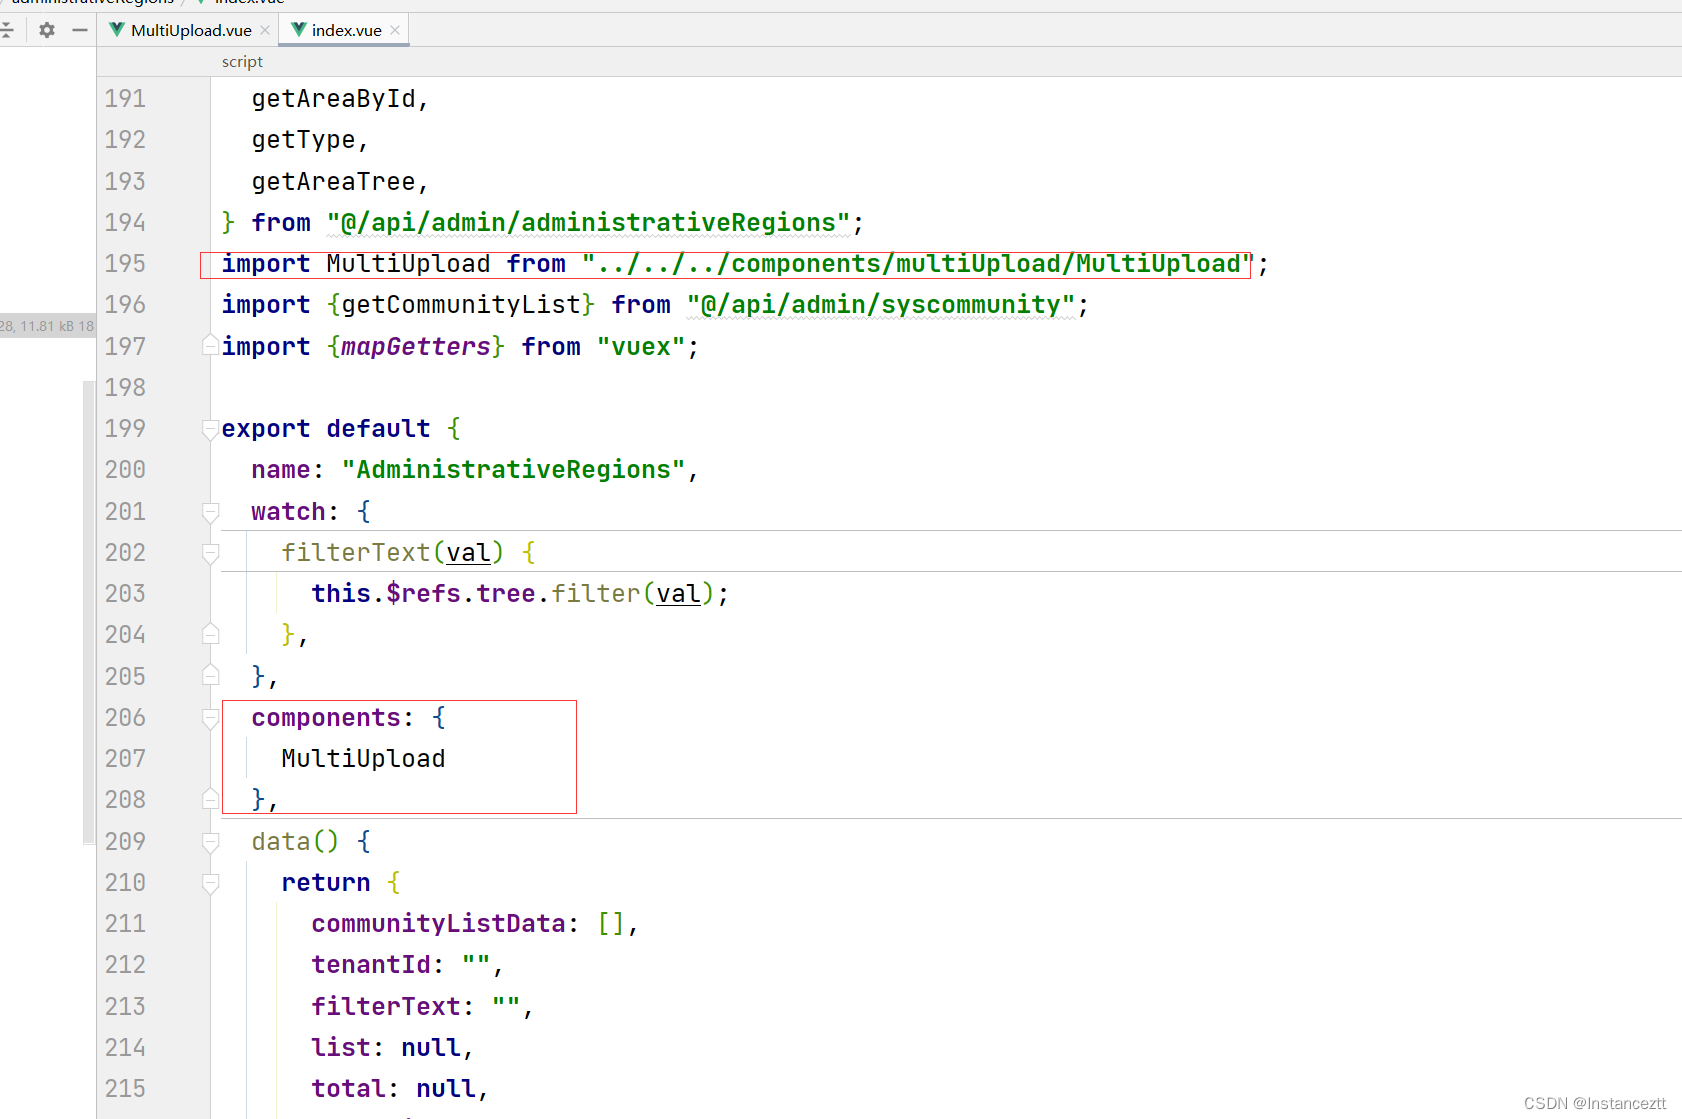
import MultiUpload from '@/components/Upload/MultiUpload'
components: {
MultiUpload
},
-->
<script>
export default {
props: {
value: {
type: Array,
default: () => []
},
limit: {
type: Number,
default: 9
},
fileType: String,
uploadEdit: Boolean,
},
data() {
return {
authorToken: {
'Authorization': 'Bearer ' + JSON.parse(window.sessionStorage.getItem('cncloud-access_token')).content
},
UPLOAD_URL: "/admin/sys-file/upload", // 上传的图片服务器地址 即上传图片后台接口的路径
loading: '',
param: {
token: ''
},
dialogImageUrl: "",
dialogImgVisible: false,
disabled: false,
imgs:[],
num:0,
fileNum:0
}
},
computed: {
// ['xxx', 'xxx'] 转换为 [{url: 'xxx'}, {url: 'xxx'}]
fileList() {
return this.value.map(url => ({
url
}))
}
},
methods: {
handlePictureCardPreview: function(file) {
this.dialogImageUrl = file.url;
this.dialogImgVisible = true;
},
handleRemove: function(file, fileList) {
// fileList 为删除后的文件列表
const value = fileList.map(v => v.url)
this.$emit('input', value)
},
handleGoodsImagesUploadSuccess(response, file, fileList) {
debugger
console.log(response);
console.log(fileList);
if (response.code == 0) {
debugger;
let imageUrl = response.data.url;
this.imgs.push(imageUrl);
this.num++;
if(this.num == this.fileNum){
this.num = 0;
this.fileNum = 0;
// 这里如果 this.value.push(imageUrl) 这么写,vue会报出警告,大概意思是value作为props不应该在子组件中被修改
// 应该根据 value 得到新的值,而不能修改它,this.value.concat(imageUrl)也是可以的,concat方法返回新的数组
// this.$emit('input', [...this.value, imageUrl])
this.$emit('input', this.value.concat(this.imgs))
this.imgs =[];
}
} else {
this.$message.error(file.name + '上传失败!');
}
},
handlebeforeUpload(file) {
// 这里做可以做文件校验操作
const isImg = /^image\/\w+$/i.test(file.type)
if (!isImg && this.fileType == 'image/*') {
this.$message.error('只能上传 JPG、PNG、GIF 格式!')
return false
}
this.fileNum++;
console.log(this.fileNum);
},
handleUploadExceed() {
this.$message.error(`最多上传${this.limit}张图片`)
},
}
}
</script>
<style>
/*去除upload组件过渡效果*/
.el-upload-list__item {
transition: none !important;
}
</style>
<style scoped lang="scss">
.hide>>>.el-upload--picture-card {
display: none;
}
</style>
业务端的使用
三 后端代码实现
根据自己的后端代码具体实现,这里不做过多阐述
@RestController
@AllArgsConstructor
@RequestMapping("/sys-file")
@Api(value = "sys-file", tags = "文件管理")
public class SysFileController {

    private final SysFileService sysFileService;
    /**
     * 上传文件 文件名采用uuid,避免原始文件名中带"-"符号导致下载的时候解析出现异常
     *
     * @param file 资源
     * @return R(/ admin / bucketName / filename)
     */
    @PostMapping(value = "/upload")
    @Inner(value = false)
    public R upload(@RequestPart("file") MultipartFile file) {
        return sysFileService.uploadFile(file);
    }

    /**
     * 获取文件
     *
     * @param bucket   桶名称
     * @param fileName 文件空间/名称
     * @param response
     * @return
     */
    @Inner(false)
    @GetMapping("/{bucket}/{fileName}")
    public void file(@PathVariable String bucket, @PathVariable String fileName, HttpServletResponse response) {
        sysFileService.getFile(bucket, fileName, response);
    }
}
注意事项:
- 后端接受图片的参数类型为String数组
- 将组件中token和upload修改为自己项目本身的路径
四 基于mybatis的BaseTypeHandler实现自定义数据类型间的转换
mybatis为我们提供了个BaseTypeHandler的抽象类,可以帮助我们实现java类型和数据库之间相互类型的转换,我们知道String数组并并没有相对应的数据库字段类型,我们可以把他转换成以逗号相隔的字符串保存在数据库中,在java实体类映射转换时,又将其转换成相应的String数组
具体实现逻辑如下:
/**
 * Mybatis数组,符串互转
 * <p>
 * MappedJdbcTypes 数据库中的数据类型 MappedTypes java中的的数据类型
 *
 * @author likun
 * @date 2021-11-20
 */
@MappedTypes(value = { String[].class }) //java实体类数据类型
@MappedJdbcTypes(value = JdbcType.VARCHAR) // 数据库里面对应字段的类型
public class JsonStringArrayTypeHandler extends BaseTypeHandler<String[]> {

	@Override
	public void setNonNullParameter(PreparedStatement ps, int i, String[] parameter, JdbcType jdbcType)
			throws SQLException {
		ps.setString(i, ArrayUtil.join(parameter, StrUtil.COMMA));
	}

	@Override
	@SneakyThrows
	public String[] getNullableResult(ResultSet rs, String columnName) {
		String reString = rs.getString(columnName);
		return Convert.toStrArray(reString);
	}

	@Override
	@SneakyThrows
	public String[] getNullableResult(ResultSet rs, int columnIndex) {
		String reString = rs.getString(columnIndex);
		return Convert.toStrArray(reString);
	}

	@Override
	@SneakyThrows
	public String[] getNullableResult(CallableStatement cs, int columnIndex) {
		String reString = cs.getString(columnIndex);
		return Convert.toStrArray(reString);
	}

}
查看转换结果

