一、LAMP方式安装
环境准备
centos7.7
操作系统:cnetos7.7 4核4G 40G硬盘
数据库版本:MariaDB10.2.37
php版本:php7.3
Apache版本:httpd 2.4.6
1、安装前准备
关闭防火墙
systemctl stop firewalld.service
systemctl disable firewalld.service
关闭SElinux
setenforce 0
vim /etc/selinux/config
sed -i 's/^SELINUX=enforcing/SELINUX=disabled/g' /etc/selinux/config
安装base源、EPEL源和REMI源(全部使用清华大学镜像)
[root@localhost nextcloud]
[base]
name=CentOS-$releasever - Base
baseurl=https://mirror.tuna.tsinghua.edu.cn/centos/$releasever/os/$basearch/
gpgcheck=0
[root@localhost nextcloud]
[epel]
name=centos7-epel
baseurl=https://mirrors.tuna.tsinghua.edu.cn/epel/7/x86_64/
gpgcheck=0
[root@localhost nextcloud]
[maraidb-10.2.37]
name=mariadb
baseurl=https://mirrors.tuna.tsinghua.edu.cn/mariadb/mariadb-10.2.37/yum/centos7-amd64/
gpgcheck=0
REMI源
yum install -y https://mirrors.tuna.tsinghua.edu.cn/remi/enterprise/remi-release-7.rpm
yum install yum-utils
yum-config-manager --enable remi-php73
2、安装LAMP(Linux+Apache+MySQL+PHP)
安装httpd
yum install -y httpd
systemctl start httpd
systemctl enable httpd
安装mariadb数据库
添加mariadb安装源,使用清华大学镜像,这里安装MariaDB10.2.37
[root@limesurvey ~]
[maraidb-10.2.37]
name=mariadb
baseurl=https://mirrors.tuna.tsinghua.edu.cn/mariadb/mariadb-10.2.37/yum/centos7-amd64/
gpgcheck=0
yum install MariaDB-server -y
systemctl start mariadb
systemctl enable mariadb
配置数据库
[root@localhost ~]
Welcome to the MariaDB monitor. Commands end with ; or \g.
Your MariaDB connection id is 8
Server version: 10.2.37-MariaDB MariaDB Server
Copyright (c) 2000, 2018, Oracle, MariaDB Corporation Ab and others.
Type 'help;' or '\h' for help. Type '\c' to clear the current input statement.
MariaDB [(none)]> create database next_cloud character set utf8;
Query OK, 1 row affected (0.00 sec)
MariaDB [(none)]> grant all privileges on next_cloud.* to nextclod identified by 'nextcloud117';
Query OK, 0 rows affected (0.00 sec)
MariaDB [(none)]> flush privileges;
Query OK, 0 rows affected (0.00 sec)
安装PHP组件
yum install -y php php-cli php-fpm php-mysqlnd php-zip php-devel php-gd php-mcrypt php-mbstring php-curl php-xml php-pear php-bcmath php-json php-soap php-ldap php-imap
systemctl start php-fpm
systemctl enable php-fpm
安装next cloud
把安装包下载下来并上传到服务器上,这里放在了/opt目录下
[root@localhost opt]
[root@localhost opt]
nextcloud nextcloud-21.0.1.zip
[root@localhost opt]
chown -R apache:apache /var/www/html/nextcloud
systemctl restart httpd
2、配置next cloud
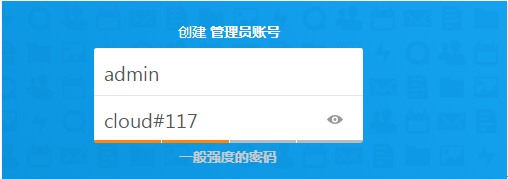
在浏览器上输入网址10.10.100.117/nextcloud,然后会跳出配置页面

创建管理员
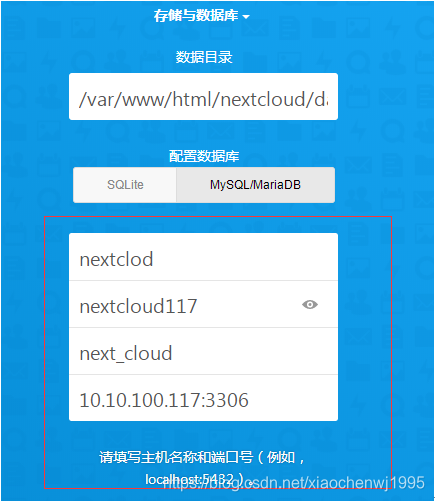
配置数据库信息,填入上面创建的数据库用户名及密码等信息

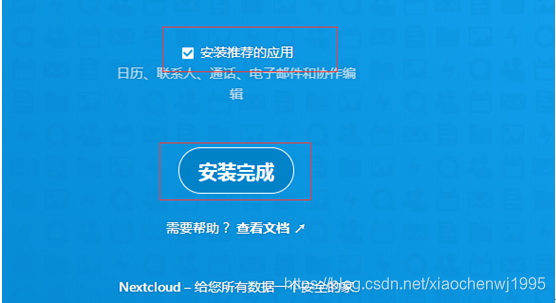
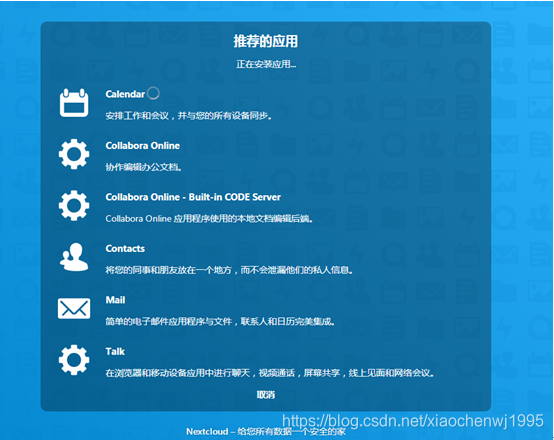
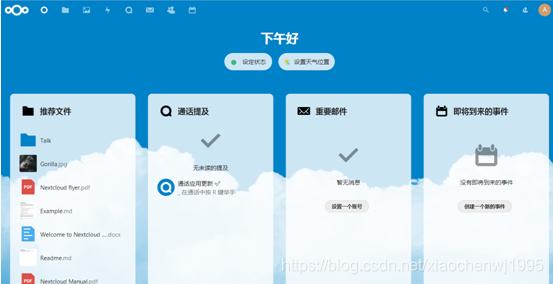
安装完成后的效果
3、安装onlyoffice
配置office documentserver。本来想配置微软的office online,但是在配置WOPI插件时总是提示“Could not find urlsrc in WOPI,后来为了能实现文档的在线编辑功能,就安装onlyoffice,为了方便直接采用docker容器方式部署(配置docker环境请参考这篇文章)
[root@localhost nextcloud]
Using default tag: latest
latest: Pulling from onlyoffice/documentserver
a70d879fa598: Pull complete
c4394a92d1f8: Pull complete
10e6159c56c0: Pull complete
eaf4d7b423f6: Pull complete
869f291080b7: Pull complete
b99782fa755e: Pull complete
8f6174fe617d: Pull complete
Digest: sha256:220534708b40464cad6f515ef015473cc2840046ca0aa73ae246cd1ecfacae47
Status: Downloaded newer image for onlyoffice/documentserver:latest
docker.io/onlyoffice/documentserver:latest
[root@localhost nextcloud]
> -v /app/onlyoffice/DocumentServer/logs:/var/log/onlyoffice \
> -v /app/onlyoffice/DocumentServer/data:/var/www/onlyoffice/Data \
> -v /app/onlyoffice/DocumentServer/lib:/var/lib/onlyoffice \
> -v /app/onlyoffice/DocumentServer/db:/var/lib/postgresql onlyoffice/documentserver
b7daa0e41b1c7c360b7074634cc1efbfc7e5cb91abe64ec909335a1a256aa0b3
[root@localhost nextcloud]
State Recv-Q Send-Q Local Address:Port Peer Address:Port
LISTEN 0 100 127.0.0.1:25 *:*
LISTEN 0 128 127.0.0.1:9000 *:*
LISTEN 0 128 *:22 *:*
LISTEN 0 100 [::1]:25 [::]:*
LISTEN 0 80 [::]:3306 [::]:*
LISTEN 0 128 [::]:6060 [::]:*
LISTEN 0 128 [::]:80 [::]:*
LISTEN 0 128 [::]:22 [::]:*
浏览器访问测试
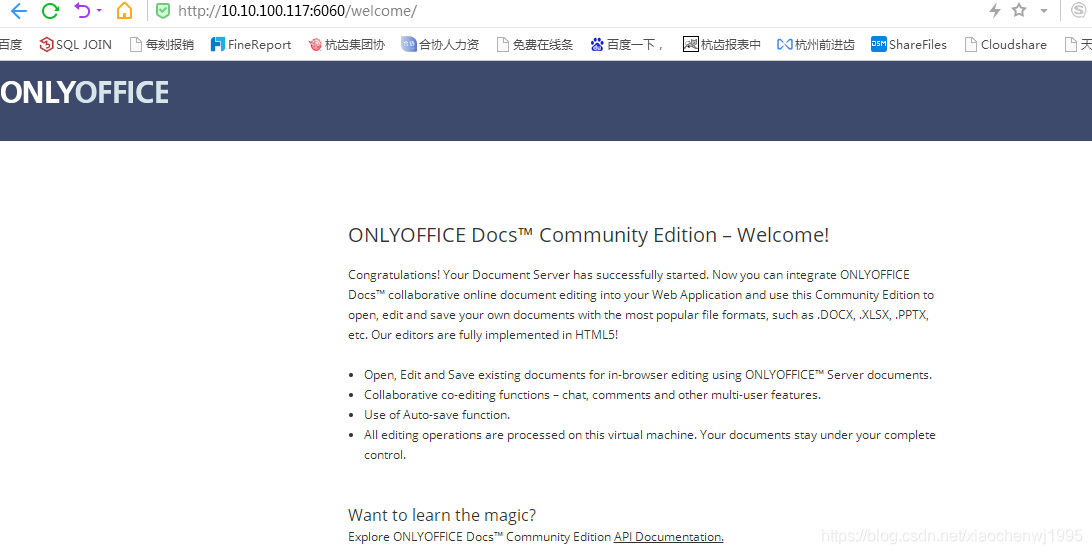
说明onlyoffice部署成功
4、nextcloud配置onlyoffice
登录到netcloud,下载onlyoffice插件并配置
应用–office&text–右上角搜索onlyoffice,点击下载并启用。

管理–onlyoffice,配置onlyofiice服务地址,点击保存,如下图即配置成功


错误:
在配置onlyoffice出现以下错误
Error when trying to connect (Host violates local access rules)
解决
18以后的NextCloud版本有这个bug, 解决办法在config.php配置文件添加配置
'allow_local_remote_servers' => true,
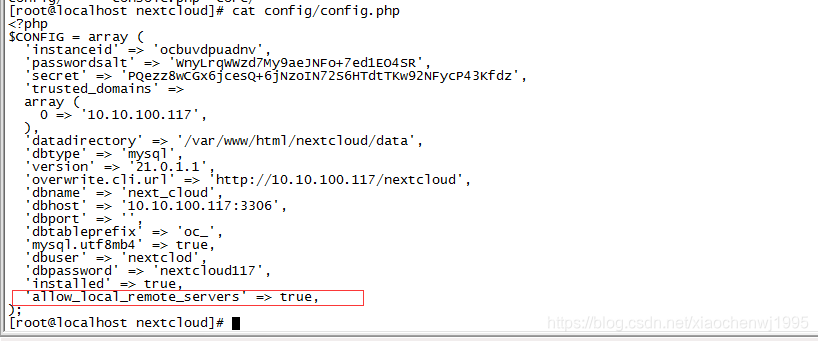
重启http服务
现在回到主页面,点击如图加号,可以看到已成功加载office组件
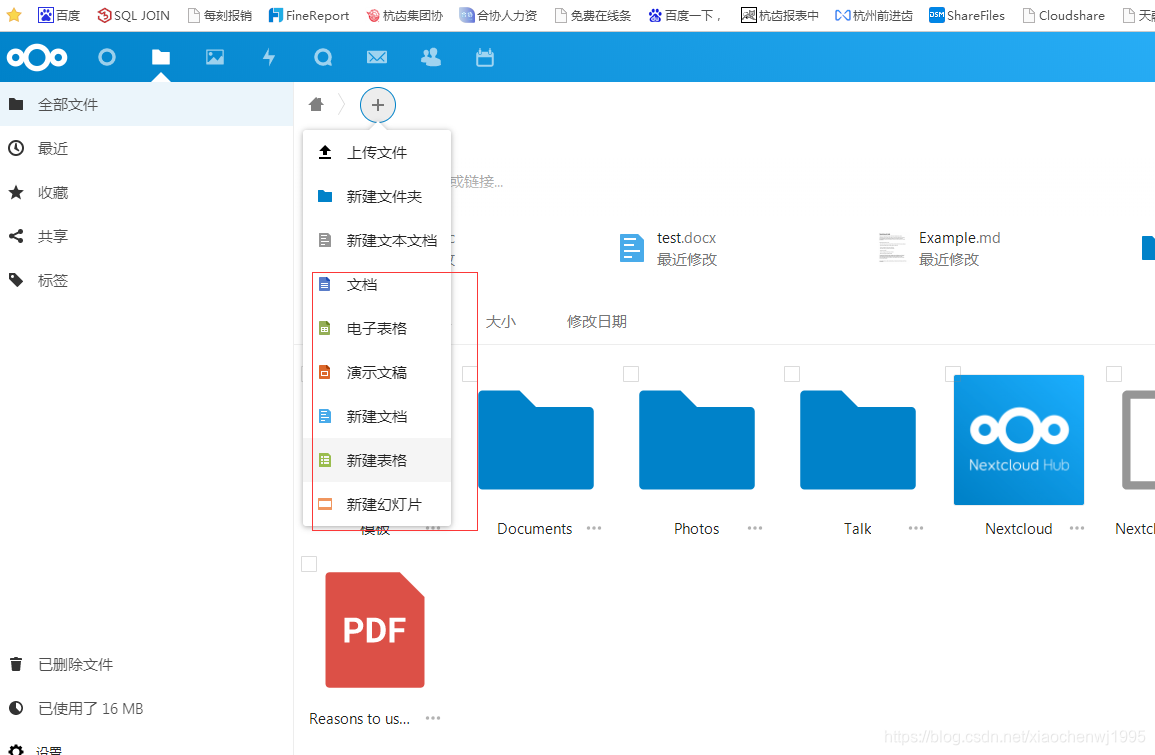
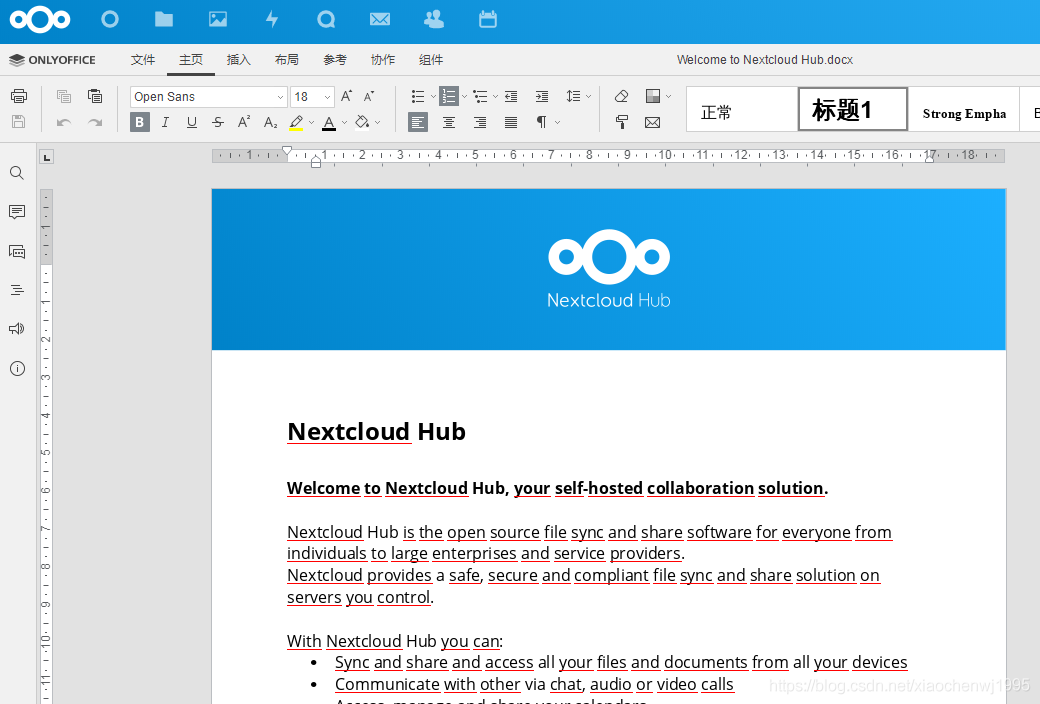
打开一份文档进行测试
二、docker容器方式部署
1、镜像准备
netcloud、数据库及onlyoffice都采用容器方式部署,可以先拉取镜像到本地。
[root@localhost nextcloud]
Using default tag: latest
latest: Pulling from onlyoffice/documentserver
a70d879fa598: Pull complete
c4394a92d1f8: Pull complete
10e6159c56c0: Pull complete
eaf4d7b423f6: Pull complete
869f291080b7: Pull complete
b99782fa755e: Pull complete
8f6174fe617d: Pull complete
Digest: sha256:220534708b40464cad6f515ef015473cc2840046ca0aa73ae246cd1ecfacae47
Status: Downloaded newer image for onlyoffice/documentserver:latest
docker.io/onlyoffice/documentserver:latest
参考文档:
参考文章1
参考文章2
参考文章3
2、启动相关的容器服务
docker run -d -p 3306:3306 --name fno_mysql -v /usr/local/mysql/conf:/etc/mysql/conf.d \
-v /usr/local/mysql/logs:/logs \
-v /usr/local/mysql/data:/var/lib/mysql \
-e MYSQL_ROOT_PASSWORD=123456 \
mariadb
docker run -d \
-v /app/nextcloud/html:/var/www/html \
-v /app/nextcloud/apps:/var/www/html/custom_apps \
-v /app/nextcloud/config:/var/www/html/config \
-v /app/nextcloud/nextcloud/data:/var/www/html/data \
-v /app/nextcloud/themes:/var/www/html/themes \
-p 80:80 \
nextcloud:17-apache
访问http://安装主机ip:8080/ 页面:
A: 创建管理员账号/密码;
B: 配置数据库;
C: 点击安装完成;
等待稍许分钟会安装完成:
访问 http://安装主机ip:8080/apps/files/ ,打开如下页面:
3、安装onlyoffice:
docker run -i -t -d -p 6060:80 --restart=always \
-v /app/onlyoffice/DocumentServer/logs:/var/log/onlyoffice \
-v /app/onlyoffice/DocumentServer/data:/var/www/onlyoffice/Data \
-v /app/onlyoffice/DocumentServer/lib:/var/lib/onlyoffice \
-v /app/onlyoffice/DocumentServer/db:/var/lib/postgresql onlyoffice/documentserver
本文内容由网友自发贡献,版权归原作者所有,本站不承担相应法律责任。如您发现有涉嫌抄袭侵权的内容,请联系:hwhale#tublm.com(使用前将#替换为@)