从 0 到 1 搭建 Pytest 接口自动化测试项目
1.创建项目目录
mkdir Pytest-API-Testing-Demo
2.项目初始化
// 进入项目文件夹下cd Pytest-API-Testing-Demo// 创建项目 python 项目虚拟环境python -m venv .env// 启用项目 python 项目虚拟环境source .env/bin/activate
3.安装项目依赖
// 安装 requests 包pip install requests// 安装pytest 包pip install pytest// 将项目依赖项保存到 requirements.txt 文件中pip freeze > requirements.txt
4.新建测试文件及测试用例
// 新建测试文件夹mkdir tests// 新建测试用例文件cd teststouch test_demo.py
5.编写测试用例
测试接口可参考项目中 demoAPI.md 文件
import requests


class TestPytestDemo:

    def test_get_demo(self):
        base_url = "https://jsonplaceholder.typicode.com"
        # 发起请求
        response = requests.get(f"{base_url}/posts/1")
        # 断言
        assert response.status_code == 200
        assert response.json()['userId'] == 1
        assert response.json()['id'] == 1

    def test_post_demo(self):
        base_url = "https://jsonplaceholder.typicode.com"
        requests_data = {
            "title": "foo",
            "body": "bar",
            "userId": 1
        }
        # 发起请求
        response = requests.post(f"{base_url}/posts", requests_data)
        # 断言
        assert response.status_code == 201
        print(response.json())
        assert response.json()['userId'] == '1'
        assert response.json()['id'] == 101
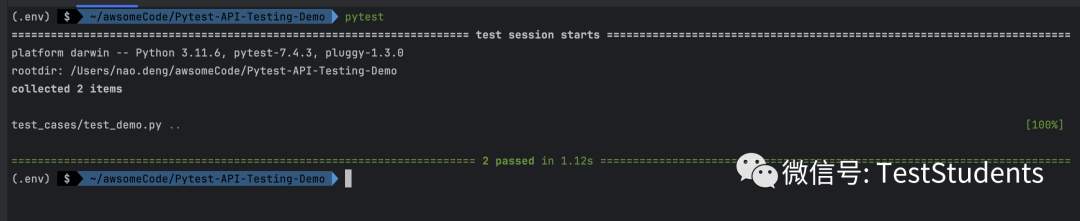
6.运行测试用例
pytest
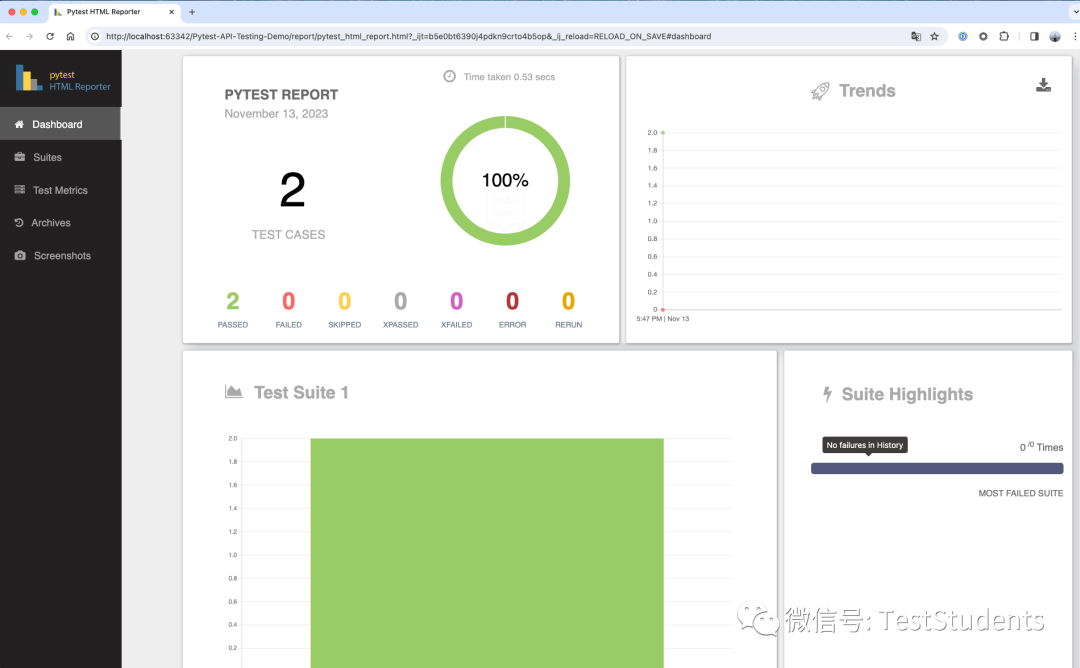
7.查看测试报告
CsoB4y
8.接入 pytest-html-reporter 测试报告
https://github.com/prashanth-sams/pytest-html-reporter
安装 pytest-html-reporter 依赖
pip install pytest-html-reporter
配置测试报告参数
-
项目根目录下新建 pytest.ini 文件
-
添加以下内容
[pytest]addopts = -vs -rf --html-report=./report --title='PYTEST REPORT' --self-contained-html
运行测试用例
pytest
查看测试报告
报告在项目根目录下的 report 目录下,使用浏览器打开 pytest_html_report.html 文件即可查看
8JdxbA
更多信息
行动吧,在路上总比一直观望的要好,未来的你肯定会感谢现在拼搏的自己!如果想学习提升找不到资料,没人答疑解惑时,
请及时加入群: 786229024
,里面有各种测试开发资料和技术可以一起交流哦。
最后:
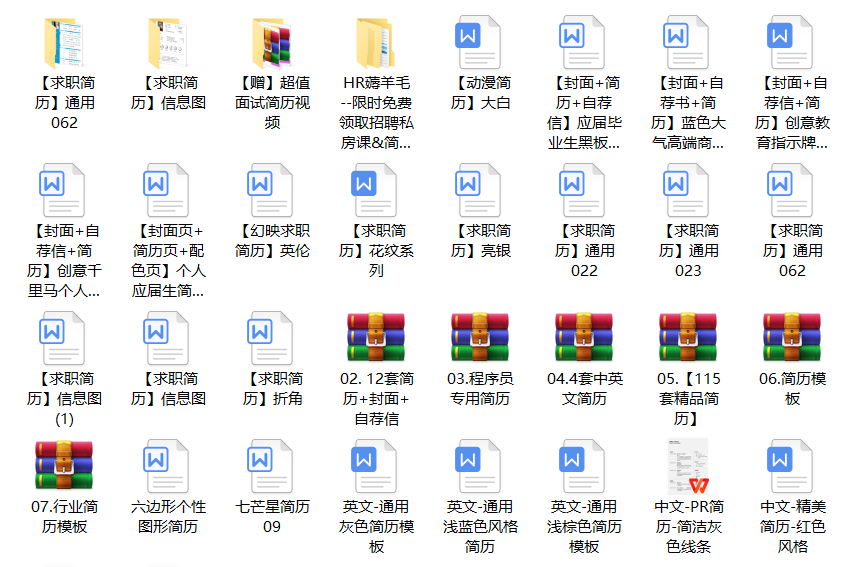
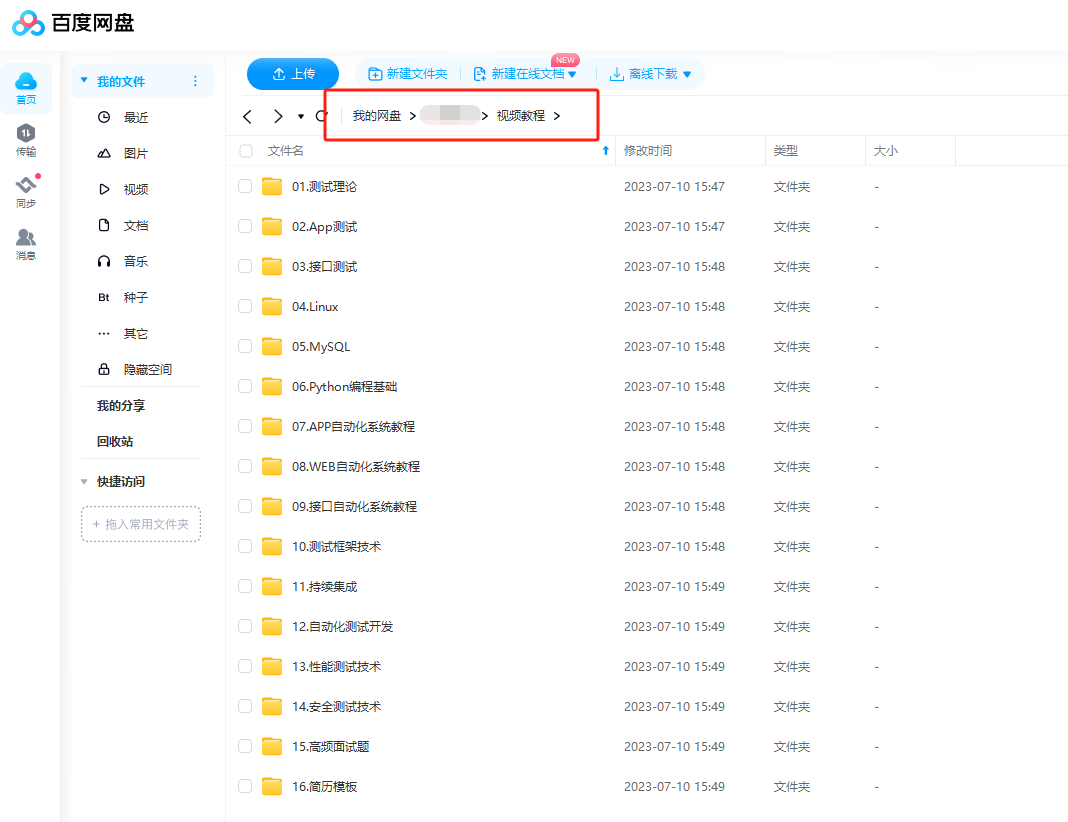
下方这份完整的软件测试视频教程已经整理上传完成,需要的朋友们可以自行领取
【保证100%免费】
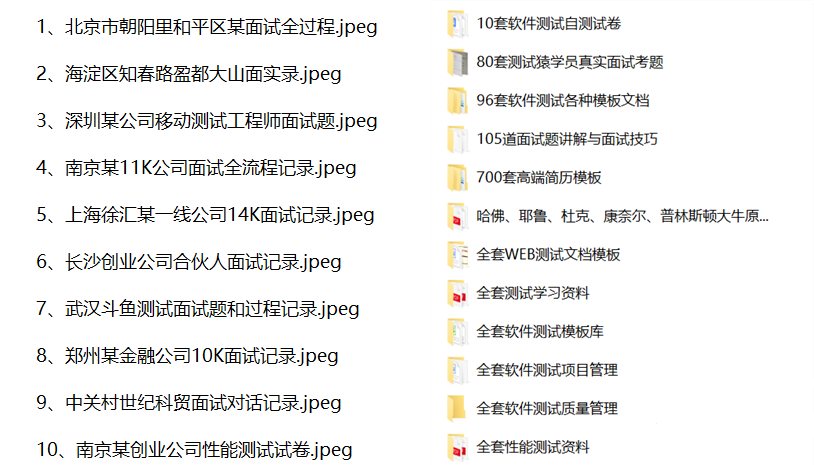
软件测试面试文档
我们学习必然是为了找到高薪的工作,下面这些面试题是来自阿里、腾讯、字节等一线互联网大厂最新的面试资料,并且有字节大佬给出了权威的解答,刷完这一套面试资料相信大家都能找到满意的工作。