1. 相关软件版本
xshell:
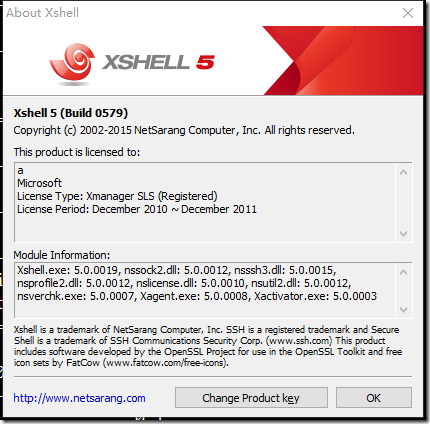
xmanager:

pycharm:
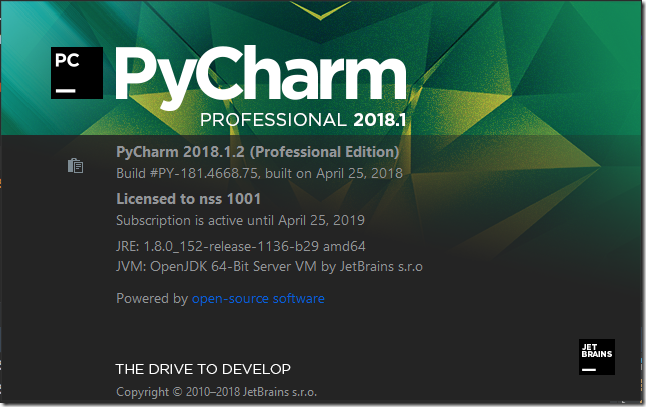
pycharm破解服务器:https://jetlicense.nss.im/
2. 将相应的软件安装(pojie好)
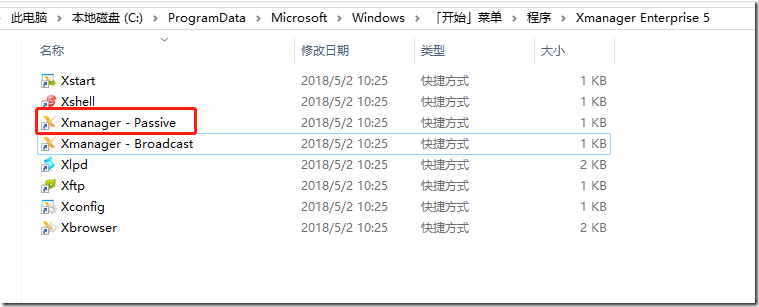
a> 启动xmanager passive,这个是用来接受linux转发过来的x11的:
b> 设置xshell,使用ssh隧道将x11转发到windows机器上
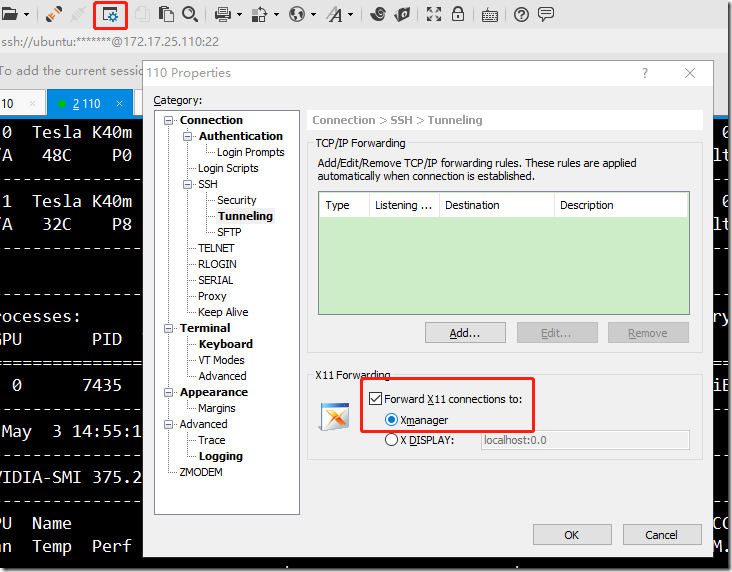
在被设置的服务器上执行echo $DISPLAY,如下:

c> 通过设置后,就可以将linux中的图形界面转发到windows机器上了,例如,在linux命令行中使用eog 1.jpg可以将1.jpg显示在window系统中:
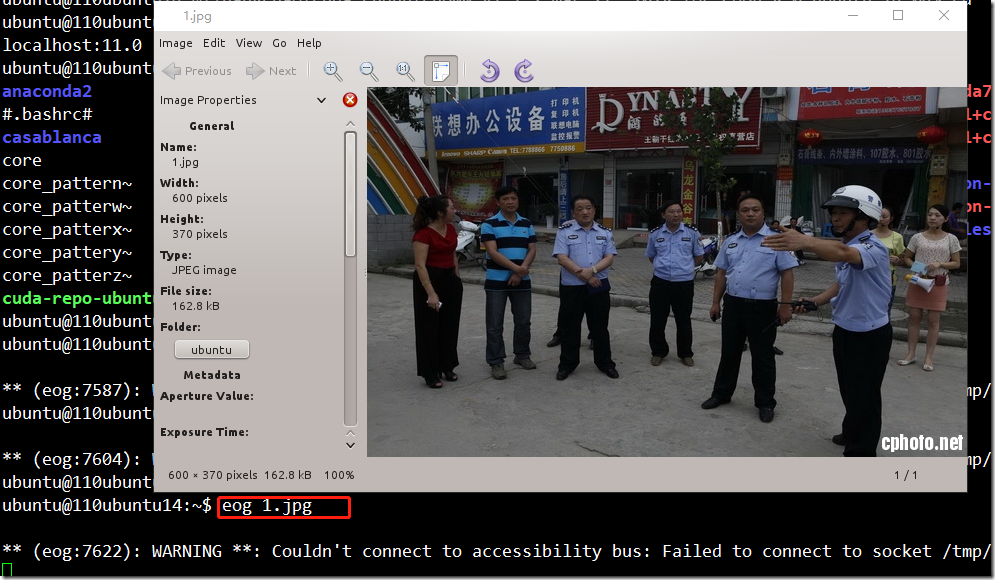
可以看到linux已经通过ssh隧道将x11成功的转发到window,而背后支撑x11的服务器正是xmanager提供的:
3. 配置pycharm,使其能够通过ssh协议远程的使用linux上的python环境,并且进行远程调试、代码同步:
a> 新建一个pythonproject,选择好项目的位置:
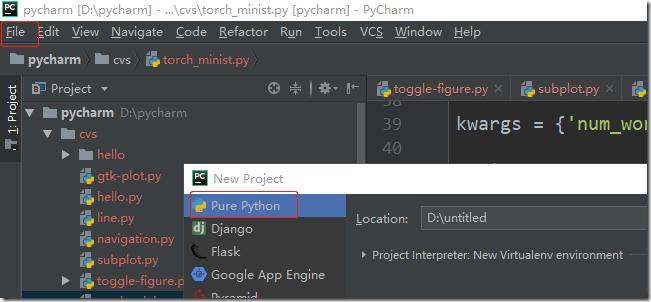
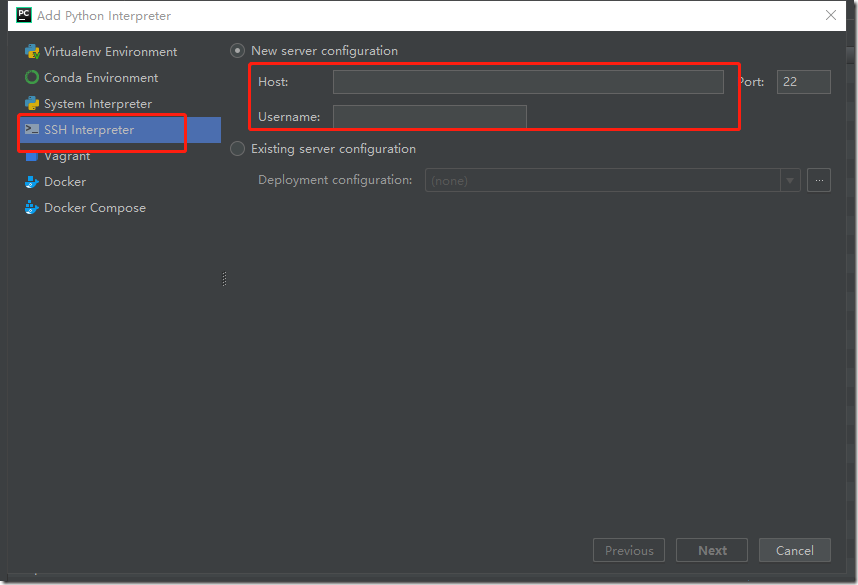
b> 在File->settings中,设置远程linux服务器:

选择Add..,然后填写好远程服务器的ip地址以及用户名和密码:
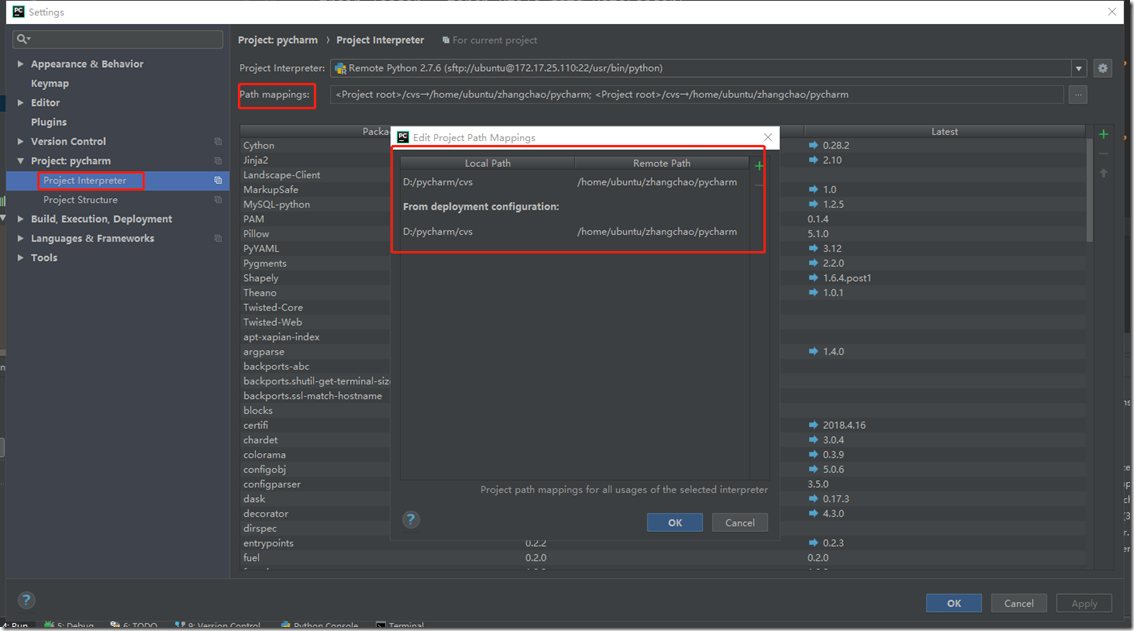
在path mapping中设置windows目录和linux目录的映射关系,这样方便进行windows和linux之间进行代码同步:
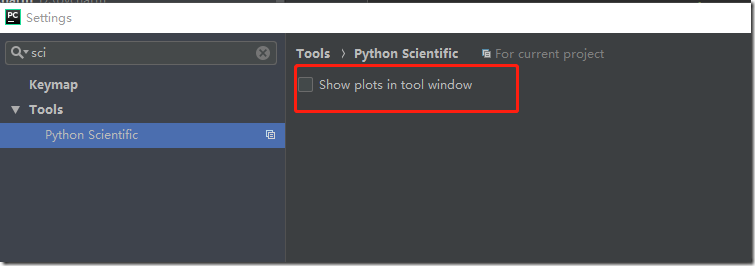
在settings=>Tools=>python Scientific页面中,将show plots in tool window关闭,这样是为了使pycharm能够正常的将linux的中的x11协议转发到xmanger中:
c> 设置源代码同步:
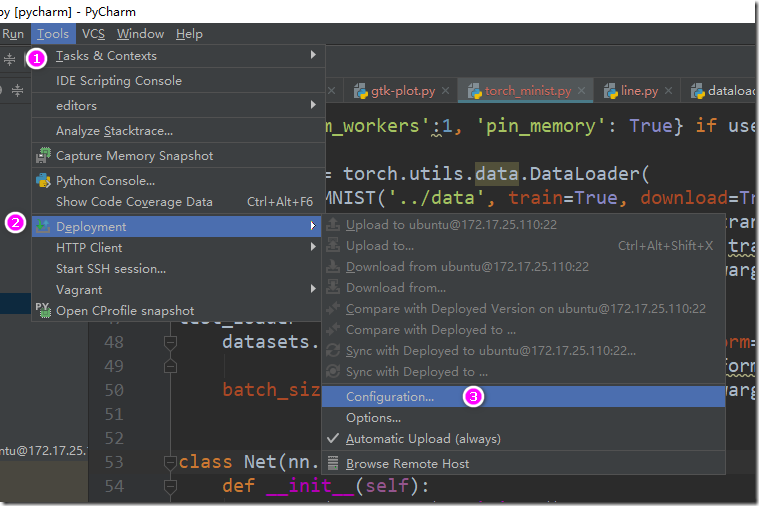
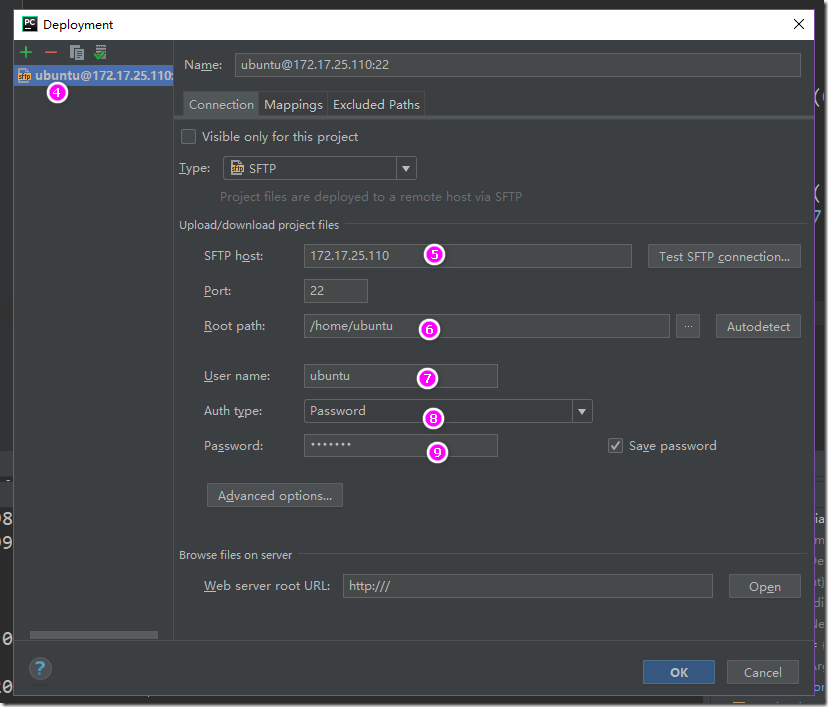
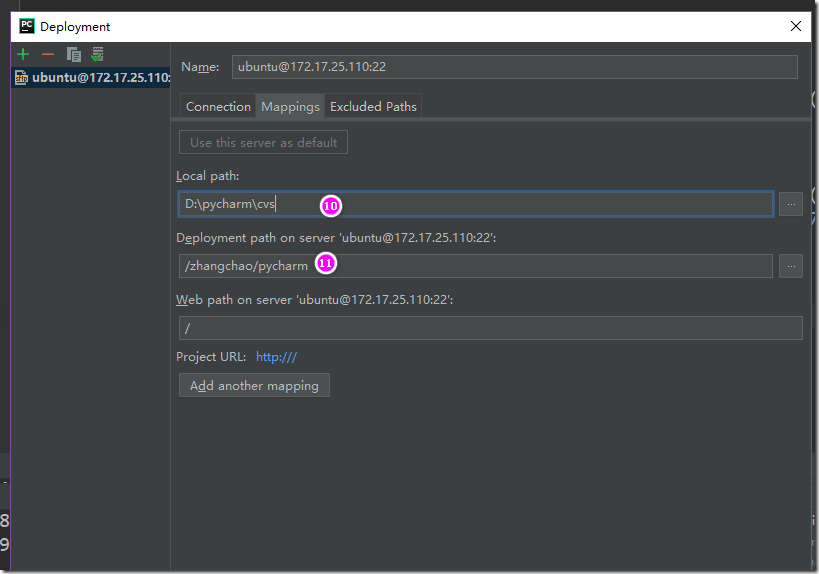
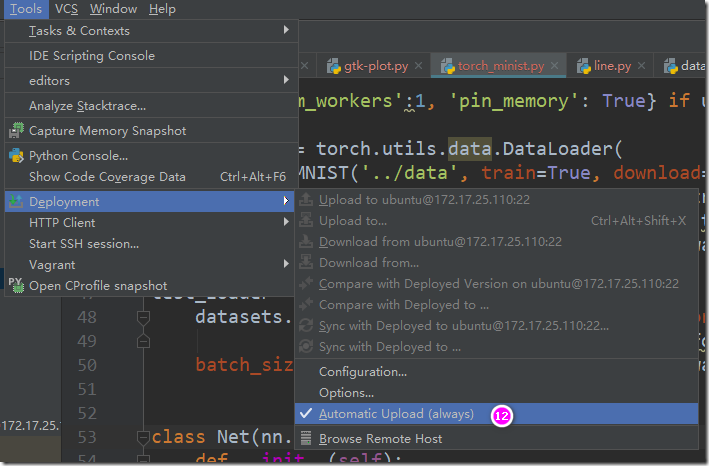
到此,已经设置好了pycharm、xshell、xmanager相互交互的环境。下面在pycharm中写一段测试代码,这个测试代码通过pycharm提交到linux机器上,然后linux通过x11协议转发到windows上,在windows上显示一张图片,line.py代码如下:
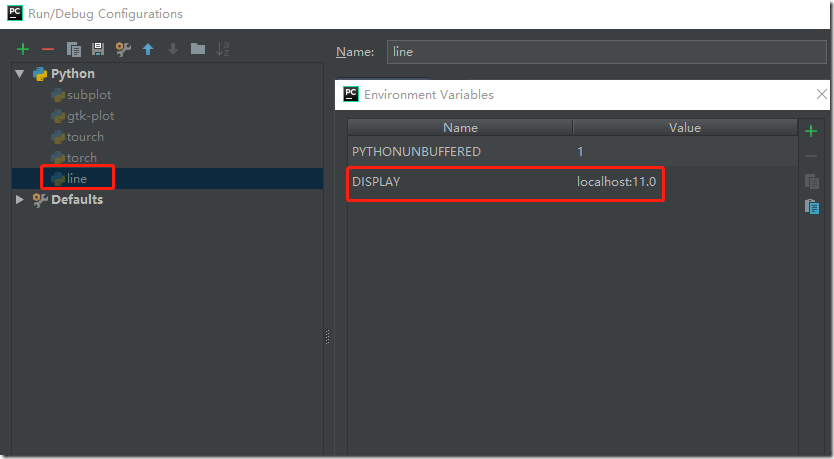
设置pycharm运行line.py的环境变量:
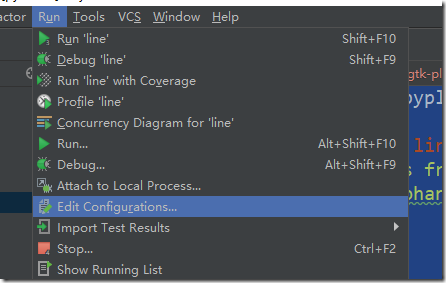
在环境变量列表中加入DISPLAY变量,值为localhost:11.0(具体值,在设置好xshell x11转发规则后,通过linux shell中的echo $DISPLAY获得)
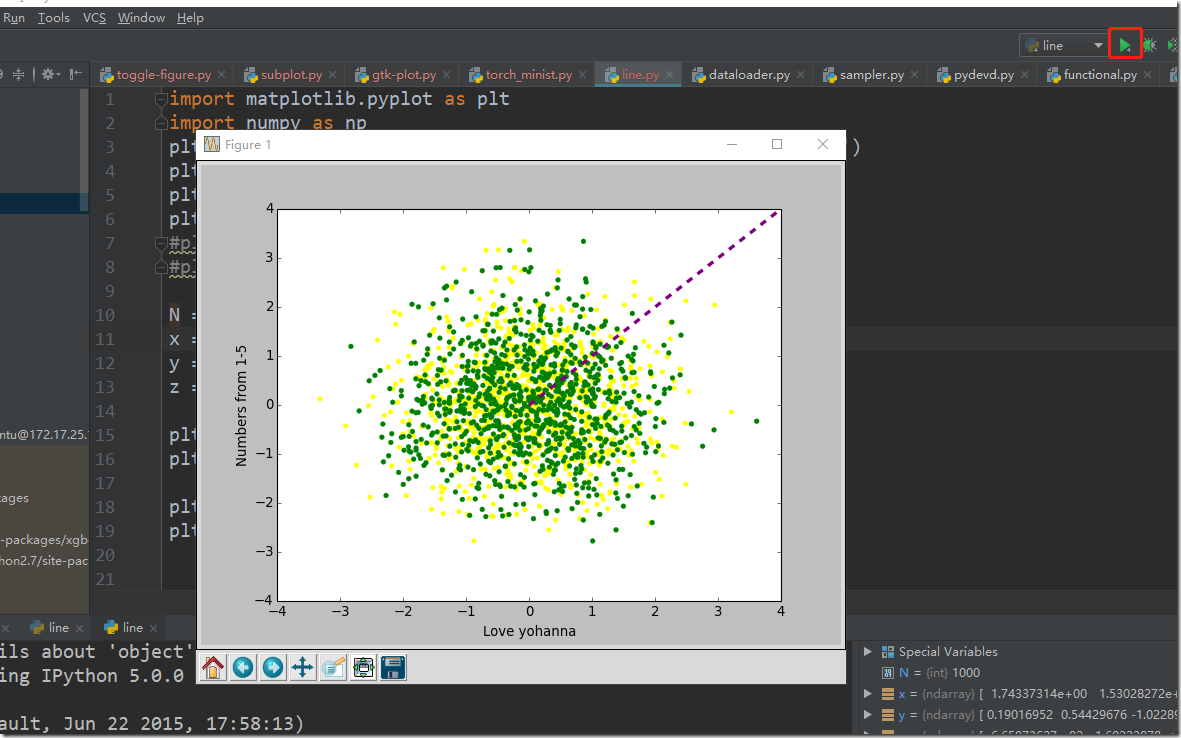
点击运行按钮,可以看到在windows中显示了画图的效果:
4. 设置pycharm使用emacs方式编辑:File->settings->keyMap->Emacs
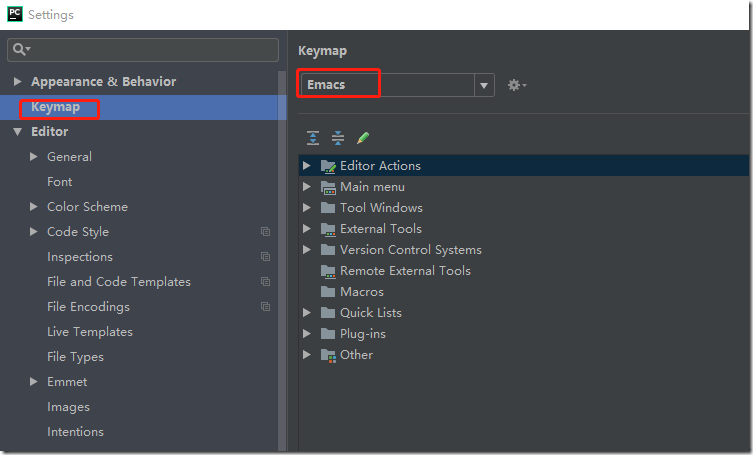
设置文件结尾为unix格式:

5. 搭建pytorch+cuda的环境:
a> 安装pytorch使用,sudo pip install pytorch
b> 下载和安装cuda:
https://developer.nvidia.com/cuda-toolkit-archive
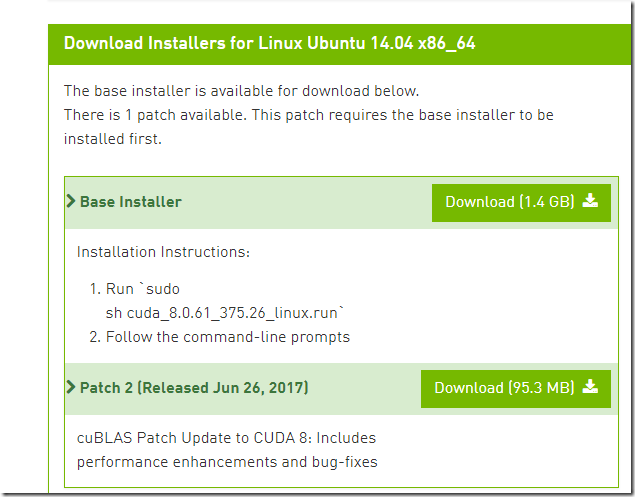
cuda的默认安装位置:/usr/local/cuda-8.0

在安装的过程中如果遇到X dispaly的问题,
It appears that an X server is running. Please exit X before installation. If you're sure that X is not running, but are getting this error, please delete any X lock files in /tmp.
那么可以尝试使用/etc/init.d/lightdm stop
然后在尝试安装,安装成功后日志如下:
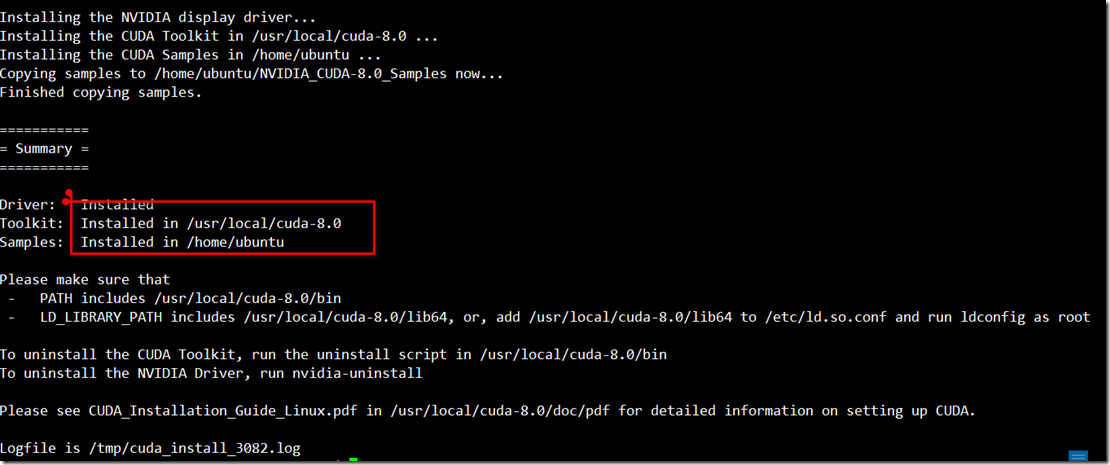
c> 下载和安装cudnn:
https://developer.nvidia.com/rdp/cudnn-download
libcudnn的安装,先安装runtime,然后再安装dev包。


d>
将cuda和cudnn安装成功后,发现torch已经支持cuda了:torch.cuda.is_available() --> true

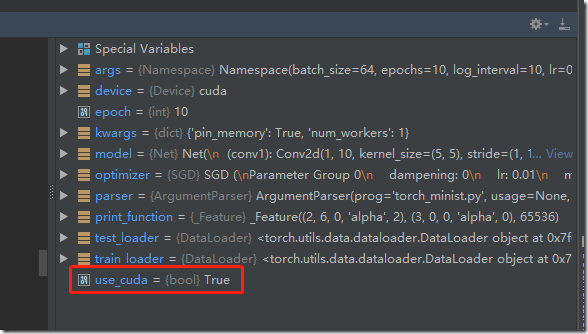
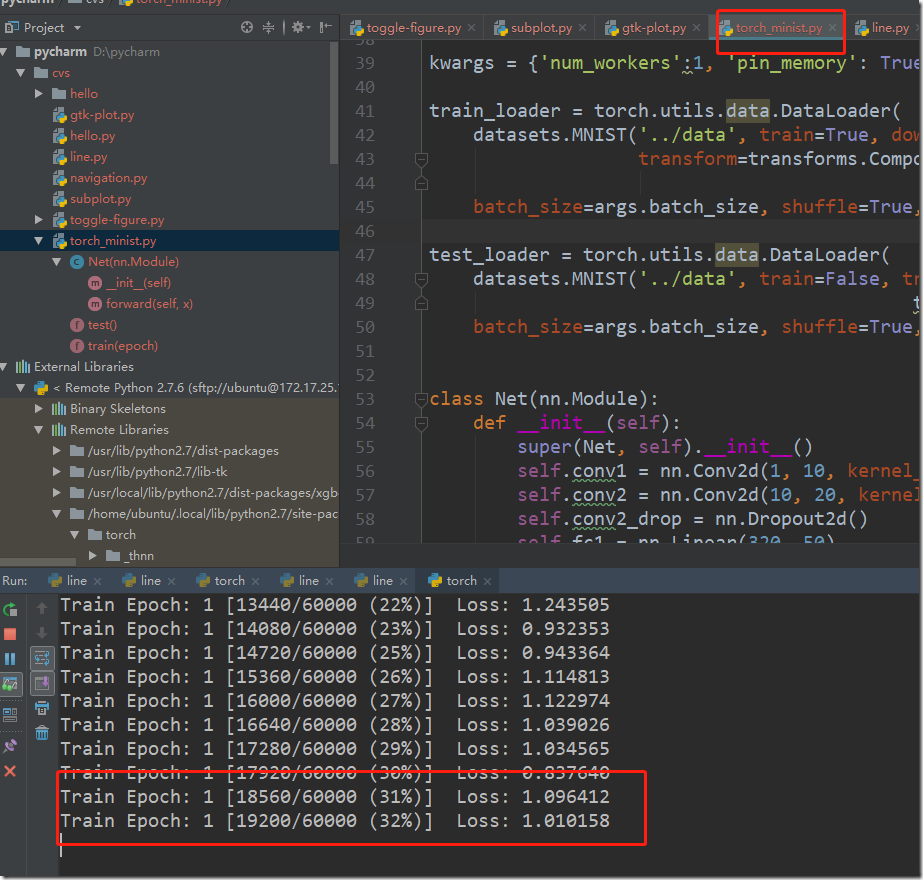
6. 现在pytorch+cuda的环境已经搭建好,可以跑一个简单的minst例子了,首先将代码下载好torch_minist.py:
然后设置torch_minst.py运行时的环境变量DISPLAY=localhost:11.0,点击run按钮可以看到运行效果:
图终于截完。