前言
很多小伙伴们在公司不管是测试C端产品还是B端产品,都会测到排序的业务需求;那么我们就会好奇排序是如何实现的呢?下面我们开始介绍代码的实现
数据库建表
我们需要创建一个书籍book表结构,如下图所示
CREATE TABLE `book` (
`id` int(11) NOT NULL AUTO_INCREMENT comment '主键自增id',
`book_no` varchar(200) comment '书的编号',
`book_name` varchar(200) NOT NULL comment '书名',
`book_author` varchar(200) DEFAULT NULL comment '书的作者',
`book_publish` varchar(200) DEFAULT NULL comment '书的出版社',
`book_category` int(11) DEFAULT NULL comment '书的分类',
`book_price` varchar(20) DEFAULT NULL comment '书的价格',
`book_introduction` text DEFAULT NULL comment '书的介绍',
create_time timestamp not null default current_timestamp comment '创建时间',
update_time timestamp not null default current_timestamp on update current_timestamp comment '更新时间',
PRIMARY KEY (`id`),
KEY `book_category` (`book_category`) USING BTREE,
CONSTRAINT `book_ibfk_1` FOREIGN KEY (`book_category`) REFERENCES `book_category` (`category_id`)
) ENGINE=InnoDB DEFAULT CHARSET=utf8 comment '书的信息';
向book表里插入数据
insert into book(book_no,book_name,book_author,book_publish,book_category,book_price,book_introduction)
values('1111','巨人的陨落','肯.福莱特','江苏凤凰文艺出版社',1,'129','一本文学巨作');
insert into book(book_no,book_name,book_author,book_publish,book_category,book_price,book_introduction)
values('2222','巨人的陨落2','肯.福莱特','江苏凤凰文艺出版社',1,'129','一本文学巨作');
insert into book(book_no,book_name,book_author,book_publish,book_category,book_price,book_introduction)
values('3333','巨人的陨落3','肯.福莱特','江苏凤凰文艺出版社',1,'129','一本文学巨作');
insert into book(book_no,book_name,book_author,book_publish,book_category,book_price,book_introduction)
values('4444','巨人的陨落4','肯.福莱特','江苏凤凰文艺出版社',1,'129','一本文学巨作');
insert into book(book_no,book_name,book_author,book_publish,book_category,book_price,book_introduction)
values('5555','巨人的陨落5','肯.福莱特','江苏凤凰文艺出版社',1,'129','一本文学巨作');
insert into book(book_no,book_name,book_author,book_publish,book_category,book_price,book_introduction)
values('6666','巨人的陨落6','肯.福莱特','江苏凤凰文艺出版社',1,'129','一本文学巨作');
insert into book(book_no,book_name,book_author,book_publish,book_category,book_price,book_introduction)
values('7777','巨人的陨落7','张三','江苏凤凰文艺出版社',1,'129','一本文学巨作');
创建mapper.xml文件
include标签语法:include是引用SQL代码,refid 是引用的sql的id名称,一定要唯一where标签语法:是顶层的遍历标签,需要配合if标签使用,单独使用无意义。if标签语法:主要用来进行条件查询或者解决空值插入。具体语法为:<if test="校验条件">sql语句</if>resultType标签语法:当数据表中字段的名称和实体类的属性名一致时,MyBatis会自动把查询结果集中的属性赋值给和bean对象类中的属性名一致的字段。可以使用此标签进行映射
resultMap标签语法:当数据表中字段的名称和实体类的属性名不一致时,使用此标签进行映射。
语法格式:
<resultMap type="实体类" id="唯一的标志"><result column="数据表字段" property="实体属性"/></resultMap>
这个id是resultMap的唯一标识 在select标签要引用这个resultMap时 靠这个id来引用就行
<select id="getBookList" resultMap="bookMap">
<?xml version="1.0" encoding="UTF-8"?>
<!DOCTYPE mapper PUBLIC "-//mybatis.org//DTD Mapper 3.0//EN" "http://mybatis.org/dtd/mybatis-3-mapper.dtd">
<mapper namespace="com.o2o.mapper.BookMapper">
<!-- 书籍对象映射 -->
<resultMap id="bookMap" type="com.o2o.data.Book">
<id column="id" property="id"/>
<id column="book_no" property="bookNo"/>
<id column="book_name" property="bookName"/>
<id column="book_author" property="bookAuthor"/>
<id column="book_publish" property="bookPublish"/>
<id column="book_category" property="bookCategory"/>
<id column="book_price" property="bookPrice"/>
<id column="book_introduction" property="bookIntroduction"/>
<id column="category_name" property="categoryName"/>
<id column="create_time" property="createTime"/>
<id column="update_time" property="updateTime"/>
</resultMap>
<!-- 书籍对象映射 -->
<resultMap type="com.o2o.data.BookWithBorrowFlg" id="bookWithBorrowFlgMap">
<id column="id" property="id"/>
<id column="book_no" property="bookNo"/>
<id column="book_name" property="bookName"/>
<id column="book_author" property="bookAuthor"/>
<id column="book_publish" property="bookPublish"/>
<id column="book_category" property="bookCategory"/>
<id column="book_price" property="bookPrice"/>
<id column="book_introduction" property="bookIntroduction"/>
<id column="category_name" property="categoryName"/>
<id column="create_time" property="createTime"/>
<id column="update_time" property="updateTime"/>
<id column="username" property="username"/>
<id column="borrow_flg" property="borrowFlg"/>
</resultMap>
<!-- 按照查询条件分页查询书籍 -->
<select id="getBookList" resultMap="bookMap">
select
a.id,a.book_no,a.book_name,a.book_author,a.book_publish,a.book_price,a.book_introduction,b.category_name
from
book a
inner join
book_category b
on a.book_category = b.category_id
<include refid="getBooksWhere"></include>
order by a.update_time desc
</select>
<!-- 获取书籍的动态where条件 -->
<sql id="getBooksWhere">
<where>
1=1
<if test="bookNo != null and bookNo != ''">
and a.book_no like '%'
</if>
<if test="bookName != null and bookName != ''">
and a.book_name like '%'
</if>
<if test="bookAuthor != null and bookAuthor != ''">
and a.book_author like '%'
</if>
<if test="bookPublish != null and bookPublish != ''">
and a.book_publish like '%'
</if>
<if test="bookCategory != null and bookCategory != ''">
and a.book_category =
</if>
</where>
</sql>
</mapper>
application.yml配置文件
driver-class-name: com.mysql.cj.jdbc.Driver
mysql是8.x版本的需要加cj,如果是低版本5.x的不需要加这个cjmapper-locations: classpath:/mapper/*.xml
#classpath指的是resource文件夹指定mapper文件的位置,将配置路径下的*.xml文件加载到mybatismap-underscore-to-camel-case: true
开启驼峰命名规则 比如数据库字段是有下划线的t_no,那么代码中就要写成Tno代码里面自动把下划线的字母变成大写
server:
port: 9527
# 数据源
spring:
datasource:
druid:
driver-class-name: com.mysql.cj.jdbc.Driver # mysql是8.x版本的需要加cj,如果是低版本5.x的不需要加这个cj
url: jdbc:mysql://localhost:3306/cyw-mybatis?autoReconnect=true&useSSL=false&useUnicode=true&characterEncoding=UTF-8
username: root
password: ******
mybatis:
#classpath指的是resource文件夹指定mapper文件的位置,将配置路径下的*.xml文件加载到mybatis
mapper-locations: classpath:/mapper
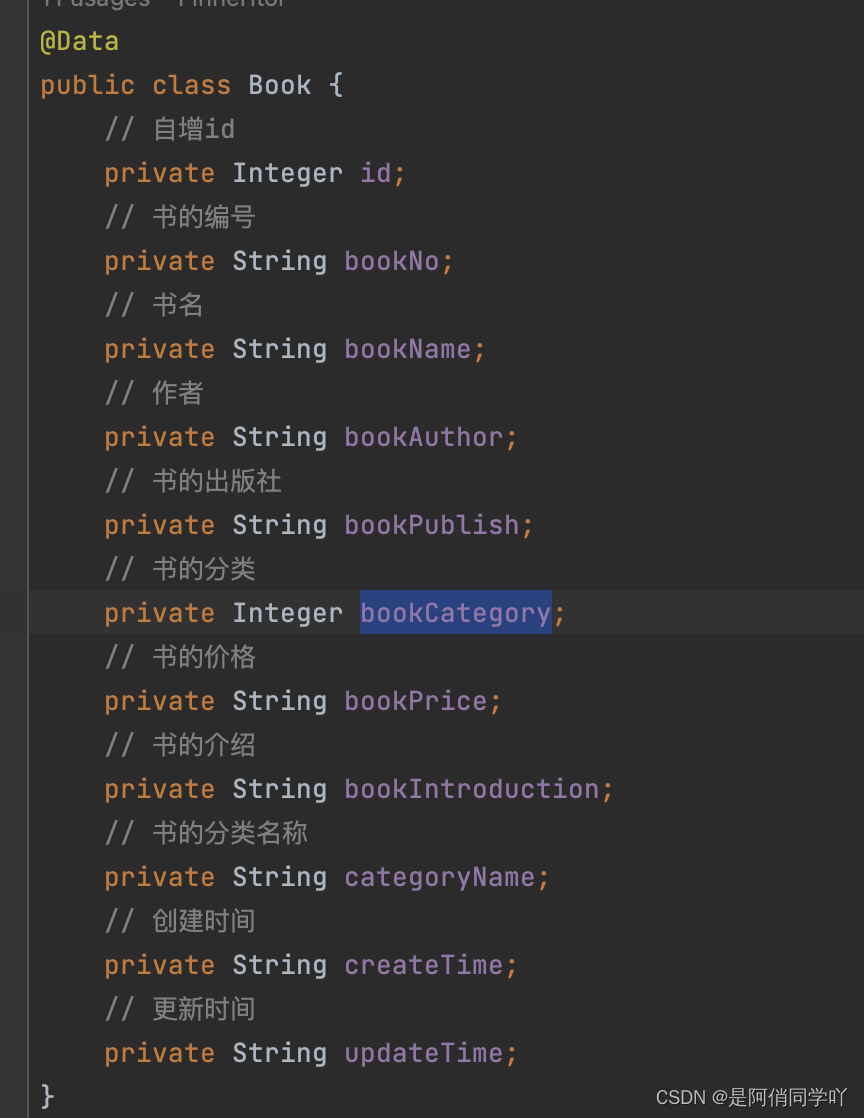
创建实体类book对象
@Data注解自动实现setter和getter方法
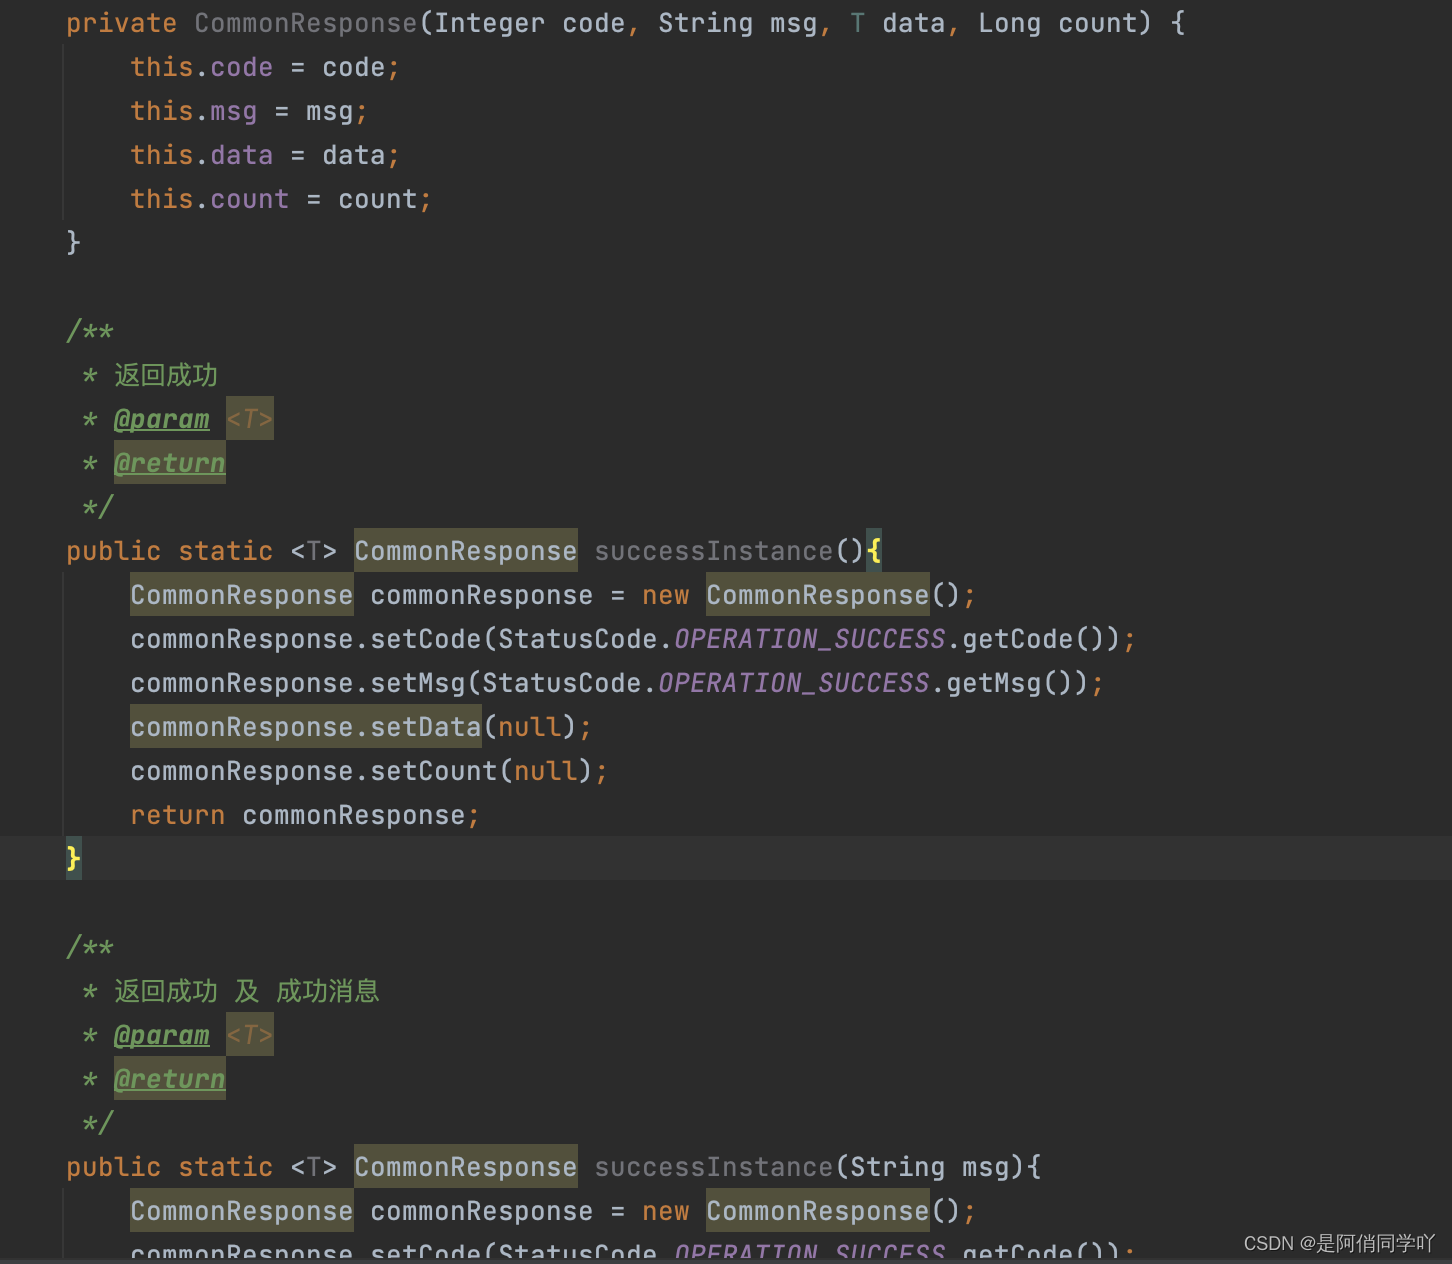
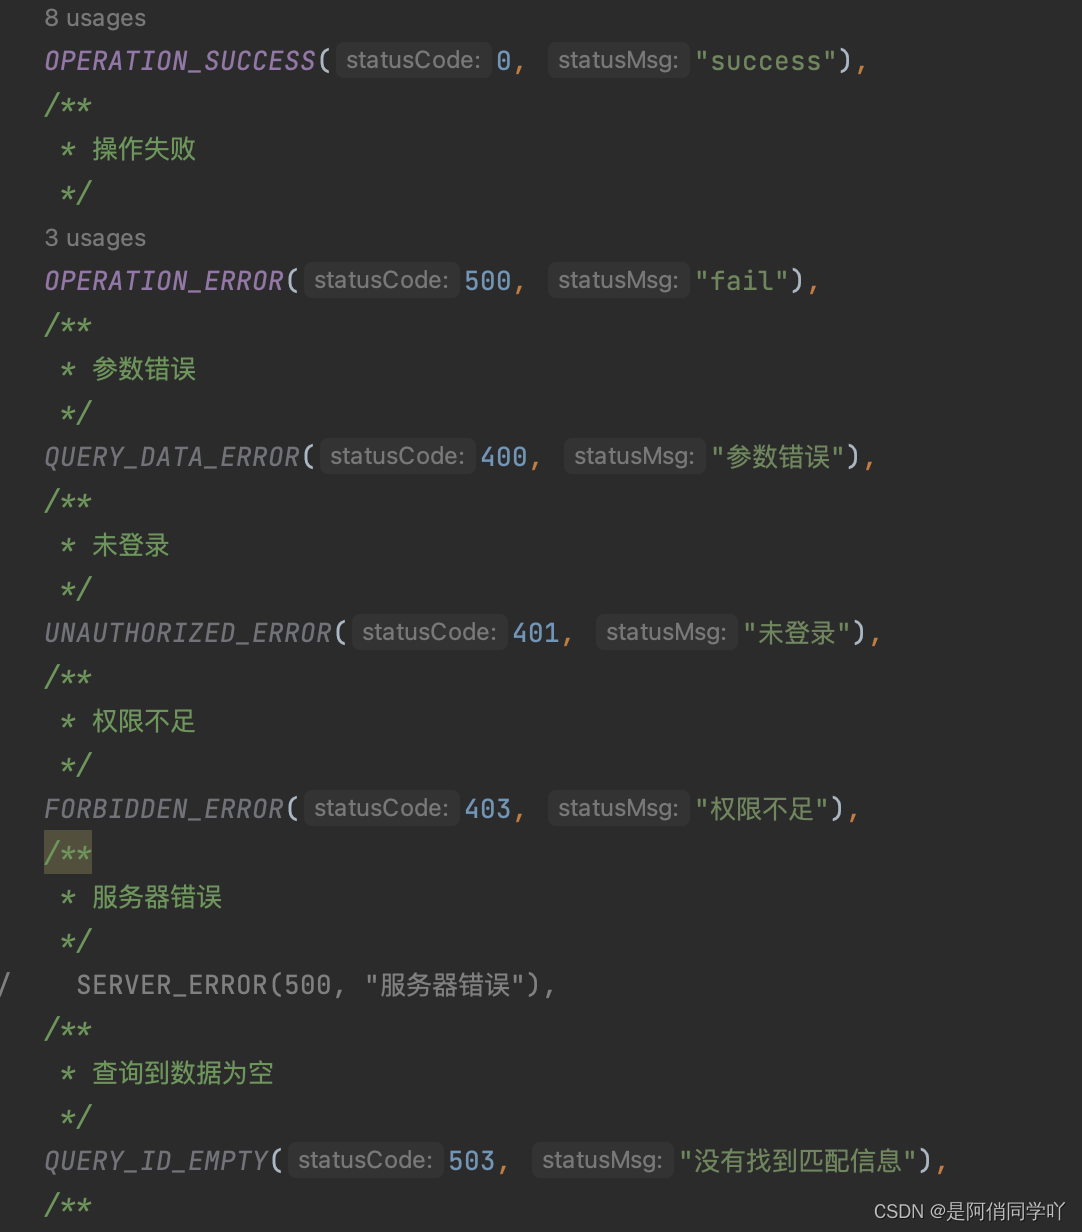
创建接口统一返回类和枚举类
创建mapper层getBookList方法
package com.o2o.mapper;
import com.o2o.data.Book;
import com.o2o.data.param.BookParams;
import java.util.List;
public interface BookMapper {
List<Book> getBookList(BookParams bookParams);
}
创建service层getBookList方法
package com.o2o.service;
import com.o2o.data.Book;
import com.o2o.data.param.BookParams;
import java.util.List;
public interface BookService {
List<Book> getBookList(BookParams bookParams);
}
创建serviceImpl实现类
在service层中通过 @Resource注解注入mapper ,就可以直接通过mapper对象调用mapper接口中定义的方法,mapper中的方法名 与mapper.xml中的名字一一对应
package com.o2o.service.impl;
import com.o2o.data.Book;
import com.o2o.data.param.BookParams;
import com.o2o.mapper.BookMapper;
import com.o2o.service.BookService;
import org.springframework.beans.factory.annotation.Autowired;
import org.springframework.stereotype.Service;
import javax.annotation.Resource;
import java.util.List;
@Service
public class BookServiceImpl implements BookService {
@Resource
private BookMapper bookMapper;
@Override
public List<Book> getBookList(BookParams bookParams) {
return bookMapper.getBookList(bookParams);
}
@Override
public Long getTotalCount(BookParams bookParams) {
return bookMapper.getTotalCount(bookParams);
}
}
创建controller层接收前端传入的参数
@Resource注解注入service层对象- public返回的是一个
CommonResponse对象,因为我们查询全部getBookLists(BookParams bookParams)传了参,映射一个GetMapping请求方法,传入路径名“/getBookLists” @ResponseBody注解将controller层的方法返回结果写入到响应正文response对象的body中,直接返回JSON数据
package com.o2o.controller;
import com.o2o.common.CommonResponse;
import com.o2o.data.Book;
import com.o2o.data.param.BookParams;
import com.o2o.service.BookService;
import org.springframework.web.bind.annotation.GetMapping;
import org.springframework.web.bind.annotation.RequestMapping;
import org.springframework.web.bind.annotation.ResponseBody;
import org.springframework.web.bind.annotation.RestController;
import javax.annotation.Resource;
import java.util.List;
@RestController
@RequestMapping("book")
public class BookController {
@Resource
private BookService bookService;
@GetMapping("/getBookLists")
@ResponseBody
public CommonResponse<List<Book>> getBookLists(BookParams bookParams) {
List<Book> books = bookService.getBookList(bookParams);
CommonResponse response = CommonResponse.successInstance(books);
return response;
}
}
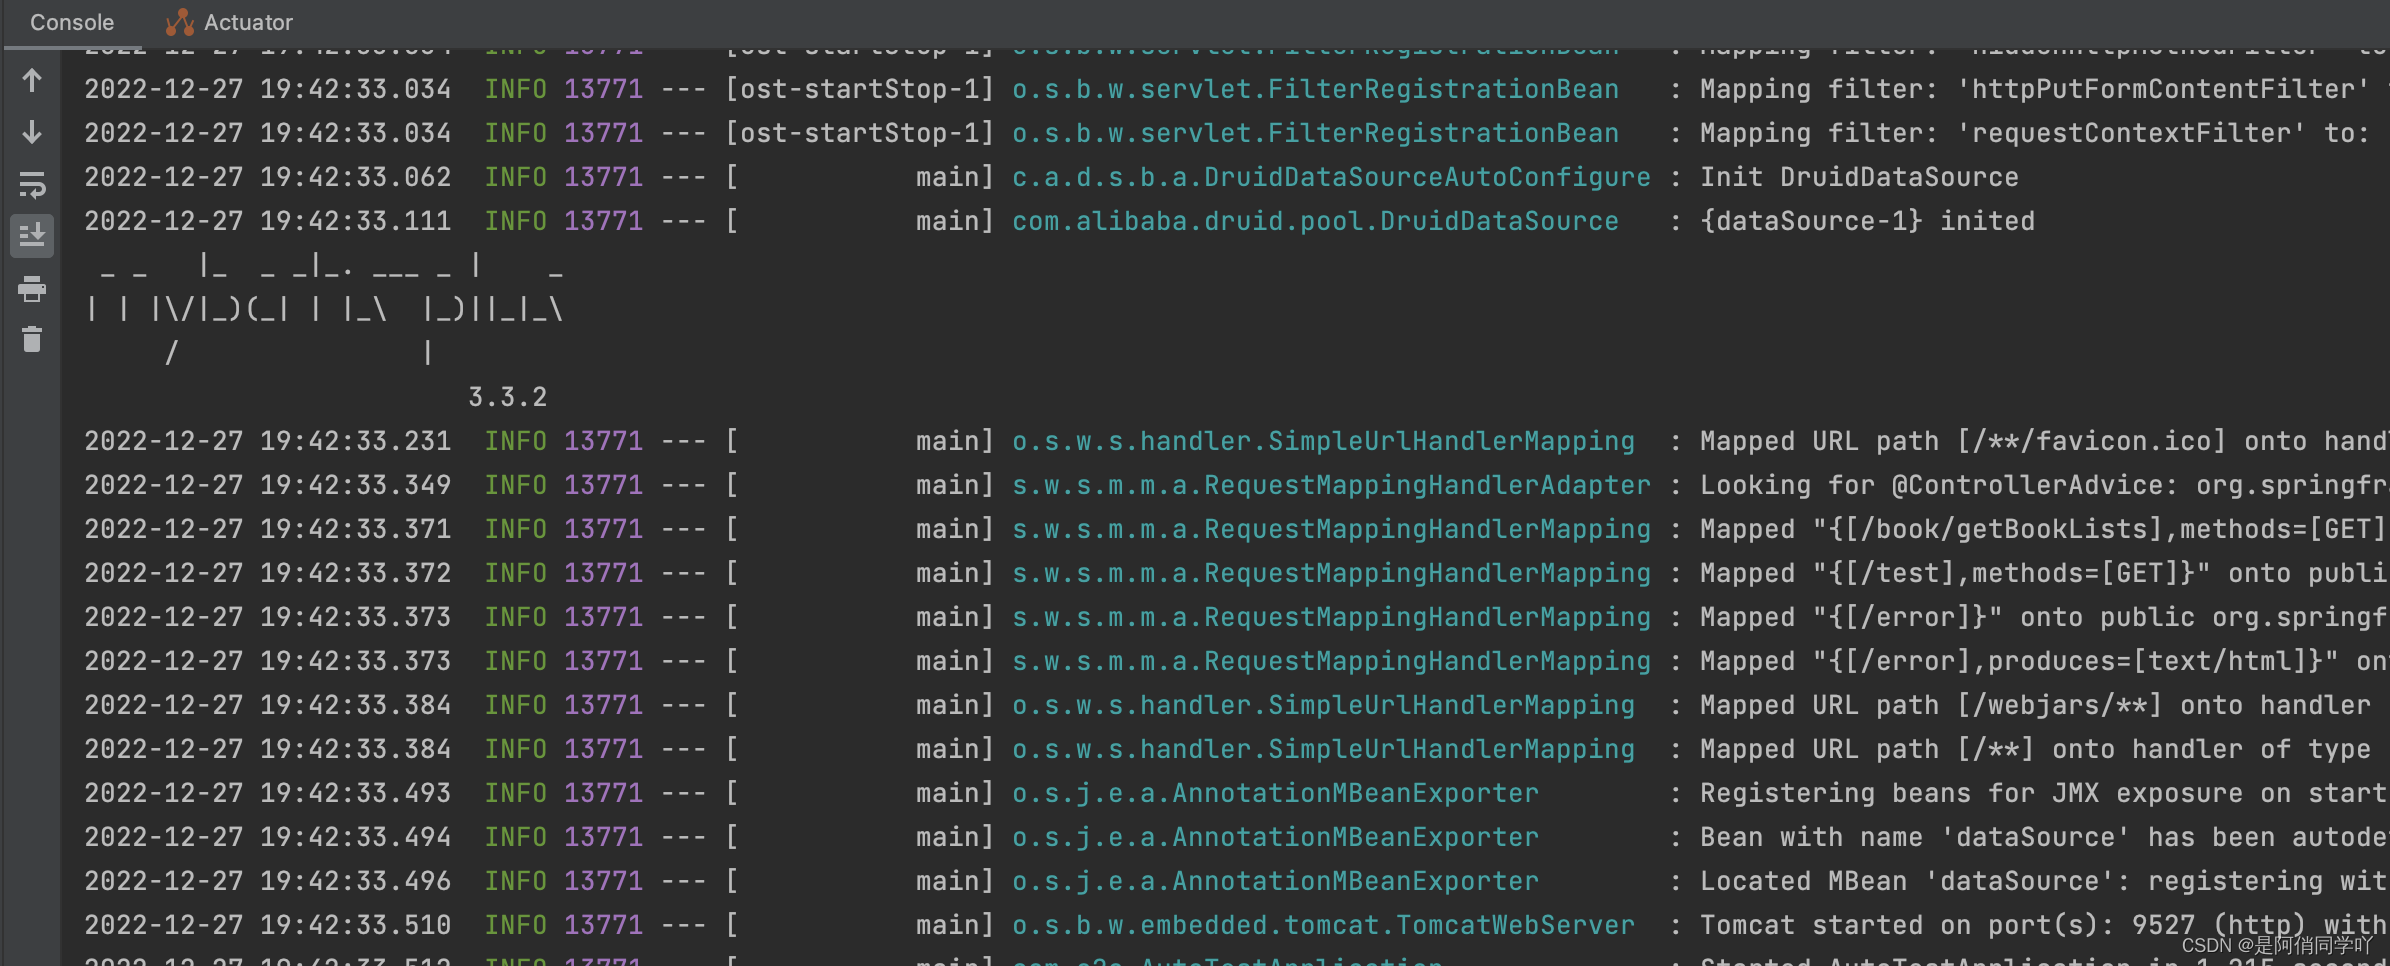
启动run
我们可以看到springboot已经运行成功啦
在浏览器输入{ip}+路径访问
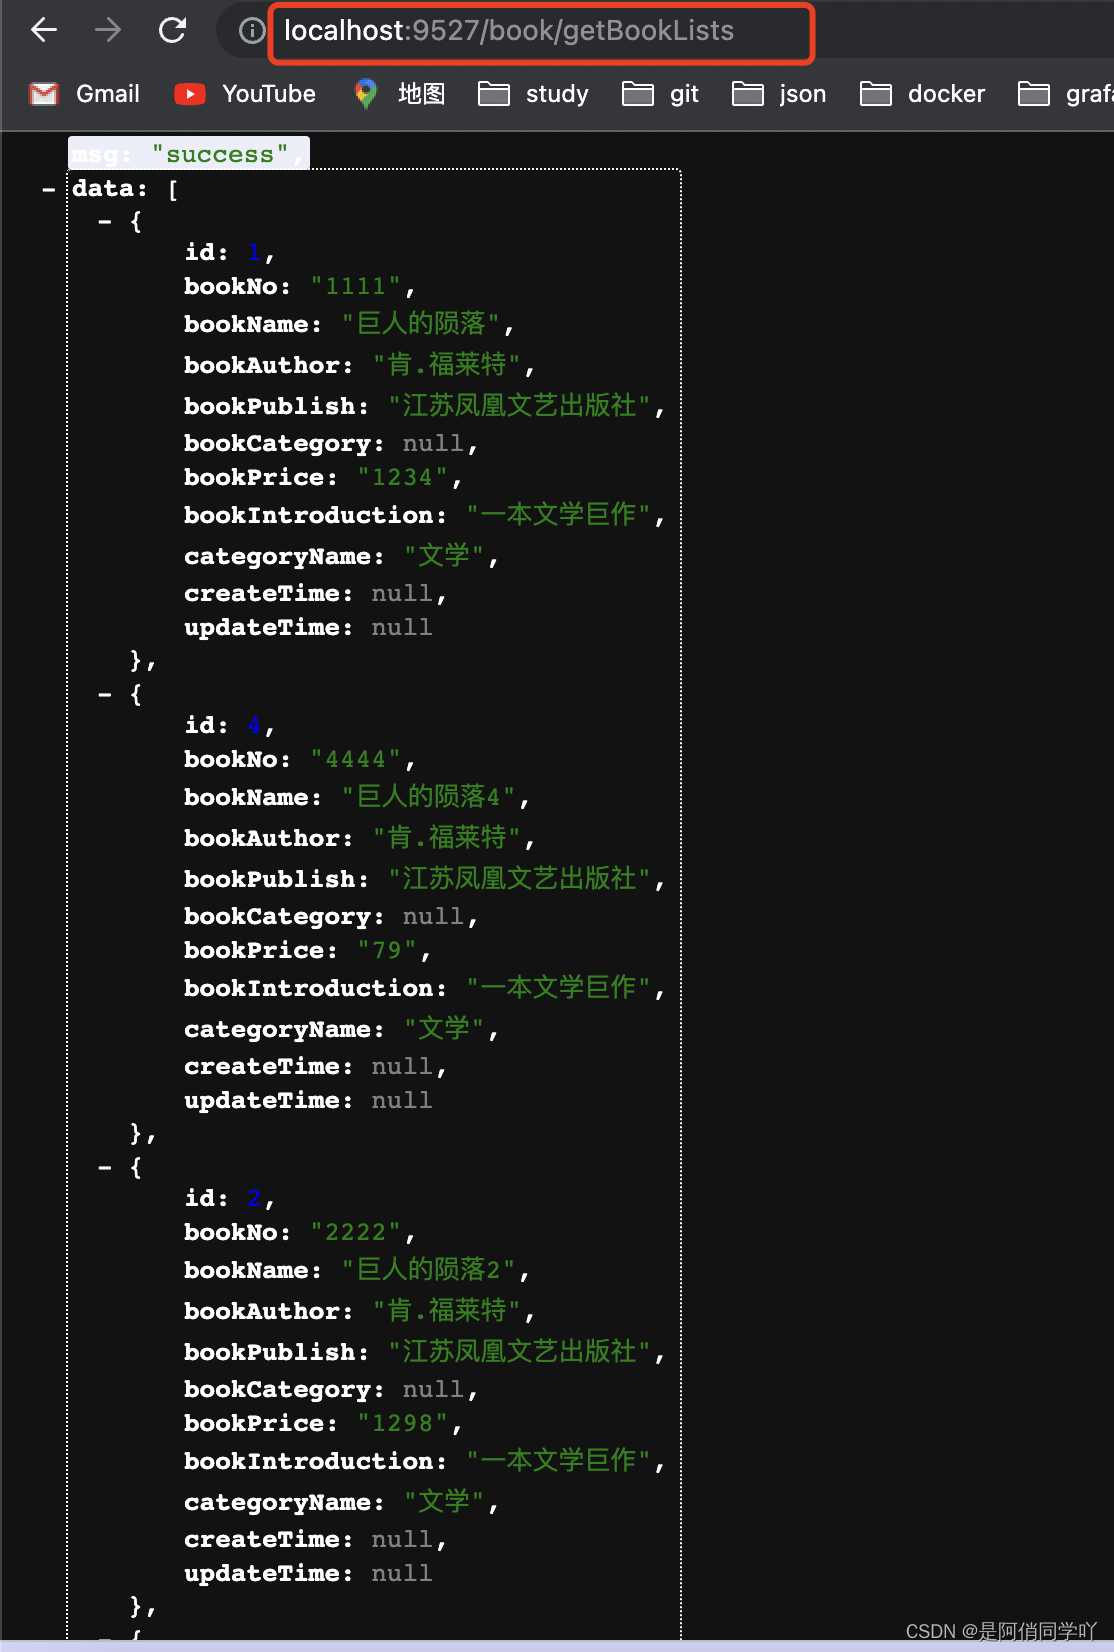
到这里就大功告成啦!
本文内容由网友自发贡献,版权归原作者所有,本站不承担相应法律责任。如您发现有涉嫌抄袭侵权的内容,请联系:hwhale#tublm.com(使用前将#替换为@)