前言
之前已经配好了本地数据库与云服务器上的数据库的连接,也能正常进行操作。几个月后某天打开navicat想打开此连接却弹出了个错误提示窗口,显示Client does not support authentication protocol requested by server; consider upgrading MySQL client。访问服务器上的项目也是出现了数据库连接异常的信息。
解决方法
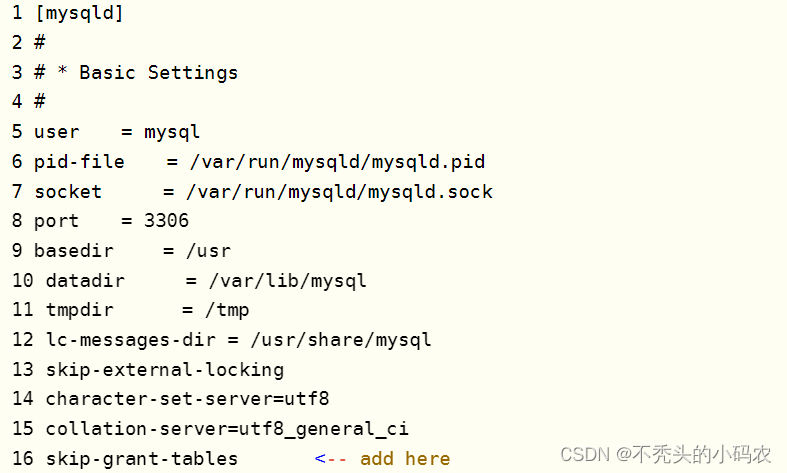
1.在服务器的mysqld配置文件中加入skip-grant-tables这句话
用xshell远程连接服务器后输入mysql -u root -p 且输入之前设置过的root密码后发现登不进去,于是在mysqld配置文件中加入了skip-grant-tables,作用就是让你不用密码就可以登入mysql。:wq保存退出后输入:service mysql restart,重新启动mysql。
2.发现mysql的user表里没有root用户
创建root用户
create user 'root'@'localhost' identified by '数据库密码';
此步骤可能会报以下错误
ERROR 1290 (HY000): The MySQL server is running with the --skip-grant-tables option so it cannot execute this statement
可以用以下方法解决
输入:flush privileges;
此时再次重新创建root用户
create user 'root'@'localhost' identified by '数据库密码';
如果再次报错,则输入这个命令
drop user 'root'@'localhost';
再次重新创建用户
create user 'root'@'localhost' identified by '数据库密码';
结果没有再报错,root用户创建成功。
输入: flush privileges; 再次刷新一下
输入:exit; 退出数据库
此时删除mysqld配置文件中的skip-grant-tables
输入:service mysql restart,重新启动mysql。
3.把root用户的host项从localhost改为%
当前的root用户的host的值是localhost,服务器上的项目和本地数据库都没法访问到服务器上的数据库。所以需要把localhost改为%
mysql> use mysql;
mysql> update user set host = '%' where user = 'root';
mysql> select host, user from user;
mysql> flush privileges;
如果服务器防火墙没有开放3306端口的话还需开放一下
到此这个问题就解决了。都可以正常连接和访问了
本文内容由网友自发贡献,版权归原作者所有,本站不承担相应法律责任。如您发现有涉嫌抄袭侵权的内容,请联系:hwhale#tublm.com(使用前将#替换为@)