React框架制作移动端H5可拖拽的悬浮图标

2023-05-16

一、前言
在跟需求方对接研发的需求,人家说要做一个悬浮在页面的图标,点击完截图然后进入一个新页面,填完一些数据,提交给接口。那么问题来了,怎么制作一个悬浮框,还是可拖拽的悬浮框,还是可拖拽的H5悬浮框?于是,就开始了研发之旅。
制作之后的效果:
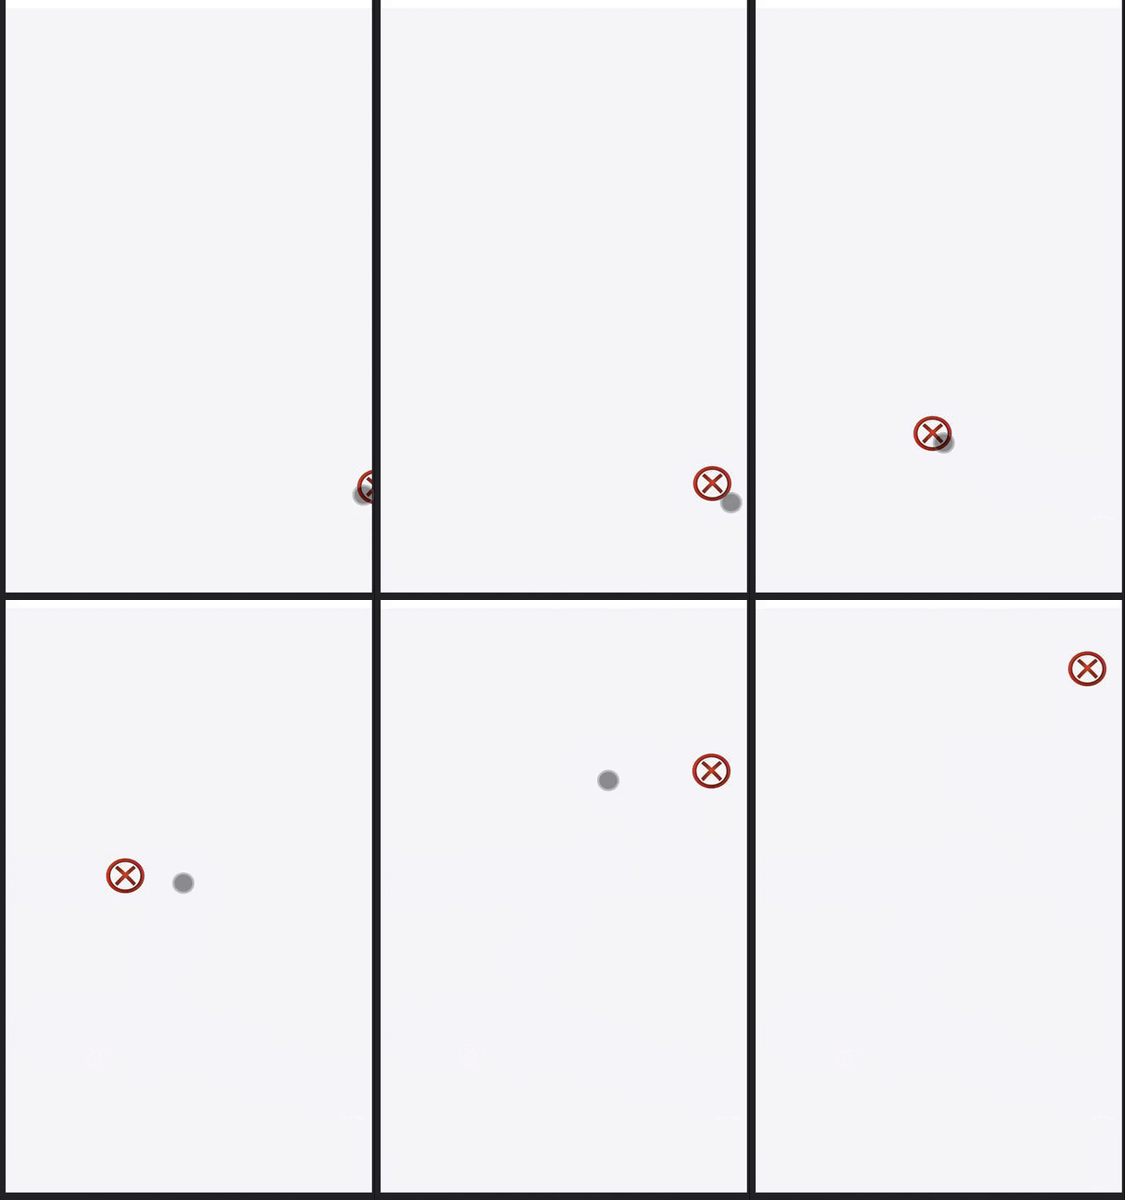
在这里插入图片描述

二、总代码
InformErrorHover.tsx悬浮图标总代码:

// 报错悬浮框
const InformErrorHover: FC<InformErrorHoverProps> = (props) => {
  const { visible = false, location } = props;
  const { errorFileList, imgBase64 } = useSelector((state) => state['informError']);
  const dispatch = useDispatch();
  const divRef = useRef<any>();
  const [itemHeight, setItemHeight] = useState<number>(80);
  const [itemWidth, setItemWidth] = useState<number>(80);
  const [left, setLeft] = useState<number>(0);
  const [top, setTop] = useState<number>(0);
  const [clientWidth, setClientWidth] = useState<number>(0);
  const [clientHeight, setClientHeight] = useState<number>(0);
  const [gapWidth, setGapWidth] = useState<number>(30);

  useEffect(() => {
    setClientWidth(document.documentElement.clientWidth);
    setClientHeight(document.documentElement.clientHeight);
    setLeft(document.documentElement.clientWidth - clientWidth - gapWidth);
    setTop(document.documentElement.clientHeight * 0.8);
  }, []);

  /**
   * 开始拖拽
   * @param e
   */
  const dragStart = (e: any) => {
    divRef!.current!.style.transition = 'none';
  };
  /**
   * 结束拖拽
   * @param e
   */
  const dragEnd = (e: any) => {
    divRef!.current!.style.transition = 'all 0.3s';
    if (left > clientWidth / 2) {
      setLeft(clientWidth - itemWidth - gapWidth);
    } else {
      setLeft(gapWidth);
    }
  };

  const touchmove = (e: any) => {
    if (e.targetTouches.length === 1) {
      let touch = e.targetTouches[0];
      setLeft(touch.clientX - itemWidth / 2);
      setTop(touch.clientY - itemHeight / 2);
    }
  };
  /**
   * 将base64转文件
   * @param dataurl
   * @param filename
   * @returns
   */
  const dataURLtoFile = (dataurl: any, filename: any) => {
    var arr = dataurl.split(','),
      mime = arr[0].match(/:(.*?);/)[1],
      bstr = atob(arr[1]),
      n = bstr.length,
      u8arr = new Uint8Array(n);
    while (n--) {
      u8arr[n] = bstr.charCodeAt(n);
    }
    return new File([u8arr], filename, { type: mime });
  };

  const generateImage = async () => {
    // console.log('点击截图');
    Toast.loading('正在截图中...');
    await html2canvas(document.body).then((canvas) => {
      // document.body.appendChild(canvas);
      let url = canvas.toDataURL('image/png');
      // console.log({ url });
      let files = dataURLtoFile(url, '文件1');
      // console.log({ files });
      dispatch!({
        type: 'informError/save',
        payload: {
          errorFileList: [files],
          imgBase64: url,
        },
      });
      Toast.hide();
      history.push({ pathname: '/informError' });
    });
  };

  return (
    <div
      className={styles.informErrorHoverStyle}
      style={{ top: `${itemHeight}px` }}
      // onTouchMove={(e) => {
      //   console.log(e);
      // }}=
    >
     
        <div
          className={styles.imgDiv}
          ref={divRef}
          style={{
            backgroundImage: `url(${require('@/assets/images/inforErrorPng.png')})`,
            width: `${itemWidth}px`,
            height: `${itemHeight}px`,
            left: `${left}px`,
            // right: '0px',
            top: `${top}px`,
          }}
          onClick={() => {
            generateImage();
          }}
          onTouchStart={(e) => {
            dragStart(e);
          }}
          onTouchEnd={(e) => {
            dragEnd(e);
          }}
          onTouchMove={(e) => {
            touchmove(e);
          }}
        >
       
        </div>
      
    </div>
  );
};

less样式代码:

.informErrorHoverStyle{
  .imgDiv{
    position: fixed;
    right: 20px;
    z-index: 9999;
    width: 40px;
    height: 40px;
    white-space: nowrap;
    background-size: 100% 100%;
    transition: all 0.3s;
  }
  .imgStyle{
    width: 40px;
    height: 40px;
  }
}

三、详解:
1、需要定义的数据

  // 图标的ref
  const divRef = useRef<any>();
  // 图标的高度
  const [itemHeight, setItemHeight] = useState<number>(80);
  // 图标的宽度
  const [itemWidth, setItemWidth] = useState<number>(80);
  // 向左移动的距离
  const [left, setLeft] = useState<number>(0);
  // 向上移动的距离
  const [top, setTop] = useState<number>(0);
  // 获取浏览器窗口文档显示区域的宽度
  const [clientWidth, setClientWidth] = useState<number>(0);
  // 获取浏览器窗口文档显示区域的宽高度
  const [clientHeight, setClientHeight] = useState<number>(0);
  // 图标距离边距的距离
  const [gapWidth, setGapWidth] = useState<number>(30);

2、需要定义的方法

  /**
   * 开当按下手指时,触发
   * @param e
   */
  const dragStart = (e: any) => {
    divRef!.current!.style.transition = 'none';
  };

  /**
   * 当移走手指时,触发
   * @param e
   */
  const dragEnd = (e: any) => {
    divRef!.current!.style.transition = 'all 0.3s';
    if (left > clientWidth / 2) {
      setLeft(clientWidth - itemWidth - gapWidth);
    } else {
      setLeft(gapWidth);
    }
  };

  /**
   * 当移动手指时,触发
   * @param e
   */
  const touchmove = (e: any) => {
    if (e.targetTouches.length === 1) {
      let touch = e.targetTouches[0];
      setLeft(touch.clientX - itemWidth / 2);
      setTop(touch.clientY - itemHeight / 2);
    }
  };

3、dom节点内容

   return (
    <div
      className={styles.informErrorHoverStyle}
      style={{ top: `${itemHeight}px` }}
      // onTouchMove={(e) => {
      //   console.log(e);
      // }}=
    >
        <div
          className={styles.imgDiv}
          ref={divRef}
          style={{
            // 图片
            backgroundImage: `url(${require('@/assets/images/inforErrorPng.png')})`,
            // 初始化宽度
            width: `${itemWidth}px`,
            // 初始化高度
            height: `${itemHeight}px`,
            // 距左边的距离
            left: `${left}px`,
            // 距上面的距离
            top: `${top}px`,
          }}
          onClick={() => {
            generateImage();
          }}
          // 开当按下手指时,触发
          onTouchStart={(e) => {
            dragStart(e);
          }}
          // 当移走手指时,触发
          onTouchEnd={(e) => {
            dragEnd(e);
          }}
          // 当移动手指时,触发
          onTouchMove={(e) => {
            touchmove(e);
          }}
        >
          {/* <img src={img ? img : InforErrorPng} className={styles.imgStyle} /> */}
        </div>
    </div>
  );
本文内容由网友自发贡献,版权归原作者所有,本站不承担相应法律责任。如您发现有涉嫌抄袭侵权的内容,请联系:hwhale#tublm.com(使用前将#替换为@)

React框架制作移动端H5可拖拽的悬浮图标 的相关文章

随机推荐

  • Linux 用户切换、修改用户名、修改密码

    一 用户切换 34 34 xff1a 普通用户提示符 34 34 xff1a root用户提示符 1 普通用户到root 方式一 xff1a 命令 xff1a su 然后输入root密码 此种方式只是切换了root身份 xff0c 但She
  • C++中的.和::和:和->的区别

    在学习C 43 43 的过程中我们经常会用到 和 和 xff1a 和 gt xff0c 在此整理一下这些常用符号的区别 1 A B则A为对象或者结构体 xff1b 2 A gt B则A为指针 xff0c gt 是成员提取 xff0c A g
  • AirSim学习日志 5-LQR实现无人机轨迹跟踪

    1 LQR控制器算法原理推导 1 1 状态反馈控制 连续线性系统的状态空间表示为 x
  • 英语常用短语

    1 xff0e 经济的快速发展 the rapid development of economy 2 xff0e 人民生活水平的显著提高 稳步增长 the remarkable improvement steady growth of pe
  • PX4进入系统控制台以及运行程序

    这里提供进入控制台两种办法 1 运行 Tools mavlink shell py dev ttyACM0 是我进入Px4系统控制台的命令 xff0c 进入之后应该是这样 Pixhawk src Firmware Tools mavlink
  • 哈哈,终于知道CSDN怎么改头像了

    话说之前一直郁闷 xff0c 说改头像的功能还没修好 xff0c 一直说服务器错误 今天偶尔发现 xff0c 右上角有个设置 xff0c 原来在这里可以改 我还发了几封邮件给CSDN的admin xff0c 居然只知道道歉 xff0c 不告
  • Hello Sky! pixhawk第一个例程学习解读

    学习px4的第一个程序 xff0c 这个例子作为官方给出解释的例程 xff0c 对于新手上手来说 xff0c 是很好的范例 接下来我对照程序源码 xff08 已经经过自己的修改和添加注释 xff09 进行讲解 1 PX4 INFO是标准的L
  • ShadowSSDT Hook

    ShadowSSDT表的获取 这里的ShadowSSDT表的获取是通过函数KeAddSystemServiceTable来获取的 使用这个函数的原因 xff1a 1 这个函数是已经导出的 xff0c 可以在代码中直接使用 2 这个函数里面使
  • 2013&2014

    2013总结 2013 毕业了 xff0c 算是正式工作半年 xff0c 2013年7月开始 xff0c 算是我的生活 xff0c 工作之外的时间都是自己的 一 收获 1 压力测试 差不多算是一个月的时间 xff0c 疯狂的一个月 xff0
  • BCTF总结

    缘由 上周 xff0c 我们小组Sigma参加了 百度杯 BCTF比赛 xff0c 经历了难忘的双休 xff0c 这次的BCTF跟以前参加的国内类似的安全比赛有些不同 xff0c 时间只有48小时 xff0c 题目不多 xff0c 但难度大
  • BCTF_海报探秘(300)

    这个题目来自上周的BCTF比赛 xff0c 题目是海报探秘 xff08 300 xff09 xff0c 一张png图片中隐藏了KEY xff0c 解出KEY xff0c 具体报告 xff0c 请下载 xff1a http download
  • 博客转移

    最近好久不来CSDN了 xff0c 自己搭建了一个博客 欢迎各位去新博客留言 http www l0g1n cn 以前学习汇编的博客 http www asmedu net blog user usermain jsp neighborId
  • 《Windows程序设计》之BLOKOUT1

    LRESULT CALLBACK WndProc HWND hwnd UINT message WPARAM wParam LPARAM lParam static BOOL fBlocking fValidBox static POINT
  • 天猫抢红包小工具源码

    时间很仓促 xff0c 写的很乱 xff0c 也就能用明天一天了 主要还是学习这个过程 include lt Windows h gt include lt stdio h gt include lt iostream gt include
  • vs2010开发qt程序debug正常,release出错

    在debug模式下 xff0c 配置的动态链接库是qtmaind lib QtGuid4 lib QtCored4 lib 这些链接库 xff0c 在release模式下是不适用的 xff0c 进入到qt的目录下 xff0c 发现了有一些不
  • cout与wcout

    一直以来只知道有cout用来输出 xff0c 今天用cout输出wchar时出现问题了 xff0c 输出结果是一段地址 xff0c 才发现了wcout的存在 使用wcout输出中文时 xff0c 又出现问题 xff0c 中文输出不了 xff
  • (极力推荐)BW:How to load and generate a custom hierarchy in SAP Business Warehouse (SAP BW) without using flat files

    这篇文章 xff0c 真是救了哥 xff0c 所以非常感谢这位作者 你看 xff0c 人家也是 2011 年 2 月 3 号才写的 xff0c 量身打造 xff0c 多好的人 xff0c 刚好赶上我了 PS xff1a 前段时间设计的文本抽
  • 主引导记录(MBR)信息分析与获取

    前段时间在安装黑苹果时 xff0c 发现一个问题 xff0c 电脑在启动时 xff0c 会找激活分区 xff0c 如果没有找到 xff0c 那就启动不起来 那能否写个小程序读取一下MBR信息 xff0c 把激活分区换成其它 xff0c 搞点
  • Duilib登录窗口

    先上效果图 xff08 自己感觉还不错 xff09 xff1a 功能不完善 xff0c 一是为了熟悉xml的写法 xff0c 手写 xff0c 不建议使用编辑器 xff0c 二了为了理顺程序的流程 xff0c 加入了部分注释 xml文件 l
  • React框架制作移动端H5可拖拽的悬浮图标

    一 前言 在跟需求方对接研发的需求 xff0c 人家说要做一个悬浮在页面的图标 xff0c 点击完截图然后进入一个新页面 xff0c 填完一些数据 xff0c 提交给接口 那么问题来了 xff0c 怎么制作一个悬浮框 xff0c 还是可拖拽