Android开发日志打卡APP(二)
前言
在之前的文章中,准备工作已经完成,现在我们将开始真正的制作。这里将展示 Today页面 的制作过程。
开发过程
一、背景和标题
在之前章节中已经介绍了文件目录的大致状况。Today页面的布局将在fragment_home.xml文件中进行编写。
这里我们采用RelativeLayout的布局方式
首先,为Today页面添加适合的顶部标签栏:
因为之后在其他页面中也将用到,所以这里我们采用自定义组件的方法,在fragment_home.xml中进行了调用:
    <include
        android:id="@+id/ic_main"
        layout="@layout/custom_control_home_title"/>
查看custom_control_home_title.xml文件,如下:
<?xml version="1.0" encoding="utf-8"?>
<RelativeLayout xmlns:android="http://schemas.android.com/apk/res/android"
    android:layout_width="match_parent"
    android:layout_height="60dp"
    android:background="@color/pink_02">

    <TextView
        android:id="@+id/home_title_main"
        android:layout_width="wrap_content"
        android:layout_height="wrap_content"
        android:text="Today"
        android:textSize="26dp"
        android:textColor="@color/white"
        android:layout_centerHorizontal="true"
        android:layout_marginTop="10dp"/>
</RelativeLayout>
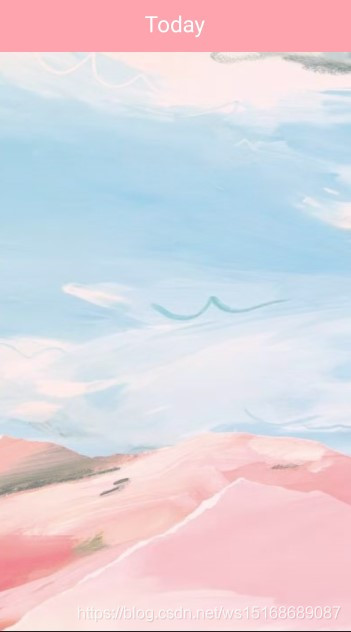
这样,在Today页面就可以看到顶部已经存在该标题栏了。
接着,我们为Today页面增加一个好看的背景,为了方便,这边直接使用了高清的图片作为了背景:
    //背景
    <ImageView
        android:layout_below="@+id/ic_main"
        android:layout_marginLeft="-25dp"
        android:layout_width="500dp"
        android:layout_height="match_parent"
        android:scaleType="fitXY"
        android:src="@drawable/back_icon"/>
背景图片我已经上传到图床,供大家参考:
背景图连接
此时页面如下:
二、日志图标
接着,我们为Today页面添加上日志图标。
这里我们采用ImageButton和TextView两个组件来实现一个日志图标的制作:
    //听音乐

    <ImageButton
        android:id="@+id/btn_listen_music"
        style="?android:attr/borderlessButtonStyle"
        android:layout_width="90dp"
        android:layout_height="86dp"
        android:layout_alignParentStart="true"
        android:layout_alignParentTop="true"
        android:layout_marginStart="27dp"
        android:layout_marginTop="80dp"
        android:scaleType="fitXY"
        android:src="@mipmap/music6" />

    <TextView
        android:id="@+id/text_listen_music"
        android:layout_width="wrap_content"
        android:layout_height="wrap_content"
        android:layout_below="@id/btn_listen_music"
        android:layout_alignParentStart="true"
        android:layout_centerVertical="true"
        android:layout_marginStart="48dp"
        android:text="听音乐"
        android:textColor="#000000"
        android:textSize="16sp" />
这里为大家解释一些一些代码:
1.  style="?android:attr/borderlessButtonStyle"       用于消除按钮的默认背景色
2.  android:scaleType="fitXY"        用于调整图片的比例
其中引入的听音乐图标如图所示:
 其余的代码是为了保持图标和文字在页面的位置。
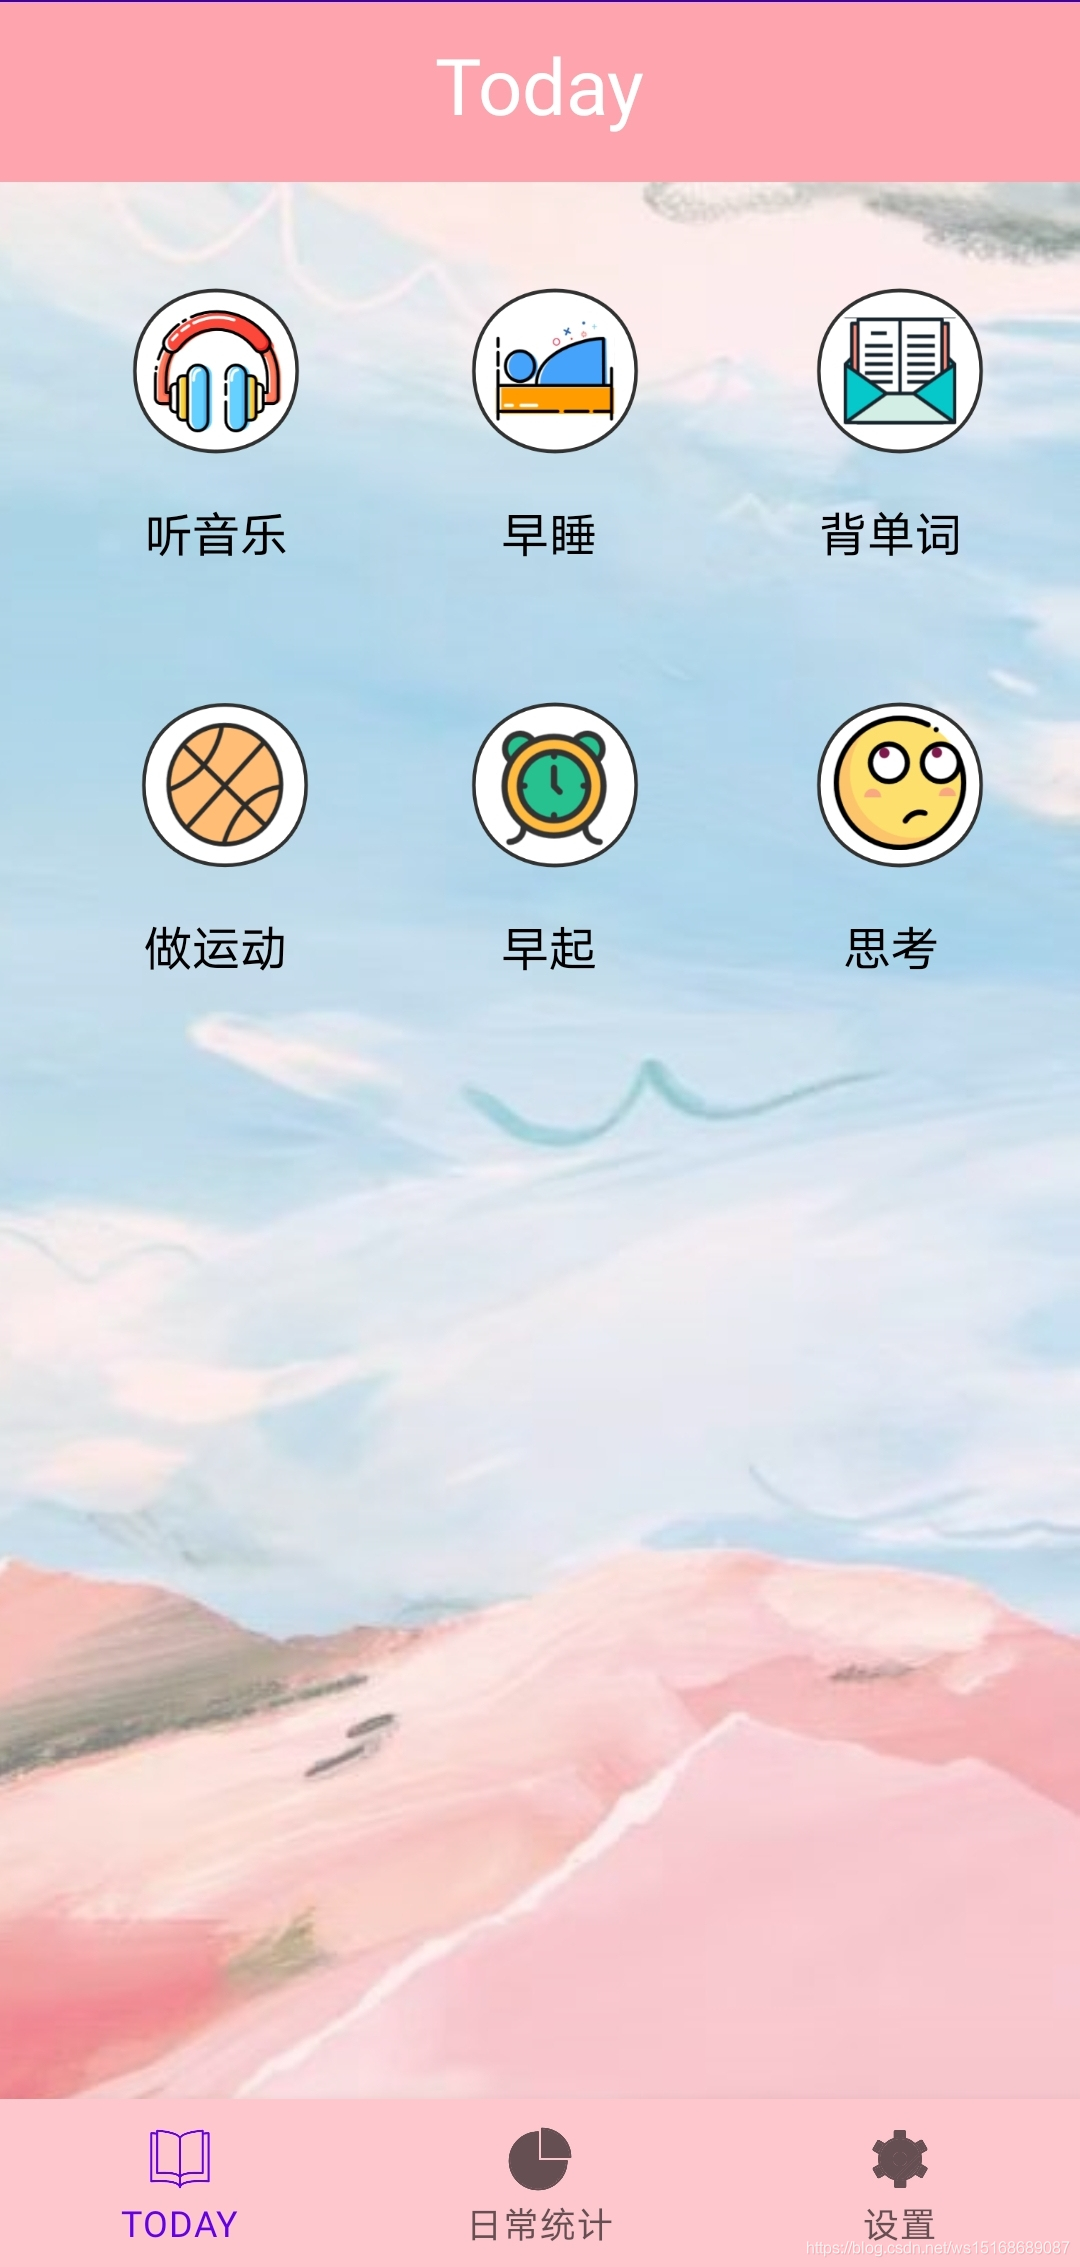
在此基础上,我们又增加了早睡、背单词、做运动、早起、思考五个类型,这里就不一一介绍了,到这里,我们Today页面的基本页面已经完成了:
三、日志弹框
接着,我们为日志图标制作弹出框。
这里我们创建一个文件:dialog_tips_custom_style.xml
先上效果图:
 这里,我们将在一个大的RelativeLayout布局中,嵌套一个LinearLayout布局:
首先是弹框的标题:
        <TextView
            android:id="@+id/dialog_custom_title"
            android:layout_width="match_parent"
            android:layout_height="wrap_content"
            android:gravity="center"
            android:padding="10dp"
            android:text="提示"
            android:textColor="#000"
            android:textSize="14dp"/>
这里的文字暂时设为“提示”,文字水平居中显示。
接着引入分隔实线:
        <View
            android:layout_marginBottom="6dp"
            android:layout_marginLeft="20dp"
            android:layout_marginRight="20dp"
            android:layout_width="match_parent"
            android:layout_height="1dp"
            android:background="#ECEAEA"
            android:layout_above="@+id/ll_btn" />
这里将实线置于提示文字下放。
然后,引入日志图标:
        <ImageView
            android:id="@+id/dialog_custom_image"
            style="?android:attr/borderlessButtonStyle"
            android:layout_width="match_parent"
            android:layout_height="66dp"
            android:layout_gravity="center"
            android:src="@mipmap/music4"
            />
接着,我们引入可输入的文本框:
        //文本框,最长可输入200字
        <EditText
            android:id="@+id/dialog_custom_edittext"
            android:layout_width="match_parent"
            android:layout_height="180dp"
            android:layout_marginLeft="20dp"
            android:layout_marginRight="20dp"
            android:background="@drawable/dialog_edittext_shape"
            android:hint="写点什么吧..."
            android:gravity="top|left"
            android:padding="10dp"
            android:inputType="textMultiLine"
            android:textSize="13sp"
            android:maxLines="8" />
其中:
maxLines——设置文本框最多输入8行
hint——设置提示文字
textMultiLine——设置多行输入
引入的样式dialog_edittext_shape如下:
<?xml version="1.0" encoding="utf-8"?>
<shape xmlns:android="http://schemas.android.com/apk/res/android">
    <corners android:radius="16dp"/>
    <stroke android:width="2dp" android:color="#F2F2F2"/>
    <solid android:color="#ffffff"/>
    <padding android:top="2dp" android:bottom="2dp" android:left="2dp"/>
</shape>
最后,为弹框设置点击按钮:
        <RelativeLayout
            android:id="@+id/ll_btn"
            android:layout_width="match_parent"
            android:layout_height="wrap_content"
            android:layout_alignParentBottom="true"
            android:orientation="vertical">

            <Button
                android:id="@+id/dialog_button_save"
                android:layout_width="80dp"
                android:layout_height="33dp"
                android:layout_marginTop="20dp"
                android:layout_marginBottom="30dp"
                android:layout_centerHorizontal="true"
                android:background="@drawable/dialog_button_shape"
                android:text="保存"
                android:textSize="10sp"
                android:textColor="#ffffff"/>

        </RelativeLayout>
到此位置,弹框的样式完成了!
下面我们新建一个CustomTipDialog.kt文件:
让它继承Dialog类:
class CustomTipDialog(context: Context) : Dialog(context, R.style.DialogTheme){}
导入弹框样式:
    private val mTvTitle:TextView
    init {
        val view=LayoutInflater.from(context).inflate(R.layout.dialog_tips_custom_style,null)
        mTvTitle=view.findViewById(R.id.dialog_custom_title)
        setContentView(view)
    }

    fun setTitle(title:String){
        mTvTitle.text=title
    }
在HomeFragment.kt文件中绑定点击事件:
    binding = FragmentHomeBinding.inflate(inflater, container, false)
        val dialog_fragment: View = inflater!!.inflate(R.layout.dialog_tips_custom_style,container,false)
              //听音乐按钮
    binding.btnListenMusic.setOnClickListener{
        val customTipDialog=CustomTipDialog(activity as Context)
        customTipDialog.setTitle("打卡日志")
        customTipDialog.show()
    }
到此为止,首页的样式的基本制作过程已经介绍完毕,关于如何将弹框内容读取和存储,将在之后的章节中介绍。

本文内容由网友自发贡献,版权归原作者所有,本站不承担相应法律责任。如您发现有涉嫌抄袭侵权的内容,请联系:hwhale#tublm.com(使用前将#替换为@)