相关教程
相关文献
protocol buffers是谷歌的语言中立、平台中立、可扩展的结构化数据序列化机制——XML,但更小、更快、更简单。您可以一次定义数据的结构化方式,然后可以使用特殊生成的源代码轻松地使用各种语言(C++/ C#/ Dart/ Go/ Java/ Kotlin/ Python)在各种数据流中写入和读取结构化数据。
安装
C++ Installation - Unix
最简单的方式:
sudo apt install protobuf-compiler
如果你想使用最新版,安装教程可以参考C++ Installation官网
环境
我用的是WSL,对于Linux类似,如果环境上有问题可以参考:【从零开始】在Windows中使用Linux——在WSL使用CLion、IDEA、PyCharm(安装到建立工程)——更新于2021.12
Protobuf3 0基础上手例子
我们从官网下载最新的Download Protocol Buffers(官方用例)作为例子如下:
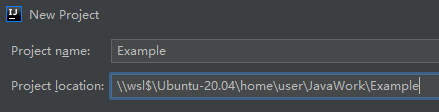
首先打开IDEA创建工程:
在当前目录创建文件addressbook.proto:

// See README.txt for information and build instructions.
//
// Note: START and END tags are used in comments to define sections used in
// tutorials.  They are not part of the syntax for Protocol Buffers.
//
// To get an in-depth walkthrough of this file and the related examples, see:
// https://developers.google.com/protocol-buffers/docs/tutorials

// [START declaration]
syntax = "proto3";
package tutorial;

import "google/protobuf/timestamp.proto";
// [END declaration]

// [START java_declaration]
option java_multiple_files = true;
option java_package = "com.example.tutorial.protos";
option java_outer_classname = "AddressBookProtos";
// [END java_declaration]

// [START csharp_declaration]
option csharp_namespace = "Google.Protobuf.Examples.AddressBook";
// [END csharp_declaration]

// [START go_declaration]
option go_package = "../tutorial";
// [END go_declaration]

// [START messages]
message Person {
  string name = 1;
  int32 id = 2;  // Unique ID number for this person.
  string email = 3;

  enum PhoneType {
    MOBILE = 0;
    HOME = 1;
    WORK = 2;
  }

  message PhoneNumber {
    string number = 1;
    PhoneType type = 2;
  }

  repeated PhoneNumber phones = 4;

  google.protobuf.Timestamp last_updated = 5;
}

// Our address book file is just one of these.
message AddressBook {
  repeated Person people = 1;
}
// [END messages]
在src目录下创建:

文件AddPerson.java:
// See README.txt for information and build instructions.

import com.example.tutorial.protos.AddressBook;
import com.example.tutorial.protos.Person;

import java.io.BufferedReader;
import java.io.FileInputStream;
import java.io.FileNotFoundException;
import java.io.FileOutputStream;
import java.io.InputStreamReader;
import java.io.IOException;
import java.io.PrintStream;

class AddPerson {
    // This function fills in a Person message based on user input.
    static Person PromptForAddress(BufferedReader stdin, PrintStream stdout) throws IOException {
        Person.Builder person = Person.newBuilder();

        stdout.print("Enter person ID: ");
        person.setId(Integer.valueOf(stdin.readLine()));

        stdout.print("Enter name: ");
        person.setName(stdin.readLine());

        stdout.print("Enter email address (blank for none): ");
        String email = stdin.readLine();
        if (email.length() > 0) {
            person.setEmail(email);
        }

        while (true) {
            stdout.print("Enter a phone number (or leave blank to finish): ");
            String number = stdin.readLine();
            if (number.length() == 0) {
                break;
            }

            Person.PhoneNumber.Builder phoneNumber =
                    Person.PhoneNumber.newBuilder().setNumber(number);

            stdout.print("Is this a mobile, home, or work phone? ");
            String type = stdin.readLine();
            if (type.equals("mobile")) {
                phoneNumber.setType(Person.PhoneType.MOBILE);
            } else if (type.equals("home")) {
                phoneNumber.setType(Person.PhoneType.HOME);
            } else if (type.equals("work")) {
                phoneNumber.setType(Person.PhoneType.WORK);
            } else {
                stdout.println("Unknown phone type.  Using default.");
            }

            person.addPhones(phoneNumber);
        }

        return person.build();
    }

    // Main function:  Reads the entire address book from a file,
    //   adds one person based on user input, then writes it back out to the same
    //   file.
    public static void main(String[] args) throws Exception {
        if (args.length != 1) {
            System.err.println("Usage:  AddPerson ADDRESS_BOOK_FILE");
            System.exit(-1);
        }

        AddressBook.Builder addressBook = AddressBook.newBuilder();

        // Read the existing address book.
        try {
            FileInputStream input = new FileInputStream(args[0]);
            try {
                addressBook.mergeFrom(input);
            } finally {
                try {
                    input.close();
                } catch (Throwable ignore) {
                }
            }
        } catch (FileNotFoundException e) {
            System.out.println(args[0] + ": File not found.  Creating a new file.");
        }

        // Add an address.
        addressBook.addPeople(
                PromptForAddress(new BufferedReader(new InputStreamReader(System.in)),
                        System.out));

        // Write the new address book back to disk.
        FileOutputStream output = new FileOutputStream(args[0]);
        try {
            addressBook.build().writeTo(output);
        } finally {
            output.close();
        }
    }
}
文件ListPeople.java:
// See README.txt for information and build instructions.

import com.example.tutorial.protos.AddressBook;
import com.example.tutorial.protos.Person;

import java.io.FileInputStream;
import java.io.IOException;
import java.io.PrintStream;

class ListPeople {
    // Iterates though all people in the AddressBook and prints info about them.
    static void Print(AddressBook addressBook) {
        for (Person person : addressBook.getPeopleList()) {
            System.out.println("Person ID: " + person.getId());
            System.out.println("  Name: " + person.getName());
            if (!person.getEmail().isEmpty()) {
                System.out.println("  E-mail address: " + person.getEmail());
            }

            for (Person.PhoneNumber phoneNumber : person.getPhonesList()) {
                switch (phoneNumber.getType()) {
                    case MOBILE:
                        System.out.print("  Mobile phone #: ");
                        break;
                    case HOME:
                        System.out.print("  Home phone #: ");
                        break;
                    case WORK:
                        System.out.print("  Work phone #: ");
                        break;
                    default:
                        System.out.println(" Unknown phone #: ");
                        break;
                }
                System.out.println(phoneNumber.getNumber());
            }
        }
    }

    // Main function:  Reads the entire address book from a file and prints all
    //   the information inside.
    public static void main(String[] args) throws Exception {
        if (args.length != 1) {
            System.err.println("Usage:  ListPeople ADDRESS_BOOK_FILE");
            System.exit(-1);
        }

        // Read the existing address book.
        AddressBook addressBook =
                AddressBook.parseFrom(new FileInputStream(args[0]));

        Print(addressBook);
    }
}
在IDEA左下角打开Terminal:
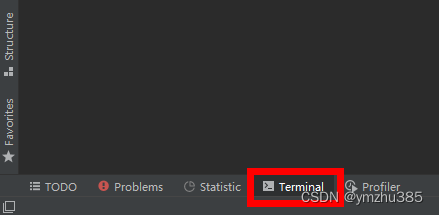
输入:
protoc -I=./ --java_out=./src addressbook.proto

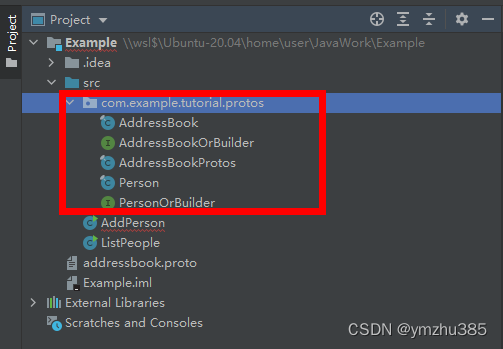
这时候我们会发现生成了以下文件:
我们需要导入一下protobuf的jar包,这里可以使用maven:
<dependency>
  <groupId>com.google.protobuf</groupId>
  <artifactId>protobuf-java</artifactId>
  <version>3.19.1</version>
</dependency>
也可以从这里下载com/google/protobuf/protobuf-java/3.19.1
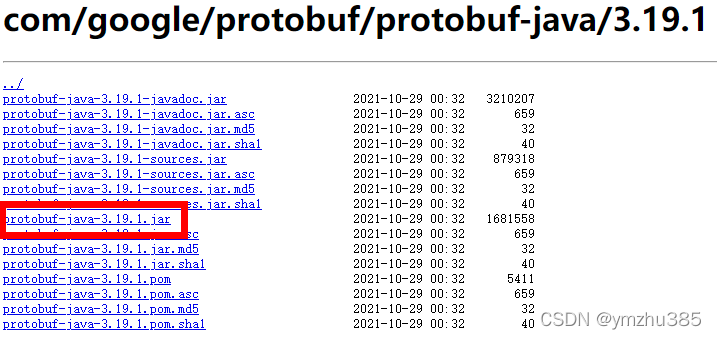
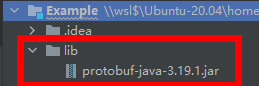
下载完成后放入lib文件夹:
在IDEA里,File | Project Structure | Project Settings | Modules | Dependencies:
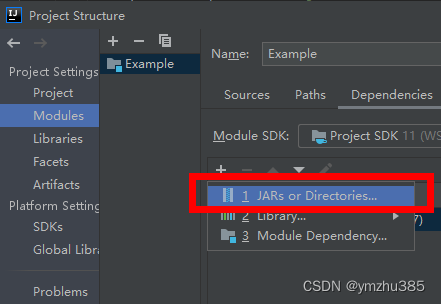
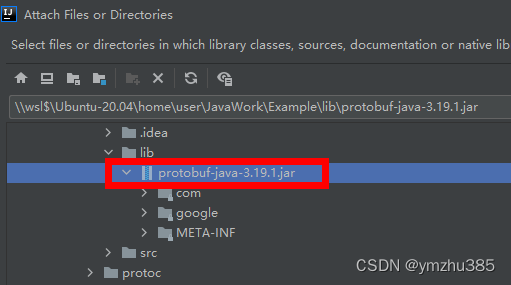
这样也可以导入jar包。
之后,Run | Edit configuration 里添加 Application
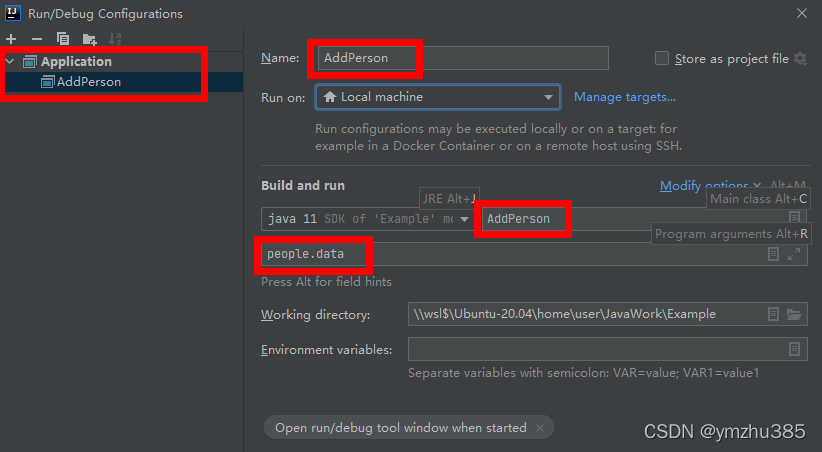
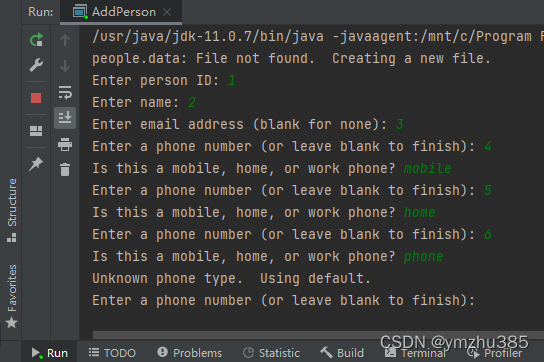
我们点选run:

然后在Run窗口里输入你想存入的数据:
同样的,Run | Edit configuration 里添加 Application:
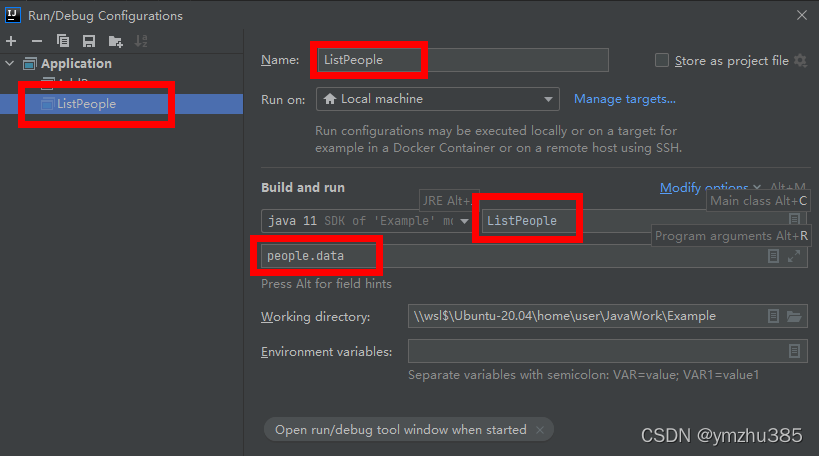
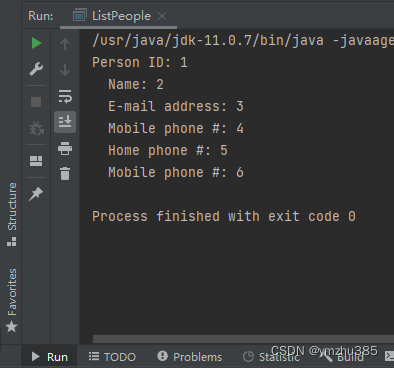
我们点选run:

在Run窗口中会打印出我们刚才存入的数据: