转自:http://blog.hypriot.com/post/setup-kubernetes-raspberry-pi-cluster/
Kubernetes shares the pole position with Docker in the category “orchestration solutions for Raspberry Pi cluster”. However it’s setup process has been elaborate – until v1.4 with the kubeadm announcement. With that effort, Kubernetes changed this game completely and can be up and running officially within no time.
I am very happy to announce that this blog post has been written in collaboration with Lucas Käldström, an independent maintainer of Kubernetes (his story is very interesting, you can read it in a CNCF blogpost).
Why Kubernetes?
As shown in my recent talk, there are many software suites available to manage a cluster of computers. There is Kubernetes, Docker Swarm, Mesos, OpenStack, Hadoop YARN, Nomad… just to name a few.
However, at Hypriot we have always been in love with tiny devices. So when working with an orchestrator, the maximum power we wanna use is what’s provided by a Raspberry Pi. Why? We have IoT networks in mind that will hold a large share in tomorrow’s IT infrastructure. At their edges, the power required for large orchestrators simply is not available.
This boundary of resources leads to several requirements that need to be checked before we start getting our hands dirty with an orchestrator:
- Lightweight: Software should be fit on a Raspberry Pi or smaller. As proofed in my talk mentioned above, Kubernetes painlessly runs on a Raspberry Pi.
- ARM compatible: Since the ARM CPU architecture is designed for low energy consumption but still able to deliver a decent portion of power, the Raspberry Pi runs an ARM CPU. Thanks to Lucas, Kubernetes is ARM compatible.
- General purpose: Hadoop or Apache Spark are great for data analysis. But what if your use case changes? We prefer general purpose software that allows to run anything. Kubernetes uses a container runtime (with Docker as the 100% supported runtime for the time being) that allows to run whatever you want.
- Production ready: Since we compare Kubernetes against a production ready Docker suite, let’s be fair and only choose equivalents. Kubernetes itself is production ready, and while the ARM port has some small issues, it’s working exactly as expected when going the official kubeadm route, which also will mature with time.
So, Kubernetes seems to be a compelling competitor to Docker Swarm. Let’s get our hands on it!
Wait – what about Kubernetes-on-ARM?
If you followed the discussion of Kubernetes on ARM for some time, you probably know about Lucas’ project kubernetes-on-ARM. Since the beginning of the movement to bring Kubernetes on ARM in 2015, this project has always been the most stable and updated.
However, during 2016, Lucas’ contributions have successfully been merged into official Kubernetes repositories, such that there is no point any more for using the kubernetes-on-ARM project. In fact, the features of that project are far behind of what’s now implemented in the official repos, and that has been Lucas’ goal from the beginning.
So if you’re up to using Kubernetes, please stick to the official repos now. And as of the kubeadm documentation, the following setup is considered official for Kubernetes on ARM.
At first: Flash HypriotOS on your SD cards
As hardware, take at least two Raspberry Pis and make sure they are connected to each other and to the Internet.
First, we need an operating system. Download and flash HypriotOS. The fastest way to download and flash HypriotOS on your SD cards is by using our flash tool like so:
flash --hostname node01 https://github.com/hypriot/image-builder-rpi/releases/download/v1.1.3/hypriotos-rpi-v1.1.3.img.zip
Provision all Raspberry Pis you have like this and boot them up.
Afterwards, SSH into the Raspberry Pis with
ssh pirate@node01.local
The password hypriot will grant you access.
Install Kubernetes
The installation requries root privileges. Retrieve them by
sudo su -
To install Kubernetes and its dependencies, only some commands are required. First, trust the kubernetes APT key and add the official APT Kubernetes repository on every node:
$ curl -s https://packages.cloud.google.com/apt/doc/apt-key.gpg | apt-key add -
$ echo "deb http://apt.kubernetes.io/ kubernetes-xenial main" > /etc/apt/sources.list.d/kubernetes.list
… and then just install kubeadm on every node:
$ apt-get update && apt-get install -y kubeadm
After the previous command has been finished, initialize Kubernetes on the master node with
$ kubeadm init --pod-network-cidr 10.244.0.0/16
It is important that you add the --pod-network-cidr command as given here, because we will use flannel. Read the next notes about flannel if you wanna know why.
Some notes about flannel: We picked flannel here because that’s the only available solution for ARM at the moment (this is subject to change in the future though).
flannel can use and is using in this example the Kubernetes API to store metadata about the Pod CIDR allocations, and therefore we need to tell Kubernetes first which subnet we want to use.
If you are connected via WIFI instead of Ethernet, add --api-advertise-addresses=<wifi-ip-address>as parameter to kubeadm init in order to publish Kubernetes’ API via WiFi. Feel free to explore the other options that exist for kubeadm init.
After Kubernetes has been initialized, the last lines of your terminal should look like this:
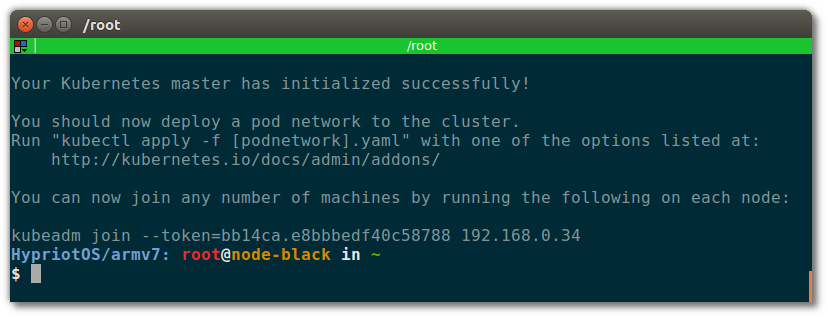
Next, as told by that output, let all other nodes join the cluster via the given kubeadm join command. It will look something like:
$ kubeadm join --token=bb14ca.e8bbbedf40c58788 192.168.0.34
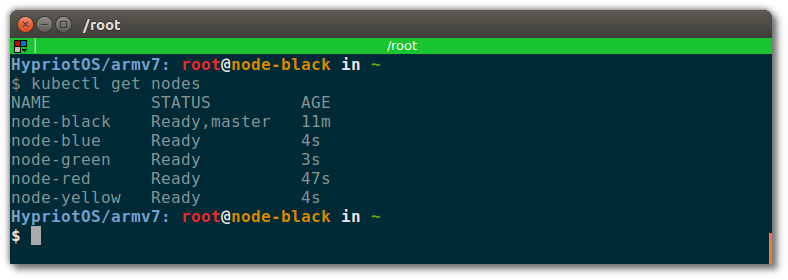
After some seconds, you should see all nodes in your cluster when executing the following on the master node:
$ kubectl get nodes
Your terminal should look like this:
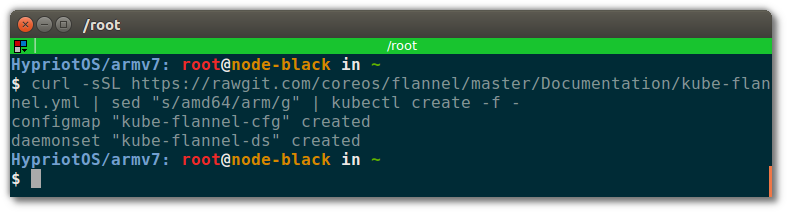
Finally, we need to setup flannel as the Pod network driver. Run this on the master node:
$ curl -sSL https://rawgit.com/coreos/flannel/master/Documentation/kube-flannel.yml | sed "s/amd64/arm/g" | kubectl create -f -
Your terminal should look like this:
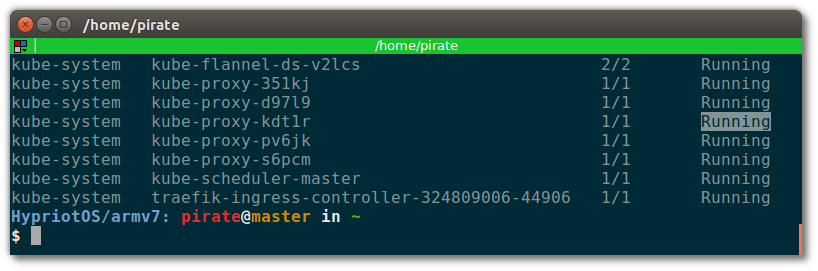
Then wait until all flannel and all other cluster-internal Pods are Running before you continue:
$ kubectl get po --all-namespaces
Nice, it seems like they are all Running:
That’s all for the setup of Kubernetes! Next, let’s actually spin up a service on the cluster!
Test your setup with a tiny service
Let’s start a simple service so see if the cluster actually can publish a service:
$ kubectl run hypriot --image=hypriot/rpi-busybox-httpd --replicas=3 --port=80
This command starts set of containers called hypriot from the image hypriot/rpi-busybox-httpd and defines the port the container listens on at 80. The service will be replicated with 3 containers.
Next, expose the Pods in the above created Deployment in a Service with a stable name and IP:
$ kubectl expose deployment hypriot --port 80
Great! Now, let’s check if all three desired containers are up and running:
$ kubectl get endpoints hypriot
You should see three endpoints (= containers) like this:

Let’ curl one of them to see if the service is up:
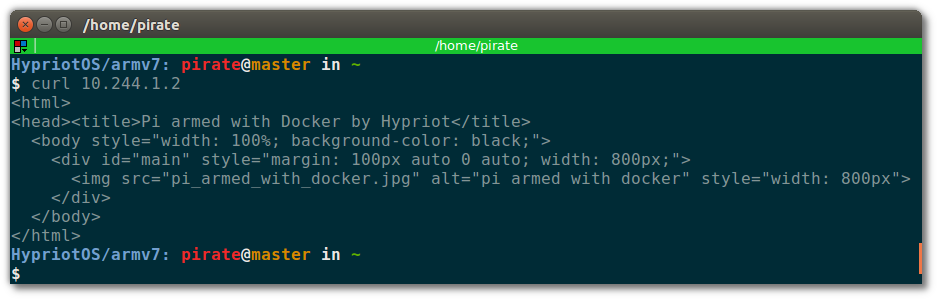
The HTML is the response of the service. Good, it’s up and running! Next, let’s see how we can access it from outside the cluster!
Finally access your service from outside the cluster
We will now deploy an example Ingress Controller to manage incoming requests from the outside world onto our tiny service. Also, in this example we we’ll use Traefik as load balancer. Read the following notes if you wanna know more about Ingress and Traefik.
In contrast to Docker Swarm, Kubernetes itself does not provide an option to define a specific port that you can use to access a service. According to Lucas is this an important design decision; routing of incoming requests should be handled by a third party, such as a load balancer or a webserver, but not by the core product. The core Kubernetes should be lean and extensible, and encourage others to build tools on top of it for their specific needs.
Regarding load balancers in front of a cluster, there is the Ingress API object and some sample Ingress Controllers. Ingress is a built-in way of exposing Services to the outside world via an Ingress Controller that anyone can build. An Ingress rule defines how traffic should flow from the node the Ingress controller runs on to services inside of the cluster.
First, let’s deploy traefik as load balancer:
$ kubectl apply -f https://raw.githubusercontent.com/hypriot/rpi-traefik/master/traefik-k8s-example.yaml
Label the node you want to be the load balancer. Then the Traefik Ingress Controller will land on the node you specified. Run:
$ kubectl label node <load balancer-node> nginx-controller=traefik
Lastly, create an Ingress object that makes Traefik load balance traffic on port 80 to the hypriot service:
$ cat > hypriot-ingress.yaml <<EOF
apiVersion: extensions/v1beta1
kind: Ingress
metadata:
  name: hypriot
spec:
  rules:
  - http:
      paths:
      - path: /
        backend:
          serviceName: hypriot
          servicePort: 80
EOF
$ kubectl apply -f hypriot-ingress.yaml
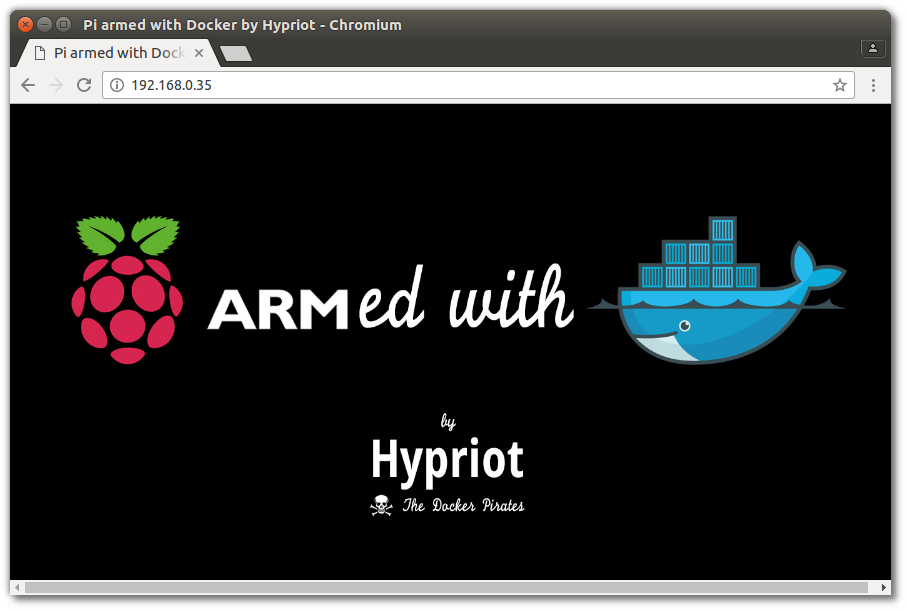
Visit the loadbalancing node’s IP address in your browser and you should see a nice web page:
If you don’t see a website there yet, run:
$ kubectl get pods
… and make sure all hypriot Pods are in the Running state.
Wait until you see that all Pods are running, and a nice Hypriot website should appear!
Tear down the cluster
If you wanna reset the whole cluster to the state after a fresh install, just run this on each node:
$ kubeadm reset
Optional: Deploy the Kubernetes dashboard
The dashboard is a wonderful interface to visualize the state of the cluster. Start it with:
$ curl -sSL https://rawgit.com/kubernetes/dashboard/master/src/deploy/kubernetes-dashboard.yaml | sed "s/amd64/arm/g" | kubectl create -f -
The following command provides the port that the dashboard is exposed at on every node with the NodePort function of Services, which is another way to expose your Services to the outside of your cluster:
$ kubectl -n kube-system get service kubernetes-dashboard -o template --template="{{ (index .spec.ports 0).nodePort }}" | xargs echo
Then you can checkout the dashboard on any node’s IP address on that port!
本文内容由网友自发贡献,版权归原作者所有,本站不承担相应法律责任。如您发现有涉嫌抄袭侵权的内容,请联系:hwhale#tublm.com(使用前将#替换为@)