一、背景
公司是局域网开发环境,资源文件用svn管理,代码用git管理。
GitLab有点大,而且只能在Linux下使用,所以选择了轻巧的GitBlit。
后来GitBlit被暴漏洞,不让用,无奈只好再次选择GitLab。
二、调研
我们服务器是Windows系统,原准备用Docker,没弄明白,安装在Windows上跑不起来。于是改用虚拟机里装个Linux系统,再安装GitLab。
三、实操
1、GitLab离线包下载地址:
https://packages.gitlab.com/gitlab/gitlab-ce
注意要选相应系统版本和cpu架构的安装包。
2、虚拟机
下载了ubuntu server安装上,只有命令行,连查看ip都不行,更不要说将gitlab安装包复制进系统了。公司有kylin系统,于是直接用的kylin。
安装命令:
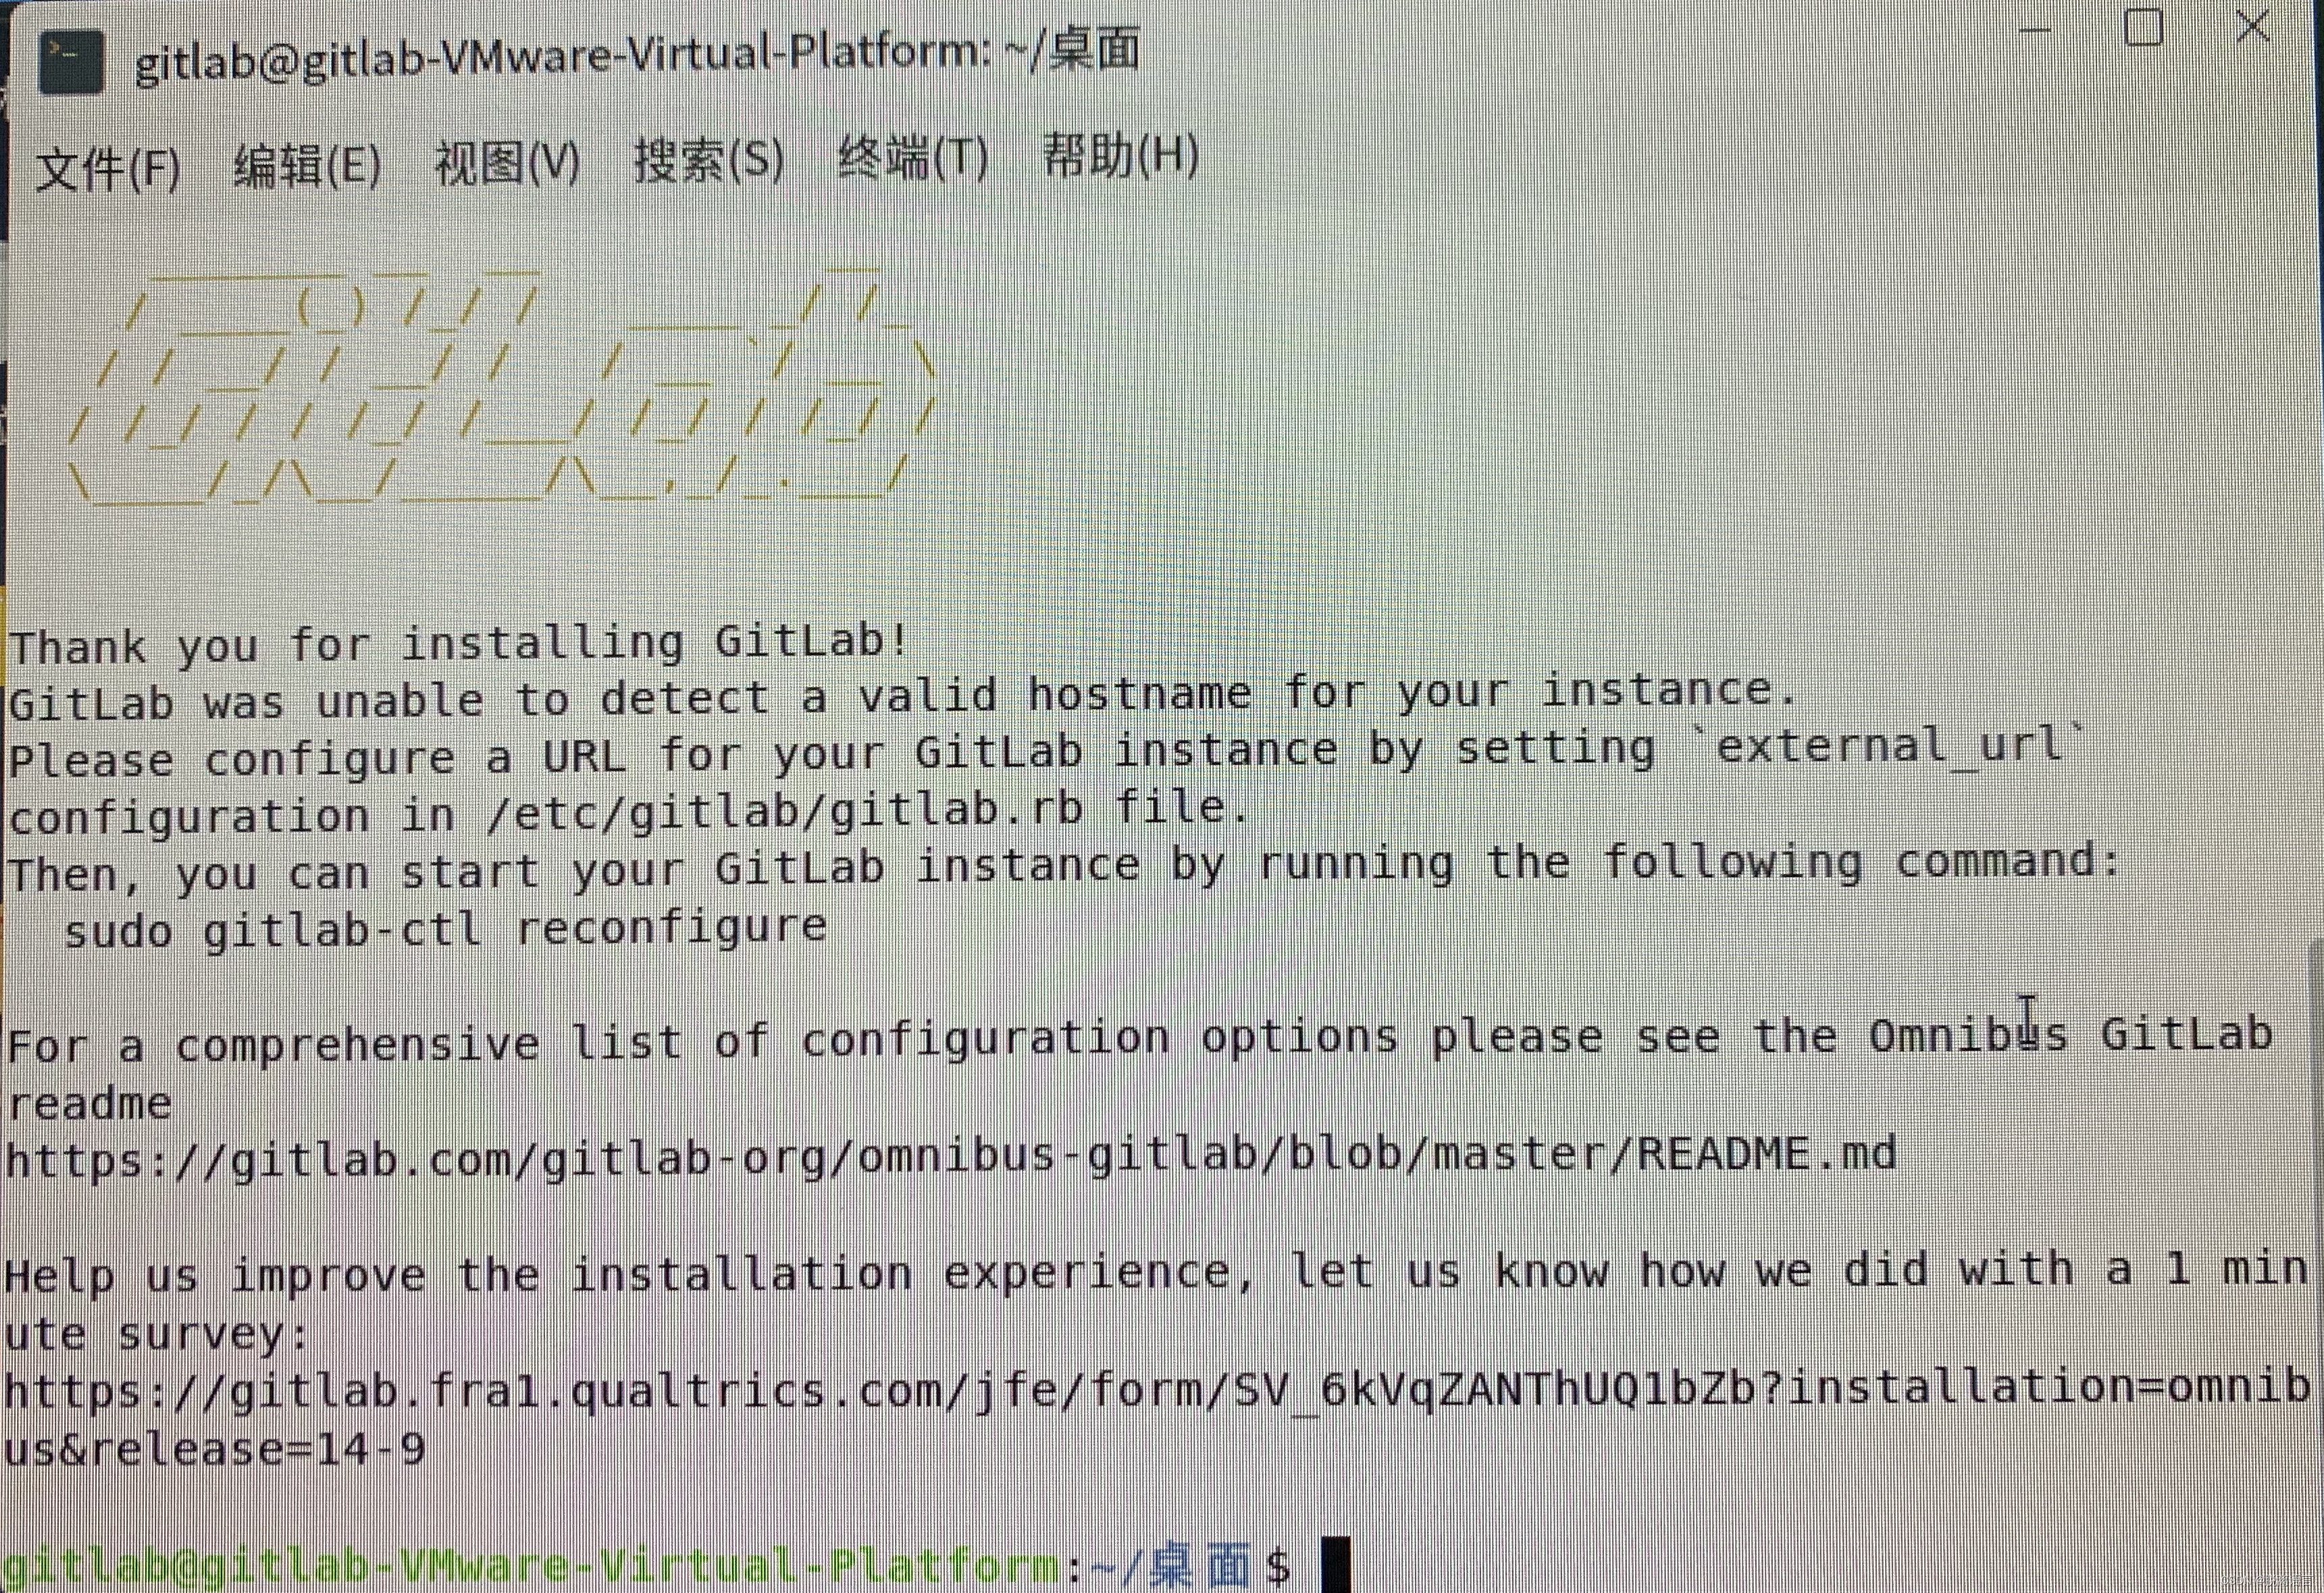
sudo dpkg -i gitlab-ce_14.9.3-ce.0_amd64.deb
结果如下:
3、配置
修改下面的文件
sudo vi /etc/gitlab/gitlab.rb
external_url 'http://xx.xx.xx.xx:9999' #根据自己情况修改
这里的IP地址,会体现在创建项目的ssh地址上。
Puma默认端口8080是注释掉的,这个端口不能跟external_url中的端口一样了,不然端口就冲突了。我调了一天的502,就是这个原因,我以为这俩得是一个端口。
################################################################################
## GitLab Puma
##! Tweak puma settings.
##! Docs: https://docs.gitlab.com/ee/administration/operations/puma.html
################################################################################

# puma['enable'] = false
# puma['worker_timeout'] = 60
...

### Advanced settings
# puma['listen'] = '127.0.0.1'
# puma['port'] = 8080
...
即上面这段配置不需要修改!!
gitlab.rb配置文件中,只修改external_url即可。
注:有文章说Unicorn的端口与external_url中的一样,我不确定。我用的Puma,可能不一样。
4、配置生效
sudo gitlab-ctl reconfigure
结果如下:
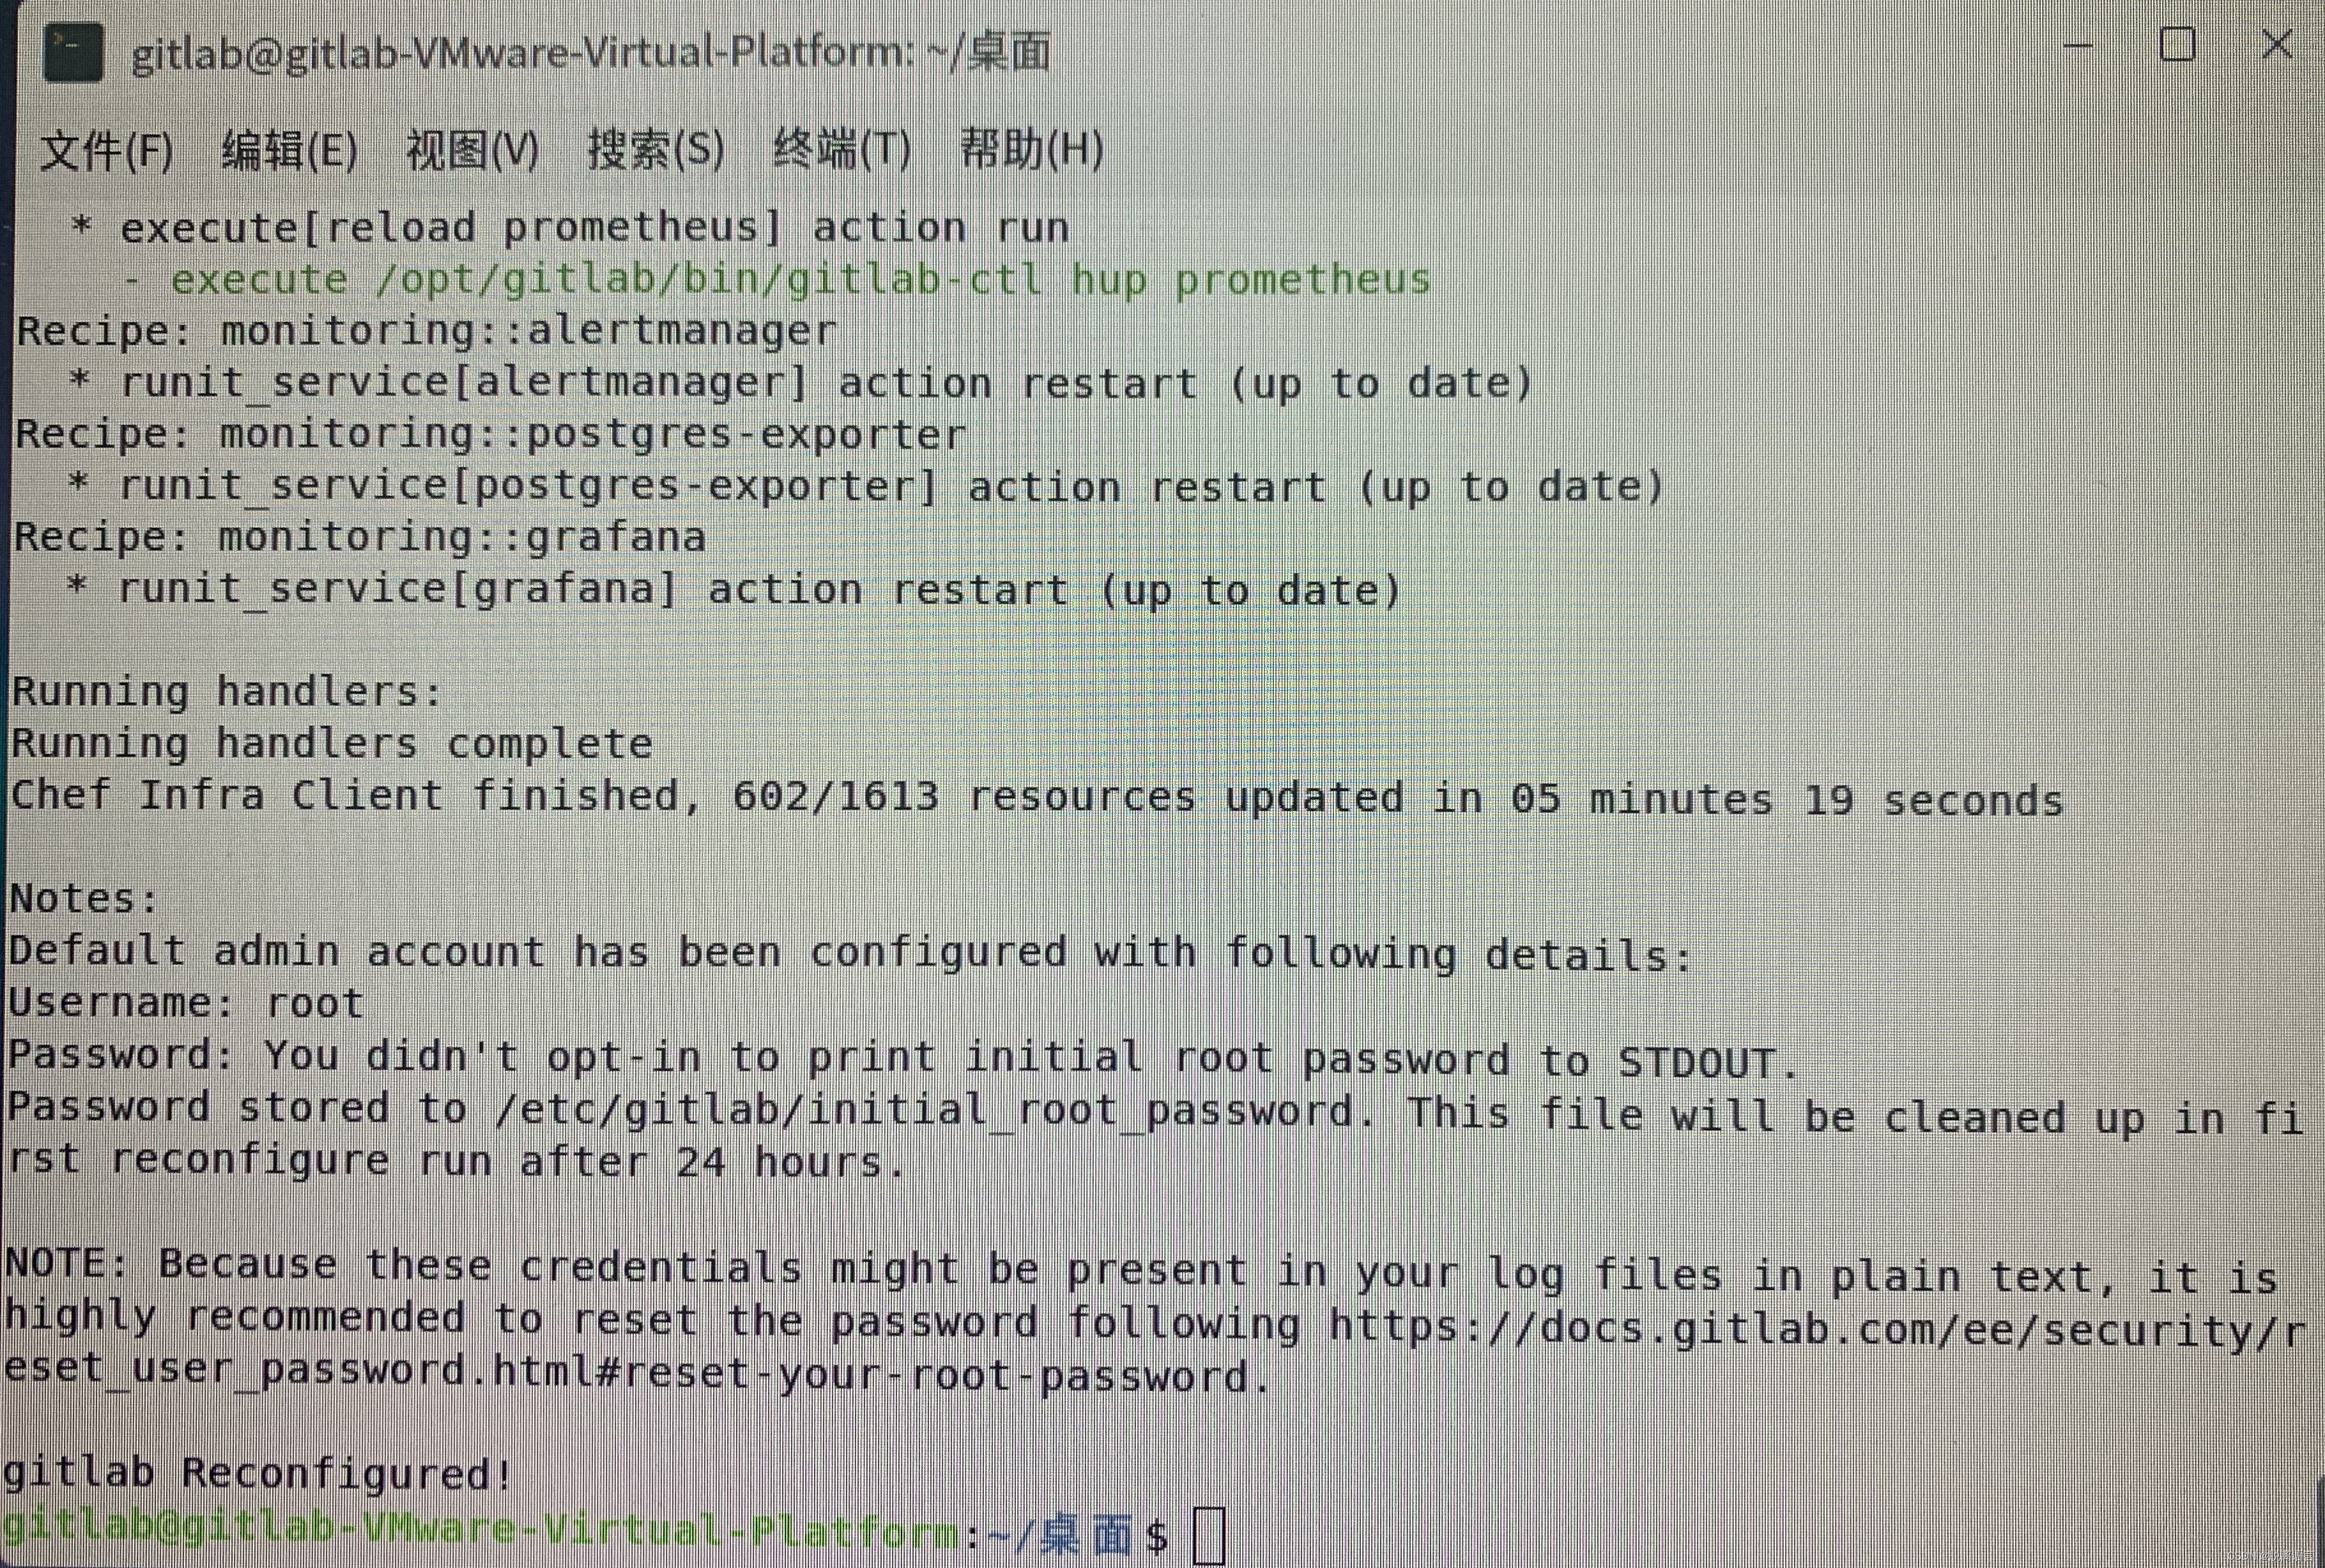
5、初始密码
初始密码保存地址:/etc/gitlab/initial_root_password
执行完上面的命令会有提示,如下:
...
Notes:
Default admin account has been configured with following details:
Username: root
Password: You didn't opt-in to print initial root password to STDOUT.
Password stored to /etc/gitlab/initial_root_password. This file will be cleaned up in first reconfigure run after 24 hours.

NOTE: Because these credentials might be present in your log files in plain text, it is highly recommended to reset the password following https://docs.gitlab.com/ee/security/reset_user_password.html#reset-your-password.

gitlab Reconfigured!
6、开启防火墙并放行端口(局域网可以不开启)
sudo ufw status # 1. 查看ufw的状态
sudo ufw enable # 2. 开启ufw
sudo ufw reload # 3. 重启防火墙ufw
sudo ufw allow 9999 # 4. 对外开启9999端口
sudo ufw status # 再查看开启端口状态
四、其他有用的命令
1、查看服务状态
sudo gitlab-ctl status
2、检查
sudo gitlab-rake gitlab:check
3、查看日志
sudo gitlab-ctl tail
4、重启
sudo gitlab-ctl restart
五、错误的操作
1、修改confiy.yml文件
该文件路径:/opt/gitlab/embedded/service/gitlab-shell/config.yml
config.yml提示,这个文件由gitlab-ctl管理,手工修改会被擦除,只能修改/etc/gitlab/gitlab.rb文件。如下:
# This file is managed by gitlab-ctl. Manual changes will be
# erased! Tochange the contents below, edit /etc/gitlab/gitlab.rb
# and run `sudo gitlab-ctl reconfigure`.

...
2、修改gitlab-http.conf
文件地址:/var/opt/gitlab/nginx/conf/gitlab-http.conf
gitlab-http.conf提示,这个文件由gitlab-ctl管理,手工修改会被擦除,只能修改/etc/gitlab/gitlab.rb文件。如下:
# This file is managed by gitlab-ctl. Manual changes will be
# erased! Tochange the contents below, edit /etc/gitlab/gitlab.rb
# and run `sudo gitlab-ctl reconfigure`.

...
参考文章:
如何搭建gitlab服务器——使用离线安装包部署 - 知乎
GitLab配置说明
GitLab初次安装后,登录GitLab网页的管理员账号和密码各是什么?_暗诺星刻的博客-CSDN博客_gitlab管理员账号
本文内容由网友自发贡献,版权归原作者所有,本站不承担相应法律责任。如您发现有涉嫌抄袭侵权的内容,请联系:hwhale#tublm.com(使用前将#替换为@)