参考:
- https://blog.csdn.net/qq_43265072/article/details/106437287
- https://blog.csdn.net/zhangfenger/article/details/84998082
- https://blog.csdn.net/sinat_23853639/article/details/88044019?utm_medium=distribute.pc_relevant.none-task-blog-BlogCommendFromMachineLearnPai2-3.channel_param&depth_1-utm_source=distribute.pc_relevant.none-task-blog-BlogCommendFromMachineLearnPai2-3.channel_param
以下步骤基本是官方教程的翻译,更多细节请移步官方教程。
一、系统配置:
- 系统环境:Ubuntu16.04
- 内核版本:4.15.0-112-generic
D435i 驱动支持的内核有: supported kernel version (4.[4,8,10,13,15,16]]),可通过:uname -r 查看内核版本
二、驱动安装:
以下采用source code方式进行安装
(!!!注意:驱动安装过程中不要连接相机!!!)
- Make Ubuntu Up-to-date::
sudo apt-get update && sudo apt-get upgrade && sudo apt-get dist-upgrade
- Download/Clone librealsense github repository:
git clone https://github.com/IntelRealSense/librealsense.git
- Prepare Linux Backend and the Dev. Environment:
sudo apt-get install git libssl-dev libusb-1.0-0-dev pkg-config libgtk-3-dev
sudo apt-get install libglfw3-dev
- 进入 librealsense 根目录,运行 Intel Realsense permissions script :
./scripts/setup_udev_rules.sh
- Build and apply patched kernel modules for:
./scripts/patch-realsense-ubuntu-lts.sh
这里可能会遇到一些问题:
(1)g++需要升级,按照提示依次运行以下命令即可:
sudo add-apt-repository ppa:ubuntu-toolchain-r/test -y
sudo apt-get update -y
sudo apt-get install g++-7 -y
(2)Applying the patched module … modprobe: ERROR: could not insert ‘videodev’: Required key not available
Failed to insert the patched module. Operation is aborted, the original module is restored
Verify that the current kernel version is aligned to the patched module version

出现此问题的原因是,Ubuntu Kernel 使用 EFI_SECURE_BOOT_SIG_ENFORCE 内核配置,这样会阻止内核载入第三方模块。解决方法如下:
sudo apt install mokutil
sudo mokutil --disable-validation
- 执行后,终端会让你设置8-16位的密码(下一步要用,所以一定要记得设置的密码)
- 然后,重启电脑,会出现蓝屏,按下任意键进入选择界面 ,出现以下四个选项:
- Continue boot
- Change Secure Boot state
- Enroll key from disk
- Enroll hash from disk
- 选择Change Secure Boot state,接下来会提示让你输入之前的密码。
!!!注意:可能不是输入完整的密码(我的就不是),而是:Enter password character 3,意思是输入密码的第3位!!!(我是按照提示要求依次输入了密码的第3位、第6位和第1位,大家根据自己的实际情况操作) - 然后进入 Disable Secure Boot 选择界面,选择 yes,回车。
- 接下来回到最开始的界面,选择reboot,重新进入系统。
- 再次执行:
./scripts/patch-realsense-ubuntu-lts.sh,成功。
(此处也可参考:
https://blog.csdn.net/m0_38066161/article/details/81812816
https://askubuntu.com/questions/762254/why-do-i-get-required-key-not-available-when-install-3rd-party-kernel-modules)
- TM1-specific:
echo 'hid_sensor_custom' | sudo tee -a /etc/modules
- 编译librealsense2 SDK:
cd librealsense
mkdir build && cd build
cmake ..
下面两个步骤可酌情跳过:
cmake ../ -DBUILD_EXAMPLES=true
cmake ../ -DBUILD_EXAMPLES=true -DBUILD_GRAPHICAL_EXAMPLES=false
- 重新编译和安装:
sudo make uninstall && make clean && make && sudo make install
说明:The shared object will be installed in /usr/local/lib, header files in /usr/local/include.
The binary demos, tutorials and test files will be copied into /usr/local/bin.
三、测试SDK:
连接相机,新开一个终端,输入:realsense-viewer 启动即可:
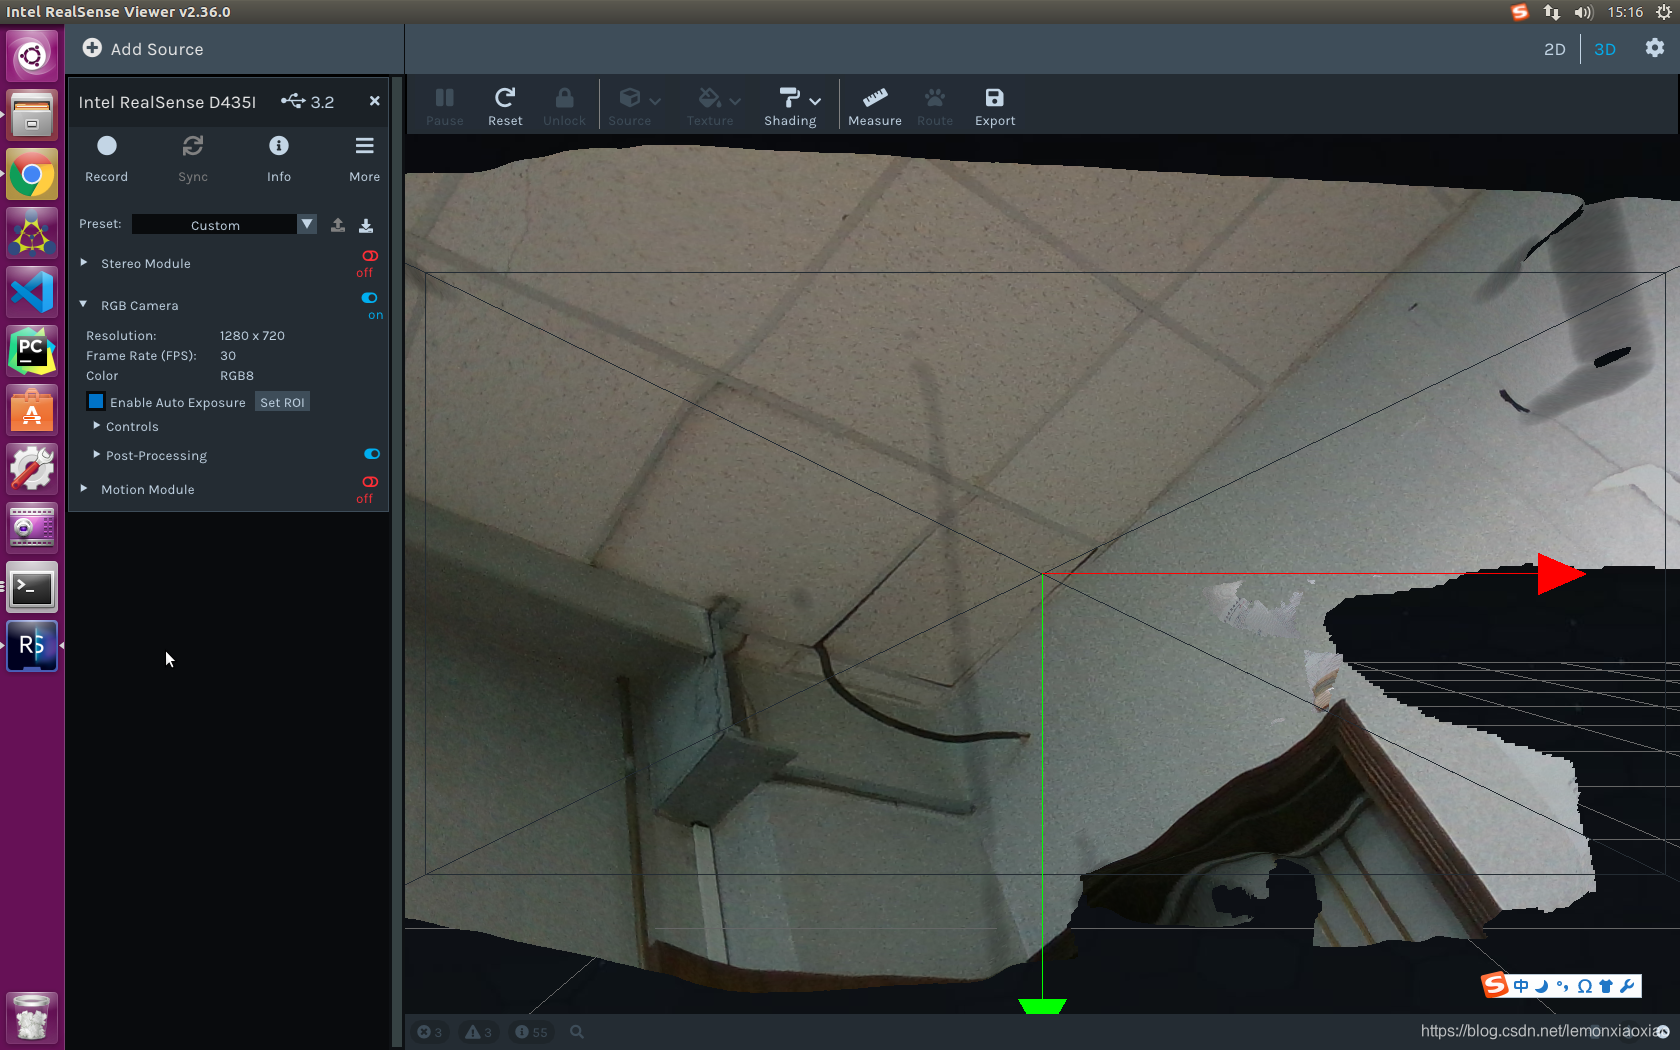
看到上图画面就说明连接啦!用户可以查看深度图、可视化点云、记录和回放视频,还可以配置摄像头设置、修改高级控件和后期处理等功能。
四、ROS包安装:
官方提供的RealSense ROS包安装有两种方式,一种是apt方式安装,另一种是源码安装。
1. apt安装:
- 安装 realsense2_camera and its dependents, including librealsense2 library:
sudo apt-get install ros-kinetic-realsense2-camera
- 安装 realsense2_description :
sudo apt-get install ros-kinetic-realsense2-description
It includes the 3D-models of the devices and is necessary for running launch files that include these models (i.e. roslaunch realsense2_camera rs_d435_camera_with_model.launch)
- start the camera node in ROS:
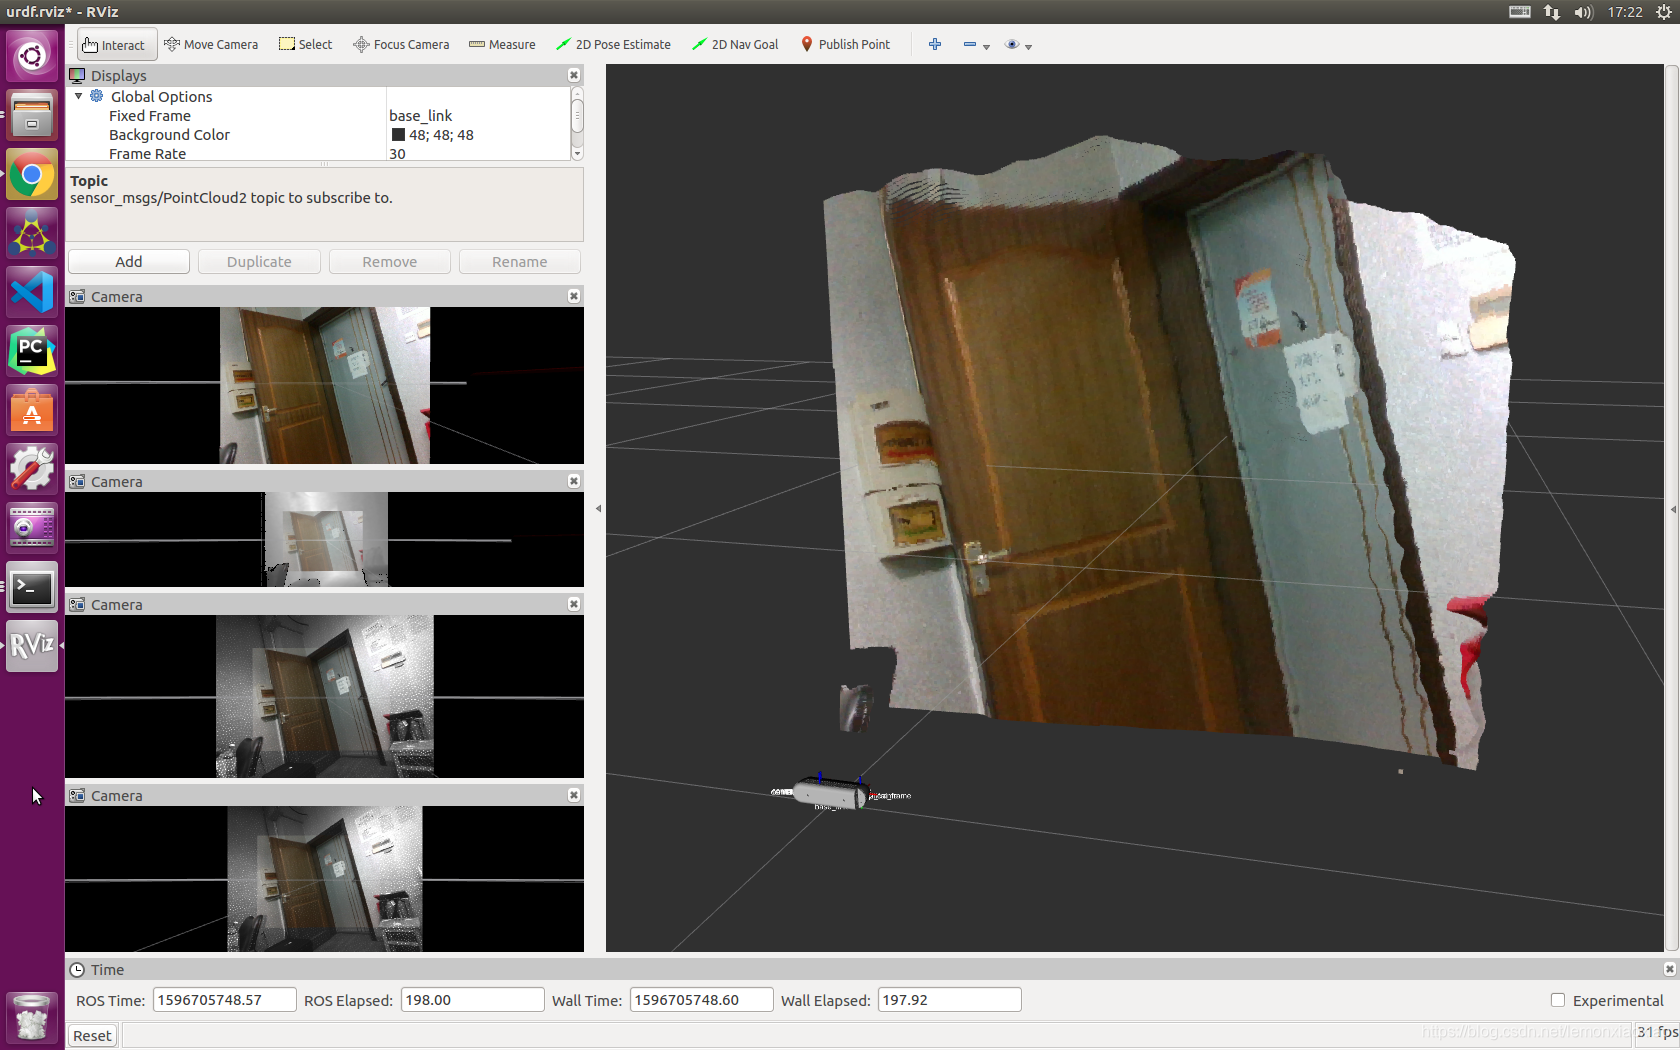
roslaunch realsense2_camera rs_camera.launch
显示如下界面:
- Start the camera node and make it publish the RGBD point cloud using aligned depth topic:
roslaunch realsense2_camera rs_camera.launch filters:=pointcloud
2. 源码安装:
- 安装最新版本的Intel® RealSense™ SDK 2.0:
sudo apt-key adv --keyserver keys.gnupg.net --recv-key F6E65AC044F831AC80A06380C8B3A55A6F3EFCDE || sudo apt-key adv --keyserver hkp://keyserver.ubuntu.com:80 --recv-key F6E65AC044F831AC80A06380C8B3A55A6F3EFCDE
sudo add-apt-repository "deb http://realsense-hw-public.s3.amazonaws.com/Debian/apt-repo xenial main" -u
sudo apt-get install librealsense2-dkms
sudo apt-get install librealsense2-utils
sudo apt-get install librealsense2-dev
sudo apt-get install librealsense2-dbg
modinfo uvcvideo | grep "version:"
sudo apt-get update
sudo apt-get upgrade
- 源码方式安装Intel® RealSense™ ROS:
mkdir -p ~/catkin_ws/src
cd ~/catkin_ws/src/
git clone https://github.com/IntelRealSense/realsense-ros.git
cd realsense-ros/
git checkout `git tag | sort -V | grep -P "^\d+\.\d+\.\d+" | tail -1`
cd ..
catkin_init_workspace
cd ..
catkin_make clean
catkin_make -DCATKIN_ENABLE_TESTING=False -DCMAKE_BUILD_TYPE=Release
catkin_make install
echo "source ~/catkin_ws/devel/setup.bash" >> ~/.bashrc
source ~/.bashrc
- Start the camera node:
roslaunch realsense2_camera rs_camera.launch
- Start the camera node and make it publish the RGBD point cloud using aligned depth topic:
roslaunch realsense2_camera rs_camera.launch filters:=pointcloud
- Start the camera node and make it publish the aligned depth stream to other available streams such as color or infra-red:
roslaunch realsense2_camera rs_camera.launch align_depth:=true
- Set Camera Controls Using Dynamic Reconfigure Params:
rosrun rqt_reconfigure rqt_reconfigure

- realsense2_description package:
For viewing included models, a separate package is included. For example:
roslaunch realsense2_description view_d415_model.launch
本文内容由网友自发贡献,版权归原作者所有,本站不承担相应法律责任。如您发现有涉嫌抄袭侵权的内容,请联系:hwhale#tublm.com(使用前将#替换为@)