一、概述
众所周知在办公的时候两台电脑之间经常倒数据资料非常麻烦,而NAS可以很好的解决这个问题。树莓派搭建NAS方法有很多,我们之前也拍过直接用Samba、FTP这些来实现NAS功能,但是这些需要你会在命令行进行配置,而且对于新手用起来并不直观方便对于一个NAS系统来说功能也不全,故我们这次用开源的OMV来搭建NAS系统!
目前网上普遍的OMV搭建NAS的教程都比较老了,照着做会出现各种问题,而我们本期教程是在最新树莓派官方系统上做的,大家照着做完全不会有问题,本期的精简视频教程在B站-杨坤树莓派爱好者基地中可以看到,VLOG全程记录视频可以在B站-玩派VLOG看到,欢迎大家三连~
视频教程地址:
哔哩哔哩bilibili:树莓派爱好者基地

视频VLOG记录:
哔哩哔哩bilibili:玩派VLOG
二、教程内容
1、树莓派安装系统
这里我们用到的是最新的树莓派官方精简版系统(不能使用带桌面的版本!)

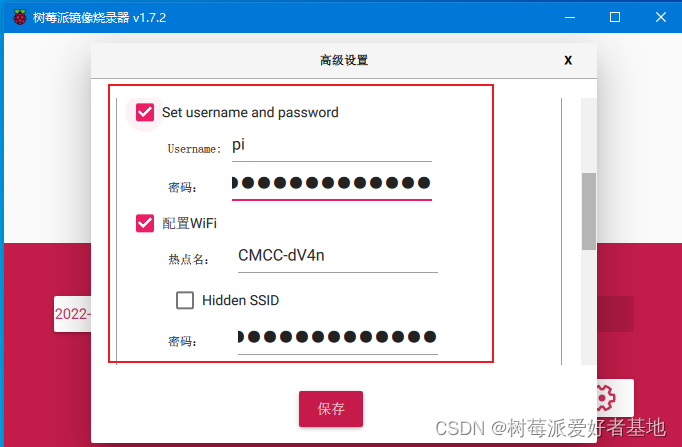
记得点这个设置,在里面需要开启SSH、设置pi账户的密码、配置WIFI的账号和密码


2、固定静态IP
打开路由器后台查看树莓派IP地址

在ssh软件中输入下面命令,配置DHCP文件
sudo nano /etc/dhcpcd.conf
文件中这个位置按照你自己的情况进行修改

然后重启树莓派
sudo reboot
3、换源
sudo nano /etc/apt/sources.list
把原来的注视掉,把下面的复制进去
deb http://mirrors.tuna.tsinghua.edu.cn/raspbian/raspbian/ bullseye main non-free contrib rpi
deb-src http://mirrors.tuna.tsinghua.edu.cn/raspbian/raspbian/ bullseye main non-free contrib rpi

继续
sudo nano /etc/apt/sources.list.d/raspi.list
把原来的注视掉,把下面的复制进去
deb https://mirrors.tuna.tsinghua.edu.cn/raspberrypi/ bullseye main ui

然后记得更新一下
sudo apt-get update

sudo apt-get upgrade
4、安装OMV
wget  https://cdn.jsdelivr.net/gh/OpenMediaVault-Plugin-Developers/installScript@master/install

chmod +x install

sudo ./install -n
5、配置OMV
浏览器输入树莓派IP地址就可以进入NAS系统了。
用户名默认为admin,密码为openmediavault
首先在系统设置-工作台里面设置一下登出时间,之前的太短了

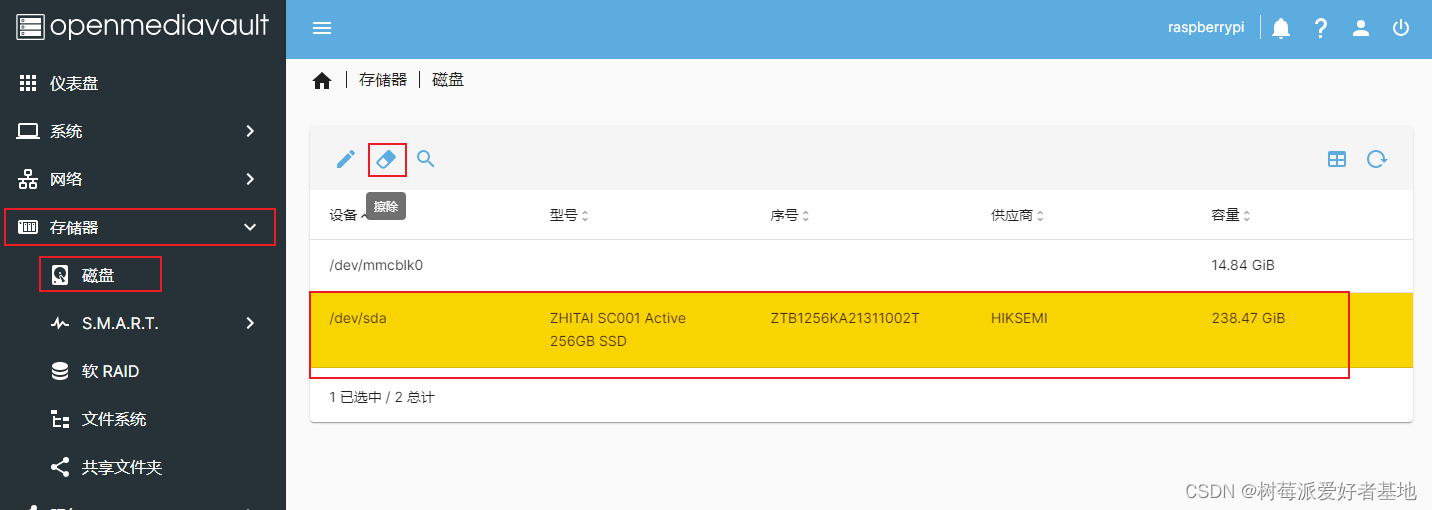
把硬盘插在树莓派上,然后快速擦除磁盘
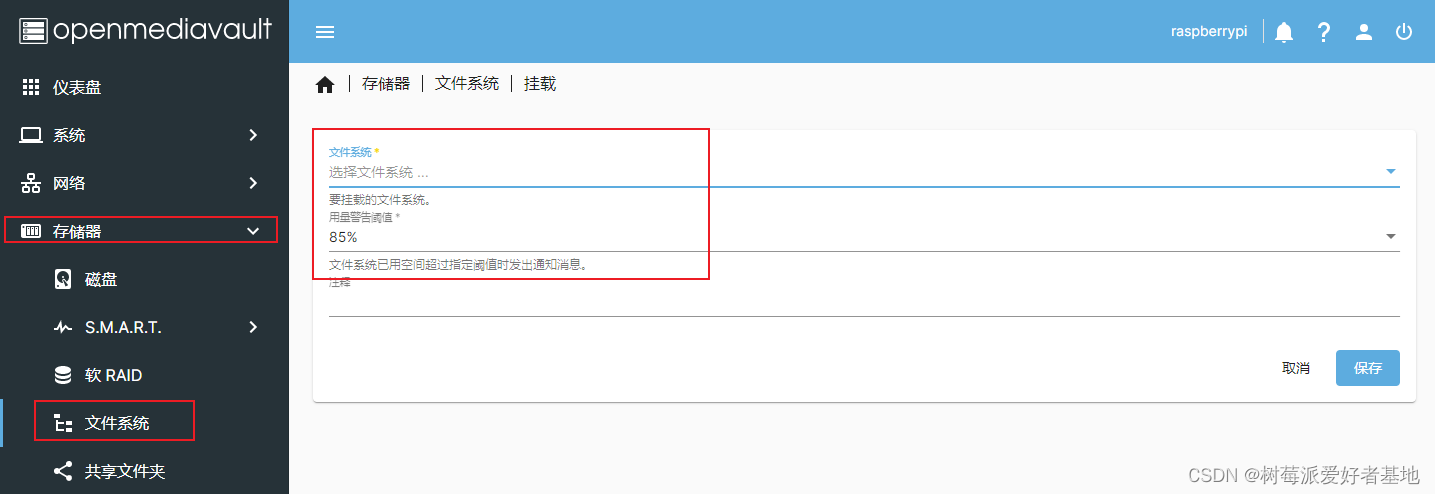
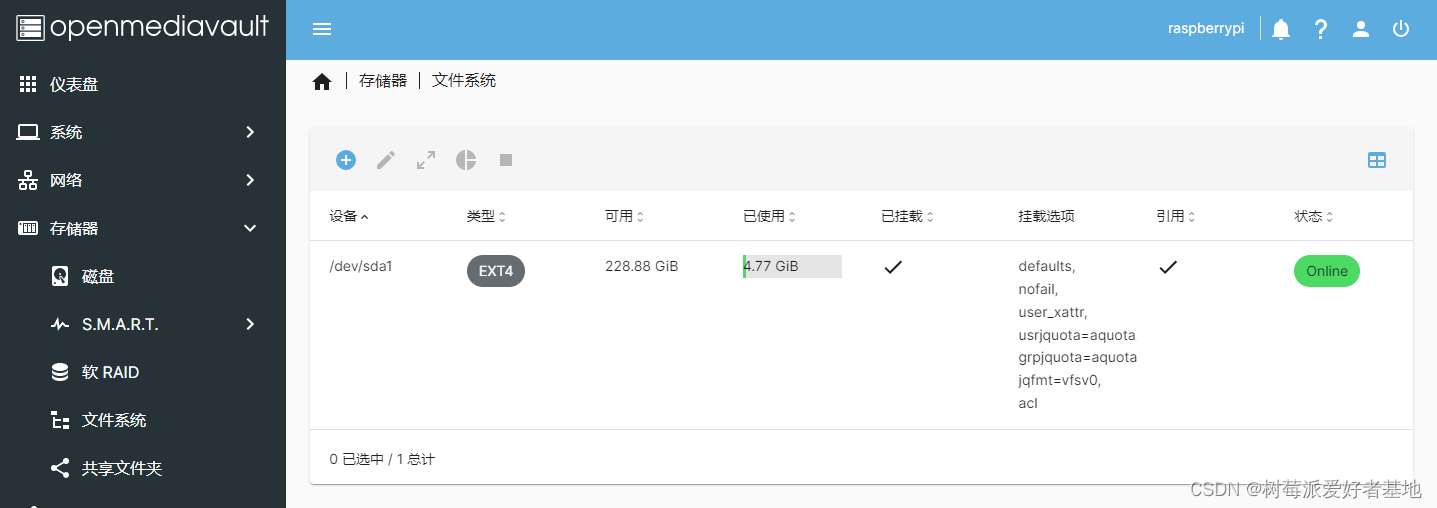
创建文件系统

挂载
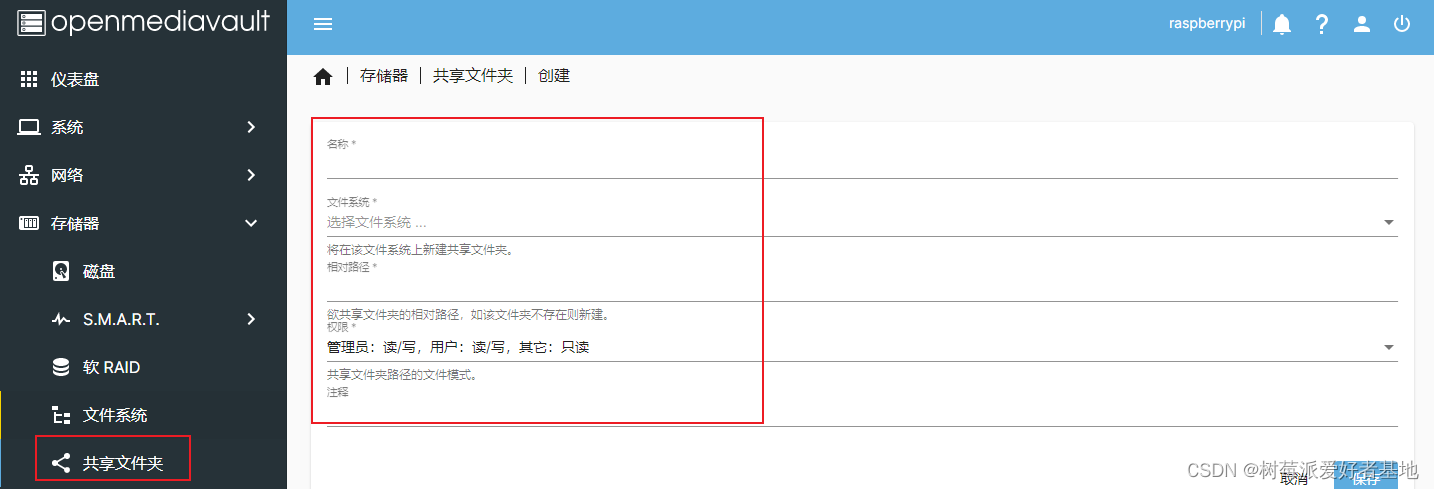
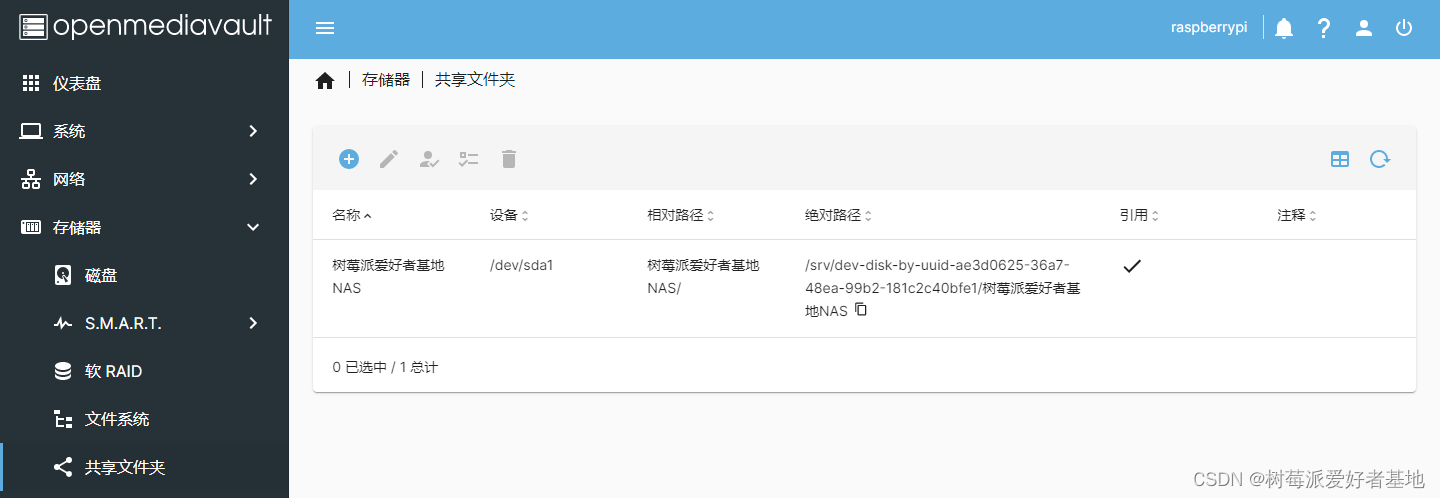
创建共享文件夹
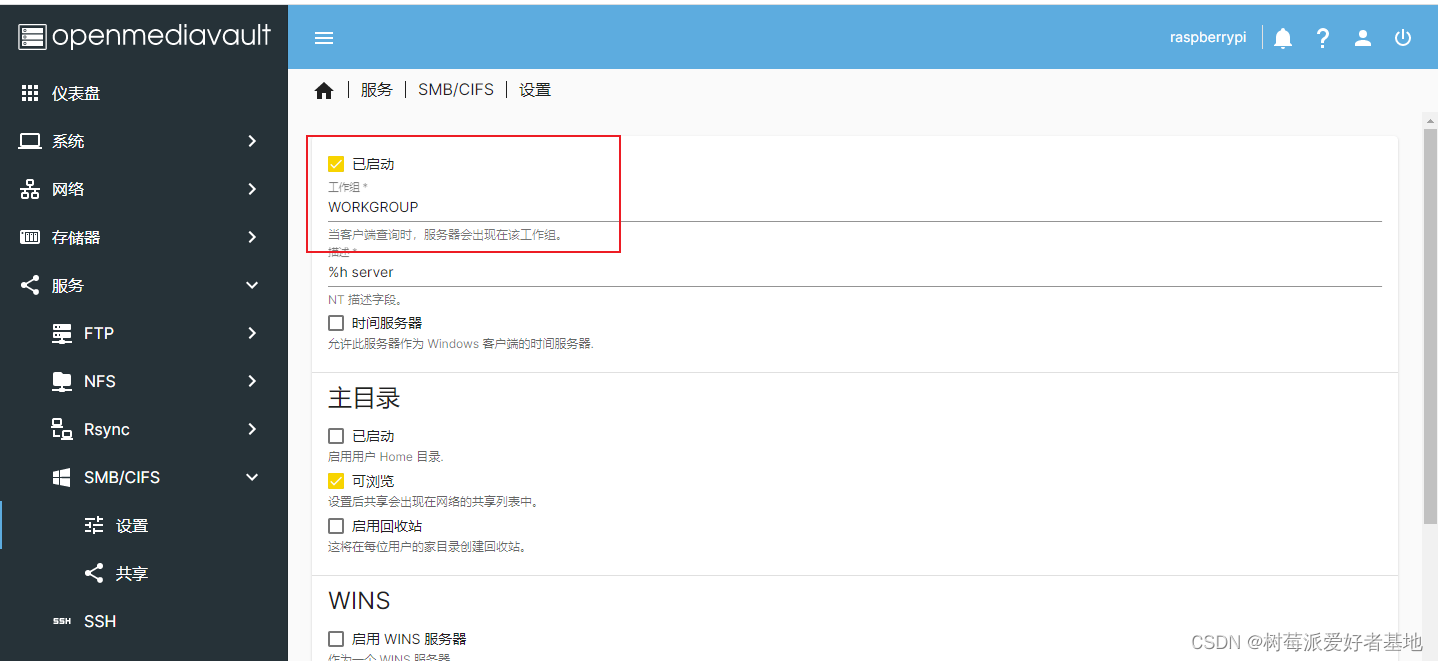
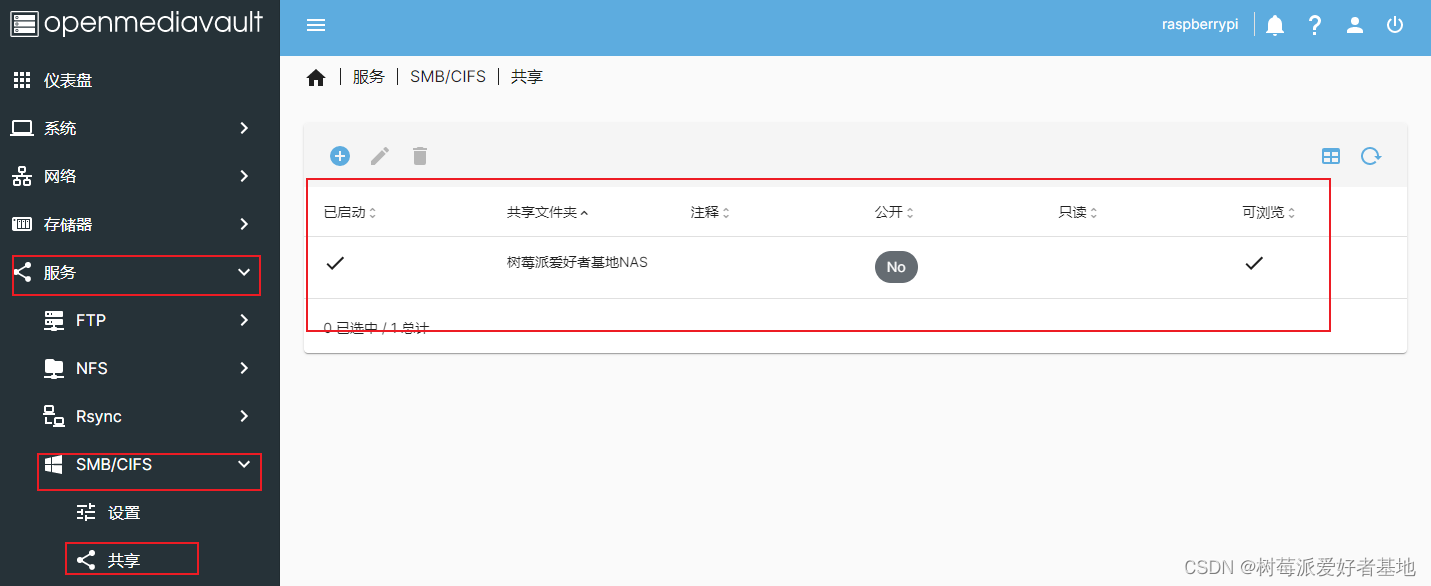
配置SMB服务

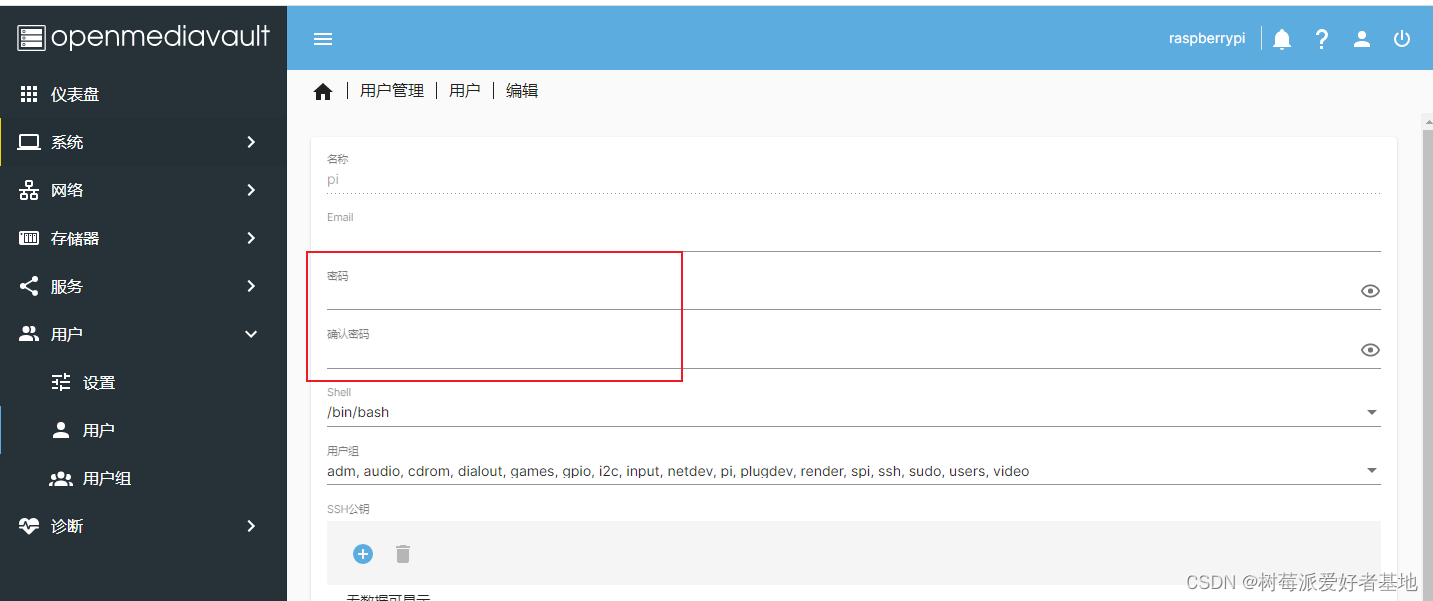
配置一下一般登陆的用户pi

6、开始使用
WINDOWS上直接添加一个映射

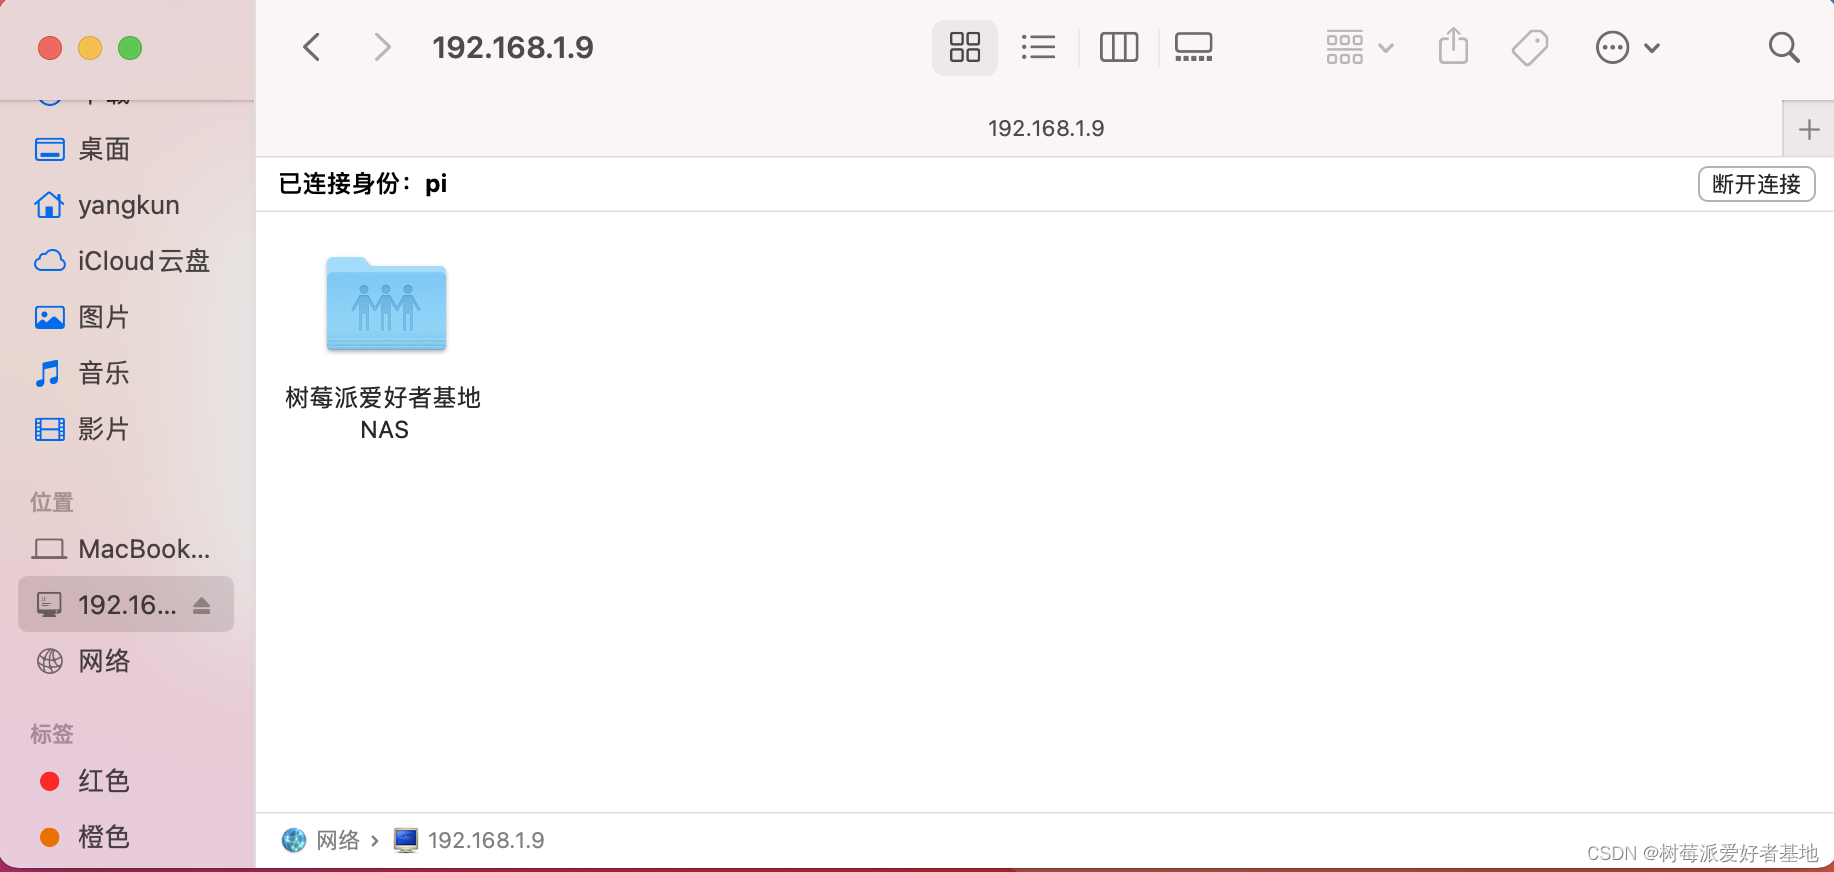
然后就能用了

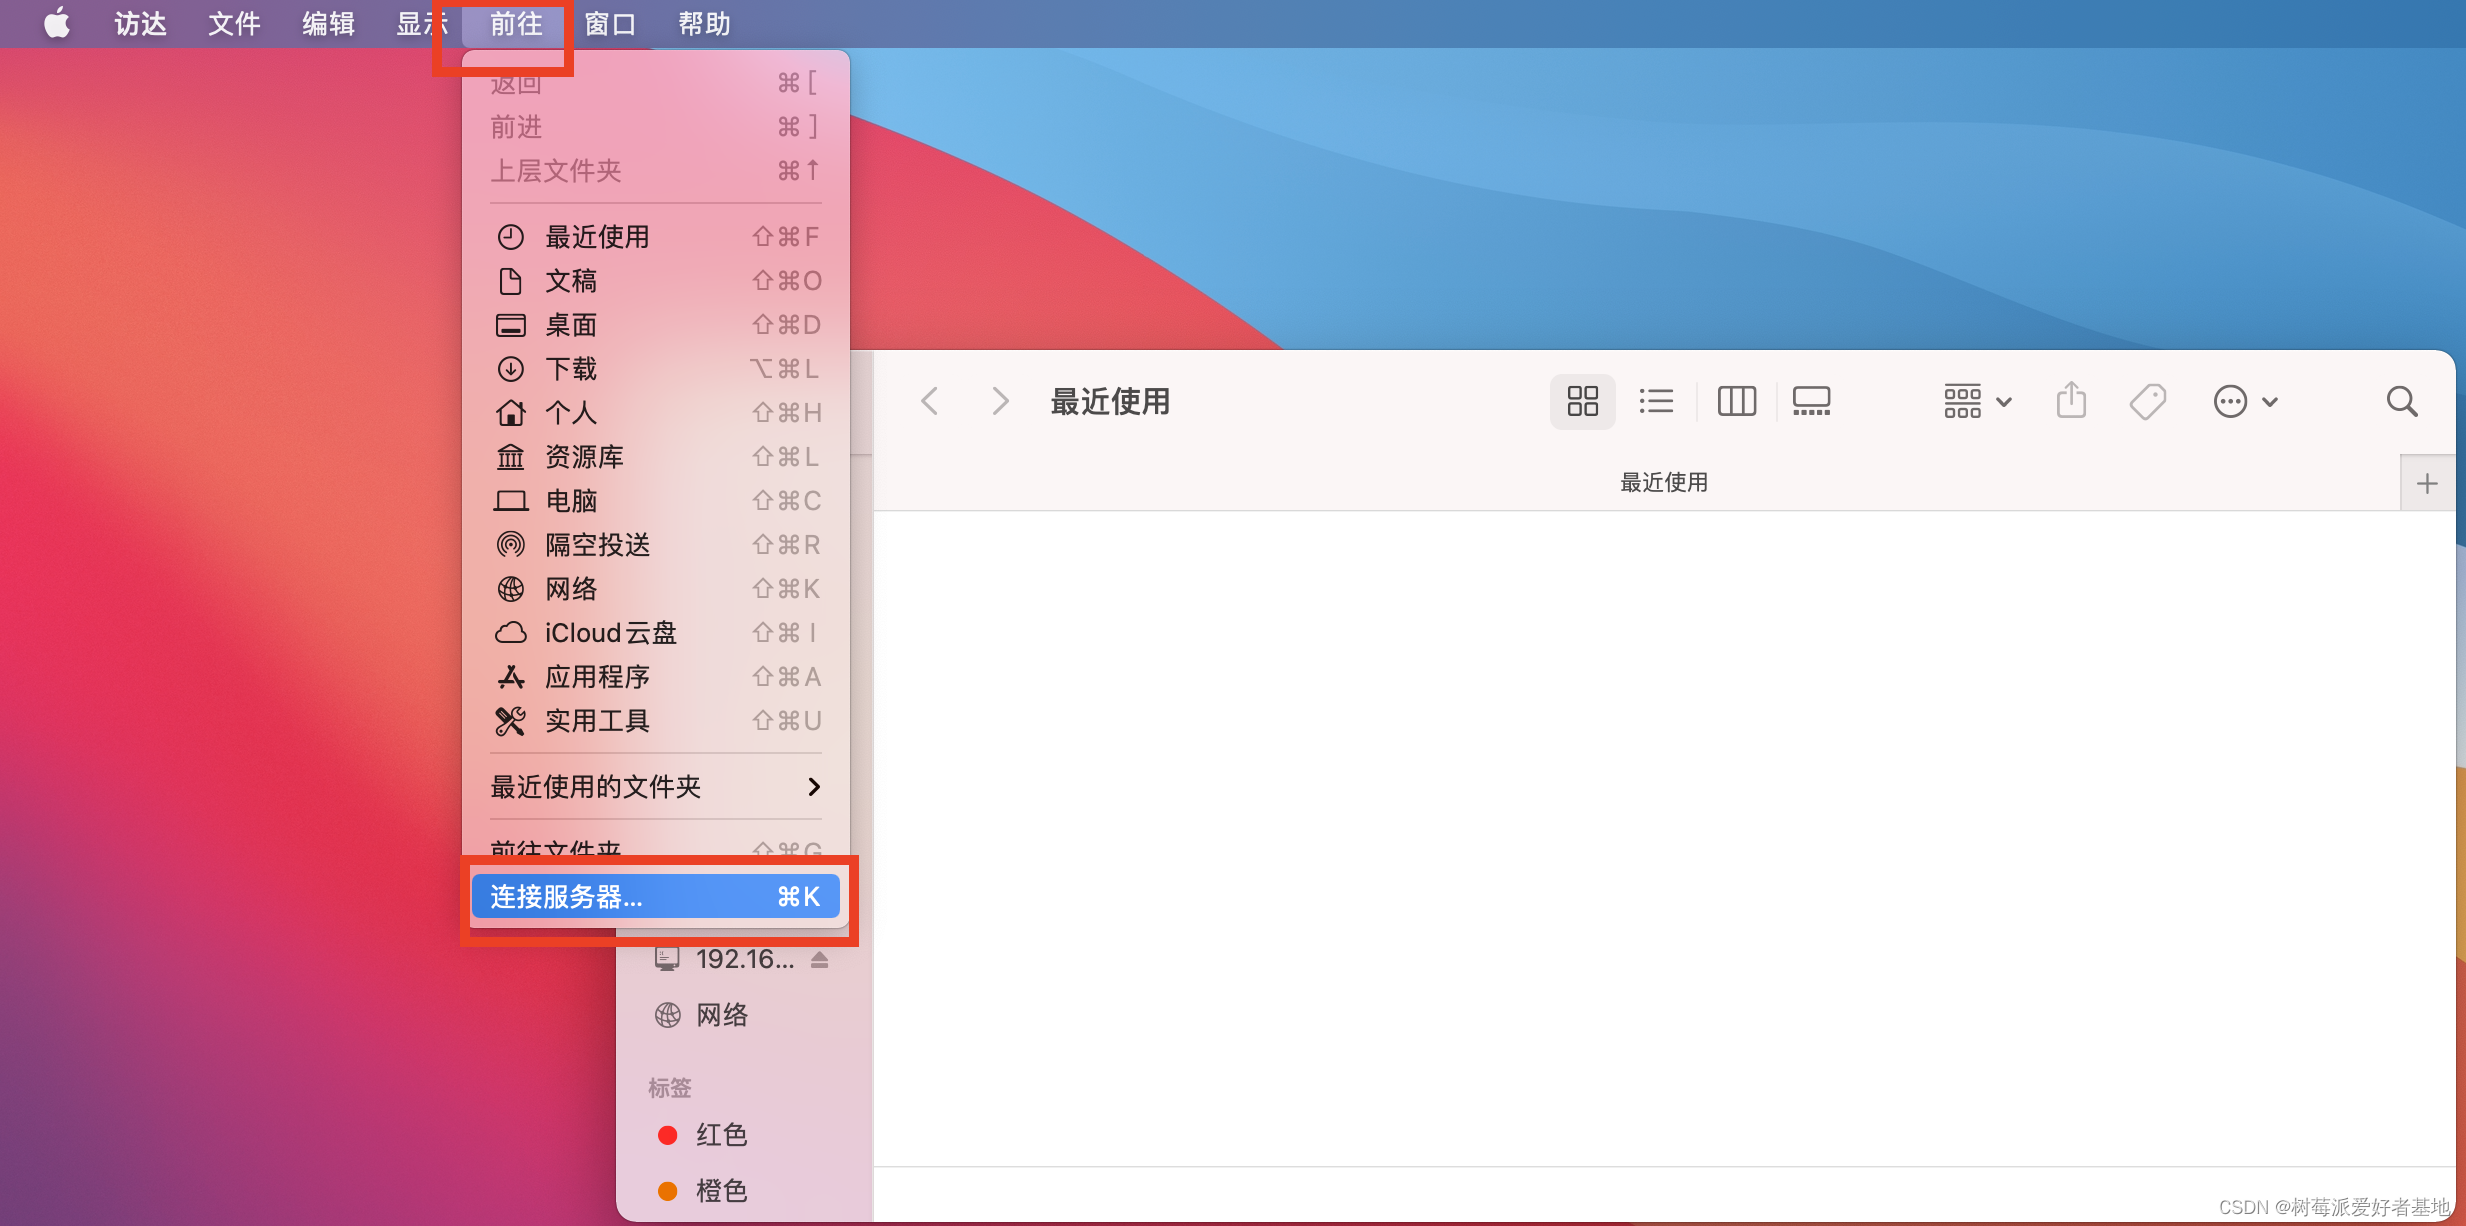
MAC上打开点前往,然后连接服务器就好了

7、给NAS安个小显示屏
启动树莓派的I2C功能
sudo apt-get install -y python3-smbus
sudo apt-get install -y i2c-tools
sudo raspi-config
按照下面的步骤设置开启i2c功能

重启树莓派
sudo reboot
安装Adafruit-SSD1306库
Adafruit-SSD1306库是基于Python的OLED库,可以用于128*64,128*32像素SSD1306芯片控制的屏幕
sudo apt-get remove  python3-pip
sudo apt-get install  python3-pip
sudo python3 -m pip install --upgrade pip setuptools wheel
安装PIL库,有一些图片处理的程序会用到这个。
sudo apt-get install python3-pil
使用pip安装Adafruit-SSD1306库
sudo pip install Adafruit-SSD1306
再下载一份包含代码示例的库后面用
cd  ~
sudo apt install git
git clone https://github.com/adafruit/Adafruit_Python_SSD1306.git
cd ~/Adafruit_Python_SSD1306/examples/
对于屏幕的接线,一定不要接错,树莓派引脚(所有树莓派40针引脚都是这样排列,不需要因为不同版本而改动)如下图所示:
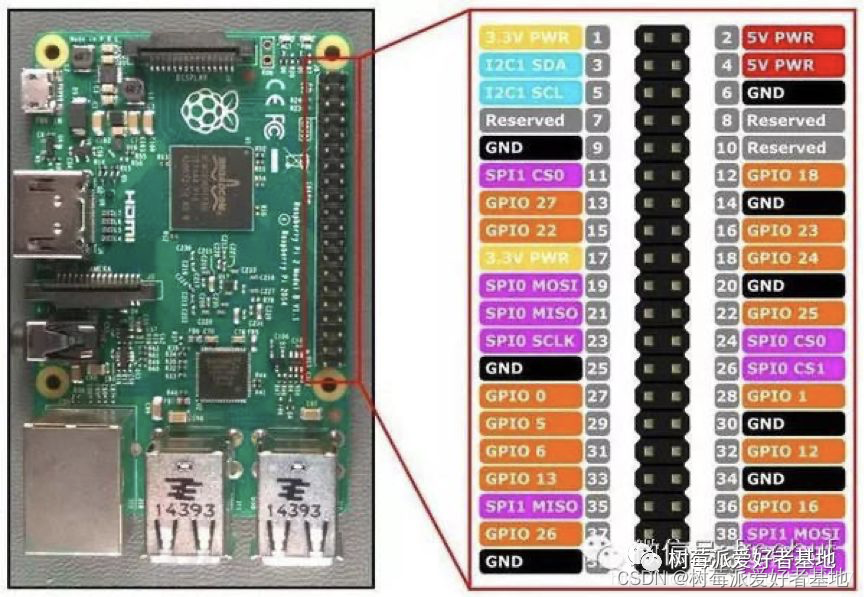
根据屏幕 PCB 上引脚的功能标注接到树莓派上对应的 GPIO 上即可。
屏幕 GND 接树莓派 GND
屏幕 VCC 接树莓派 3V3
屏幕 SDA 接树莓派 SDA
屏幕 SCL 接树莓派 SCL
注意一定不要接反 VCC 和 GND,否则会烧坏屏幕!!!
接上之后通过命令检测是否识别到i2c设备
sudo i2cdetect -y 1
修改一下程序
cd ~
sudo cp ~/Adafruit_Python_SSD1306/examples/stats.py ~/
sudo nano stats.py
把文件里面的内容全替换成下面的内容
import time
import Adafruit_GPIO.SPI as SPI
import Adafruit_SSD1306
from PIL import Image
from PIL import ImageDraw
from PIL import ImageFont
import subprocess
RST = None
DC = 23
SPI_PORT = 0
SPI_DEVICE = 0
disp = Adafruit_SSD1306.SSD1306_128_64(rst=RST)
disp = Adafruit_SSD1306.SSD1306_128_64(rst=RST, i2c_address=0x3C)
disp.begin()
disp.clear()
disp.display()
width = disp.width
height = disp.height
image = Image.new('1', (width, height))
draw = ImageDraw.Draw(image)
draw.rectangle((0,0,width,height), outline=0, fill=0)
padding = -2
top = padding
bottom = height-padding
x = 0
font = ImageFont.load_default()
def get_cpu_temp():
tempfile=open("/sys/class/thermal/thermal_zone0/temp")
cpu_temp=tempfile.read()
tempfile.close()
return float(cpu_temp)/1000
while True:
draw.rectangle((0,0,width,height), outline=0, fill=0)
cmd = "hostname -I | cut -d' ' -f1"
IP = subprocess.check_output(cmd, shell = True ).decode("utf-8")
cmd = "top -bn1 | grep load | awk '{printf \"CPU Load: %.2f\", $(NF-2)}'"
CPU = subprocess.check_output(cmd, shell = True ).decode("utf-8")
cmd = "free -m | awk 'NR==2{printf \"Mem: %s/%sMB %.2f%% \", $3,$2,$3*100/$2 }'"
MemUsage = subprocess.check_output(cmd, shell = True ).decode("utf-8")
cmd = "df -h | awk '$NF==\"/\"{printf \"Disk: %d/%dGB %s\", $3,$2,$5}'"
Disk = subprocess.check_output(cmd, shell = True ).decode("utf-8")
draw.text((x, top), "IP: " + str(IP), font=font, fill=255)
draw.text((x, top+8), str(CPU), font=font, fill=255)
draw.text((x, top+16), str(MemUsage), font=font, fill=255)
draw.text((x, top+25), str(Disk), font=font, fill=255)
draw.text((x, top+35), "Temp: "+str(get_cpu_temp()), font=font, fill=255)
disp.image(image)
disp.display()
time.sleep(.1)
为了让stats.py能够开机自动运行,我们可以做下面的配置,这样我们就可以不用通过工具或路由器去查找树莓派的IP地址等信息!!!
修改/etc/rc.local文件
sudo nano /etc/rc.local
在exit 0前面增加一行:
sudo python /home/pi/stats.py &
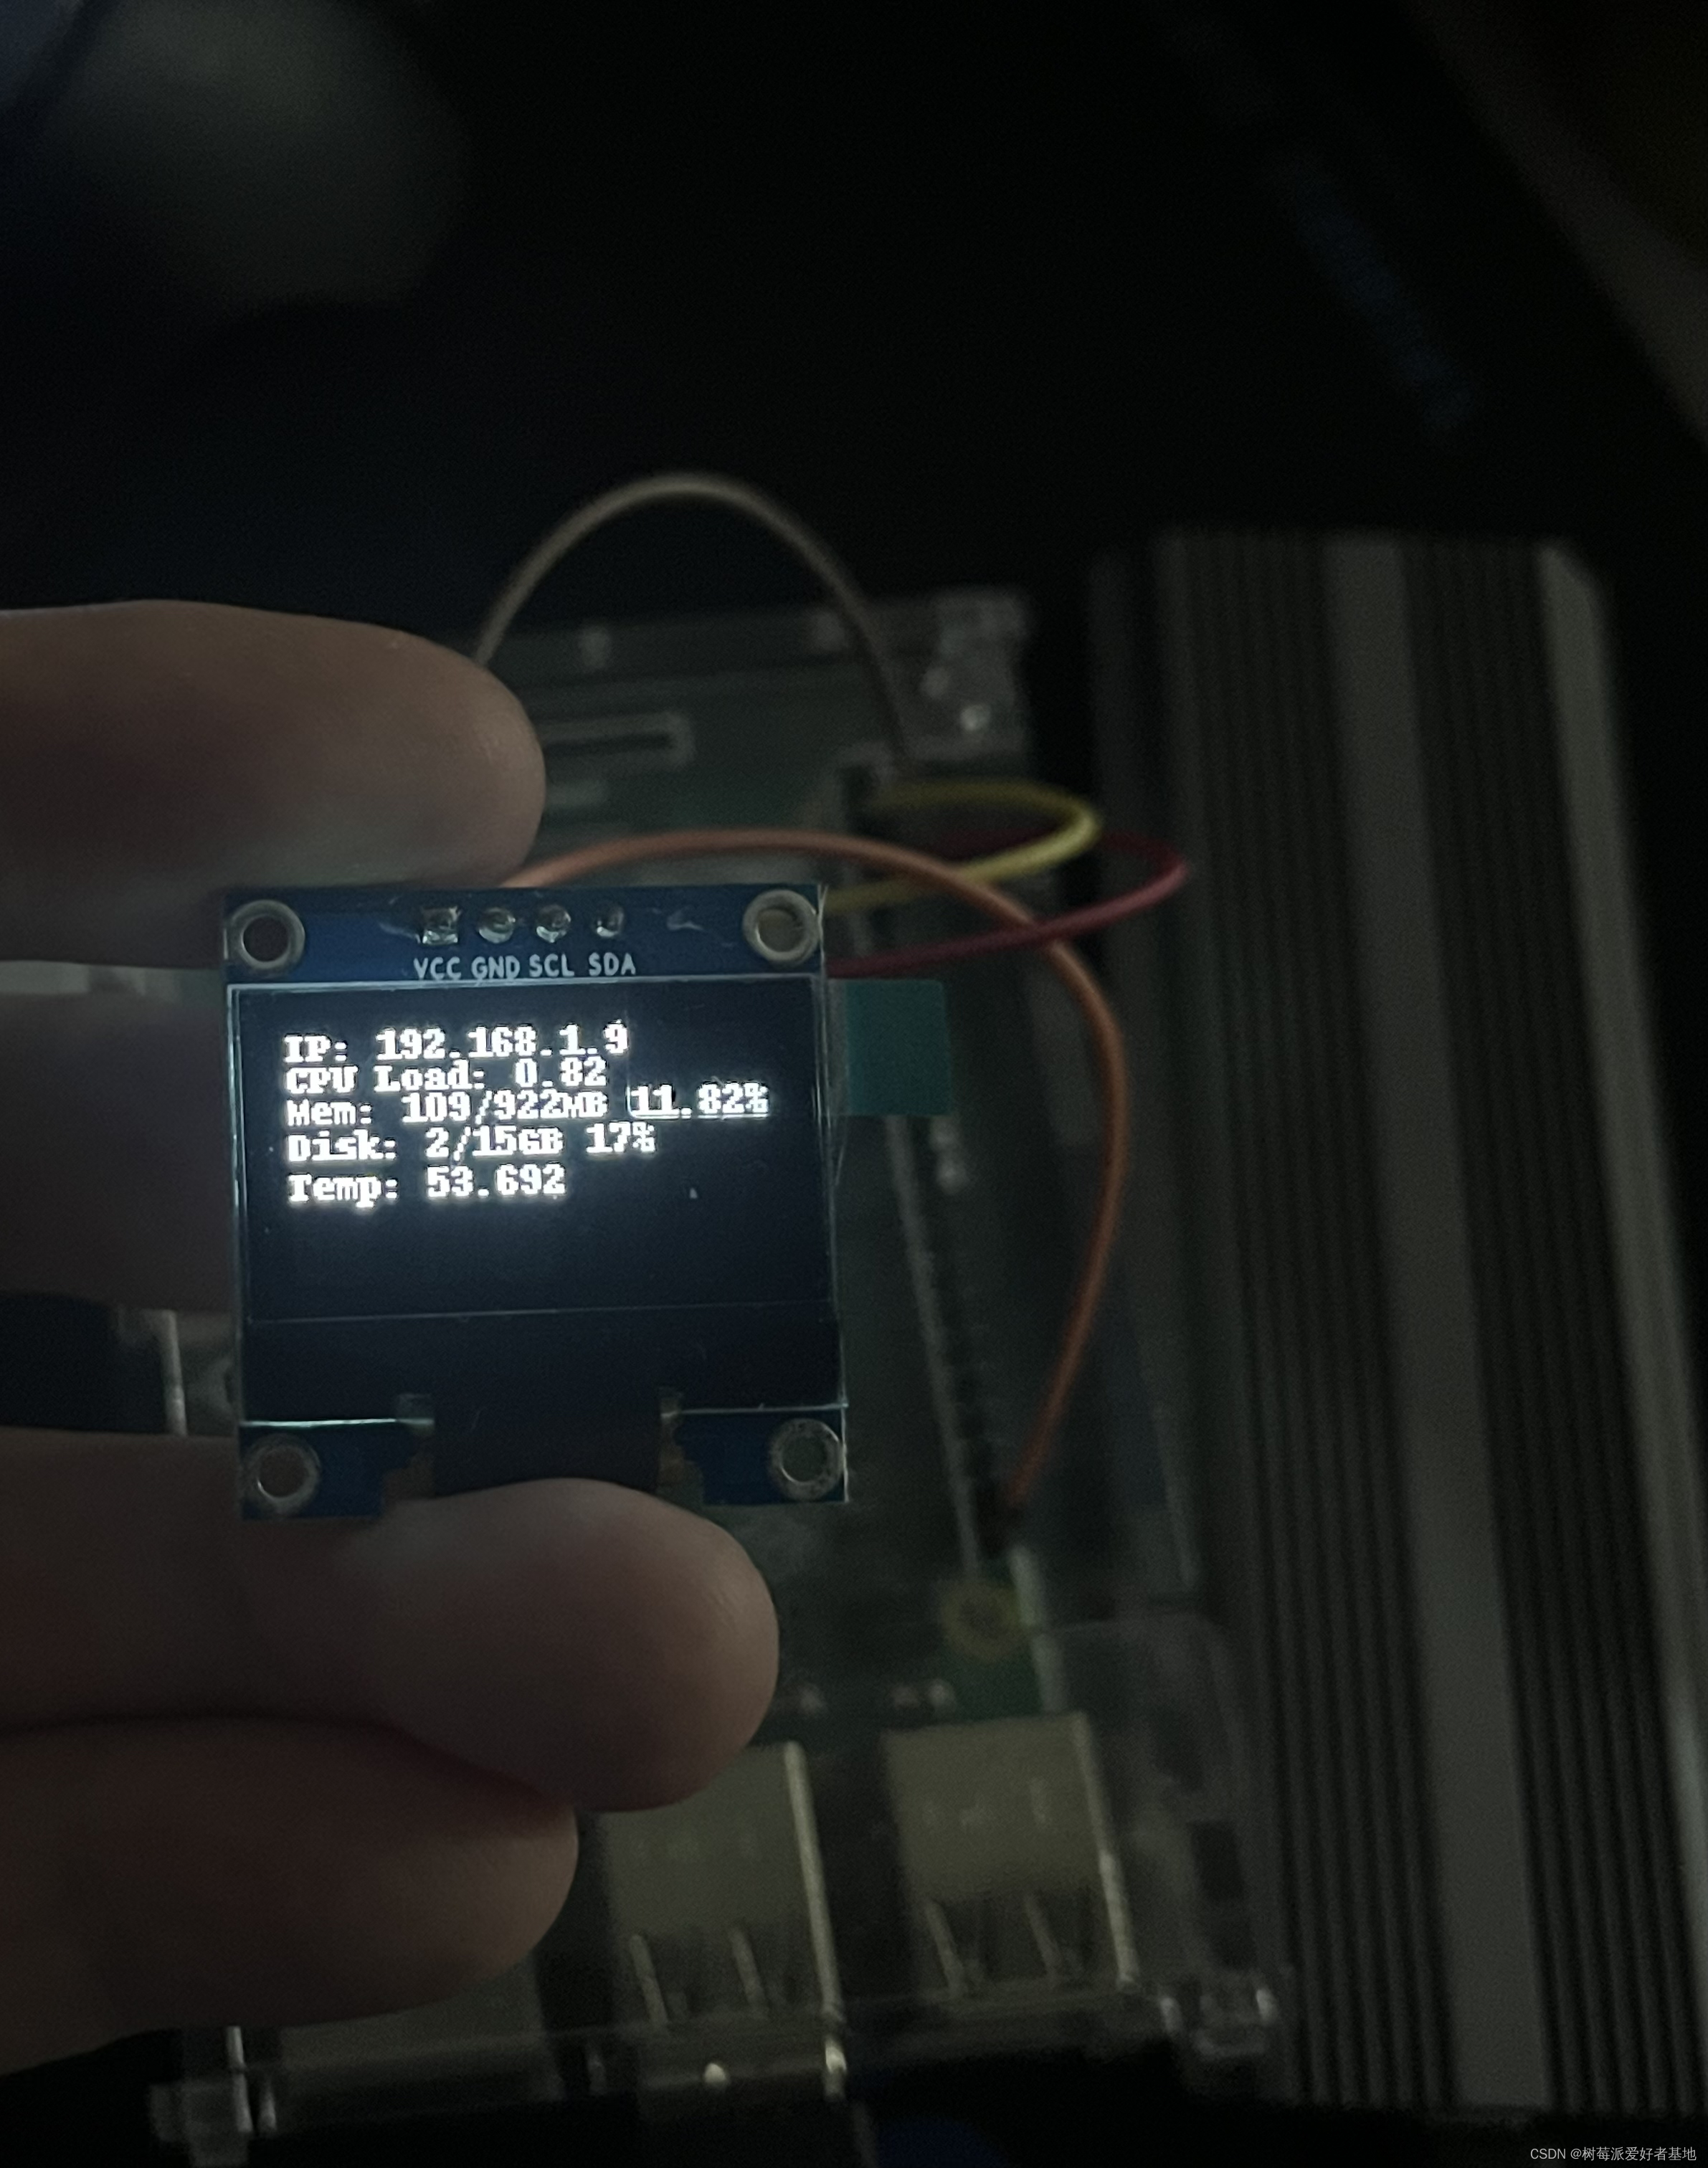
三、看看效果
sudo python stats.py

本文内容由网友自发贡献,版权归原作者所有,本站不承担相应法律责任。如您发现有涉嫌抄袭侵权的内容,请联系:hwhale#tublm.com(使用前将#替换为@)