视频链接:HuggingFace简明教程,BERT中文模型实战示例.NLP预训练模型,Transformers类库,datasets类库快速入门._哔哩哔哩_bilibili
1.huggingface简介与安装
什么是huggingface?huggingface是一个开源社区,它提供了先进的NLP模型,数据集,以及其他便利的工具。
数据集:Hugging Face – The AI community building the future.
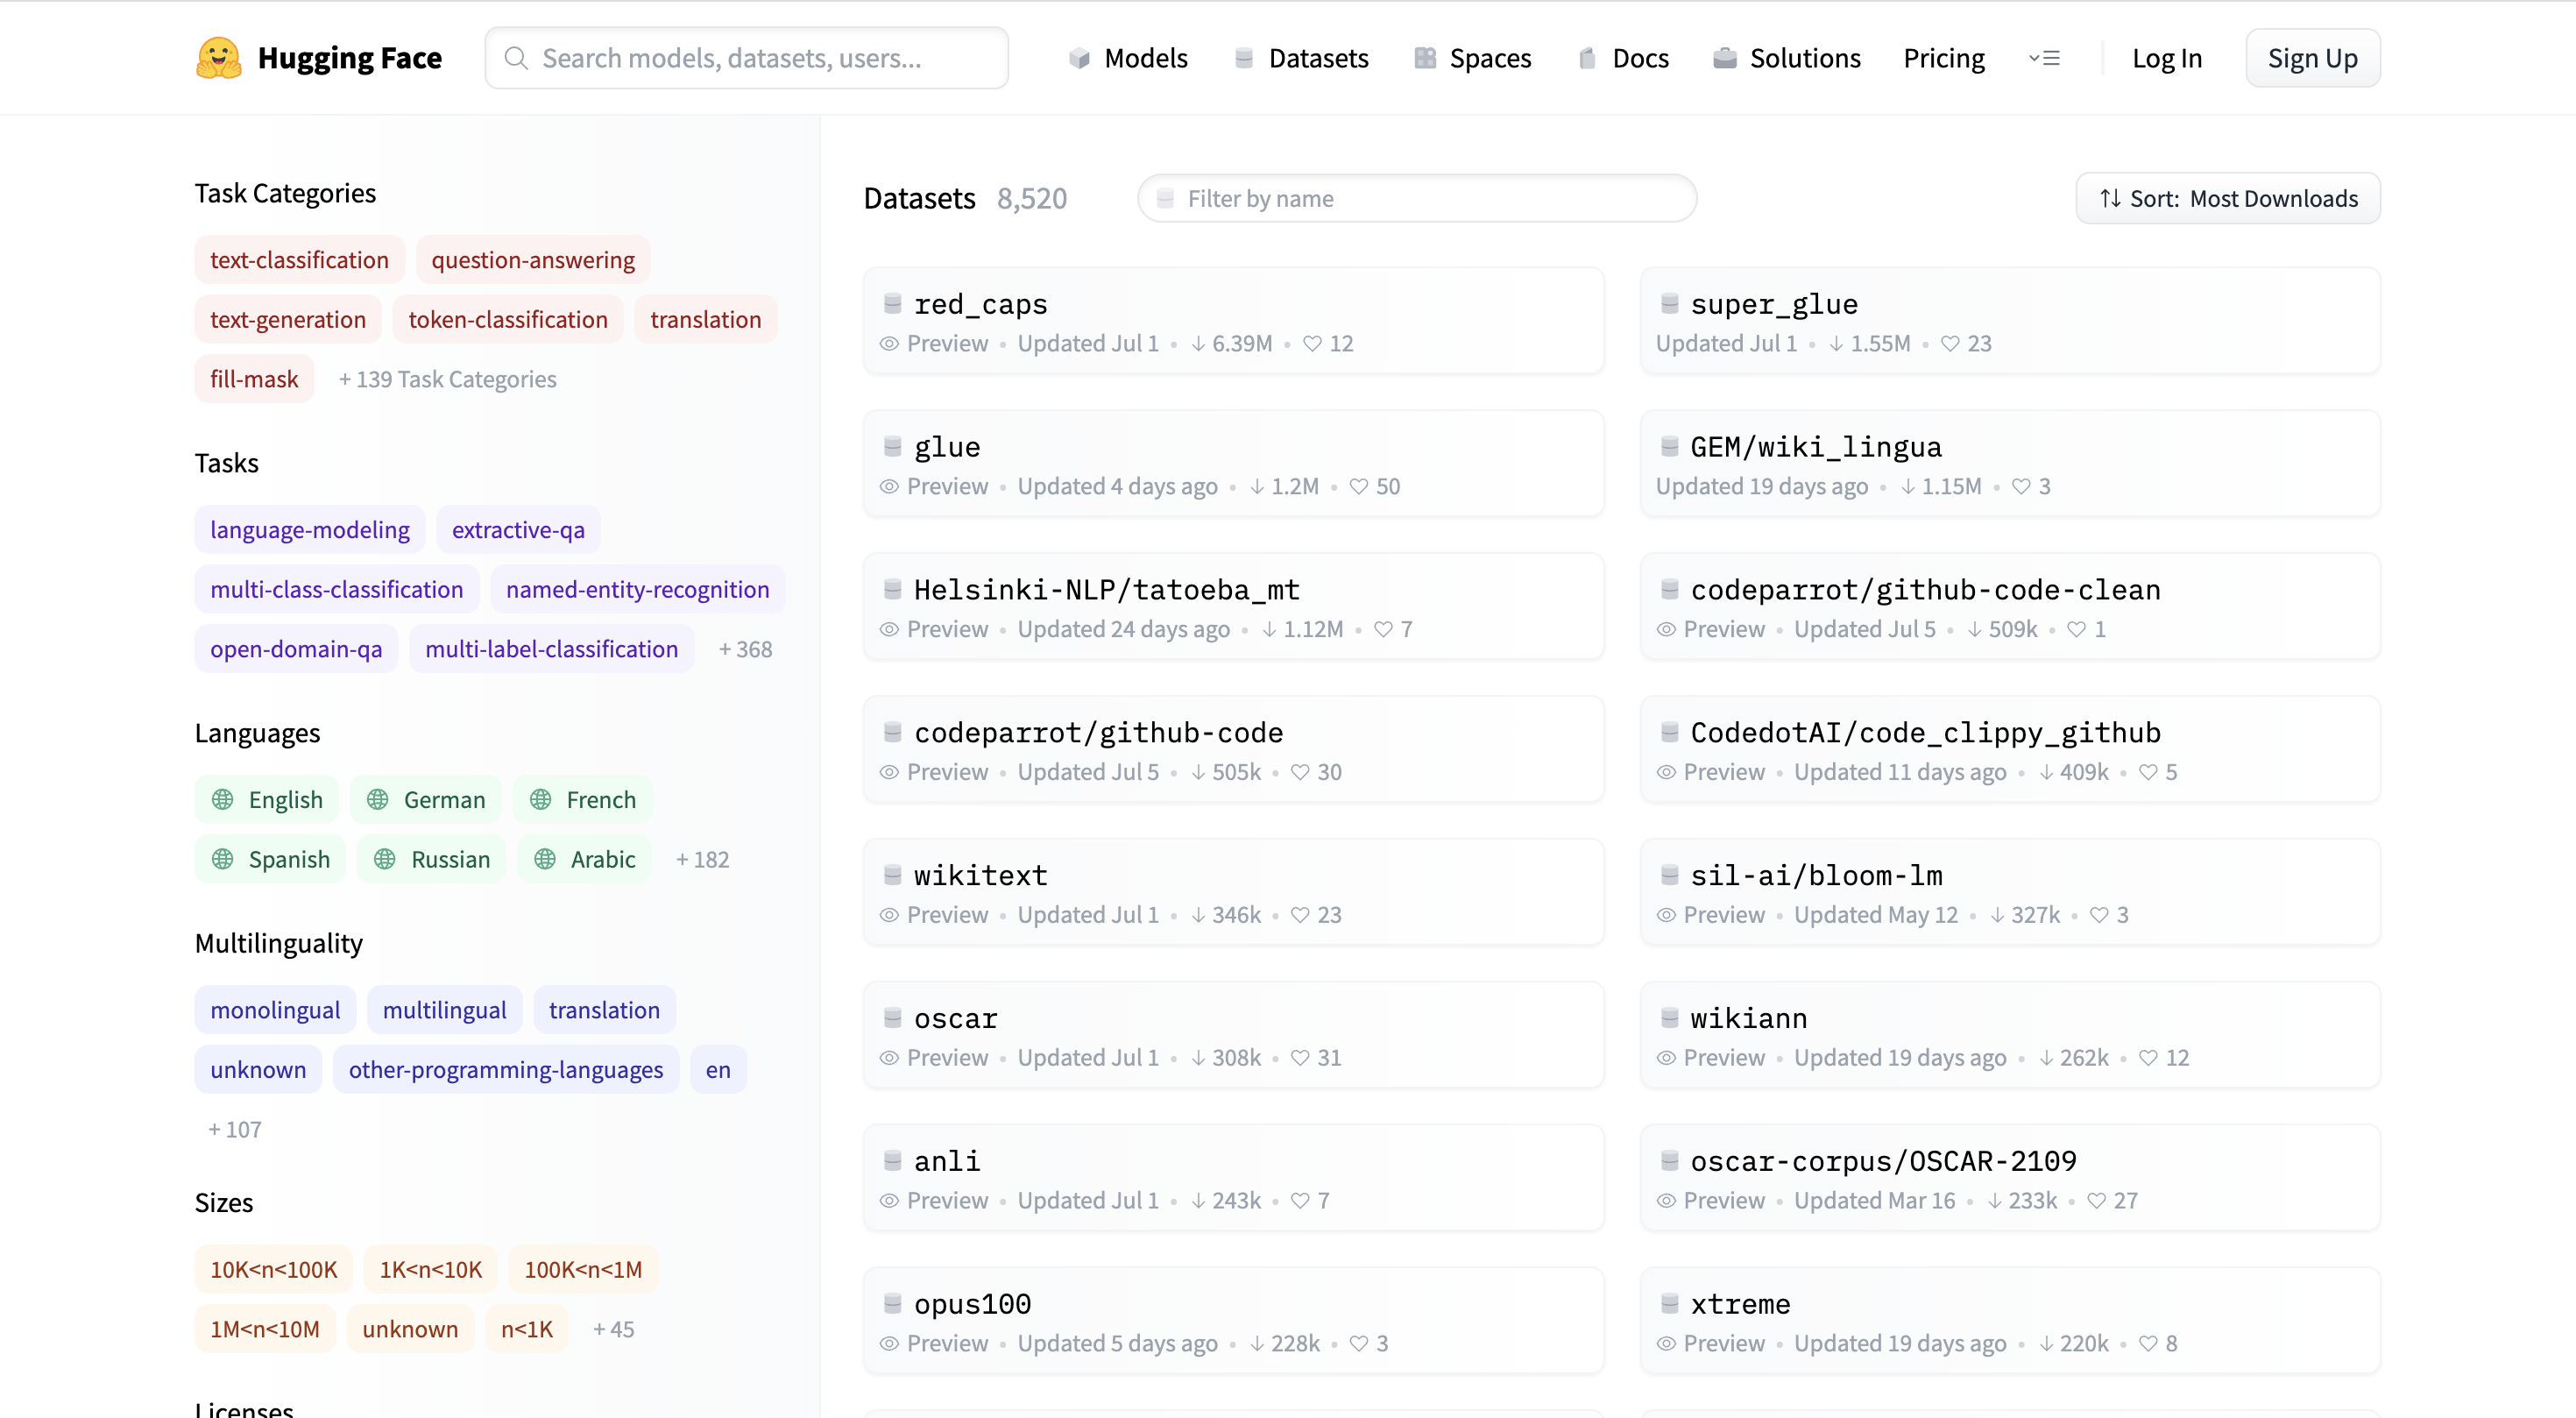
这些数据集可以根据任务、语言等来分类
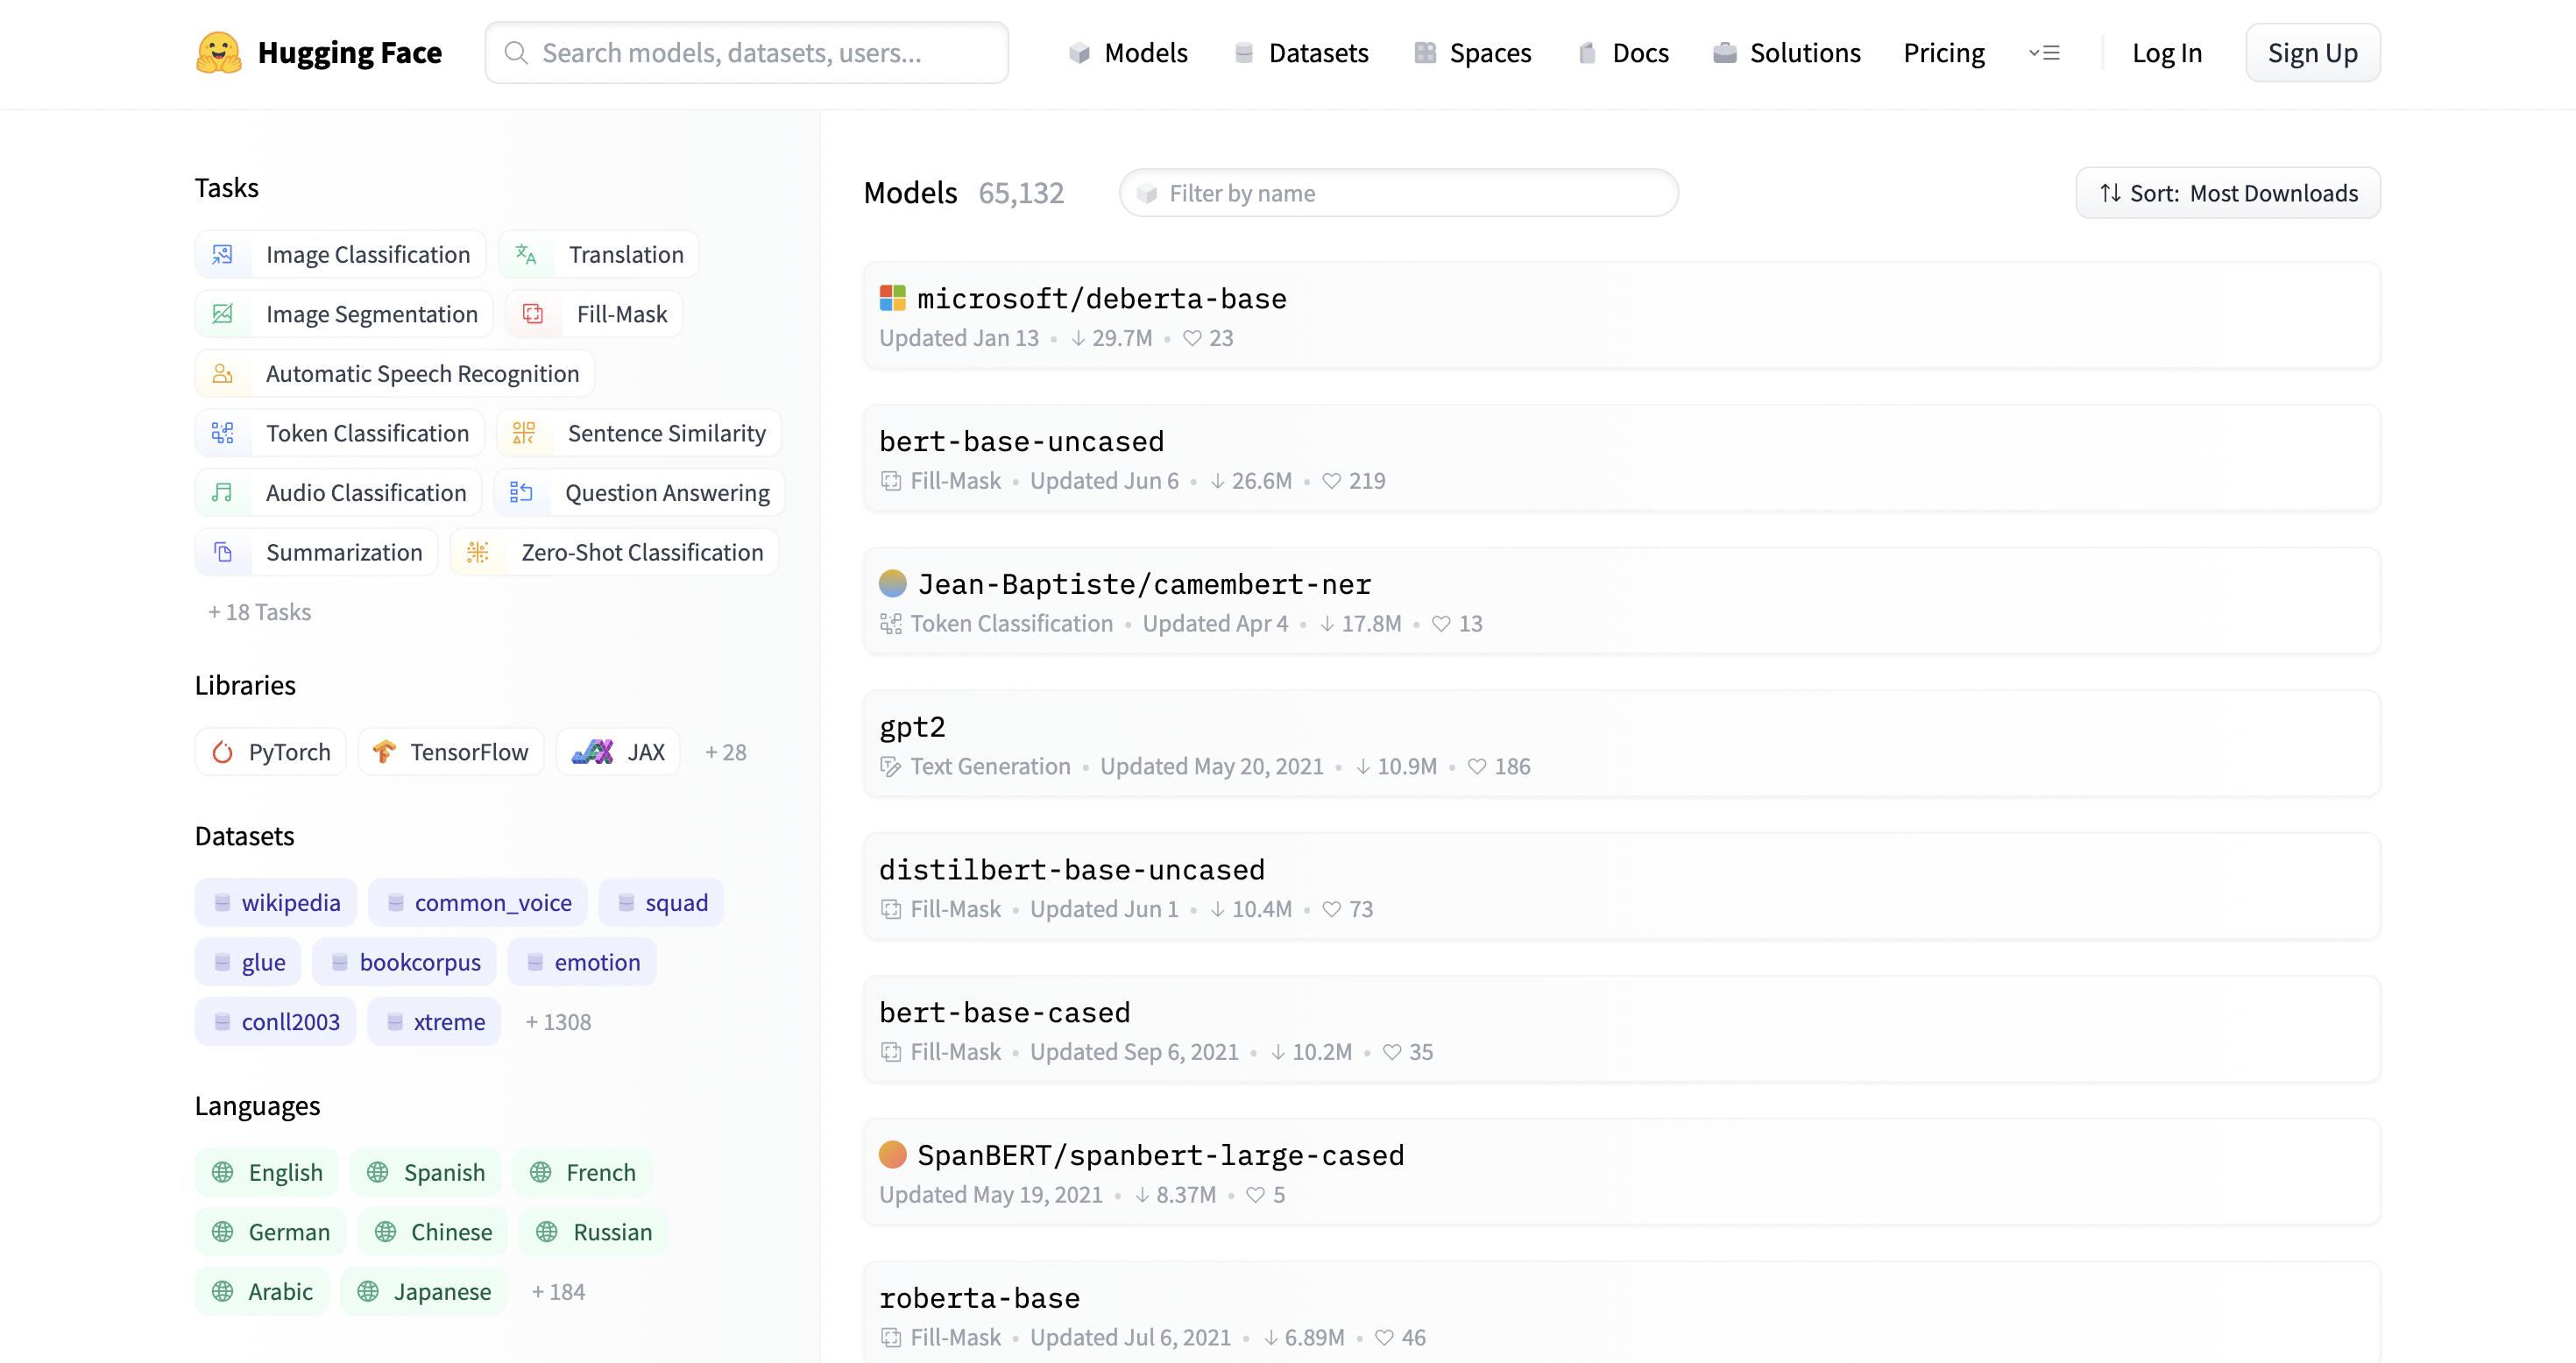
模型:Models - Hugging Face
官方文档: Hugging Face - Documentation

主要的模型:
自回归:GPT2、Transformer-XL、XLNet
自编码:BERT、ALBERT、RoBERTa、ELECTRA
Seq2Seq:BART、Pegasus、T5
安装环境:
前置环境:python、pytorch安装
安装transformers、datasets包:
#安装transformers
#pip安装
pip install transformers

#conda安装
conda install -c huggingface transformers

#安装datasets
#pip安装
pip install datasets

#conda安装
conda install -c huggingface -c conda-forge datasets
推荐使用pip进行安装
2.使用字典和分词工具
加载tokenizer,准备语料
在加载tokenizer的时候要传一个name,这个name与模型的name相一致,所以一个模型对应一个tokenizer
from transformers import BertTokenizer

#加载预训练字典和分词方法
tokenizer = BertTokenizer.from_pretrained(
    pretrained_model_name_or_path='bert-base-chinese',
    cache_dir=None,
    force_download=False,
)

sents = [
    '选择珠江花园的原因就是方便。',
    '笔记本的键盘确实爽。',
    '房间太小。其他的都一般。',
    '今天才知道这书还有第6卷,真有点郁闷.',
    '机器背面似乎被撕了张什么标签,残胶还在。',
]

tokenizer, sents
简单的编码
一次编码两个句子,text_pair是可以不传的,如果不传的话就是一次编码一个句子
#编码两个句子
out = tokenizer.encode(
    text=sents[0],
    text_pair=sents[1],

    #当句子长度大于max_length时,截断
    truncation=True,

    #一律补pad到max_length长度
    padding='max_length',
    add_special_tokens=True,
    max_length=30,
    return_tensors=None,# 默认返回list
)

print(out)

tokenizer.decode(out)
增强的编码函数
#增强的编码函数
out = tokenizer.encode_plus(
    text=sents[0],
    text_pair=sents[1],

    #当句子长度大于max_length时,截断
    truncation=True,

    #一律补零到max_length长度
    padding='max_length',
    max_length=30,
    add_special_tokens=True,

    #可取值tf,pt,np,默认为返回list
    return_tensors=None,

    #返回token_type_ids
    return_token_type_ids=True,

    #返回attention_mask
    return_attention_mask=True,

    #返回special_tokens_mask 特殊符号标识
    return_special_tokens_mask=True,

    #返回offset_mapping 标识每个词的起止位置,这个参数只能BertTokenizerFast使用
    #return_offsets_mapping=True,

    #返回length 标识长度
    return_length=True,
)
增强编码的结果:
#input_ids 就是编码后的词
#token_type_ids 第一个句子和特殊符号的位置是0,第二个句子的位置是1
#special_tokens_mask 特殊符号的位置是1,其他位置是0
#attention_mask pad的位置是0,其他位置是1
#length 返回句子长度
for k, v in out.items():
    print(k, ':', v)

tokenizer.decode(out['input_ids'])

批量编码句子
上述方式是一次编码一个或者一对句子,但是实际操作中需要批量编码句子。这里编码的是一个一个的句子,而不是一对一对的句子
#批量编码句子
out = tokenizer.batch_encode_plus(
    batch_text_or_text_pairs=[sents[0], sents[1]],
    add_special_tokens=True,

    #当句子长度大于max_length时,截断
    truncation=True,

    #一律补零到max_length长度
    padding='max_length',
    max_length=15,

    #可取值tf,pt,np,默认为返回list
    return_tensors=None,

    #返回token_type_ids
    return_token_type_ids=True,

    #返回attention_mask
    return_attention_mask=True,

    #返回special_tokens_mask 特殊符号标识
    return_special_tokens_mask=True,

    #返回offset_mapping 标识每个词的起止位置,这个参数只能BertTokenizerFast使用
    #return_offsets_mapping=True,

    #返回length 标识长度
    return_length=True,
)
批量编码的结果:
#input_ids 就是编码后的词
#token_type_ids 第一个句子和特殊符号的位置是0,第二个句子的位置是1
#special_tokens_mask 特殊符号的位置是1,其他位置是0
#attention_mask pad的位置是0,其他位置是1
#length 返回句子长度
for k, v in out.items():
    print(k, ':', v)

tokenizer.decode(out['input_ids'][0]), tokenizer.decode(out['input_ids'][1])

批量成对编码
传入的list中是一个一个的tuple,tuple中是一对句子
#批量编码成对的句子
out = tokenizer.batch_encode_plus(
    batch_text_or_text_pairs=[(sents[0], sents[1]), (sents[2], sents[3])],
    add_special_tokens=True,

    #当句子长度大于max_length时,截断
    truncation=True,

    #一律补零到max_length长度
    padding='max_length',
    max_length=30,

    #可取值tf,pt,np,默认为返回list
    return_tensors=None,

    #返回token_type_ids
    return_token_type_ids=True,

    #返回attention_mask
    return_attention_mask=True,

    #返回special_tokens_mask 特殊符号标识
    return_special_tokens_mask=True,

    #返回offset_mapping 标识每个词的起止位置,这个参数只能BertTokenizerFast使用
    #return_offsets_mapping=True,

    #返回length 标识长度
    return_length=True,
)
批量成对编码结果:
#input_ids 就是编码后的词
#token_type_ids 第一个句子和特殊符号的位置是0,第二个句子的位置是1
#special_tokens_mask 特殊符号的位置是1,其他位置是0
#attention_mask pad的位置是0,其他位置是1
#length 返回句子长度
for k, v in out.items():
    print(k, ':', v)

tokenizer.decode(out['input_ids'][0])
 字典操作
字典操作
操作tokenizer中的字典,当前的字典以一个字为一个词
#获取字典
zidian = tokenizer.get_vocab()

type(zidian), len(zidian), '月光' in zidian,

#添加新词
tokenizer.add_tokens(new_tokens=['月光', '希望'])

#添加新符号
tokenizer.add_special_tokens({'eos_token': '[EOS]'})

zidian = tokenizer.get_vocab()

type(zidian), len(zidian), zidian['月光'], zidian['[EOS]']

编码新词:
#编码新添加的词
out = tokenizer.encode(
    text='月光的新希望[EOS]',
    text_pair=None,

    #当句子长度大于max_length时,截断
    truncation=True,

    #一律补pad到max_length长度
    padding='max_length',
    add_special_tokens=True,
    max_length=8,
    return_tensors=None,
)

print(out)

tokenizer.decode(out)
3.数据集操作
加载数据集
以情感分类数据集为例
from datasets import load_dataset

#加载数据
dataset = load_dataset(path='seamew/ChnSentiCorp')

dataset
#查看一个数据
dataset[0]
 排序和打乱
排序和打乱
#sort

#未排序的label是乱序的
print(dataset['label'][:10])

#排序之后label有序了
sorted_dataset = dataset.sort('label')
print(sorted_dataset['label'][:10])
print(sorted_dataset['label'][-10:])

#shuffle

#打乱顺序
shuffled_dataset = sorted_dataset.shuffle(seed=42)

shuffled_dataset['label'][:10]

选择和过滤
#select
dataset.select([0, 10, 20, 30, 40, 50])

#filter
def f(data):
    return data['text'].startswith('选择')


start_with_ar = dataset.filter(f)

len(start_with_ar), start_with_ar['text']

切分和分桶
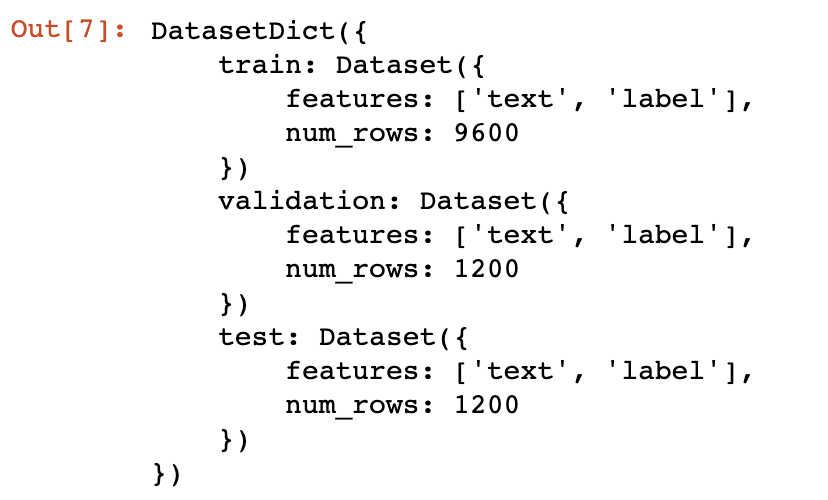
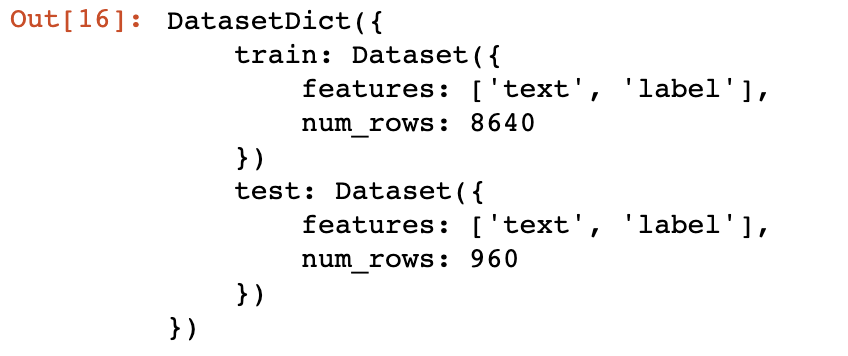
#train_test_split, 切分训练集和测试集
dataset.train_test_split(test_size=0.1)
#shard
#把数据切分到4个桶中,均匀分配
dataset.shard(num_shards=4, index=0)
列操作和类型转换
#rename_column
dataset.rename_column('text', 'textA')

#remove_columns
dataset.remove_columns(['text'])
#set_format
dataset.set_format(type='torch', columns=['label'])

dataset[0]

map函数
对数据集中的每一条数据都做函数f操作
#map
def f(data):
    data['text'] = 'My sentence: ' + data['text']
    return data


datatset_map = dataset.map(f)

datatset_map['text'][:5]

保存和加载
#保存数据集到磁盘
dataset.save_to_disk(dataset_dict_path='./data/ChnSentiCorp')

#从磁盘加载数据
from datasets import load_from_disk

dataset = load_from_disk('./data/ChnSentiCorp')
导出和保存为其他格式
#导出为csv格式
dataset = load_dataset(path='seamew/ChnSentiCorp', split='train')
dataset.to_csv(path_or_buf='./data/ChnSentiCorp.csv')

#加载csv格式数据
csv_dataset = load_dataset(path='csv',
                           data_files='./data/ChnSentiCorp.csv',
                           split='train')

#导出为json格式
dataset = load_dataset(path='seamew/ChnSentiCorp', split='train')
dataset.to_json(path_or_buf='./data/ChnSentiCorp.json')

#加载json格式数据
json_dataset = load_dataset(path='json',
                            data_files='./data/ChnSentiCorp.json',
                            split='train')
4.使用评价函数
查看可用的评价指标
from datasets import list_metrics

#列出评价指标
metrics_list = list_metrics()

len(metrics_list), metrics_list
查看该指标的说明文档
可以按照评价指标的说明文档中的示例代码来使用该指标
from datasets import load_metric

#加载一个评价指标
metric = load_metric('glue', 'mrpc')

print(metric.inputs_description)
计算一个评价指标
#计算一个评价指标
predictions = [0, 1, 0]
references = [0, 1, 1]

final_score = metric.compute(predictions=predictions, references=references)

final_score

5.使用pipline函数
pipeline提供了一些不需要训练就可以执行一些nlp任务的模型,实用价值不高
情感分类
from transformers import pipeline

#文本分类
classifier = pipeline("sentiment-analysis")

result = classifier("I hate you")[0]
print(result)

result = classifier("I love you")[0]
print(result)
阅读理解
from transformers import pipeline

#阅读理解
question_answerer = pipeline("question-answering")

context = r"""
Extractive Question Answering is the task of extracting an answer from a text given a question. An example of a
question answering dataset is the SQuAD dataset, which is entirely based on that task. If you would like to fine-tune
a model on a SQuAD task, you may leverage the examples/pytorch/question-answering/run_squad.py script.
"""

result = question_answerer(question="What is extractive question answering?",
                           context=context)
print(result)

result = question_answerer(
    question="What is a good example of a question answering dataset?",
    context=context)

print(result)
完形填空
from transformers import pipeline

#完形填空
unmasker = pipeline("fill-mask")

from pprint import pprint

sentence = 'HuggingFace is creating a <mask> that the community uses to solve NLP tasks.'

unmasker(sentence)
文本生成
from transformers import pipeline

#文本生成
text_generator = pipeline("text-generation")

text_generator("As far as I am concerned, I will",
               max_length=50,
               do_sample=False)
命名实体识别
from transformers import pipeline

#命名实体识别
ner_pipe = pipeline("ner")

sequence = """Hugging Face Inc. is a company based in New York City. Its headquarters are in DUMBO,
therefore very close to the Manhattan Bridge which is visible from the window."""

for entity in ner_pipe(sequence):
    print(entity)
文本摘要
from transformers import pipeline

#文本总结
summarizer = pipeline("summarization")

ARTICLE = """ New York (CNN)When Liana Barrientos was 23 years old, she got married in Westchester County, New York.
A year later, she got married again in Westchester County, but to a different man and without divorcing her first husband.
Only 18 days after that marriage, she got hitched yet again. Then, Barrientos declared "I do" five more times, sometimes only within two weeks of each other.
In 2010, she married once more, this time in the Bronx. In an application for a marriage license, she stated it was her "first and only" marriage.
Barrientos, now 39, is facing two criminal counts of "offering a false instrument for filing in the first degree," referring to her false statements on the
2010 marriage license application, according to court documents.
Prosecutors said the marriages were part of an immigration scam.
On Friday, she pleaded not guilty at State Supreme Court in the Bronx, according to her attorney, Christopher Wright, who declined to comment further.
After leaving court, Barrientos was arrested and charged with theft of service and criminal trespass for allegedly sneaking into the New York subway through an emergency exit, said Detective
Annette Markowski, a police spokeswoman. In total, Barrientos has been married 10 times, with nine of her marriages occurring between 1999 and 2002.
All occurred either in Westchester County, Long Island, New Jersey or the Bronx. She is believed to still be married to four men, and at one time, she was married to eight men at once, prosecutors say.
Prosecutors said the immigration scam involved some of her husbands, who filed for permanent residence status shortly after the marriages.
Any divorces happened only after such filings were approved. It was unclear whether any of the men will be prosecuted.
The case was referred to the Bronx District Attorney\'s Office by Immigration and Customs Enforcement and the Department of Homeland Security\'s
Investigation Division. Seven of the men are from so-called "red-flagged" countries, including Egypt, Turkey, Georgia, Pakistan and Mali.
Her eighth husband, Rashid Rajput, was deported in 2006 to his native Pakistan after an investigation by the Joint Terrorism Task Force.
If convicted, Barrientos faces up to four years in prison.  Her next court appearance is scheduled for May 18.
"""

summarizer(ARTICLE, max_length=130, min_length=30, do_sample=False)
翻译
from transformers import pipeline

#翻译
translator = pipeline("translation_en_to_de")

sentence = "Hugging Face is a technology company based in New York and Paris"

translator(sentence, max_length=40)
trainer API
加载分词工具
from transformers import AutoTokenizer

#加载分词工具
tokenizer = AutoTokenizer.from_pretrained('bert-base-cased')
定义数据集
from datasets import load_dataset
from datasets import load_from_disk
#加载数据集
#从网络加载
#datasets = load_dataset(path='glue', name='sst2')
#从本地磁盘加载数据
datasets = load_from_disk('./data/glue_sst2')
#分词
def f(data):
return tokenizer(
data['sentence'],
padding='max_length',
truncation=True,
max_length=30,
)
datasets = datasets.map(f, batched=True, batch_size=1000, num_proc=4)
#取数据子集,否则数据太多跑不动
dataset_train = datasets['train'].shuffle().select(range(1000))
dataset_test = datasets['validation'].shuffle().select(range(200))
del datasets
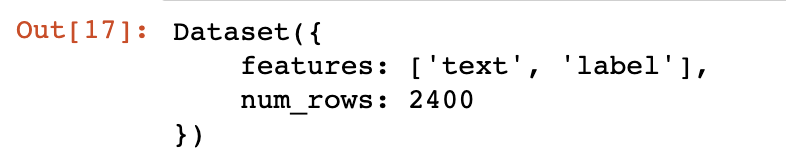
dataset_train
加载模型
from transformers import AutoModelForSequenceClassification

#加载模型
model = AutoModelForSequenceClassification.from_pretrained('bert-base-cased',
                                                           num_labels=2)

print(sum([i.nelement() for i in model.parameters()]) / 10000) # 查看模型参数数量
定义评价函数
import numpy as np
from datasets import load_metric
from transformers.trainer_utils import EvalPrediction

#加载评价函数
metric = load_metric('accuracy')


#定义评价函数
def compute_metrics(eval_pred):
    logits, labels = eval_pred
    logits = logits.argmax(axis=1)
    return metric.compute(predictions=logits, references=labels)


#模拟测试输出
eval_pred = EvalPrediction(
    predictions=np.array([[0, 1], [2, 3], [4, 5], [6, 7]]),
    label_ids=np.array([1, 1, 1, 1]),
)

compute_metrics(eval_pred)
定义训练器并测试
from transformers import TrainingArguments, Trainer

#初始化训练参数
args = TrainingArguments(output_dir='./output_dir', evaluation_strategy='epoch')
args.num_train_epochs = 1
args.learning_rate = 1e-4
args.weight_decay = 1e-2
args.per_device_eval_batch_size = 32
args.per_device_train_batch_size = 16

#初始化训练器
trainer = Trainer(
    model=model,
    args=args,
    train_dataset=dataset_train,
    eval_dataset=dataset_test,
    compute_metrics=compute_metrics,
)

#评价模型
trainer.evaluate()
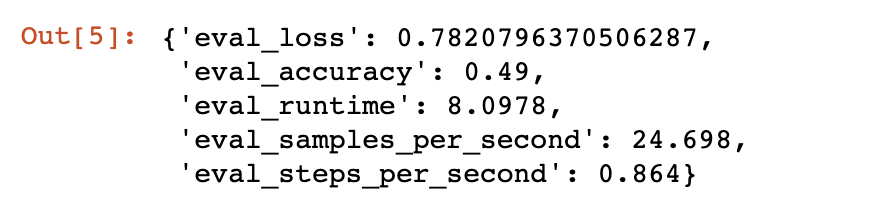
模型未训练前的准确率是0.49
#训练
trainer.train()

训练一个epoch之后的准确率为0.8
保存模型参数
#保存模型
trainer.save_model(output_dir='./output_dir')
使用保存的模型参数
定义测试数据集
import torch


def collate_fn(data):
    label = [i['label'] for i in data]
    input_ids = [i['input_ids'] for i in data]
    token_type_ids = [i['token_type_ids'] for i in data]
    attention_mask = [i['attention_mask'] for i in data]

    label = torch.LongTensor(label)
    input_ids = torch.LongTensor(input_ids)
    token_type_ids = torch.LongTensor(token_type_ids)
    attention_mask = torch.LongTensor(attention_mask)

    return label, input_ids, token_type_ids, attention_mask


#数据加载器
loader_test = torch.utils.data.DataLoader(dataset=dataset_test,
                                          batch_size=4,
                                          collate_fn=collate_fn,
                                          shuffle=True,
                                          drop_last=True)

for i, (label, input_ids, token_type_ids,
        attention_mask) in enumerate(loader_test):
    break

label, input_ids, token_type_ids, attention_mask
测试
import torch


#测试
def test():
    #加载参数
    model.load_state_dict(torch.load('./output_dir/pytorch_model.bin'))

    model.eval()

    #运算
    out = model(input_ids=input_ids,
                token_type_ids=token_type_ids,
                attention_mask=attention_mask)

    #[4, 2] -> [4]
    out = out['logits'].argmax(dim=1)

    correct = (out == label).sum().item()

    return correct / len(label)


test()
本文内容由网友自发贡献,版权归原作者所有,本站不承担相应法律责任。如您发现有涉嫌抄袭侵权的内容,请联系:hwhale#tublm.com(使用前将#替换为@)