0.需要使用的主机
m01 web01
1.web服务器
1.1简介
Web服务器一般指网站服务器,是指驻留于因特网上某种类型计算机的程序,可以向浏览器等Web客户端提供文档,也可以放置网站文件,让全世界浏览;可以放置数据文件,让全世界下载。
1.2架构
web架构选用B/S架构
浏览器 --> 服务端
1.3主流服务器
目前最主流的三个Web服务器:
1. Apache 太老了    所有模块是一个整体
2. Nginx  过年主流  需要什么模块安装即可
3. IIS
1.4网络模型
select 效率低  windows 只支持 select,所有服务器都会先考虑使用linux
poll   效率高
epoll
2.部署Nginx
2.1yum安装
在web01主机中安装,yum 安装会自动安装很多的模块,无法自定义模块的.
# 0.官网 Nginx.org

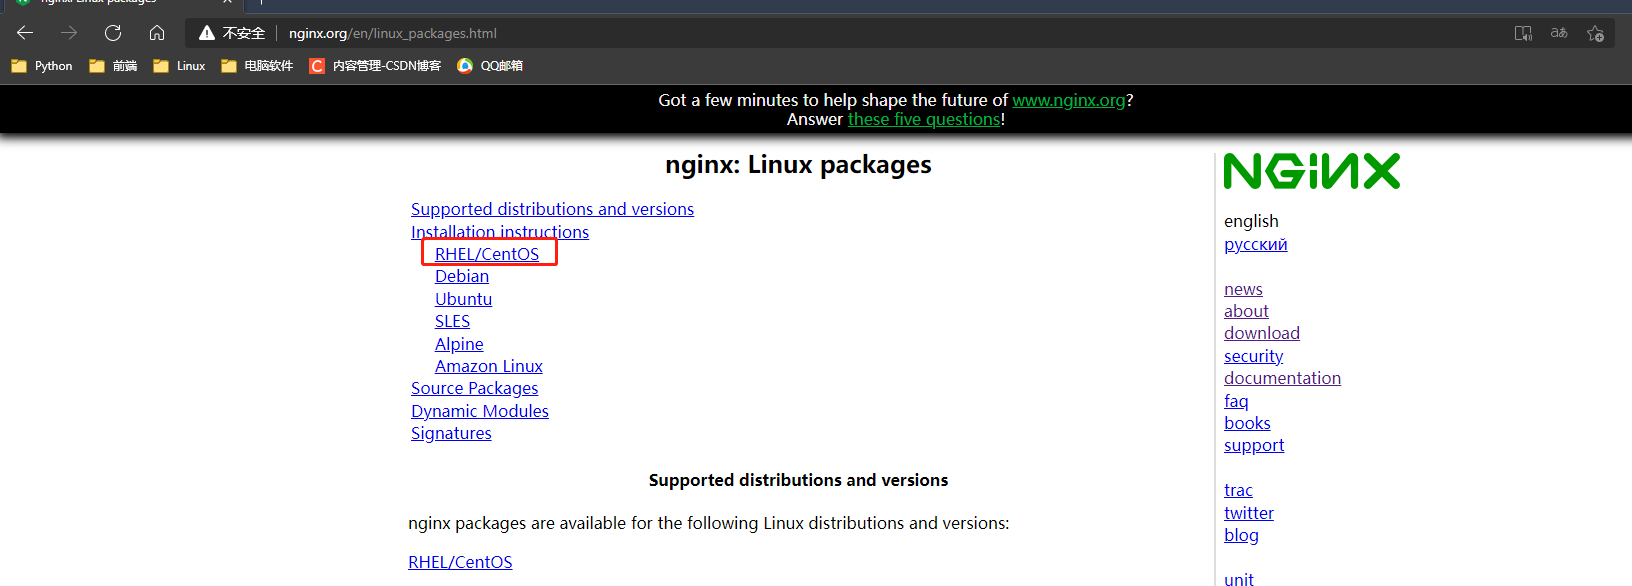
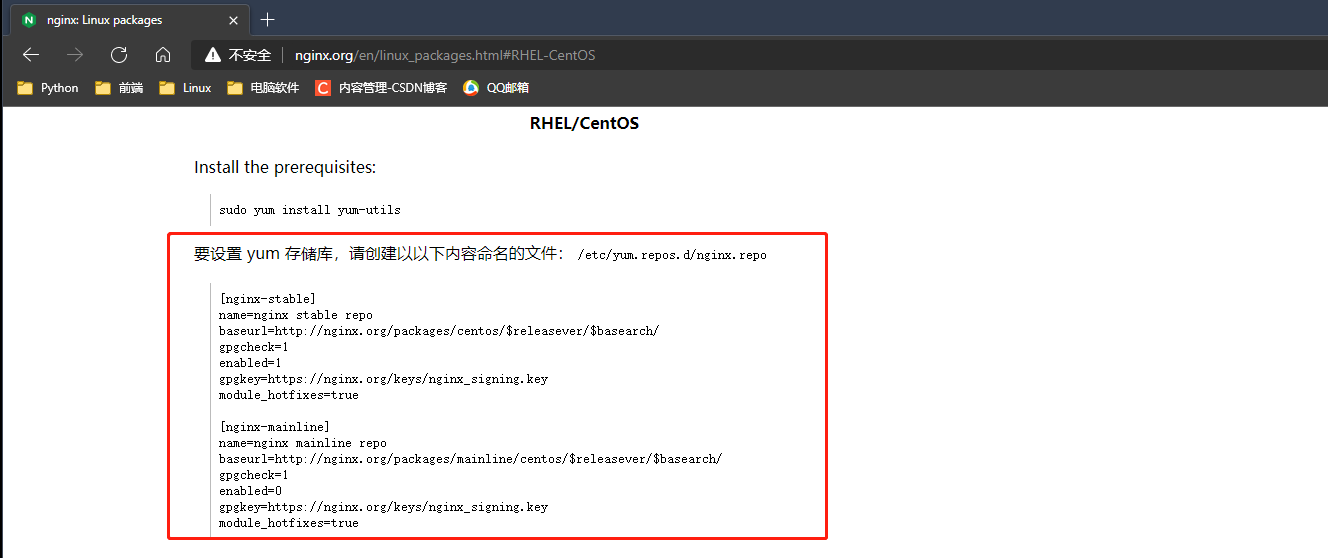
# 1.建一个yum源
[root@web01 ~]# vi /etc/yum.repos.d/nginx.repo
[nginx-stable]
name=nginx stable repo
baseurl=http://nginx.org/packages/centos/$releasever/$basearch/
gpgcheck=1
enabled=1
gpgkey=https://nginx.org/keys/nginx_signing.key
module_hotfixes=true

[nginx-mainline]
name=nginx mainline repo
baseurl=http://nginx.org/packages/mainline/centos/$releasever/$basearch/
gpgcheck=1
enabled=0
gpgkey=https://nginx.org/keys/nginx_signing.key
module_hotfixes=true
:wq
# 2.安装
[root@web01 ~]# yum install -y nginx
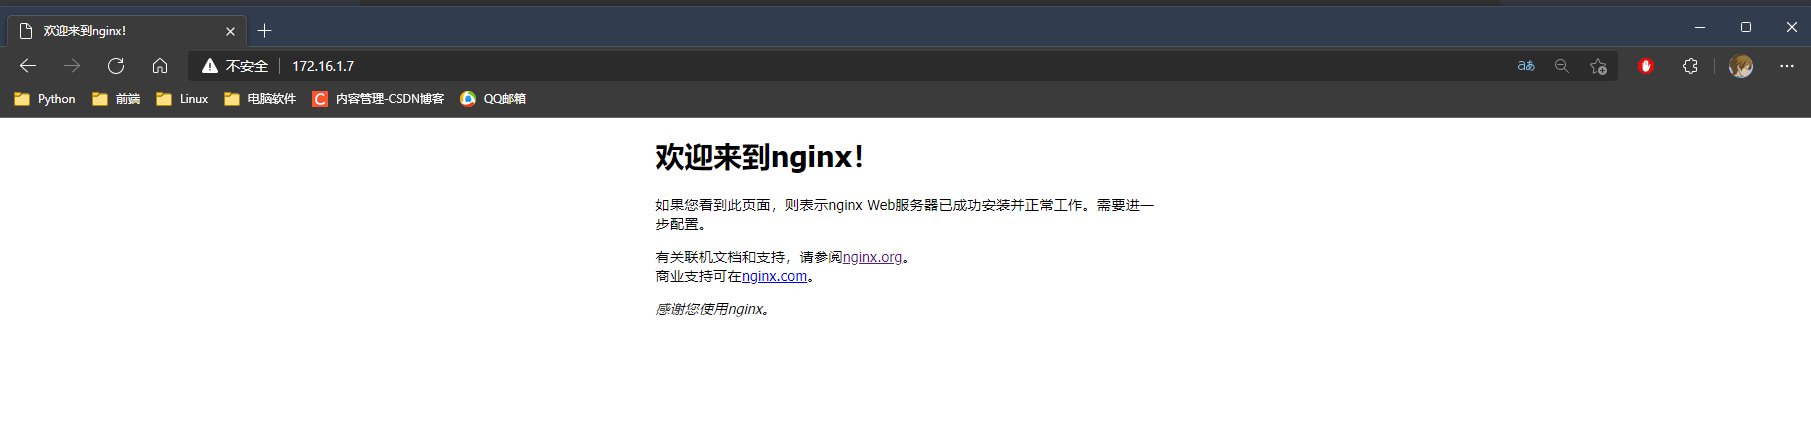
# 3.启动
[root@web01 ~]# systemctl start nginx
# 遇到问题
"""
Job for nginx.service failed because the control process exited with error code. See "systemctl status nginx.service" and "journalctl -xe" for details.
nginx的工作。服务失败,因为控制进程已退出,错误代码为。有关详细信息,请参阅“systemctl status nginx.service”和“journalctl-xe”。

重启web01主机在启动就成功了

只要是我电脑还启动了httpd的服务把它关闭就行了.
"""
systemctl stop httpd
# -V参数 查看所有安卓的模块
[root@web01 ~]# nginx -V
nginx version: nginx/1.20.2
built by gcc 4.8.5 20150623 (Red Hat 4.8.5-44) (GCC)
built with OpenSSL 1.0.2k-fips  26 Jan 2017
TLS SNI support enabled
configure arguments: --prefix=/etc/nginx --sbin-path=/usr/sbin/nginx --modules-path=/usr/lib64/nginx/modules --conf-path=/etc/nginx/nginx.conf --error-log-path=/var/log/nginx/error.log --http-log-path=/var/log/nginx/access.log --pid-path=/var/run/nginx.pid --lock-path=/var/run/nginx.lock --http-client-body-temp-path=/var/cache/nginx/client_temp --http-proxy-temp-path=/var/cache/nginx/proxy_temp --http-fastcgi-temp-path=/var/cache/nginx/fastcgi_temp --http-uwsgi-temp-path=/var/cache/nginx/uwsgi_temp --http-scgi-temp-path=/var/cache/nginx/scgi_temp --user=nginx --group=nginx --with-compat --with-file-aio --with-threads --with-http_addition_module --with-http_auth_request_module --with-http_dav_module --with-http_flv_module --with-http_gunzip_module --with-http_gzip_static_module --with-http_mp4_module --with-http_random_index_module --with-http_realip_module --with-http_secure_link_module --with-http_slice_module --with-http_ssl_module --with-http_stub_status_module --with-http_sub_module --with-http_v2_module --with-mail --with-mail_ssl_module --with-stream --with-stream_realip_module --with-stream_ssl_module --with-stream_ssl_preread_module --with-cc-opt='-O2 -g -pipe -Wall -Wp,-D_FORTIFY_SOURCE=2 -fexceptions -fstack-protector-strong --param=ssp-buffer-size=4 -grecord-gcc-switches -m64 -mtune=generic -fPIC' --with-ld-opt='-Wl,-z,relro -Wl,-z,now -pie'
2.2编译安装
需要使用编译方式安装,在web02主机中安装.
0.下载软件包到liunx中
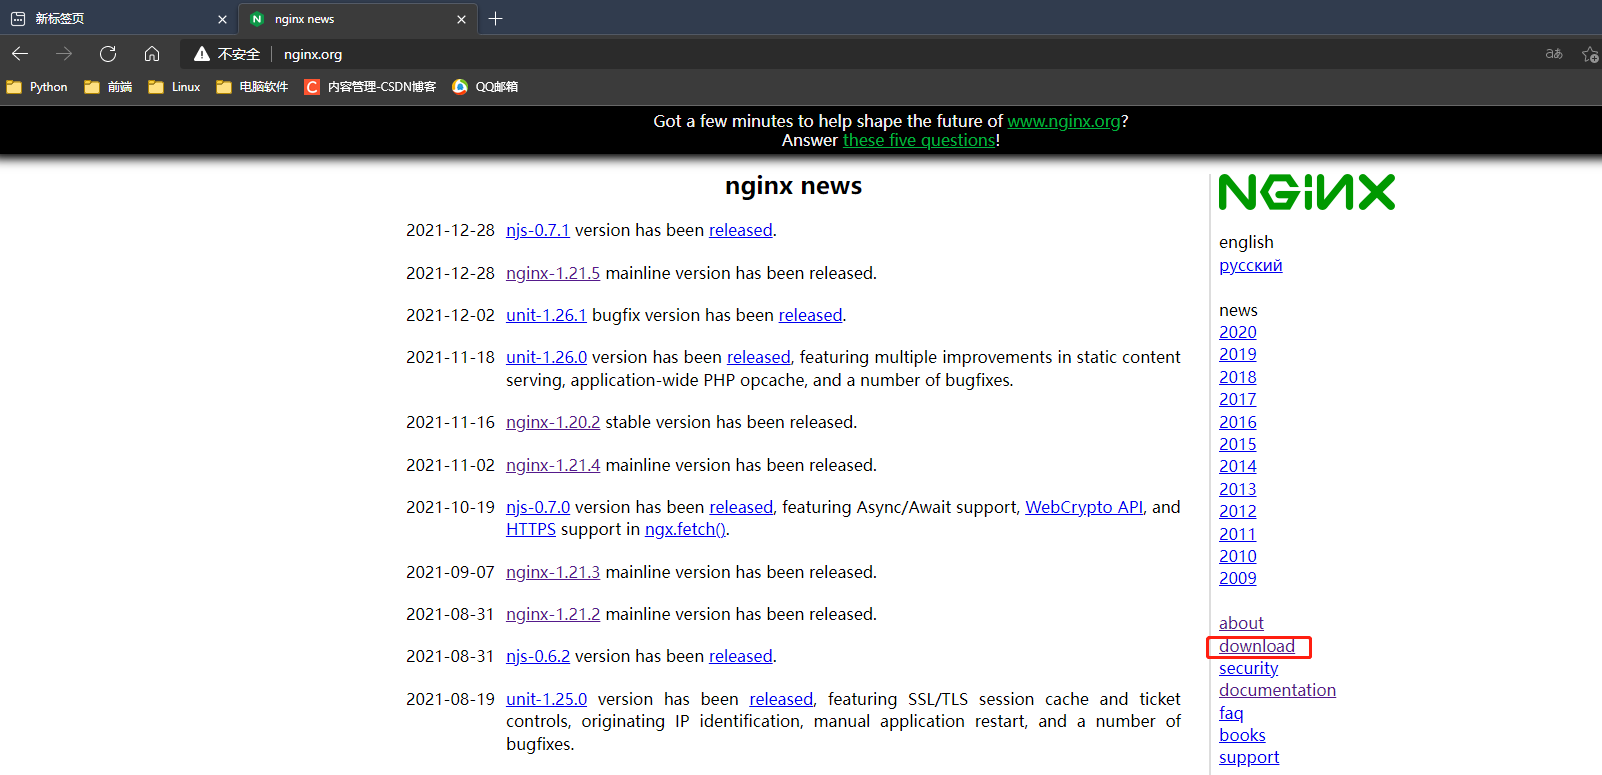
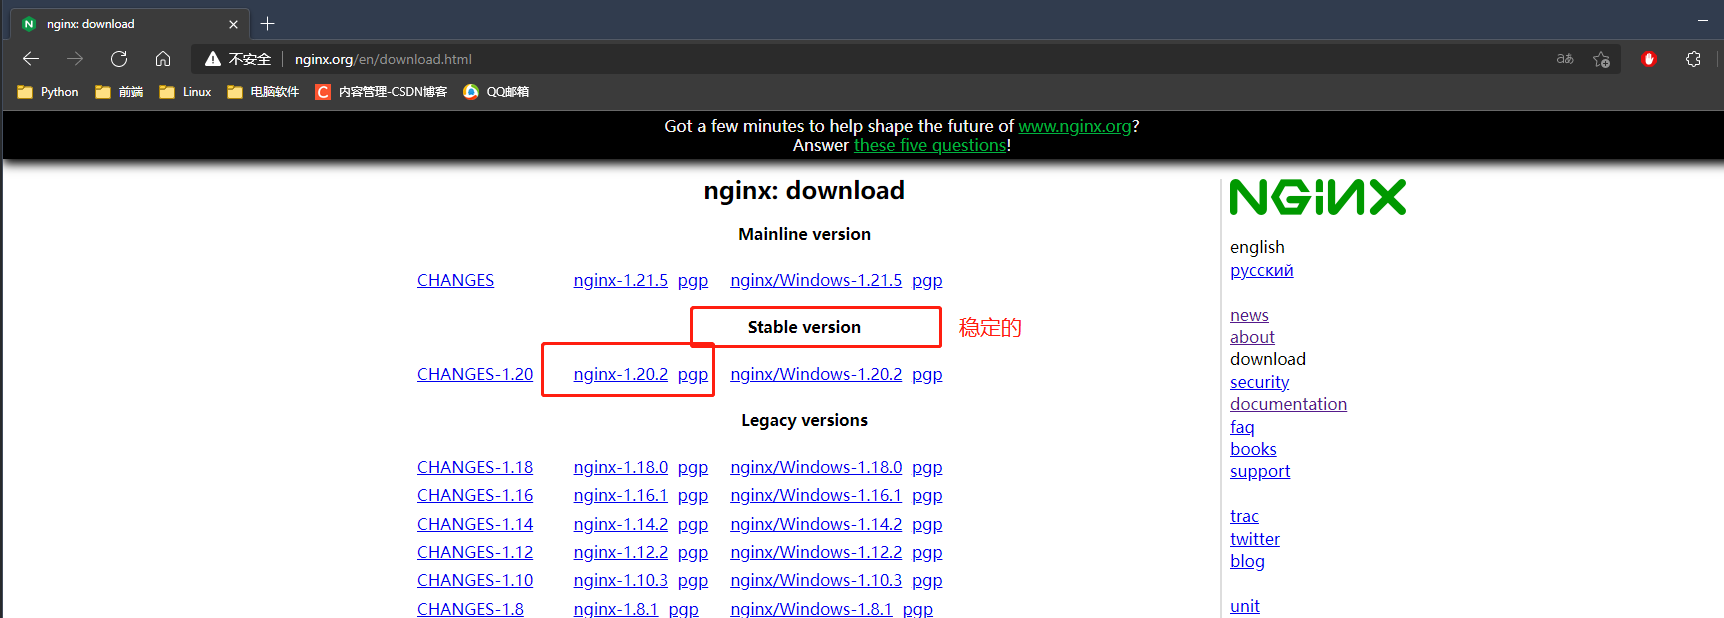
# 1.或者直接 wget 下载
[root@web02 ~]#  wget https://nginx.org/download/nginx-1.20.2.tar.gz
# 2.解压
[root@web02 ~]# tar -xf nginx-1.20.2.tar.gz
# 3.生成配置文件
[root@web02 ~]# cd nginx-1.20.2
[root@web02 nginx-1.20.2]# ./configure
# 4.编译
[root@web02 nginx-1.20.2]# make
# 5.编译安装
[root@web02 nginx-1.20.2]# make install
# 无法使用 nginx -V 命令,没有条件到环境变量中去,手动切换nginx目录去执行代码
[root@web02 nginx-1.20.2]# cd /usr/local/nginx/
[root@web02 nginx]# ll
total 0
drwxr-xr-x 2 root root 333 Jan  5 12:21 conf
drwxr-xr-x 2 root root  40 Jan  5 12:21 html
drwxr-xr-x 2 root root   6 Jan  5 12:21 logs
drwxr-xr-x 2 root root  36 Jan  5 12:21 sbin
# 可执行文件在sbin 下
#执行nginx -V 查看模块 一个模块都没有
[root@web02 nginx]# sbin/nginx -V
nginx version: nginx/1.20.2
built by gcc 4.8.5 20150623 (Red Hat 4.8.5-44) (GCC)
2.3平滑增加Nginx模块
以下是平滑增加Nginx模块,自定义安装模块,增加模块必须重新编译.
# 1.切换路径 删除编译过的目录
[root@web02 ~]# rm -rf nginx-1.20.2
# 2.重新解压
[root@web02 ~]# tar -xf nginx-1.20.2.tar.gz
# 3.切换路径
[root@web02 ~]# cd nginx-1.20.2
# 4. 生成配置文件 加上设置模块的参数  with-http_ssl_module http ssl 证书模块
[root@web02 nginx-1.20.2]# ./configure --with-http_ssl_module
...提示错误 需要OpenSSL library
./configure: error: SSL modules require the OpenSSL library.
...
# 5.按错误提示先按照这个库 在重新生成配置文件 ↑
[root@web02 nginx-1.20.2]# yum install -y openssl openssl-devel
# 6.编译
[root@web02 nginx-1.20.2]# make
# 7.编译安装
[root@web02 nginx-1.20.2]#  make install
# 8.查看模块
[root@web02 nginx-1.20.2]# /usr/local/nginx/sbin/nginx -V
nginx version: nginx/1.20.2
built by gcc 4.8.5 20150623 (Red Hat 4.8.5-44) (GCC)
built with OpenSSL 1.0.2k-fips  26 Jan 2017
TLS SNI support enabled
configure arguments: --with-http_ssl_module
2.4添加环境变量
通过编译安装需要执行nginx的命令需要到/usr/local/nginx/sbin/中去执行对应的命令
把这个目录添加到环境变量中去
# 1.编辑profile文件
[root@web02 ~]# vi /etc/profile
# 在最后一行添加配置,
PATH=$PATH:/usr/local/nginx/sbin
export PATH
:wq
# 2.使配置立即生效
source /etc/profile
# 3.测试
[root@web02 ~]# nginx -v
nginx version: nginx/1.20.2
3.Nginx的命令
3.1显示版本
-v 打印版本号
[root@web01 ~]# nginx -v
nginx version: nginx/1.20.2
3.2版本及配置
-V 打印版本号和配置项
[root@web02 ~]# nginx -V
nginx version: nginx/1.20.2
built by gcc 4.8.5 20150623 (Red Hat 4.8.5-44) (GCC)
built with OpenSSL 1.0.2k-fips  26 Jan 2017
TLS SNI support enabled
configure arguments: --prefix=/etc/nginx
3.3配置文件
-t   检查配置文件
-T   测试配置文件并启动
[root@web02 ~]# nginx -t
nginx: the configuration file /usr/local/nginx/conf/nginx.conf syntax is ok
nginx: configuration file /usr/local/nginx/conf/nginx.conf test is successful
3.4错误日志
-q   打印错误日志
-e   指定错误日志路径
[root@web02 ~]# nginx -q
# 现在还没有
3.5操作进程
-s   操作进程
	stop	:停止
	quit	:退出
	reopen	:重启
	reload	:重载
3.6工作目录
-p   指定nginx的工作目录
-c   指定配置文件的路径
3.7配置项
-g 设置一个全局的Nginx配置项
4.nginx配置文件
分:全局配置 和 模块配置(括号内的配置)
配置文件的路径
/etc/nginx/nginx.conf
4.1启动用户
user 指定Nginx的启动用户
# 1.修改用户
[root@web01 ~]# vi /etc/nginx/nginx.conf
user: www;
# 2.重启
[root@web01 ~]# systemctl restart nginx
4.2进程数
[root@web01 ~]# ps -ef | grep nginx
root       1574      1  0 13:37 ?        00:00:00 nginx: master process /usr/sbin/nginx -c /etc/nginx/nginx.conf
www        1575   1574  0 13:37 ?        00:00:00 nginx: worker process
root       1585   1504  0 13:40 pts/0    00:00:00 grep --color=auto nginx
worker_processes  定义Nginx的worker进程数
参数默认为 auto    CPU的数量个进程
worker_processes 10; # 开启10个进程
4.3错误日志路径
error_log 错误日志路径
4.4pid存放路径
pid --> 进程号
pid  pid的存放文件路径
4.5模块配置
events  事件  模块配置
{
worker_connections  每一个worker进程最多同时接入多少个请求;
use  指定Nginx的网络模型;
}
4.6web服务的模块
http {
# web服务的模块
}
1. include        加载外部的配置项
2. default_type   如果找不到文件的类型,则按照指定默认类型处理
3. log_format     定义日志格式
4. sendfile            高效读取文件
5. keepalive_timeout   长连接保持连接的
    HTTP 1.0           短链接
    HTTP 1.1           长连接
6. server              网址模块
	6.1 listen        监听的端口
    6.2 server_name   定义域名
    6.3 location      访问路径
    6.4 root          指定网址路径
    6.5 index         指定网址的索引文件
5.超级玛丽游戏搭
# 1.创建目录
[root@web01 ~]# mkdir /opt/Super_Marie
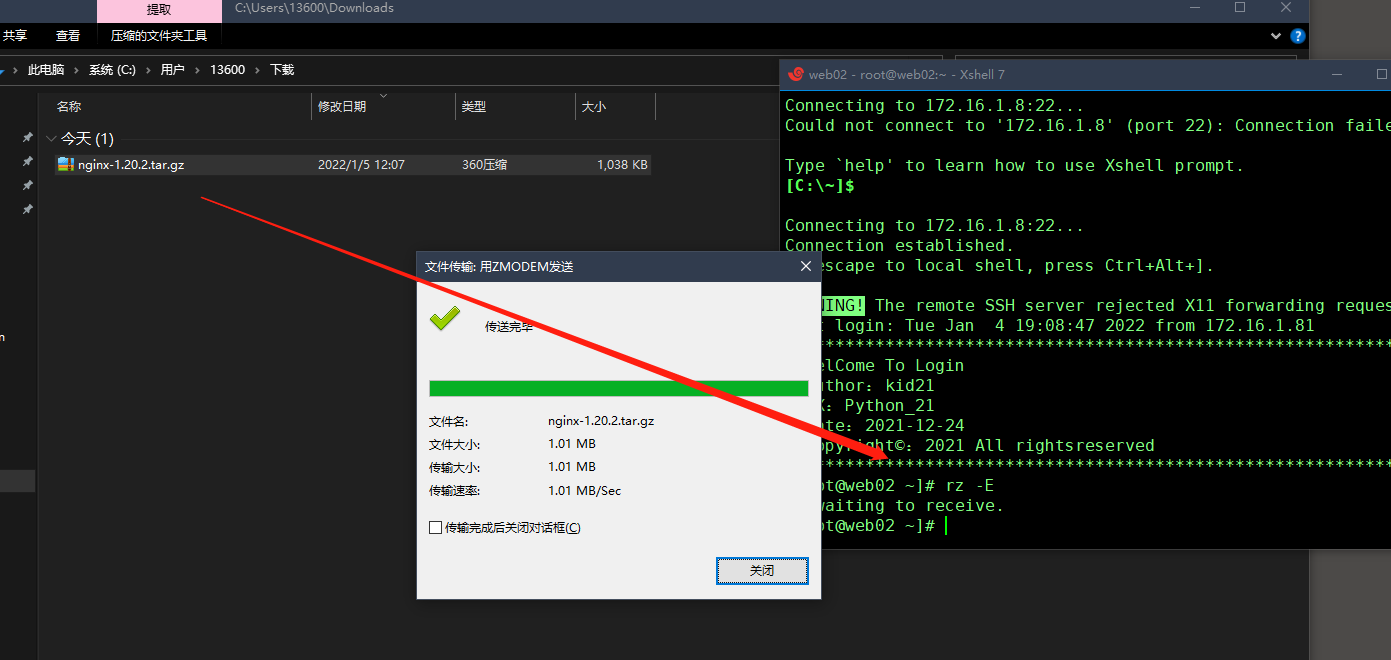
# 2.在电脑上解压后,上传代码,另一种方案是把压缩拖进去在解压,看下面的象棋搭建使用
# 需要借助 lrzsz 工具才能拖动
[root@web01 ~]# yum install -t lrzsz
[root@web01 Super_Marie]# rz -E
rz waiting to receive.
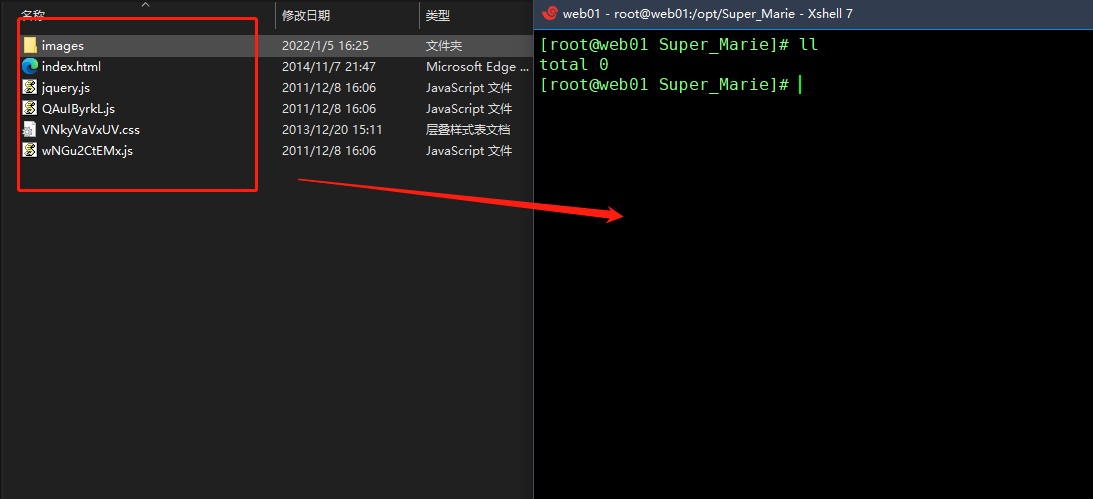
[root@web01 Super_Marie]# ll
total 176
-rw-r--r-- 1 root root 1703 Nov 7 2014 index.html
-rw-r--r-- 1 root root 72326 Dec 8 2011 jquery.js
-rw-r--r-- 1 root root 78982 Dec 8 2011 QAuIByrkL.js
-rw-r--r-- 1 root root 4777 Dec 20 2013 VNkyVaVxUV.css
-rw-r--r-- 1 root root 9539 Dec 8 2011 wNGu2CtEMx.js
# 文件夹没法拖进来
[root@web01 Super_Marie]# mkdir images
[root@web01 Super_Marie]# cd images
# windows 电脑打开images 把图片拖打牌 linux的 images目录中去
# 4.配置文件
[root@web01 html5-mario]# cd /etc/nginx/conf.d
# 前面名字无所谓,必须是.conf结尾
[root@web01 conf.d]# vi game.conf
server {
    listen 80;
    server_name game.com;  # 必须通过这个网站去登入才有效
    location / {
        root /opt/Super_Marie/;  # 代码的路径
        index index.html;   # 启动脚本
    }
}
:wq
# 5.测试配置文件是否正常
[root@web01 conf.d]# nginx -t
nginx: the configuration file /etc/nginx/nginx.conf syntax is ok
nginx: configuration file /etc/nginx/nginx.conf test is successful
# 6.重启Nginx
[root@web01 conf.d]# systemctl restart nginx
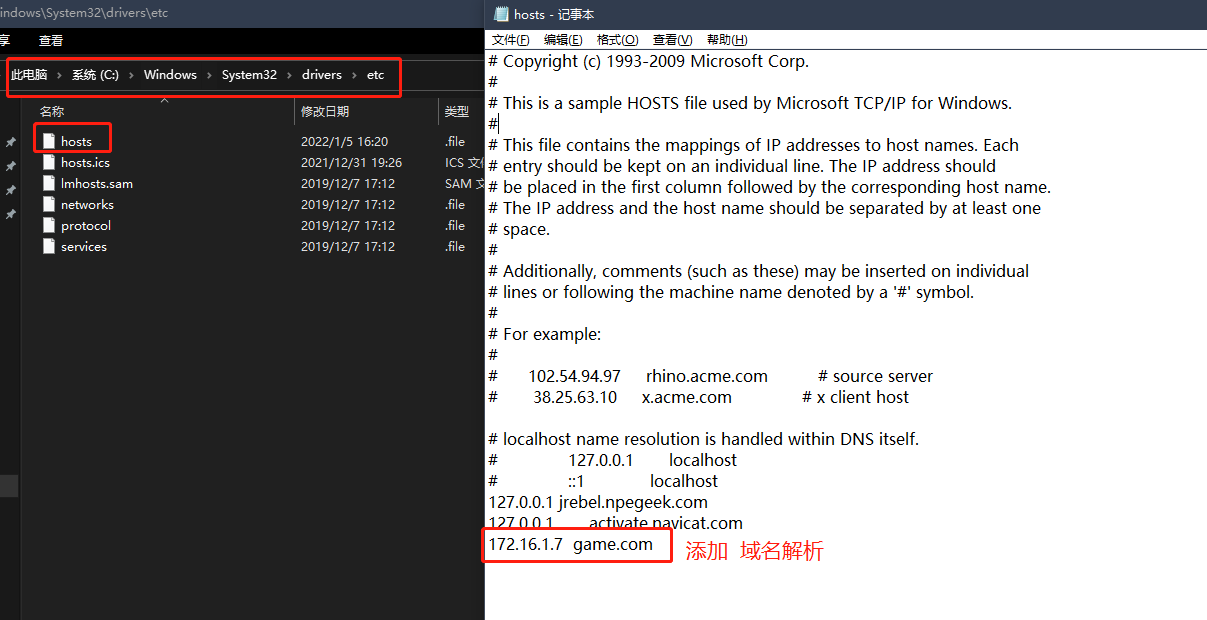
# 7.域名解析 windows 电脑上修改
C:\Windows\System32\drivers\etc\hosts
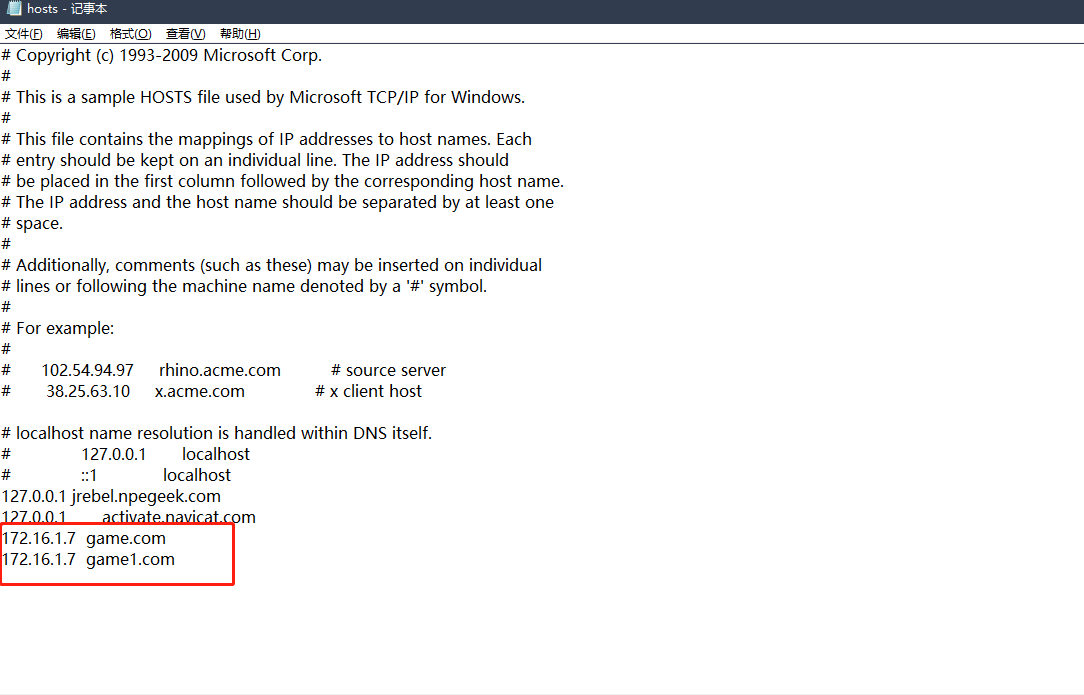
172.16.1.7 game.com
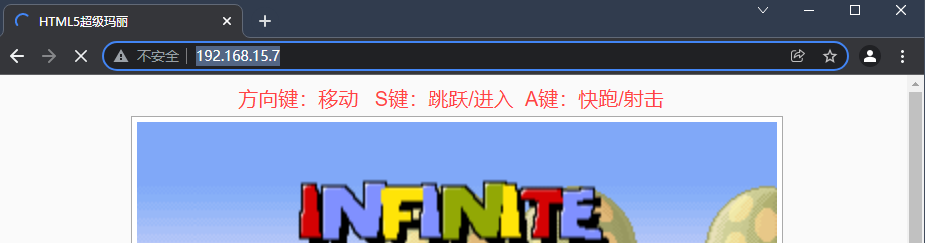
# 8.浏览器测试
game.com
可以玩了--->

* 输入 172.16.1.7 是不行的哦
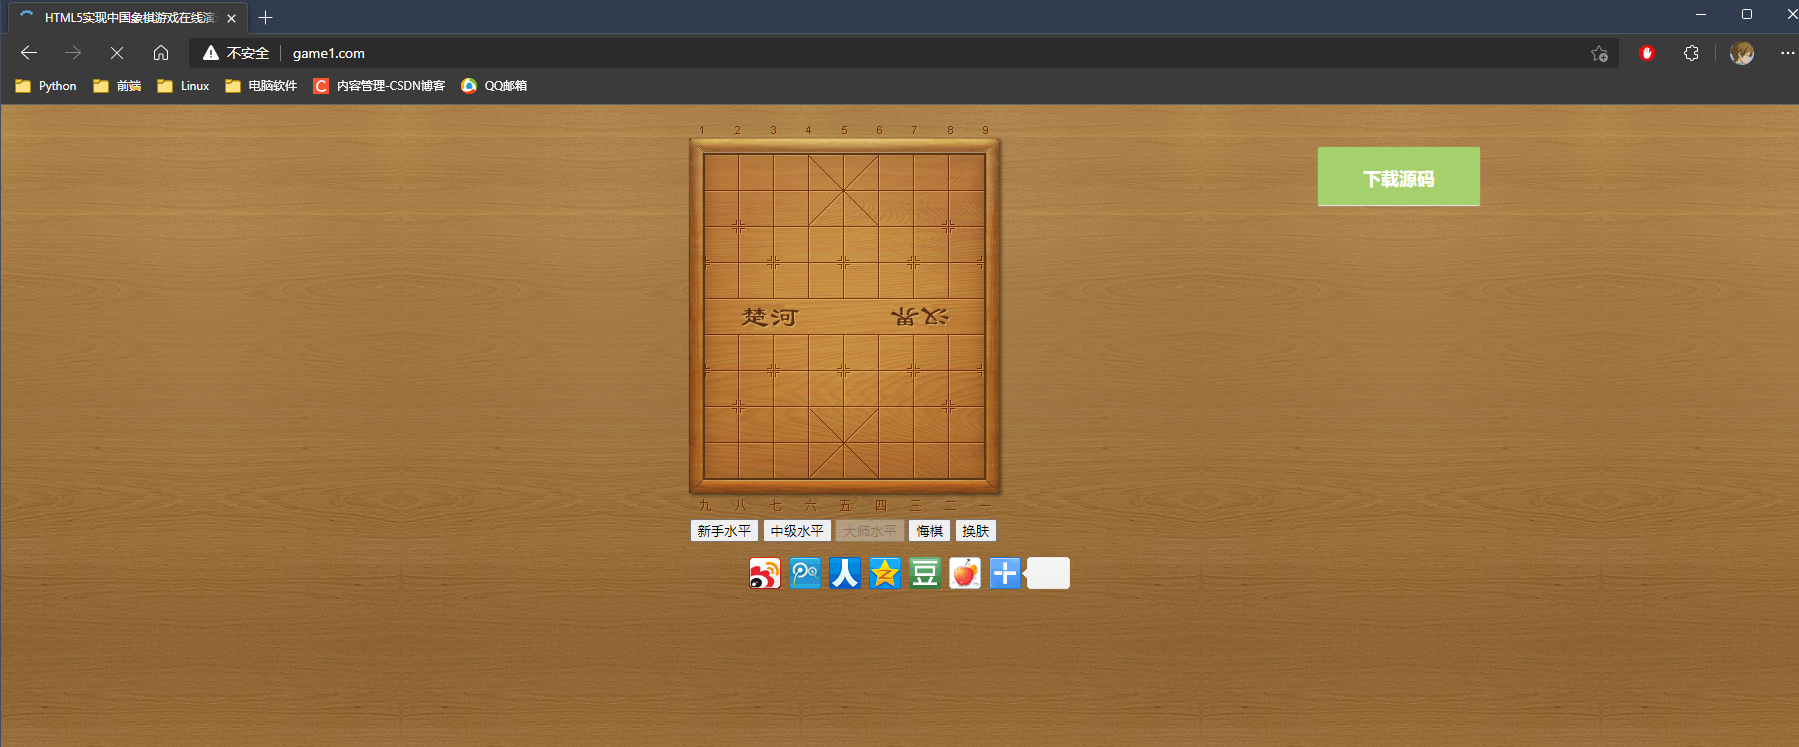
6.象棋搭建戏搭
# 1.创建目录
[root@web01 ~]# mkdir /opt/Chinese_chess
# 2.在电脑上解压后,上传代码
# 需要借助 lrzsz 工具才能拖动
[root@web01 ~]# yum install -t lrzsz
# 切换路径
[root@web01 ~]# /opt/Chinese_chess
[root@web01 Chinese_chess]# rz -E
...
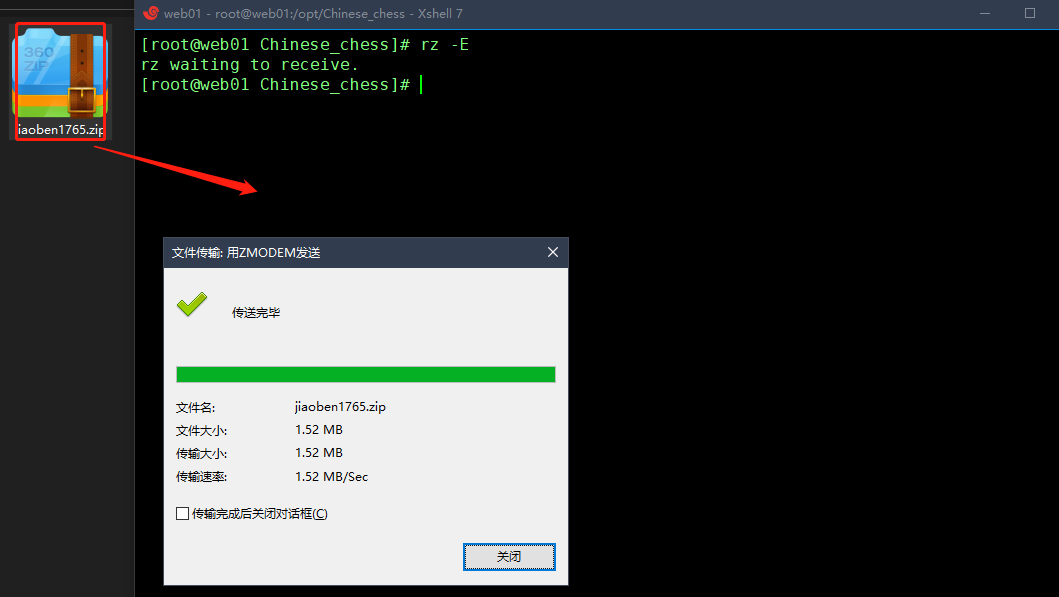
# 3.解压
[root@web01 Chinese_chess]# unzip jiaoben1765.zip
...
[root@web01 Chinese_chess]# ll
total 1568
drwxr-xr-x 5 root root      56 Jun 17  2014 jiaoben1765
-rw-r--r-- 1 root root 1603676 Dec 31 12:08 jiaoben1765.zip
# 4.配置文件
[root@web01 html5-mario]# cd /etc/nginx/conf.d
# 前面名字无所谓,必须是.conf结尾
[root@web01 conf.d]# vi game1.conf
server {
    listen 80;
    server_name game1.com;  # 必须通过这个网站去登入才有效
    location / {
        root /opt/Chinese_chess/jiaoben1765/;  # 代码的路径
        index index.html;   # 启动脚本
    }
}
:wq
# 5.测试配置文件是否正常
[root@web01 conf.d]# nginx -t
nginx: the configuration file /etc/nginx/nginx.conf syntax is ok
nginx: configuration file /etc/nginx/nginx.conf test is successful
# 6.重启Nginx
[root@web01 conf.d]# systemctl restart nginx
# 7.域名解析 windows 电脑上修改
C:\Windows\System32\drivers\etc\hosts
172.16.1.7  game1.com
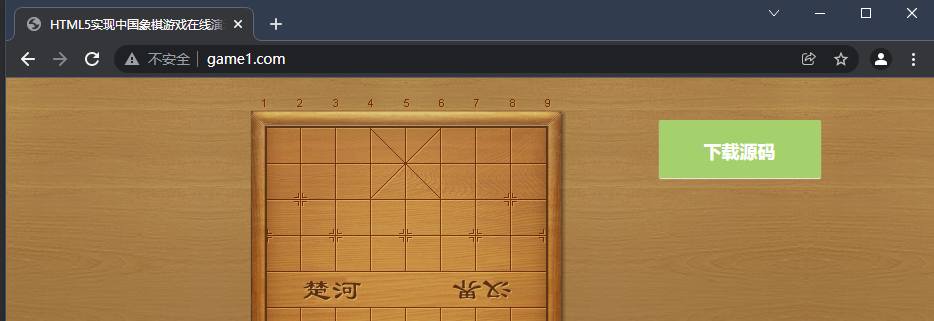
# 浏览器访问测试
game1.com
[root@web01 Chinese_chess]# cd jiaoben1765/
[root@web01 jiaoben1765]# ll
total 4
drwxr-xr-x 2 root root   22 Jun 17  2014 css
drwxr-xr-x 4 root root   36 Jun 17  2014 img
-rw-r--r-- 1 root root 3266 Mar 21  2018 index.html
drwxr-xr-x 2 root root  120 Jun 17  2014 js
[root@web01 jiaoben1765]# mv ./* ./..
# 将压缩包的文件移动到Chinese_chess目录中
7.Nginx虚拟主机
1.基于多IP的方式
2.基于多端口的方式
3.基于多域名的方式
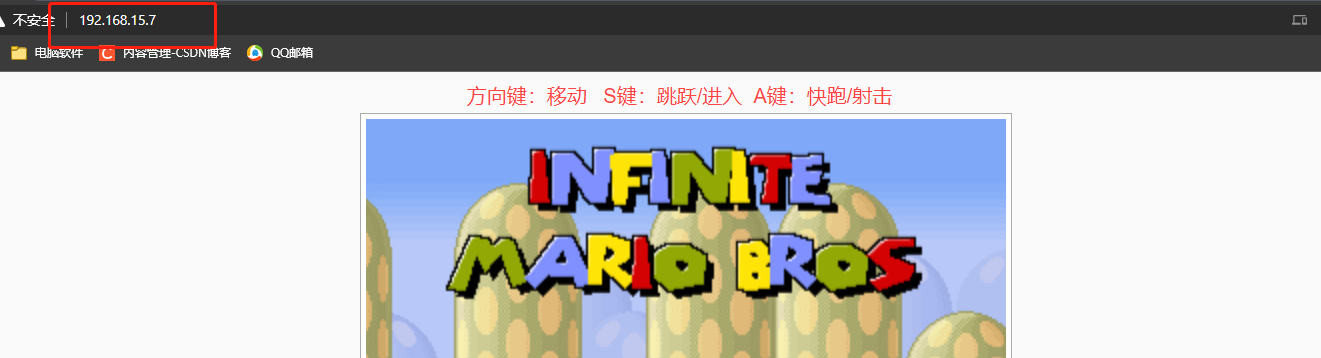
7.1基于多ip
# 1.设置多个ip
[root@web01 ~]# vi /etc/nginx/conf.d/all_game.conf

server {
    listen 80;
    server_name 196.168.15.7;
    location / {
        root /opt/Super_Marie/;
        index index.html;
    }
}
server {
    listen 80;
    server_name 172.16.1.7;
    location / {
        root /opt/Chinese_chess/;
        index index.html;
    }
}
:wq
# 2.测试配置文件是否正常
[root@web01 conf.d]# nginx -t
# 3.重启Nginx
[root@web01 conf.d]# systemctl restart nginx
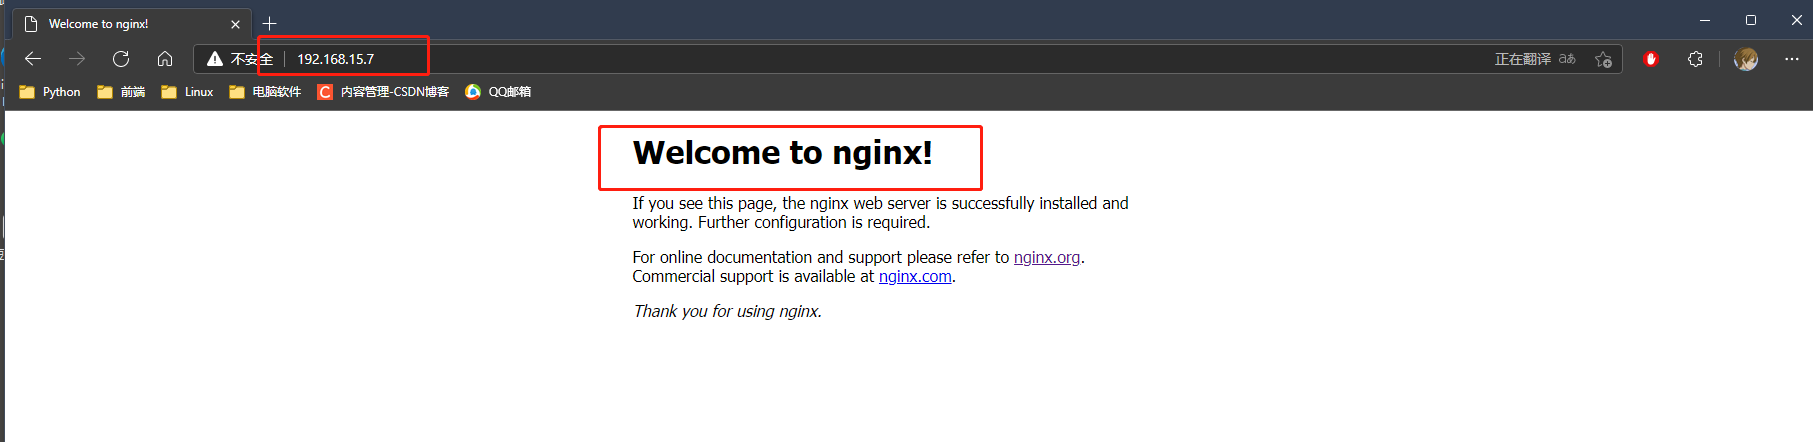
http://192.168.15.7/
192.168.15.7 一下行一会不行的...我都测无语了
http://172.16.1.7/


7.2基于多端口
# 1.设置多个端口,一帮在本地使用
[root@web01 ~]# vi /etc/nginx/conf.d/all_game.conf
server {
    listen 81;
    server_name 192.168.15.7;
    location / {
        root /opt/Super_Marie/;
        index index.html;
    }
}
server {
    listen 82;
    server_name 192.168.15.7;
    location / {
        root /opt/Chinese_chess/;
        index index.html;
    }
}
# 2.测试配置文件是否正常
[root@web01 conf.d]# nginx -t
# 3.重启Nginx
[root@web01 conf.d]# systemctl restart nginx
http://192.168.15.7:80/ 默认的
http://192.168.15.7:81/

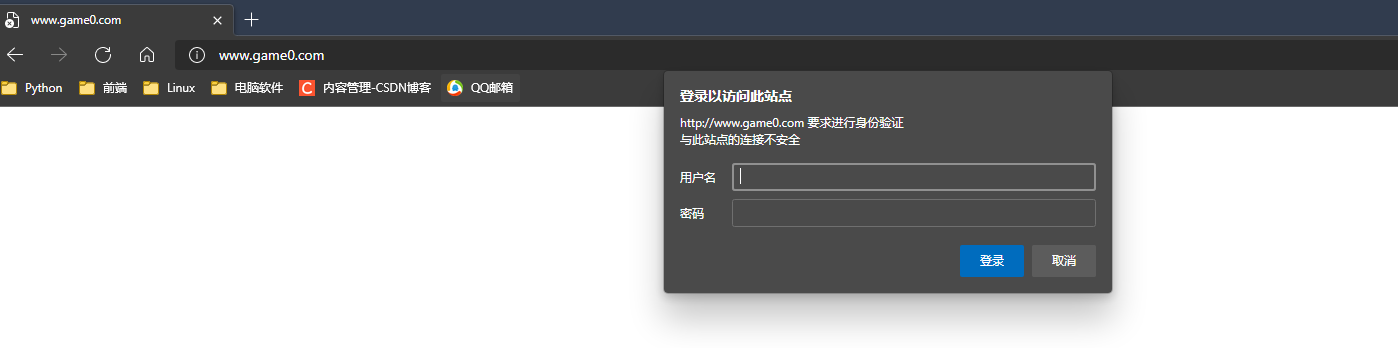
7.3多域名
[root@web01 conf.d]# vi /etc/nginx/conf.d/all_game.conf
server {
    listen 80;
    server_name www.game0.com;
    location / {
        root /opt/Super_Marie/;
        index index.html;
    }
}
server {
    listen 80;
    server_name www.game1.com;
    location / {
        root /opt/Chinese_chess/;
        index index.html;
    }
}
# 2.测试配置文件是否正常
[root@web01 conf.d]# nginx -t
# 3.重启Nginx
[root@web01 conf.d]# systemctl restart nginx
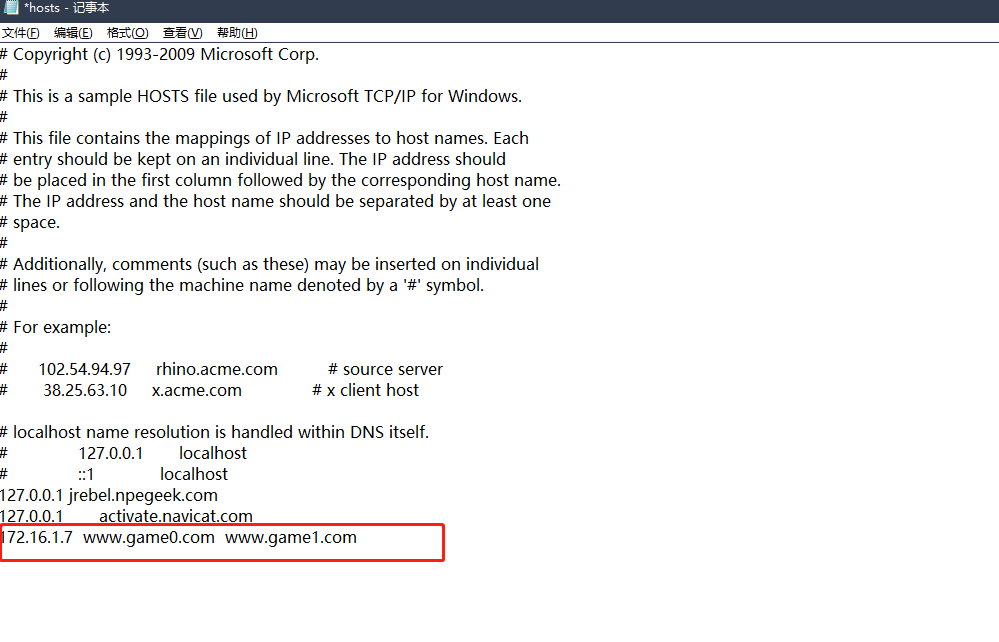
# 4.域名解析 windows 电脑上修改
C:\Windows\System32\drivers\etc\hosts
172.16.1.7  www.game0.com  www.game1.com

# 解析多个域名
 4
4
http://www.game0.com/
http://www.game1.com/

8.Nginx日志
通过日志来分析网站状态码是500的比例,5**的状态码服务器错误,
服务器在处理请求的过程中发生了错误,网站的访问来源,网站排错等.
错误日志路径,有错误的任何情况,先查看错误日志
/var/log//nginx/error.log
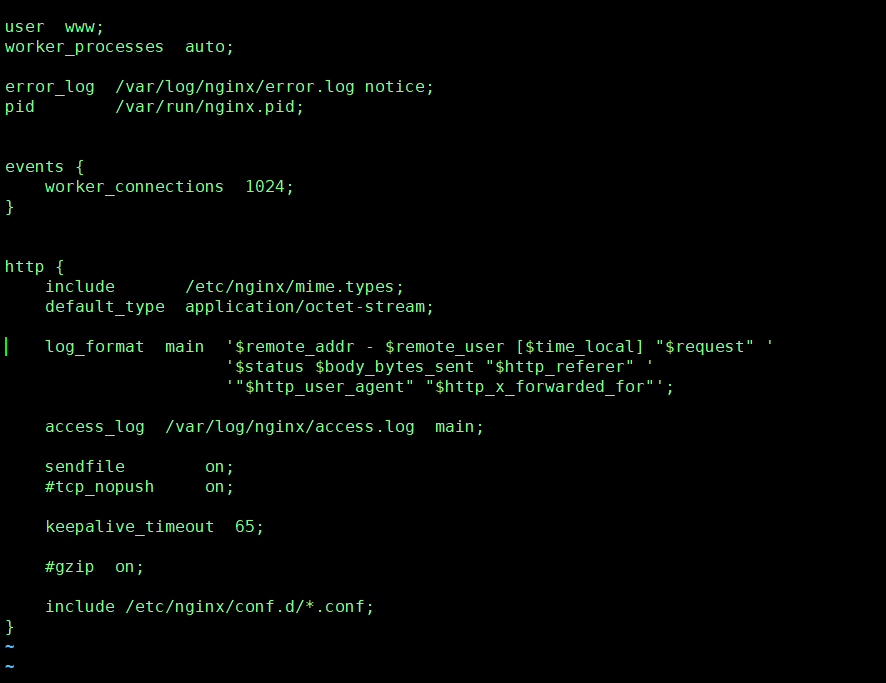
log_format  main   日志默认格式
'$remote_addr - $remote_user [$time_local] "$request" '
'$status $body_bytes_sent "$http_referer" '
'"$http_user_agent" "$http_x_forwarded_for"';
在 /etc/nginx/nginx.conf 配置错误日志的路径 和 格式
$remote_addr    客户端IP
remote_user     "-" 登入的用户
time_local      时间
request         访问类型 路径 http版本
status          访问状态
body_bytes_sent 访问文件的字节数
http_referer    域名
http_user_agent 浏览器标识
$http_x_forwarded_for  : 真实的客户端IP(在反向代理中生效)
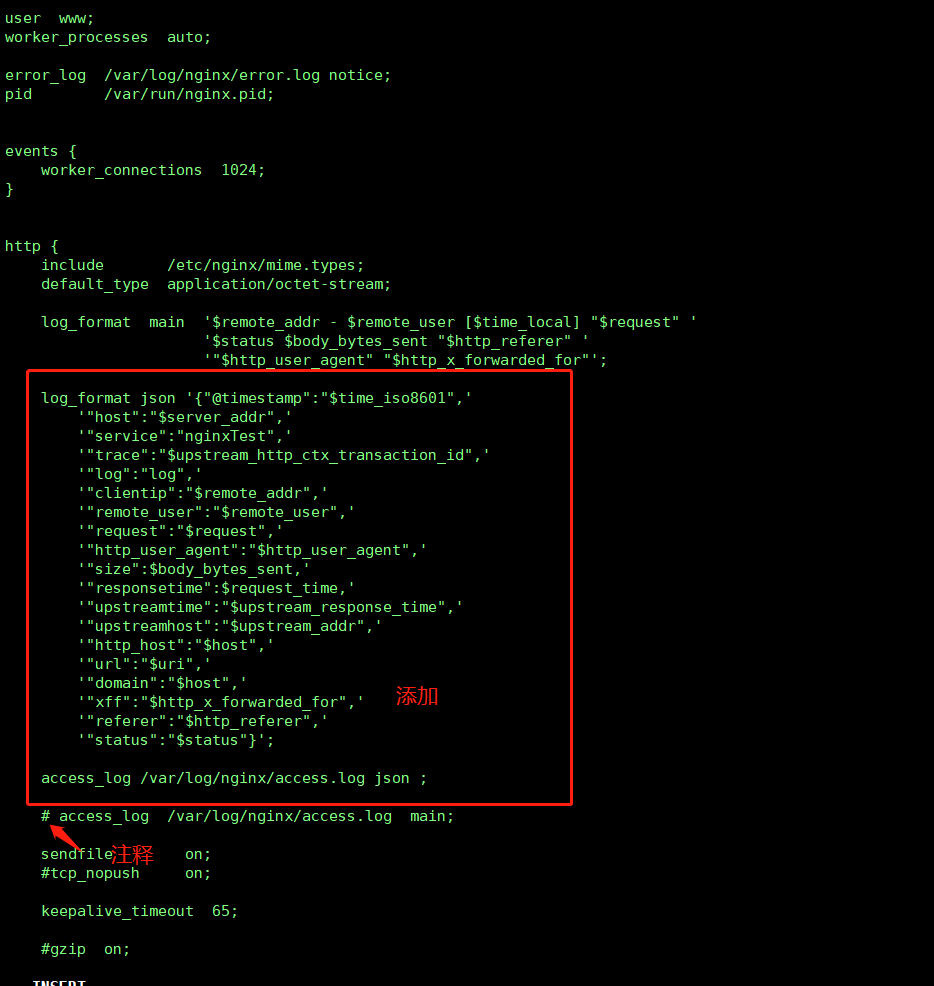
# json格式的日志
	log_format json '{"@timestamp":"$time_iso8601",'
        '"host":"$server_addr",'
        '"service":"nginxTest",'
        '"trace":"$upstream_http_ctx_transaction_id",'
        '"log":"log",'
        '"clientip":"$remote_addr",'
        '"remote_user":"$remote_user",'
        '"request":"$request",'
        '"http_user_agent":"$http_user_agent",'
        '"size":$body_bytes_sent,'
        '"responsetime":$request_time,'
        '"upstreamtime":"$upstream_response_time",'
        '"upstreamhost":"$upstream_addr",'
        '"http_host":"$host",'
        '"url":"$uri",'
        '"domain":"$host",'
        '"xff":"$http_x_forwarded_for",'
        '"referer":"$http_referer",'
        '"status":"$status"}';
    access_log /var/log/nginx/access.log json ;
    # 注释默认的格式
    # access_log /var/log/nginx/access.log main ;
vi /etc/nginx/nginx.conf
添加上面的json格式日志


{"@timestamp":"2022-01-06T10:49:48+08:00","host":"192.168.15.7","service":"nginxTest","trace":"-","log":"log","clientip":"192.168.15.7","remote_user":"-","request":"GET / HTTP/1.0","http_user_agent":"ApacheBench/2.3","size":1703,"responsetime":0.000,"upstreamtime":"-","upstreamhost":"-","http_host":"192.168.15.7","url":"/index.html","domain":"192.168.15.7","xff":"-","referer":"-","status":"200"}
产生的日志在 /var/log/nginx/access.log
9.访问控制模块
9.1访问模块
ngx_http_access_module 模块 (yum安装默认, -V参数看不到)
有两个配置项(允许或者拒绝某些IP访问)
deny	拒绝
allow	允许
1.案例1
允许192.168.15.1访问,不允许其他IP访问
没设置前可以访问


# 1.编辑配置文件
[root@web01 conf.d]# vi /etc/nginx/conf.d/all_game.conf
从上往下匹配,值匹配一个
allow 192.168.15.1;  允许
deny all; 拒绝所有
server {
    listen 80;
    server_name www.game0.com;
    allow 192.168.15.1;
    deny all;
    location / {
        root /opt/Super_Marie/;
        index index.html;
    }
}
# 2.测试配置文件是否正常
[root@web01 conf.d]# nginx -t
# 3.重启Nginx
[root@web01 conf.d]# systemctl restart nginx
再次访问就被拒绝了

# 另一种访问方式
[root@web01 nginx]# curl -H'HOST: www.game0.com' -I 172.16.1.7
HTTP/1.1 403 Forbidden
2.案例2
允许192.168.15.0这个网段访问,不允许其他网段访问
# 1.编辑配置文件
[root@web01 conf.d]# vi /etc/nginx/conf.d/all_game.conf
allow 192.168.15.0/24;
deny all;
server {
    listen 80;
    server_name www.game0.com;
    allow 192.168.15.0/24;
    deny all;
    location / {
        root /opt/Super_Marie/;
        index index.html;
    }
}
# 2.测试配置文件是否正常
[root@web01 conf.d]# nginx -t
# 3.重启Nginx
[root@web01 conf.d]# systemctl restart nginx
4.测试
192.168.15.xxx的网段正常访问
172.15.1.xxx的网段无法访问

[root@web01 nginx]#  curl -H'HOST: www.game0.com' -I 172.16.1.7
HTTP/1.1 403 Forbidden
[root@web01 nginx]# curl -H'HOST: www.game0.com' -I 192.168.15.7
HTTP/1.1 200 OK
3.案例3
只允许通过VPN来访问
allow 172.16.1.81;  # 通过跳板机m01就行访问
deny all;
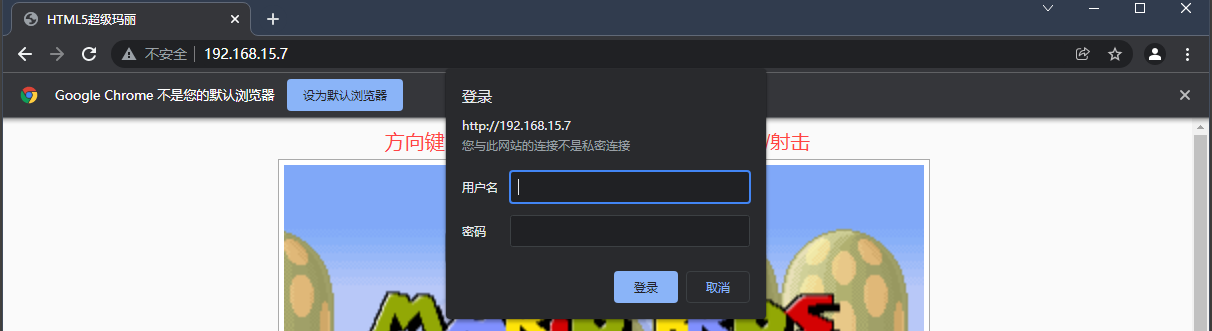
9.2认证模块
ngx_http_auth_basic_module (yum安装默认自带的)
访问之前需要登录
# 1.安装httpd-tools
[root@web01 ~]# yum install httpd-tools -y
# 2.生成用户名密码文件        存放的位置       用户名
[root@web01 nginx]# htpasswd -c /etc/nginx/auth kid
New password: 123
Re-type new password: 123
Adding password for user kid  # 成功
# 3.将文件路径加入Nginx配置
"""
auth_basic "Welcome To Login";
auth_basic_user_file /etc/nginx/auth;
"""
[root@web01 ~]# vim /etc/nginx/conf.d/all_game.conf
server {
    listen 80;
    auth_basic "Welcome To Login";
    auth_basic_user_file /etc/nginx/auth;
    server_name www.game0.com;
    location / {
        root /opt/Super_Marie/;
        index index.html;
    }
}
server {
    listen 80;
    auth_basic "Welcome To Login";
    auth_basic_user_file /etc/nginx/auth;
    server_name www.game1.com;
    location / {
        root /opt/Chinese_chess/;
        index index.html;
    }
}
# 4.测试配置文件是否正常
[root@web01 ~]# nginx -t
nginx: the configuration file /etc/nginx/nginx.conf syntax is ok
nginx: configuration file /etc/nginx/nginx.conf test is successful

# 5.重启Nginx
[root@web01 ~]# systemctl restart nginx
验证
http://www.game0.com/
提示输入账户密码,输入即可正常访问.

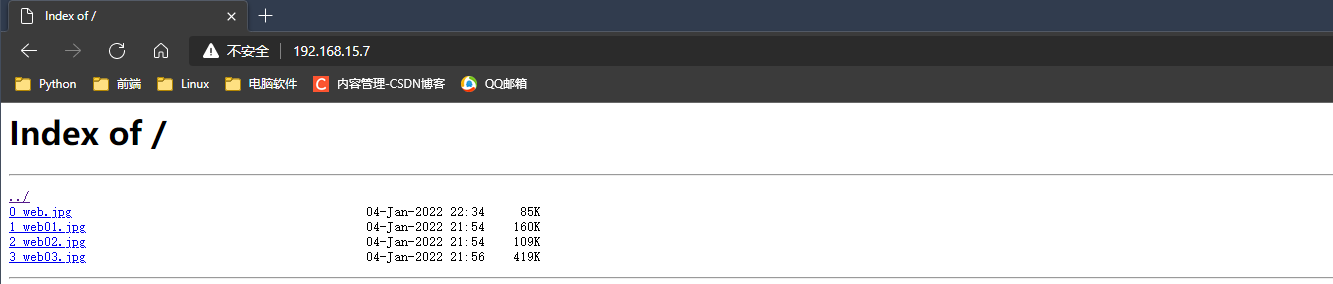
9.3目录索引
ngx_http_autoindex_module 模块展示目录索引。(yum安装默认自带)
# 0.建立一个可以访问的目录,在拖一点文件进去,不要在root下建立,可能没权限访问...
[root@web01 ~]# mkdir /my_data
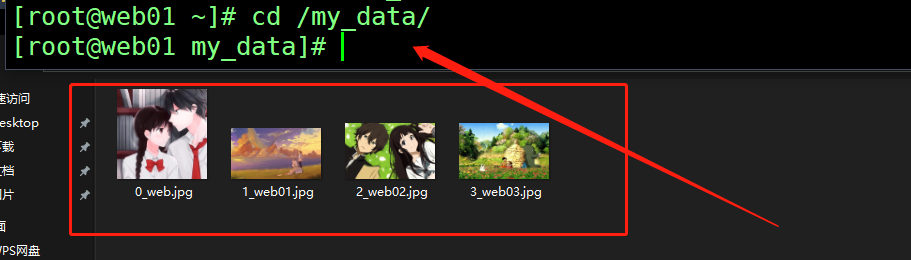
[root@web01 my_data]# ll
total 780
-rw-r--r-- 1 root root  87525 Jan  4 22:34 0_web.jpg
-rw-r--r-- 1 root root 163333 Jan  4 21:54 1_web01.jpg
-rw-r--r-- 1 root root 112092 Jan  4 21:54 2_web02.jpg
-rw-r--r-- 1 root root 428922 Jan  4 21:56 3_web03.jpg
# 修改权限
[root@web01 ~]# chown www.www -R /my_data
[root@web01 ~]# ll /my_data/
total 780
-rw-r--r-- 1 www www  87525 Jan  4 22:34 0_web.jpg
-rw-r--r-- 1 www www 163333 Jan  4 21:54 1_web01.jpg
-rw-r--r-- 1 www www 112092 Jan  4 21:54 2_web02.jpg
-rw-r--r-- 1 www www 428922 Jan  4 21:56 3_web03.jpg
# 1.编辑配置
vi /etc/nginx/conf.d/all_game.conf
on 开启, off 关闭
autoindex on;  目录索引
autoindex_exact_size on;  大小,默认是格式化的大小,现在是字节
autoindex_localtime on;    本地时间
autoindex_format html;     格式  支持 html xml json
server {
    listen 80;
    auth_basic "Welcome To Login";
    auth_basic_user_file /etc/nginx/auth;
    server_name 192.168.1.7;
    location / {
        root /my_data/;
        autoindex on;
        autoindex_exact_size on;
        autoindex_localtime on;
        autoindex_format html;
    }
}
# 4.测试配置文件是否正常
[root@web01 ~]# nginx -t
nginx: the configuration file /etc/nginx/nginx.conf syntax is ok
nginx: configuration file /etc/nginx/nginx.conf test is successful

# 5.重启Nginx
[root@web01 ~]# systemctl restart nginx
测试
http://192.168.15.7/ 缓存的问题还是显示超级玛丽.
输入用户名和密码

# 修改自定成格式化显示大小
autoindex_exact_size off;
10.状态监控模块
ngx_http_status_module 状态监控模块,几乎不会去使用.(yum安装自带)
[root@web01 ~]# vim /etc/nginx/conf.d/all_game.conf
server {
    listen 80;
    server_name 192.168.15.7;
    location / {
        stub_status;
    }
}
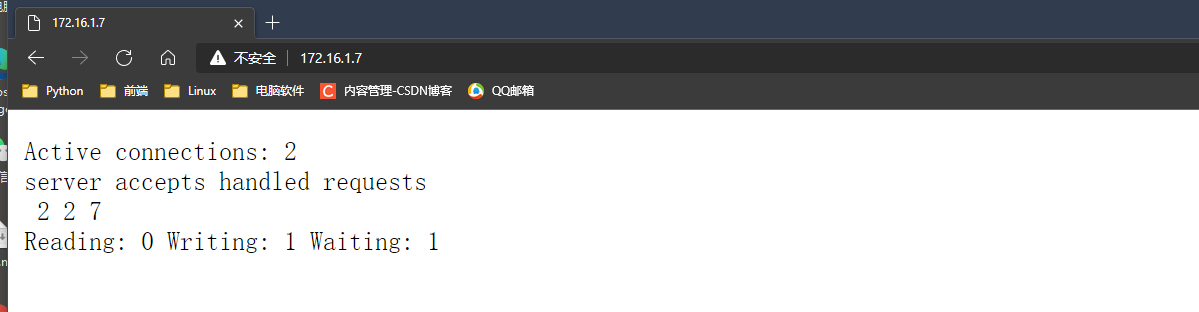
活动连接:2
服务器接受已处理的请求
3 3 13
正在读取:0正在写入:1正在等待:1
11.访问连接模块
*都指针对单个ip的.
11.1安装测试模块
1.安装ab测试命令
yum install httpd-tools -y

参数:
-n : 总共需要访问多少次
-c : 每次访问多少个
11.2控制连接数
ngx_http_limit_conn_module 控制连接数
限制每个定义键的连接数
[root@web01 ~]# vim /etc/nginx/conf.d/all_game.conf
limit_conn_zone $remote_addr  zone=addr:10m;  # 建立连接池
#              客服端ip的变量 名称  连接池的大小
server {
    listen 80;
    server_name 192.168.15.7;
	# 调用连接池, 同一IP同一时间只允许有1个连接
    limit_conn addr 1;
    location / {
        root /opt/Super_Marie/;
        index index.html;
    }
}
# 测试
[root@web01 ~]# vim /etc/nginx/conf.d/all_game.conf
[root@web01 ~]# nginx -t
nginx: the configuration file /etc/nginx/nginx.conf syntax is ok
nginx: configuration file /etc/nginx/nginx.conf test is successful
[root@web01 ~]# systemctl restart nginx
[root@web01 ~]# ab -n 10000 -c 1000 http://192.168.15.7/
...
Concurrency Level:      1000
Time taken for tests:   1.956 seconds
Complete requests:      10000
Failed requests:        128  # 128 重复的请求被拒绝访问, 每台电脑的值都不一样~
...
11.3控制访问量
ngx_http_limit_req_module 控制访问量
限制每个定义键的请求处理率
[root@web01 ~]# vim /etc/nginx/conf.d/all_game.conf
# 每秒只能有一个访问。
limit_req_zone $remote_addr zone=one:10m rate=1r/s;  # 建立连接池
# 声明连接池    客服端ip的变量 名称  连接池的大小  速率 每秒一次
server {
    listen 80;
	# 调用连接池, 超过5次就拒接访问
    limit_req zone=one burst=5;
    server_name 192.168.15.7;
    location / {
        root /opt/Super_Marie/;
        index index.html;
    }
}
[root@web01 nginx-1.20.2]# ab -n 10000 -c 200 http://192.168.15.7/
...
Concurrency Level:      200  # 200并发
Time taken for tests:   6.001 seconds  # 测试时间 6.001秒
Complete requests:      10000
Failed requests:        9993  # 一共10000次 失败9993次 成功了7次 6.001
...