由于工作需要,重新捡了下shader。很明显,fbo是重中之重。好记性不如烂笔头,先记录下
1,生成一个颜色纹理(为了省事,可以将纹理宽高=屏幕宽高)
osg::ref_ptr<osg::Texture2D> tex = createFloatRectangleTexture(texWidth, texHeight);
2,采样摄像机添加场景根,并把场景根的颜色缓冲区与纹理关联,
	sampleCamera->addChild(sceneRoot);
	sampleCamera->setRenderTargetImplementation(osg::Camera::FRAME_BUFFER_OBJECT); //这句话使内容不渲染到屏幕上
	sampleCamera->attach(osg::Camera::COLOR_BUFFER0, tex); //关联颜色贴图
3,将纹理关联到面片上,以方便加载使用
osg::ref_ptr<osg::Geode> panelGeode = createTexturePanelGeode();
osg::ref_ptr<osg::StateSet> ss = panelGeode->getOrCreateStateSet();
ss->setTextureAttributeAndModes(0, tex);
4,这个面片关联的纹理,由于是在摄像机坐标系下,所以要规格化坐标系,位置【-1,1】
纹理坐标【0,1】
osg::ref_ptr<osg::Vec3Array> vertices = new osg::Vec3Array;
vertices->push_back(osg::Vec3(-1.0f, -1.0f, 0.0f));
vertices->push_back(osg::Vec3(1.0f, -1.0f, 0.0f));
vertices->push_back(osg::Vec3(1.0f, 1.0f, 0.0f));
vertices->push_back(osg::Vec3(-1.0f, 1.0f, 0.0f));

osg::ref_ptr<osg::Vec2Array> texCoord = new osg::Vec2Array;
texCoord->push_back(osg::Vec2(0.0, 0.0));
texCoord->push_back(osg::Vec2(1.0, 0.0));
texCoord->push_back(osg::Vec2(1.0, 1.0));
texCoord->push_back(osg::Vec2(0.0, 1.0));
4,三维转二维,就是贴图片的过程,FBO中的图片一般还要进行一个图像处理,所以要设置一个passRoot,用于显示。这个passroot要同时包含采样摄像机和面片才行。
passRoot->addChild(sampleCamera); //将摄像机加入场景
passRoot->addChild(panelGeode);
viewer->setSceneData(passRoot);
运行结果如下:
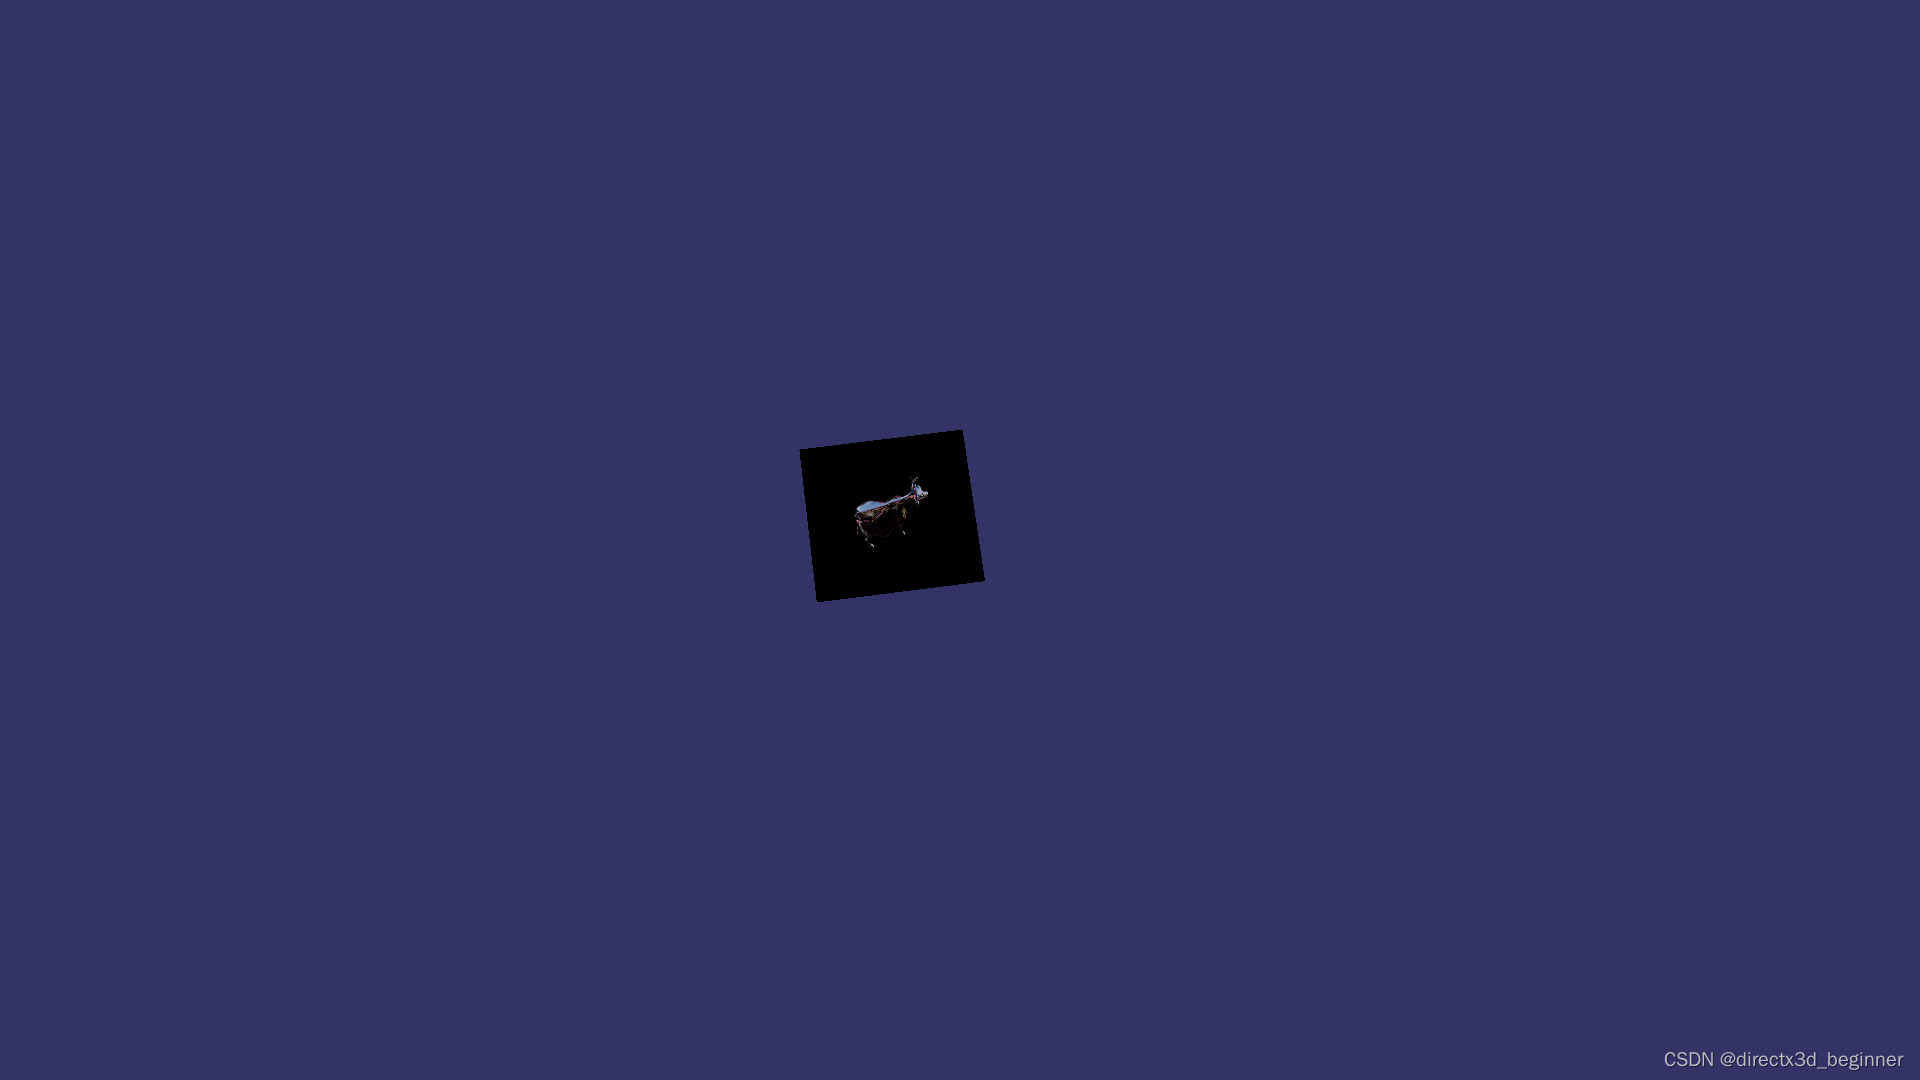
代码如下:
#include <osgDB/ReadFile>
#include <osgUtil/Optimizer>
#include <osg/CoordinateSystemNode>
#include <osg/Switch>
#include <osg/Types>
#include <osgText/Text>
#include <osgViewer/Viewer>
#include <osgViewer/ViewerEventHandlers>
#include <osgGA/TrackballManipulator>
#include <osgGA/FlightManipulator>
#include <osgGA/DriveManipulator>
#include <osgGA/KeySwitchMatrixManipulator>
#include <osgGA/StateSetManipulator>
#include <osgGA/AnimationPathManipulator>
#include <osgGA/TerrainManipulator>
#include <osgGA/SphericalManipulator>
#include <osgGA/Device>
#include <osg/Shader>
osg::ref_ptrosg::Texture2D createFloatRectangleTexture(int width, int height)
{
osg::ref_ptrosg::Texture2D tex2D = new osg::Texture2D;
tex2D->setTextureSize(width, height);
tex2D->setInternalFormat(GL_RGBA16F_ARB);
tex2D->setSourceFormat(GL_RGBA);
tex2D->setSourceType(GL_FLOAT);
return tex2D.release();
}
osg::ref_ptrosg::Geode createTexturePanelGeode()
{
osg::ref_ptrosg::Vec3Array vertices = new osg::Vec3Array;
vertices->push_back(osg::Vec3(-1.0f, -1.0f, 0.0f));
vertices->push_back(osg::Vec3(1.0f, -1.0f, 0.0f));
vertices->push_back(osg::Vec3(1.0f, 1.0f, 0.0f));
vertices->push_back(osg::Vec3(-1.0f, 1.0f, 0.0f));
osg::ref_ptr<osg::Vec2Array> texCoord = new osg::Vec2Array;
texCoord->push_back(osg::Vec2(0.0, 0.0));
texCoord->push_back(osg::Vec2(1.0, 0.0));
texCoord->push_back(osg::Vec2(1.0, 1.0));
texCoord->push_back(osg::Vec2(0.0, 1.0));

osg::ref_ptr<osg::Geometry> geom = new osg::Geometry;
geom->setVertexArray(vertices);
geom->setTexCoordArray(0, texCoord);
geom->addPrimitiveSet(new osg::DrawArrays(GL_QUADS, 0, 4));

osg::ref_ptr<osg::Geode> geode = new osg::Geode;
geode->addDrawable(geom);
osg::ref_ptr<osg::StateSet> set1 = geode->getOrCreateStateSet();
set1->setMode(GL_LIGHTING, osg::StateAttribute::OFF); //设置不受光照影响,不然太暗了就看不清楚
return geode;
}
int main()
{
osg::ref_ptrosgViewer::Viewer viewer = new osgViewer::Viewer;
std::string strFileName = “D:/OpenSceneGraph-master/OpenSceneGraph-Data-master/cow.osg”;
//pass1的根
osg::ref_ptrosg::Group passRoot = new osg::Group();
//场景根
osg::ref_ptrosg::Group sceneRoot = new osg::Group();
osg::ref_ptrosg::Node node = osgDB::readNodeFile(strFileName);
sceneRoot->addChild(node);
//获取系统分辨率
unsigned int screenWidth, screenHeight;
osg::GraphicsContext::WindowingSystemInterface * wsInterface = osg::GraphicsContext::getWindowingSystemInterface();
if (!wsInterface)
{
	return -1;
}
wsInterface->getScreenResolution(osg::GraphicsContext::ScreenIdentifier(0), screenWidth, screenHeight);
int texWidth = screenWidth;
int texHeight = screenHeight;
osg::ref_ptr<osg::Texture2D> tex = createFloatRectangleTexture(texWidth, texHeight);
//绑定采样摄像机
osg::ref_ptr<osg::Camera> sampleCamera = new osg::Camera;
{
	sampleCamera->addChild(sceneRoot);
	sampleCamera->setClearColor(osg::Vec4(0.0f, 0.0f, 0.0f, 1.0f));
	sampleCamera->setRenderTargetImplementation(osg::Camera::FRAME_BUFFER_OBJECT); //这句话使内容不渲染到屏幕上
	sampleCamera->attach(osg::Camera::COLOR_BUFFER0, tex); //关联颜色贴图
	//摄像机关联视口
	sampleCamera->setViewport(0, 0, screenWidth, screenHeight);

}
osg::ref_ptr<osg::Geode> panelGeode = createTexturePanelGeode();
osg::ref_ptr<osg::StateSet> ss = panelGeode->getOrCreateStateSet();
ss->setTextureAttributeAndModes(0, tex);
;
passRoot->addChild(sampleCamera); //将摄像机加入场景
passRoot->addChild(panelGeode);
viewer->setSceneData(passRoot);
viewer->run();
return 0;
}