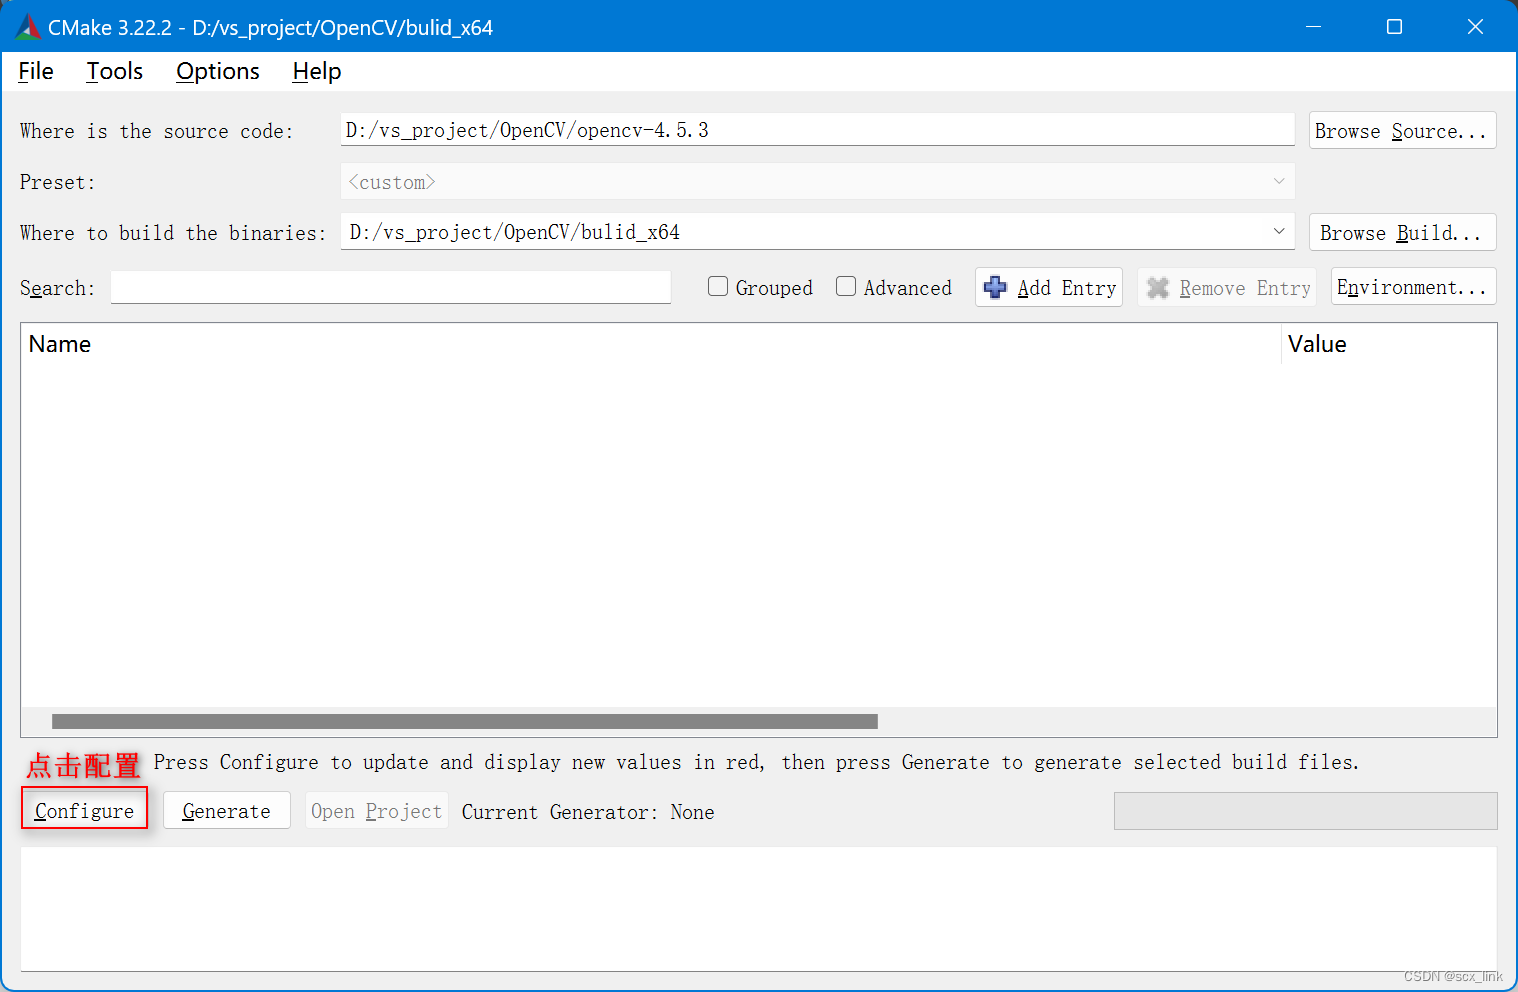
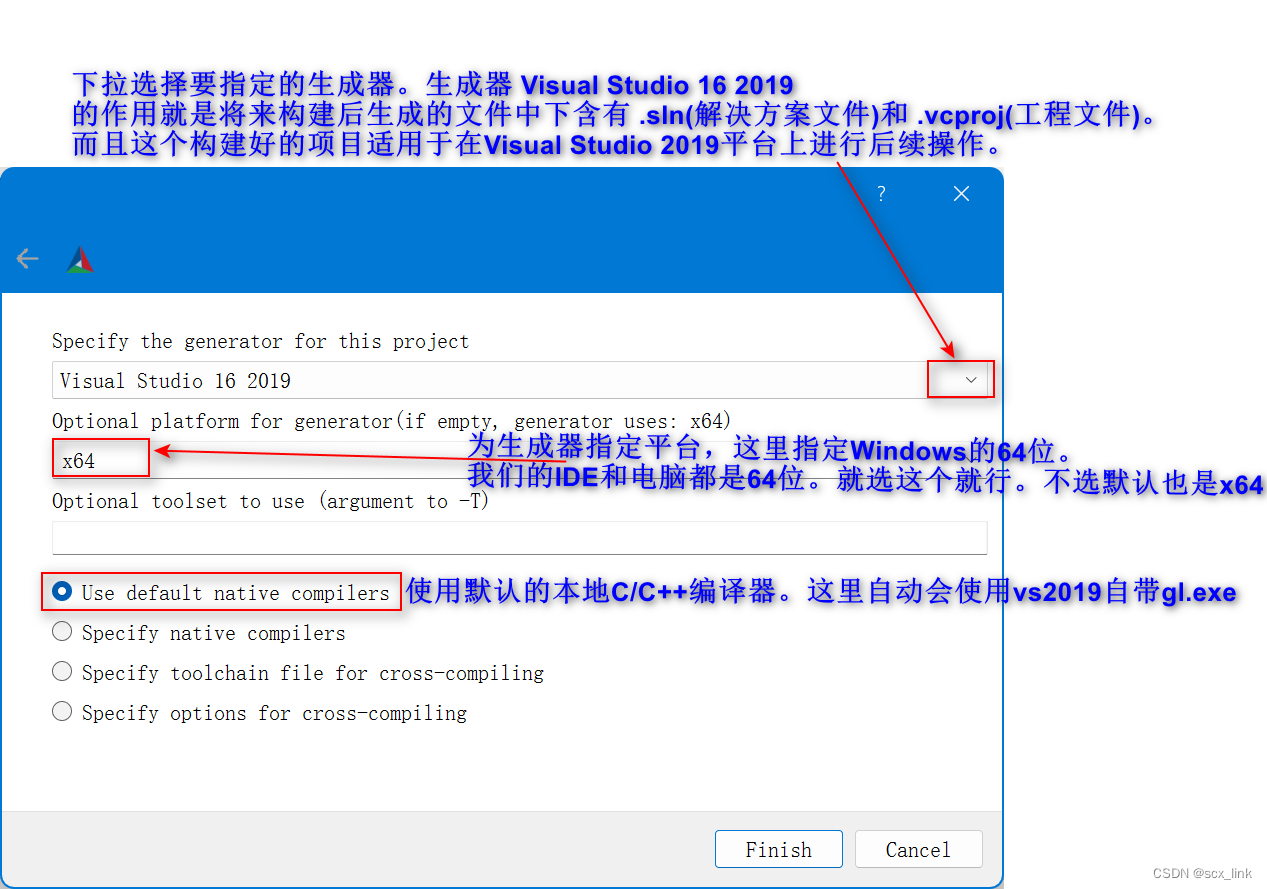
配置好后,点击上图的Finish。
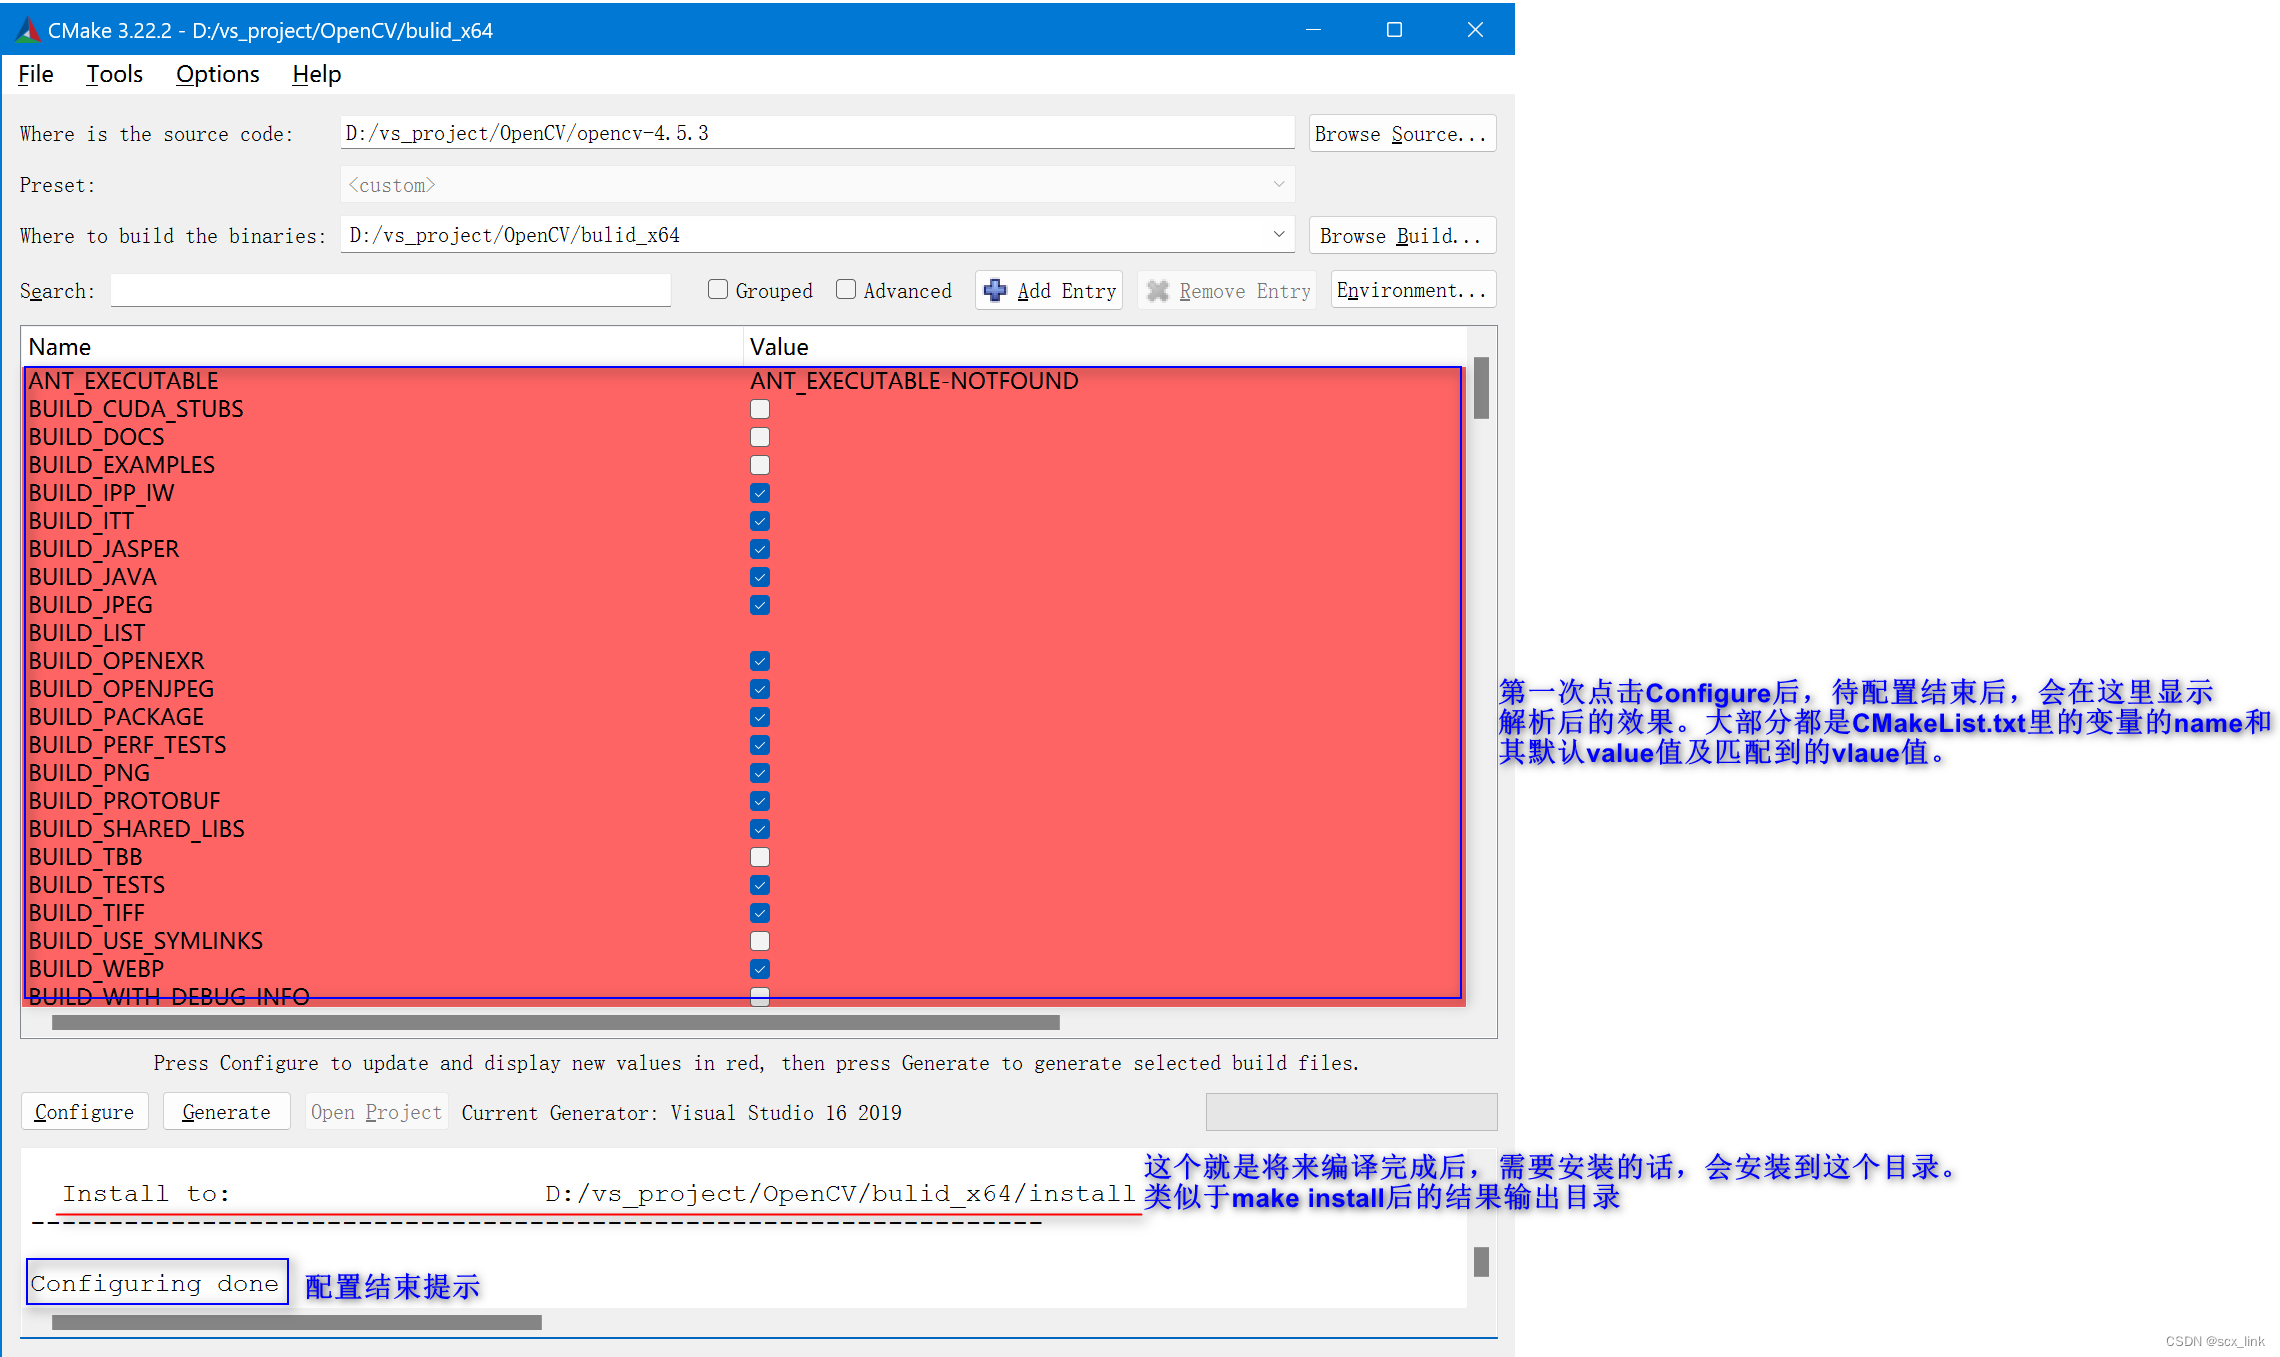
然后就自动开始解析CmakeList.txt文件中的配置,包括自动从当前电脑系统环境下查找CmakeList.txt文件中各种变量的符合要求的值,已经解析CmakeList.txt中的各个源文件是否存在。(自动识别),已经从第三方那里下载所需要的库。配置解析完毕后,会在中间 Name- Value 那片显示区域,会把解析后CmakeList.txt文件中各种变量的名称,已经从当前系统环境变量中查找的值及当前变量的状态都显示出来。
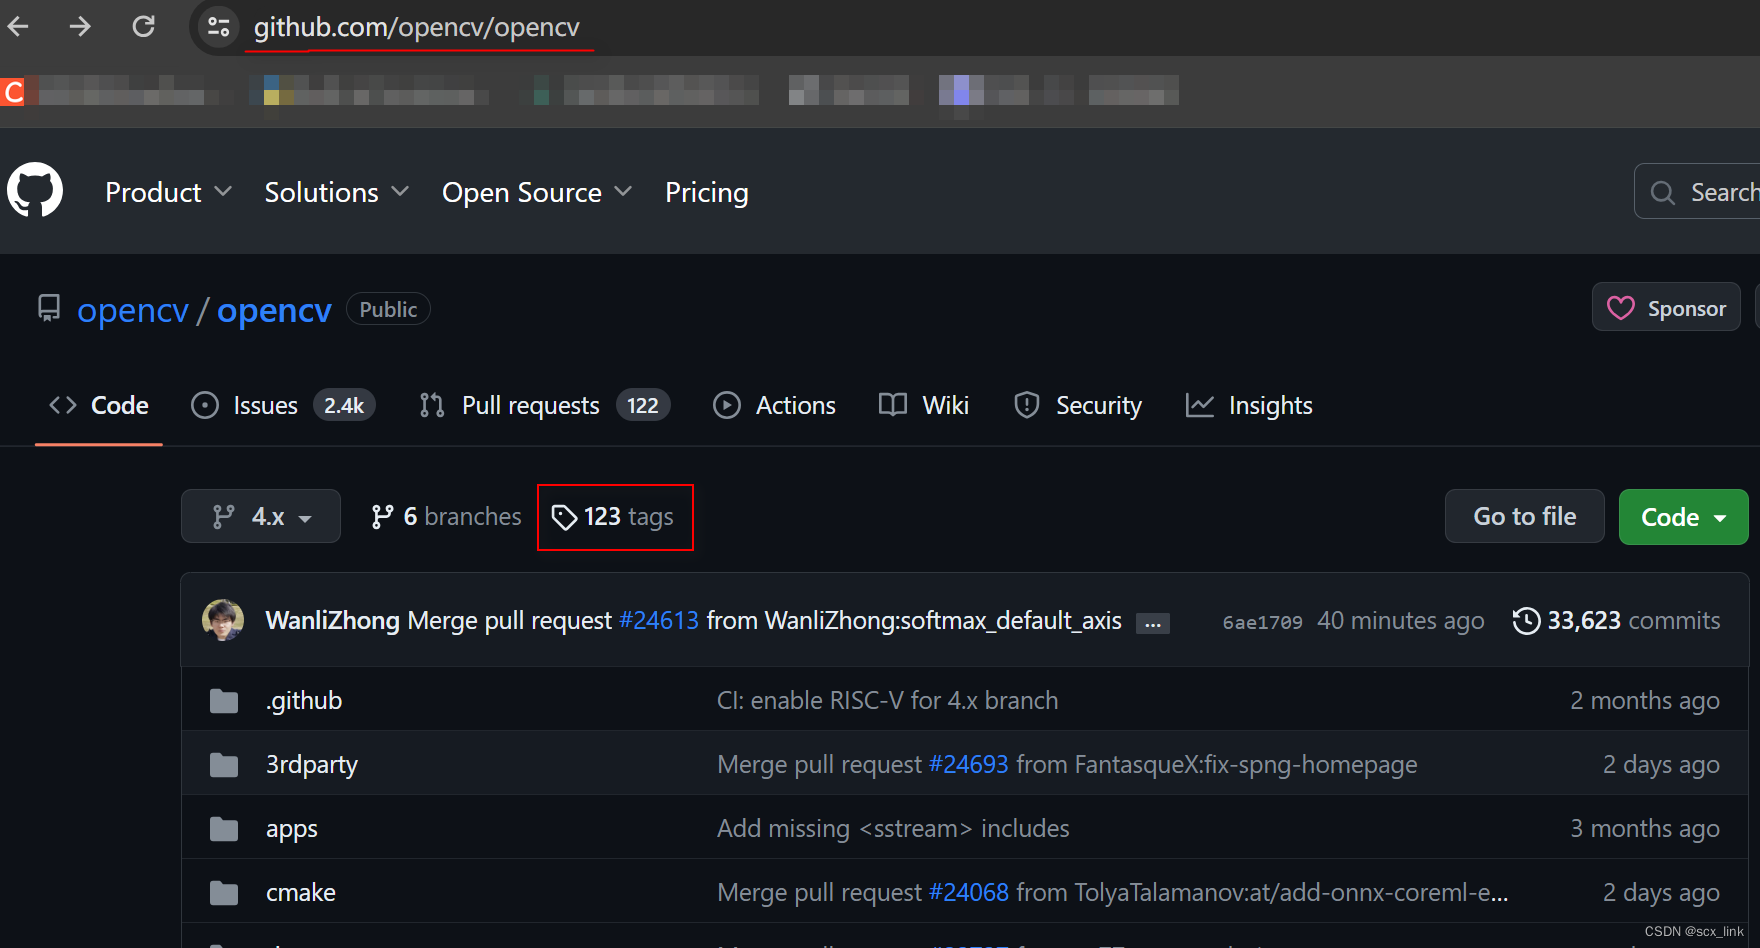
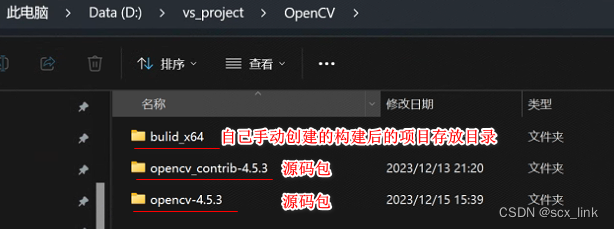
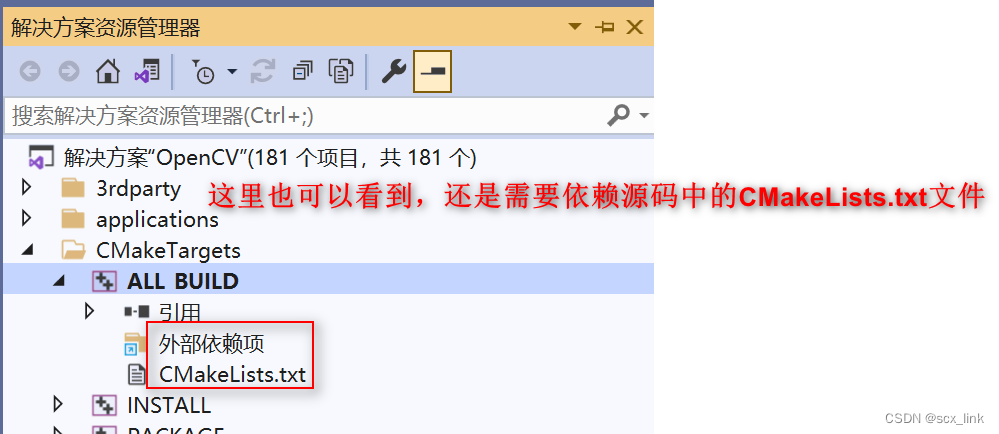
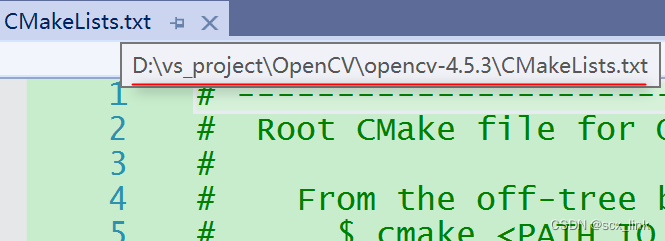
现在的开源项目基本上都是用cmake来进行管理。cmake就是一个项目管理工具。根据CmakeList.txt中的编写的规则来组织项目的构建步骤。一个大的开源项目下,会有多个模块,每个模块下又有各自的CmakeList.txt文件。但是开源项目的根目录只有一个CmakeList.txt。
根目录下的CmakeList.txt文件内会引入各个模块下的CmakeList.txt文件。这就有点类似于java中的 maven的作用。
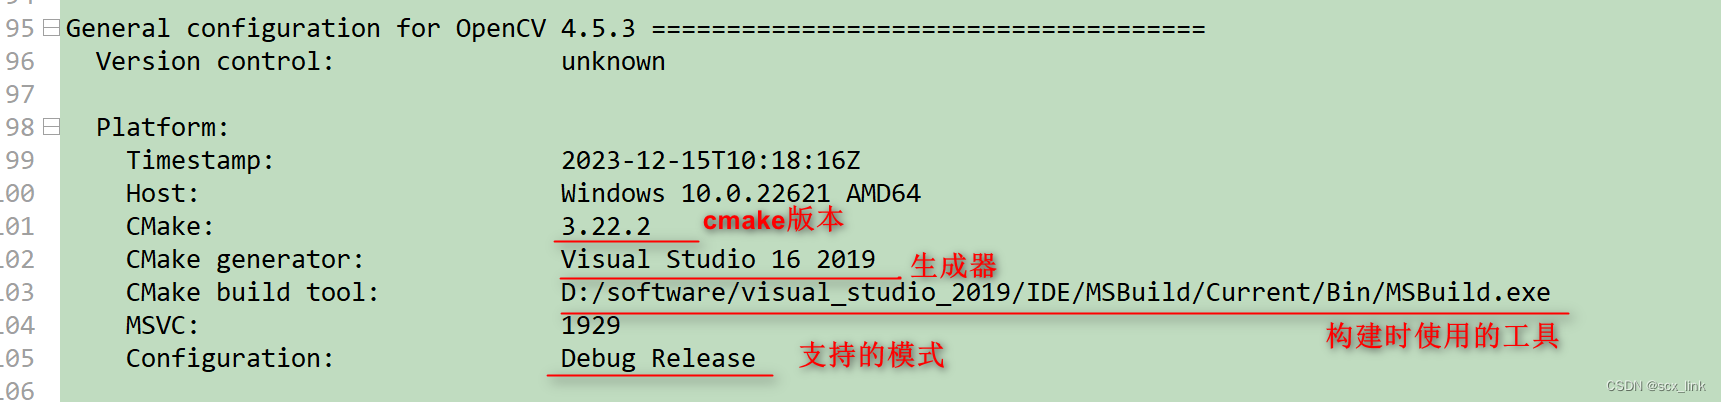
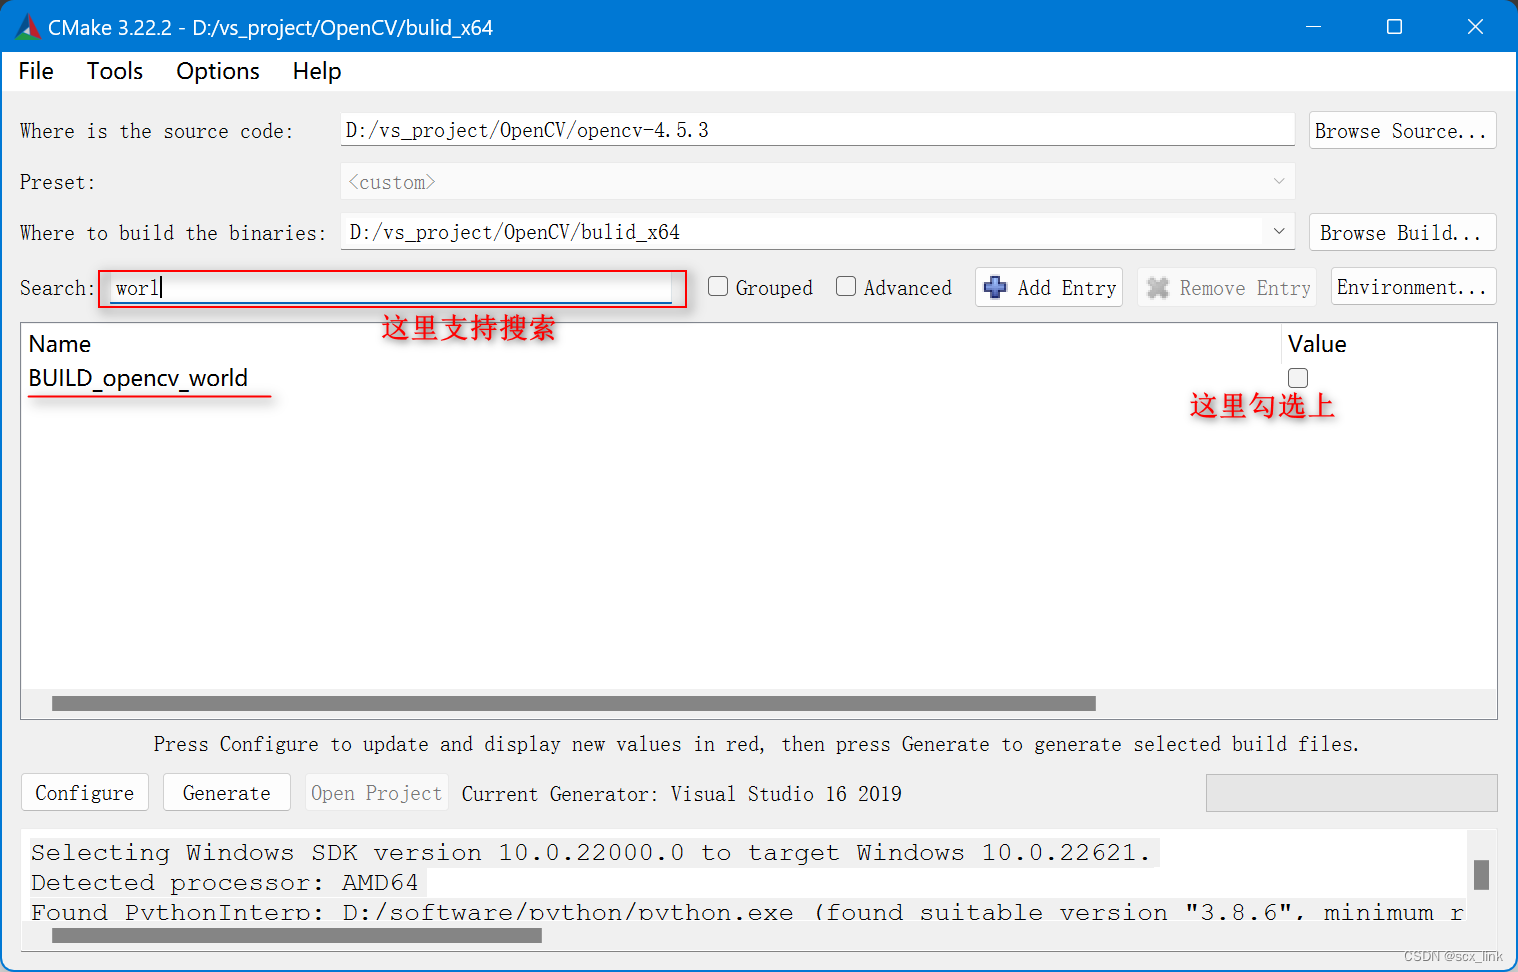
这里我们把上图里底部打印出的内容粘出来看看。
Selecting Windows SDK version 10.0.22000.0 to target Windows #选择本机上适合的Windows SDK
10.0.22621. Detected processor: AMD64 #检测到本地的处理器架构
Found PythonInterp: D:/software/python/python.exe (found suitable version “3.8.6”, minimum required is “2.7”) #检测到本机安装的python是3.8.6.而最小要求是2.7满足要求。如果需要将OpenCV用于python。这里需要把python加入系统环境变量Path中这里才能检测到。
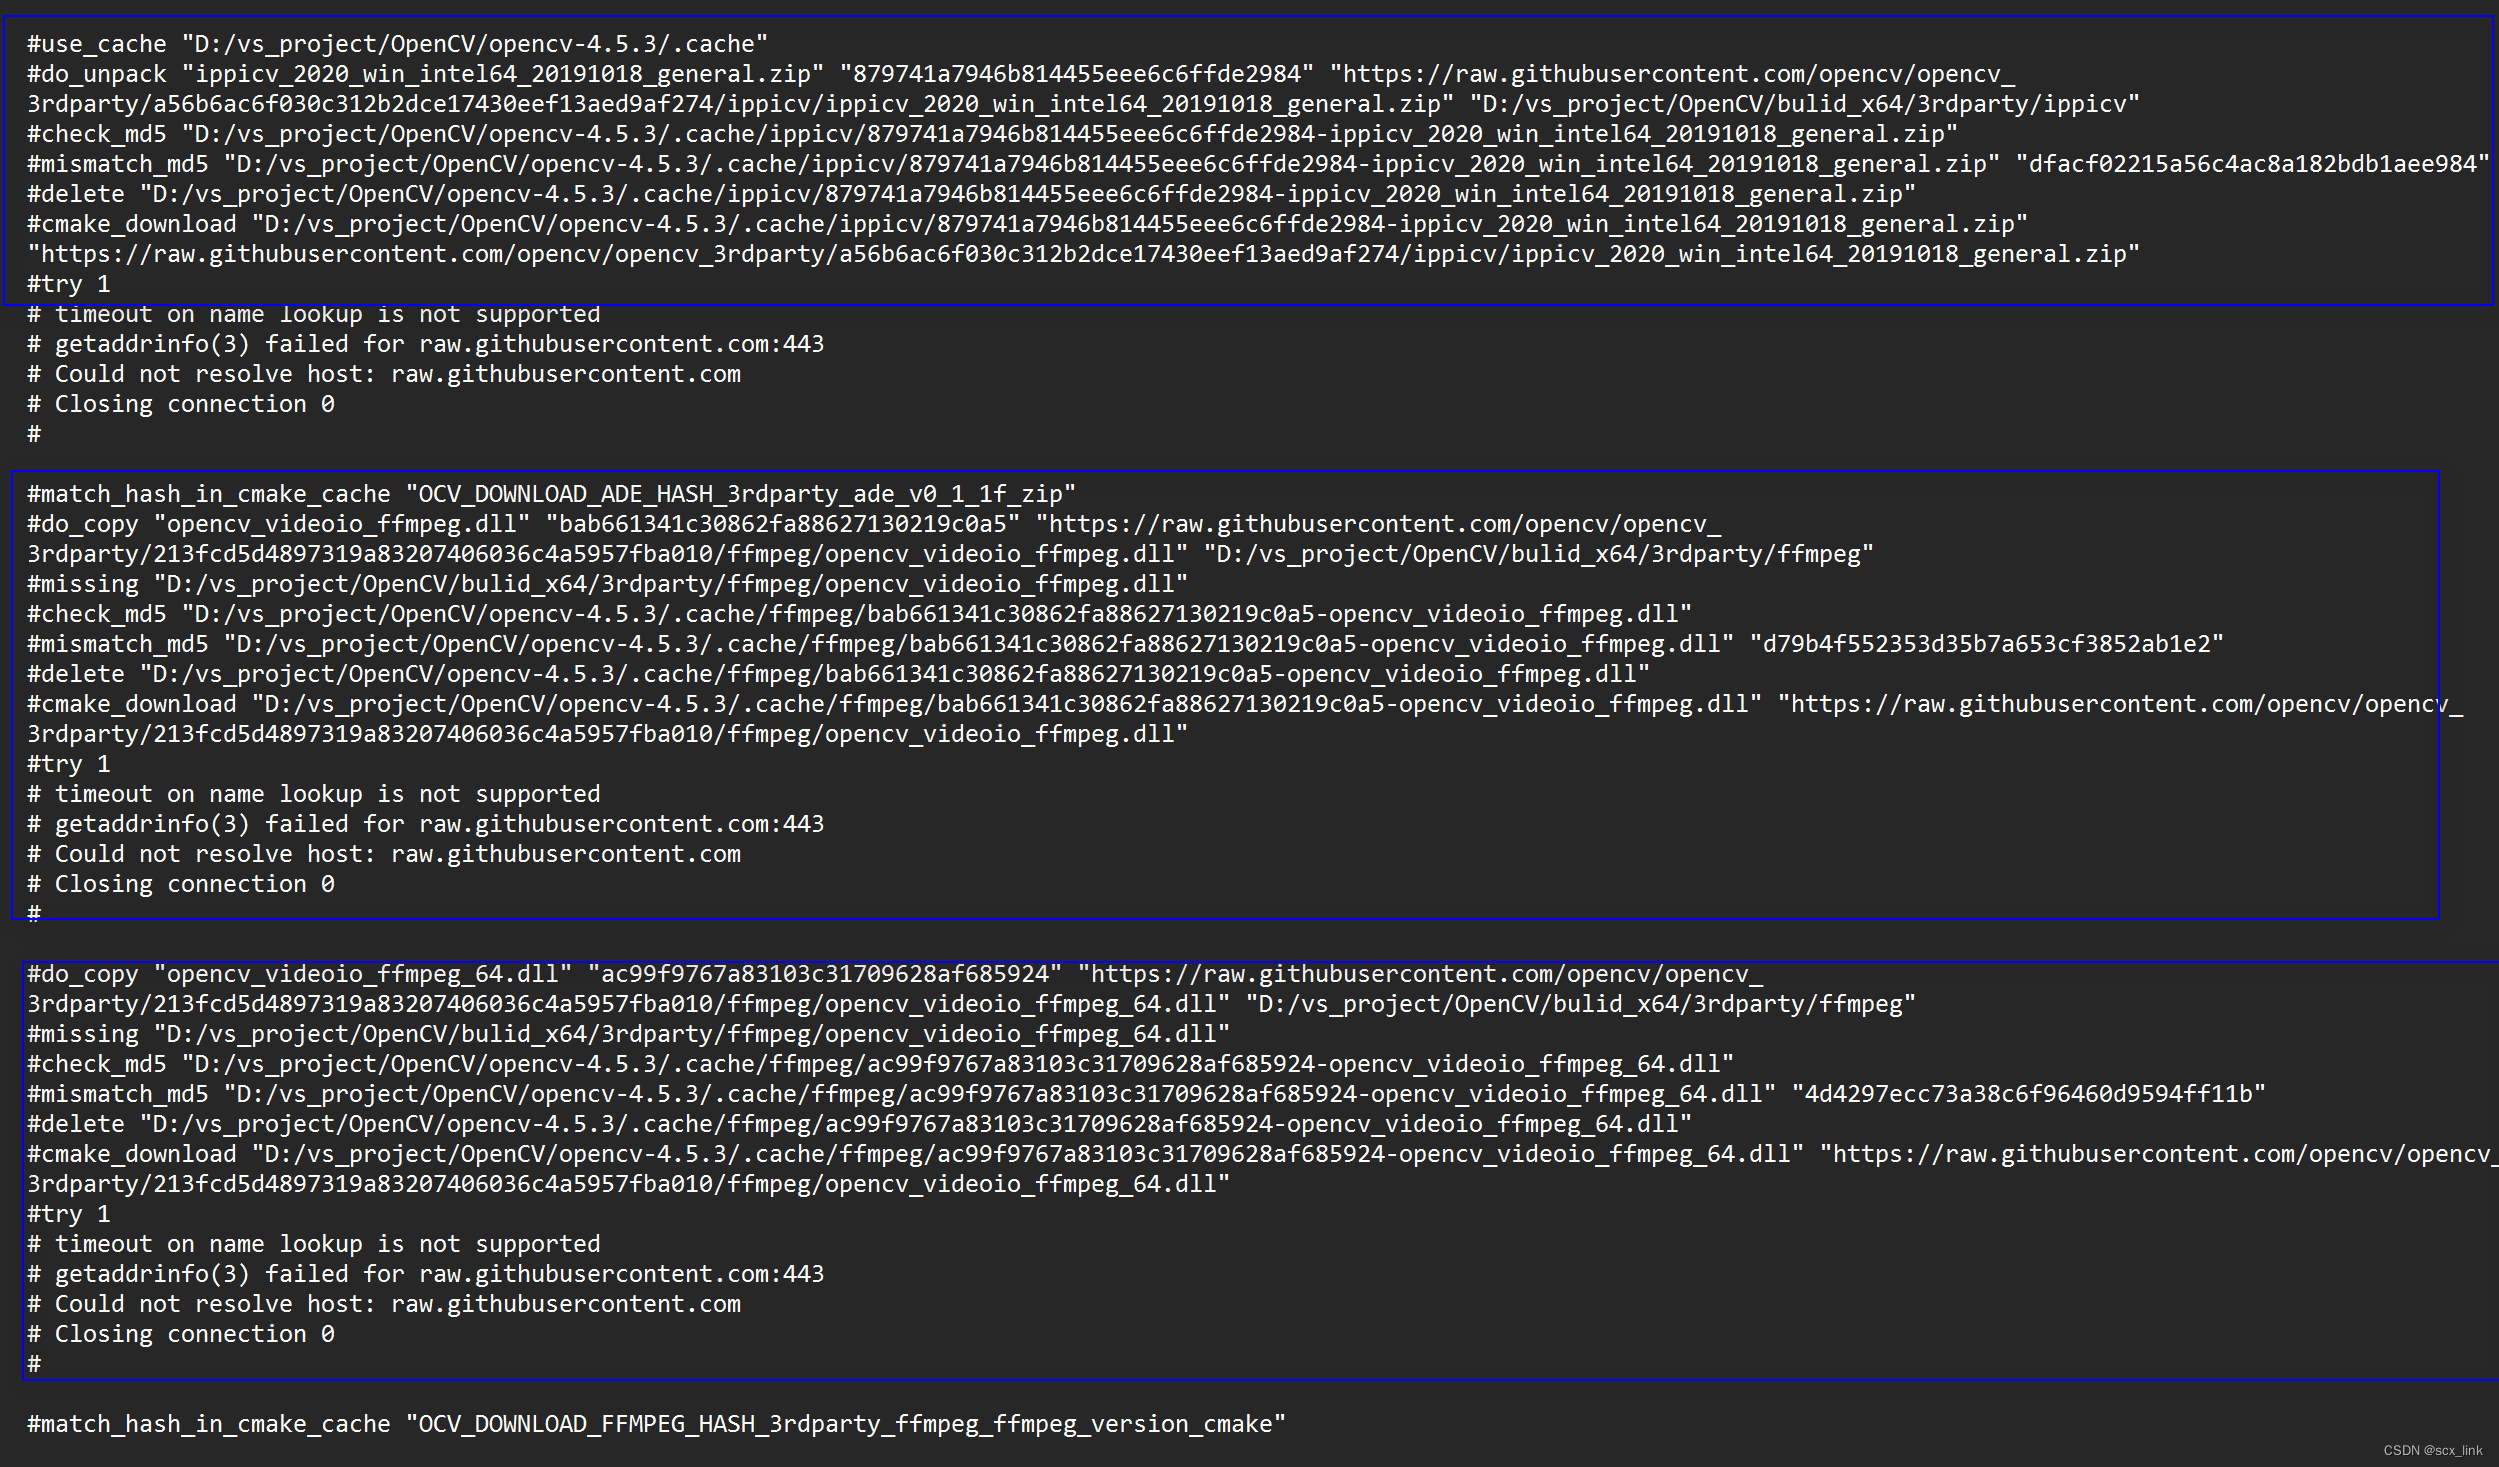
下面的提示有个zip没有从网络上下载下来。
IPPICV: Download: ippicv_2020_win_intel64_20191018_general.zip
Try 1 failed

=======================================================================
  Couldn't download files from the Internet. #不能够从互联网上下载此文件
  Please check the Internet access on this host.
=======================================================================

CMake Warning at cmake/OpenCVDownload.cmake:202 (message):
  IPPICV: Download failed: 6;"Couldn't resolve host name"

  For details please refer to the download log file:

  D:/vs_project/OpenCV/bulid_x64/CMakeDownloadLog.txt  #查看这个日志文件,手动下载此文件
OpenCV Python: during development append to PYTHONPATH: D:/vs_project/OpenCV/bulid_x64/python_loader
Could NOT find PkgConfig (missing: PKG_CONFIG_EXECUTABLE)
FFMPEG: Download: opencv_videoio_ffmpeg.dll
Try 1 failed
.......................................
FFMPEG: Download: opencv_videoio_ffmpeg_64.dll
Try 1 failed