.Net Core微服务入门——Swagger接入
一、API接入Swagger
1、引入包:Swashbuckle.AspNetCore
2、修改Startup,在ConfigureServices 中添加 Swagger
public void ConfigureServices(IServiceCollection services)
{
services.AddSwaggerGen(c =>
{
c.SwaggerDoc("v1", new OpenApiInfo { Title = "My API", Version = "v1" });
});
services.AddControllers();
}
3、修改Startup,在Configure方法里面添加Swagger有关的中间件
public void Configure(IApplicationBuilder app, IWebHostEnvironment env)
{
if (env.IsDevelopment())
{
app.UseDeveloperExceptionPage();
}
app.UseSwagger();
app.UseSwaggerUI(c =>
{
c.SwaggerEndpoint("/swagger/v1/swagger.json", "API Demo v1");
});
app.UseHttpsRedirection();
app.UseRouting();
app.UseAuthorization();
app.UseEndpoints(endpoints =>
{
endpoints.MapControllers();
});
this.Configuration.ConsulRegist();
}
4、启动调试,查看结果
https://localhost:49167/swagger
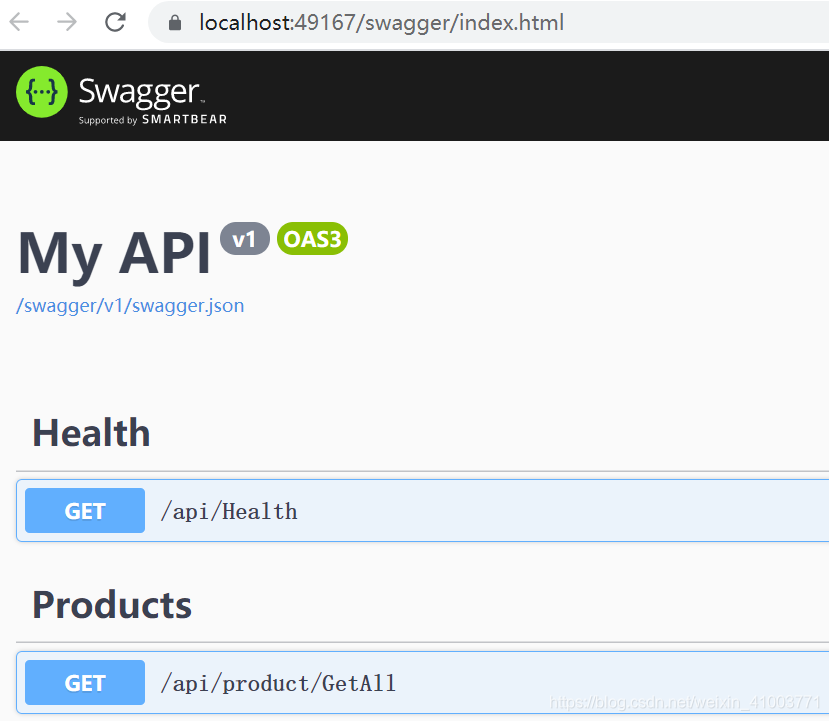
Swagger 成功接入,但是我们发现,只显示了接口,却没有显示相关描述信息。
不着急,我们继续!
二、API Swagger添加描述
1、引入包:Microsoft.Extensions.PlatformAbstractions
2、修改Startup,在ConfigureServices中注入xml相关描述
public void ConfigureServices(IServiceCollection services)
{
services.AddSwaggerGen(c =>
{
c.SwaggerDoc("v1", new OpenApiInfo { Title = "My API", Version = "v1" });
var xmlFile = $"{Assembly.GetExecutingAssembly().GetName().Name}.xml";
var xmlPath = Path.Combine(AppContext.BaseDirectory, xmlFile);
c.IncludeXmlComments(xmlPath, true);
});
services.AddControllers();
AppConfiguration.SetConfiguration(Configuration);
var connStr = Configuration.GetConnectionString("SQLServerConnection");
services.AddDbContext<SqlContext>(builder => builder.UseSqlServer(connStr));
var connMysqlStr = Configuration.GetConnectionString("MySQLConnection");
services.AddDbContextPool<MySqlContext>(builder => builder.UseMySql(connMysqlStr, new MySqlServerVersion(new Version(5, 7, 21))));
}
3、项目右键,选择属性,勾选“XML文档文件”,如下图所示:
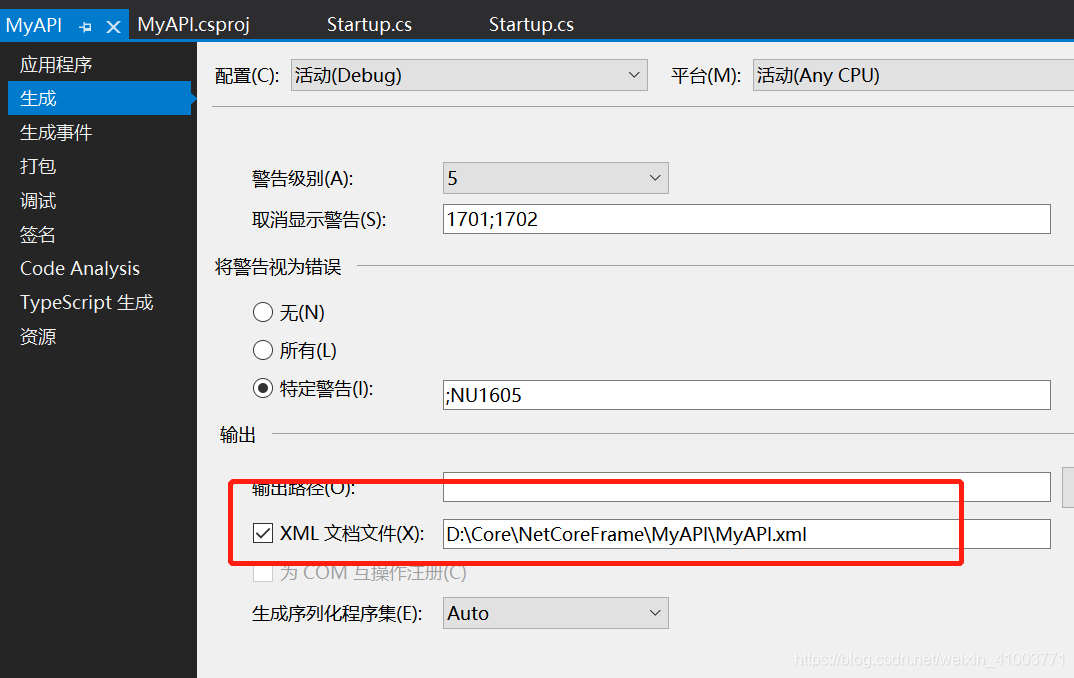
4、选中项目 xxxxx.xml,修改成 如果较新则复制

为什么要这样设置呢,如果不设置的话,发布时候会出问题,找不到 xml文件
4、启动调试,查看结果
https://localhost:49167/swagger

API已经接入了swagger,但是我们是不直接访问api,而是访问网关,那网关怎么接入Swagger呢
三、Ocelot添加Swagger
1、引入包:Swashbuckle.AspNetCore
2、修改Startup,在ConfigureServices 中添加 Swagger
public void ConfigureServices(IServiceCollection services)
{
string consulport = Configuration["consulport"];
if (!string.IsNullOrWhiteSpace(consulport))
{
Configuration["GlobalConfiguration:ServiceDiscoveryProvider:Port"] = consulport;
}
services.AddMvc();
services.AddSwaggerGen(c =>
{
c.SwaggerDoc("v1",
new OpenApiInfo { Title = "Gateway API", Version = "v1", Description = "# gateway api..." });
});
services.AddOcelot()
.AddConsul()
.AddCacheManager(x =>
{
x.WithDictionaryHandle();
})
.AddPolly();
}
3、修改Startup,在Configure方法里面添加Swagger有关的中间件
public void Configure(IApplicationBuilder app, IWebHostEnvironment env)
{
app.UseSwagger();
app.UseSwaggerUI(c =>
{
c.SwaggerEndpoint("/myapi/swagger/v1/swagger.json", "MyAPI V1");
});
app.UseOcelot().Wait();
}
4、修改ocelot.json,增加Swagger配置
"Routes": [
{
"DownstreamPathTemplate": "/api/{url}",
"DownstreamScheme": "http",
"UpstreamPathTemplate": "/api/{url}",
"UpstreamHttpMethod": [ "Get", "Post" ],
"ServiceName": "MyApi",
"LoadBalancerOptions": {
"Type": "RoundRobin"
},
"FileCacheOptions": {
"TtlSeconds": 5,
"Region": "regionname"
},
"RateLimitOptions": {
"ClientWhitelist": [ "SuperClient" ],
"EnableRateLimiting": true,
"Period": "5s",
"PeriodTimespan": 2,
"Limit": 5
},
"QoSOptions": {
"ExceptionsAllowedBeforeBreaking": 3,
"DurationOfBreak": 10000,
"TimeoutValue": 5000
}
},
{
"DownstreamPathTemplate": "/swagger/v1/swagger.json",
"DownstreamScheme": "http",
"UpstreamPathTemplate": "/myapi/swagger/v1/swagger.json",
"UpstreamHttpMethod": [ "Get", "Post" ],
"ServiceName": "MyApi",
"LoadBalancerOptions": {
"Type": "RoundRobin"
}
}
]
5、调试启动
https://localhost:49171/swagger/index.html


完成!
本文内容由网友自发贡献,版权归原作者所有,本站不承担相应法律责任。如您发现有涉嫌抄袭侵权的内容,请联系:hwhale#tublm.com(使用前将#替换为@)