python 直方图的绘制方法全解

2023-05-16

1.首先要绘制一个简单的直方图

import numpy as np
import matplotlib.pyplot as plt
from matplotlib import mlab
from matplotlib import rcParams
fig1 = plt.figure(2)
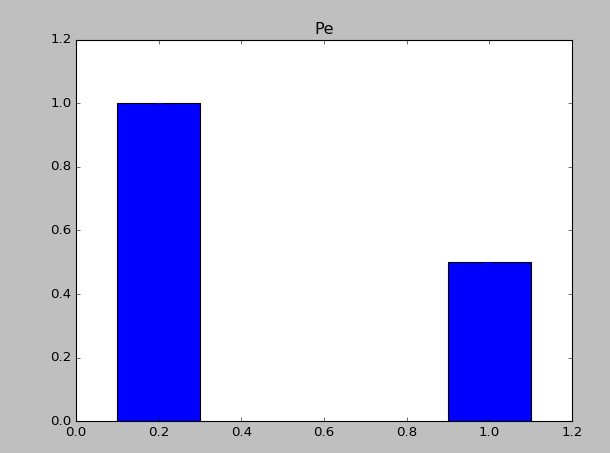
rects =plt.bar(left = (0.2,1),height = (1,0.5),width = 0.2,align="center",yerr=0.000001)
plt.title('Pe')
plt.show()
这里写图片描述

1.1 上面中rects =plt.bar(left = (0.2,1),height = (1,0.5),width = 0.2,align=”center”,yerr=0.000001)这句代码是最重要的,其中left表示直方图的开始的位置(也就是最左边的地方),height是指直方图的高度,当直方图太粗时,可以通过width来定义直方图的宽度,注意多个直方图要用元组,yerr这个参数是防止直方图触顶。

2. 增加直方图脚注

import numpy as np
import matplotlib.pyplot as plt
from matplotlib import mlab
from matplotlib import rcParams
fig1 = plt.figure(2)
rects =plt.bar(left = (0.2,1),height = (1,0.5),width = 0.2,align="center",yerr=0.000001)
plt.title('Pe')
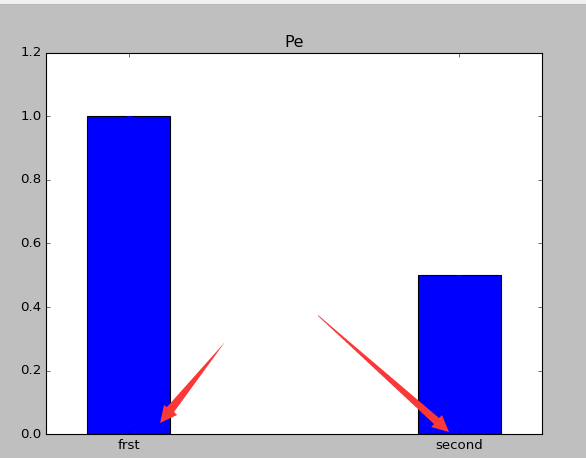
plt.xticks((0.2,1),('frst','second'))
plt.show()
这里写图片描述

3.直方图上显示具体的数字(自动编号)

import numpy as np
import matplotlib.pyplot as plt
from matplotlib import mlab
from matplotlib import rcParams
fig1 = plt.figure(2)
rects =plt.bar(left = (0.2,1),height = (1,0.5),width = 0.2,align="center",yerr=0.000001)
plt.title('Pe')
def autolabel(rects):
    for rect in rects:
        height = rect.get_height()
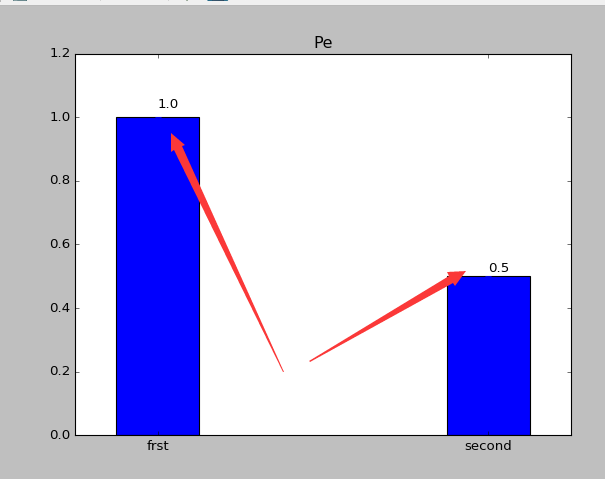
        plt.text(rect.get_x()+rect.get_width()/2., 1.03*height, '%s' % float(height))
autolabel(rects)
plt.xticks((0.2,1),('frst','second'))
plt.show()
这里写图片描述

4.改变直方图颜色

import numpy as np
import matplotlib.pyplot as plt
from matplotlib import mlab
from matplotlib import rcParams
fig1 = plt.figure(2)
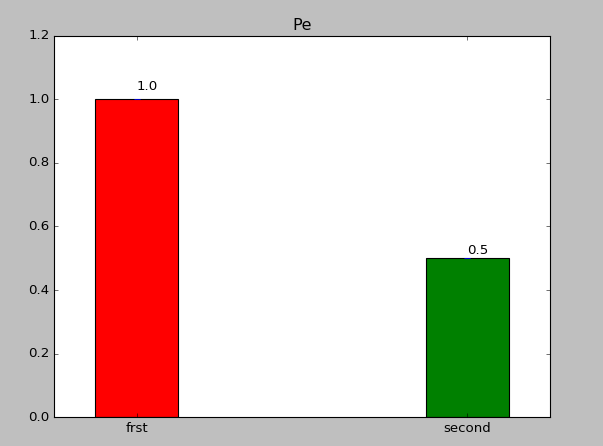
rects =plt.bar(left = (0.2,1),height = (1,0.5),color=('r','g'),width = 0.2,align="center",yerr=0.000001)
plt.title('Pe')
def autolabel(rects):
    for rect in rects:
        height = rect.get_height()
        plt.text(rect.get_x()+rect.get_width()/2., 1.03*height, '%s' % float(height))
autolabel(rects)
plt.xticks((0.2,1),('frst','second'))
plt.show()
这里写图片描述

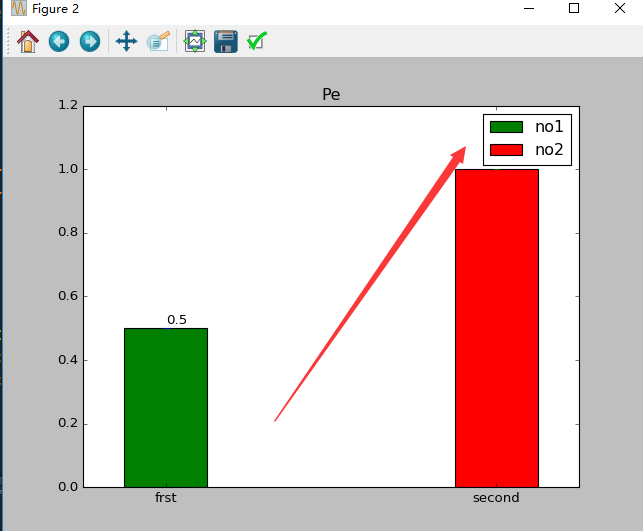
5.添加图注

import numpy as np
import matplotlib.pyplot as plt
from matplotlib import mlab
from matplotlib import rcParams
fig1 = plt.figure(2)
rects1 =plt.bar(left = (0.2),height = (0.5),color=('g'),label=(('no1')),width = 0.2,align="center",yerr=0.000001)
rects2 =plt.bar(left = (1),height = (1),color=('r'),label=(('no2')),width = 0.2,align="center",yerr=0.000001)
plt.legend()
plt.xticks((0.2,1),('frst','second'))
plt.title('Pe')

def autolabel(rects):
    for rect in rects:
        height = rect.get_height()
        plt.text(rect.get_x()+rect.get_width()/2., 1.03*height, '%s' % float(height))
autolabel(rects1)
autolabel(rects2)
plt.show()
这里写图片描述

6大家根据自己的需要自己来绘制自己的直方图


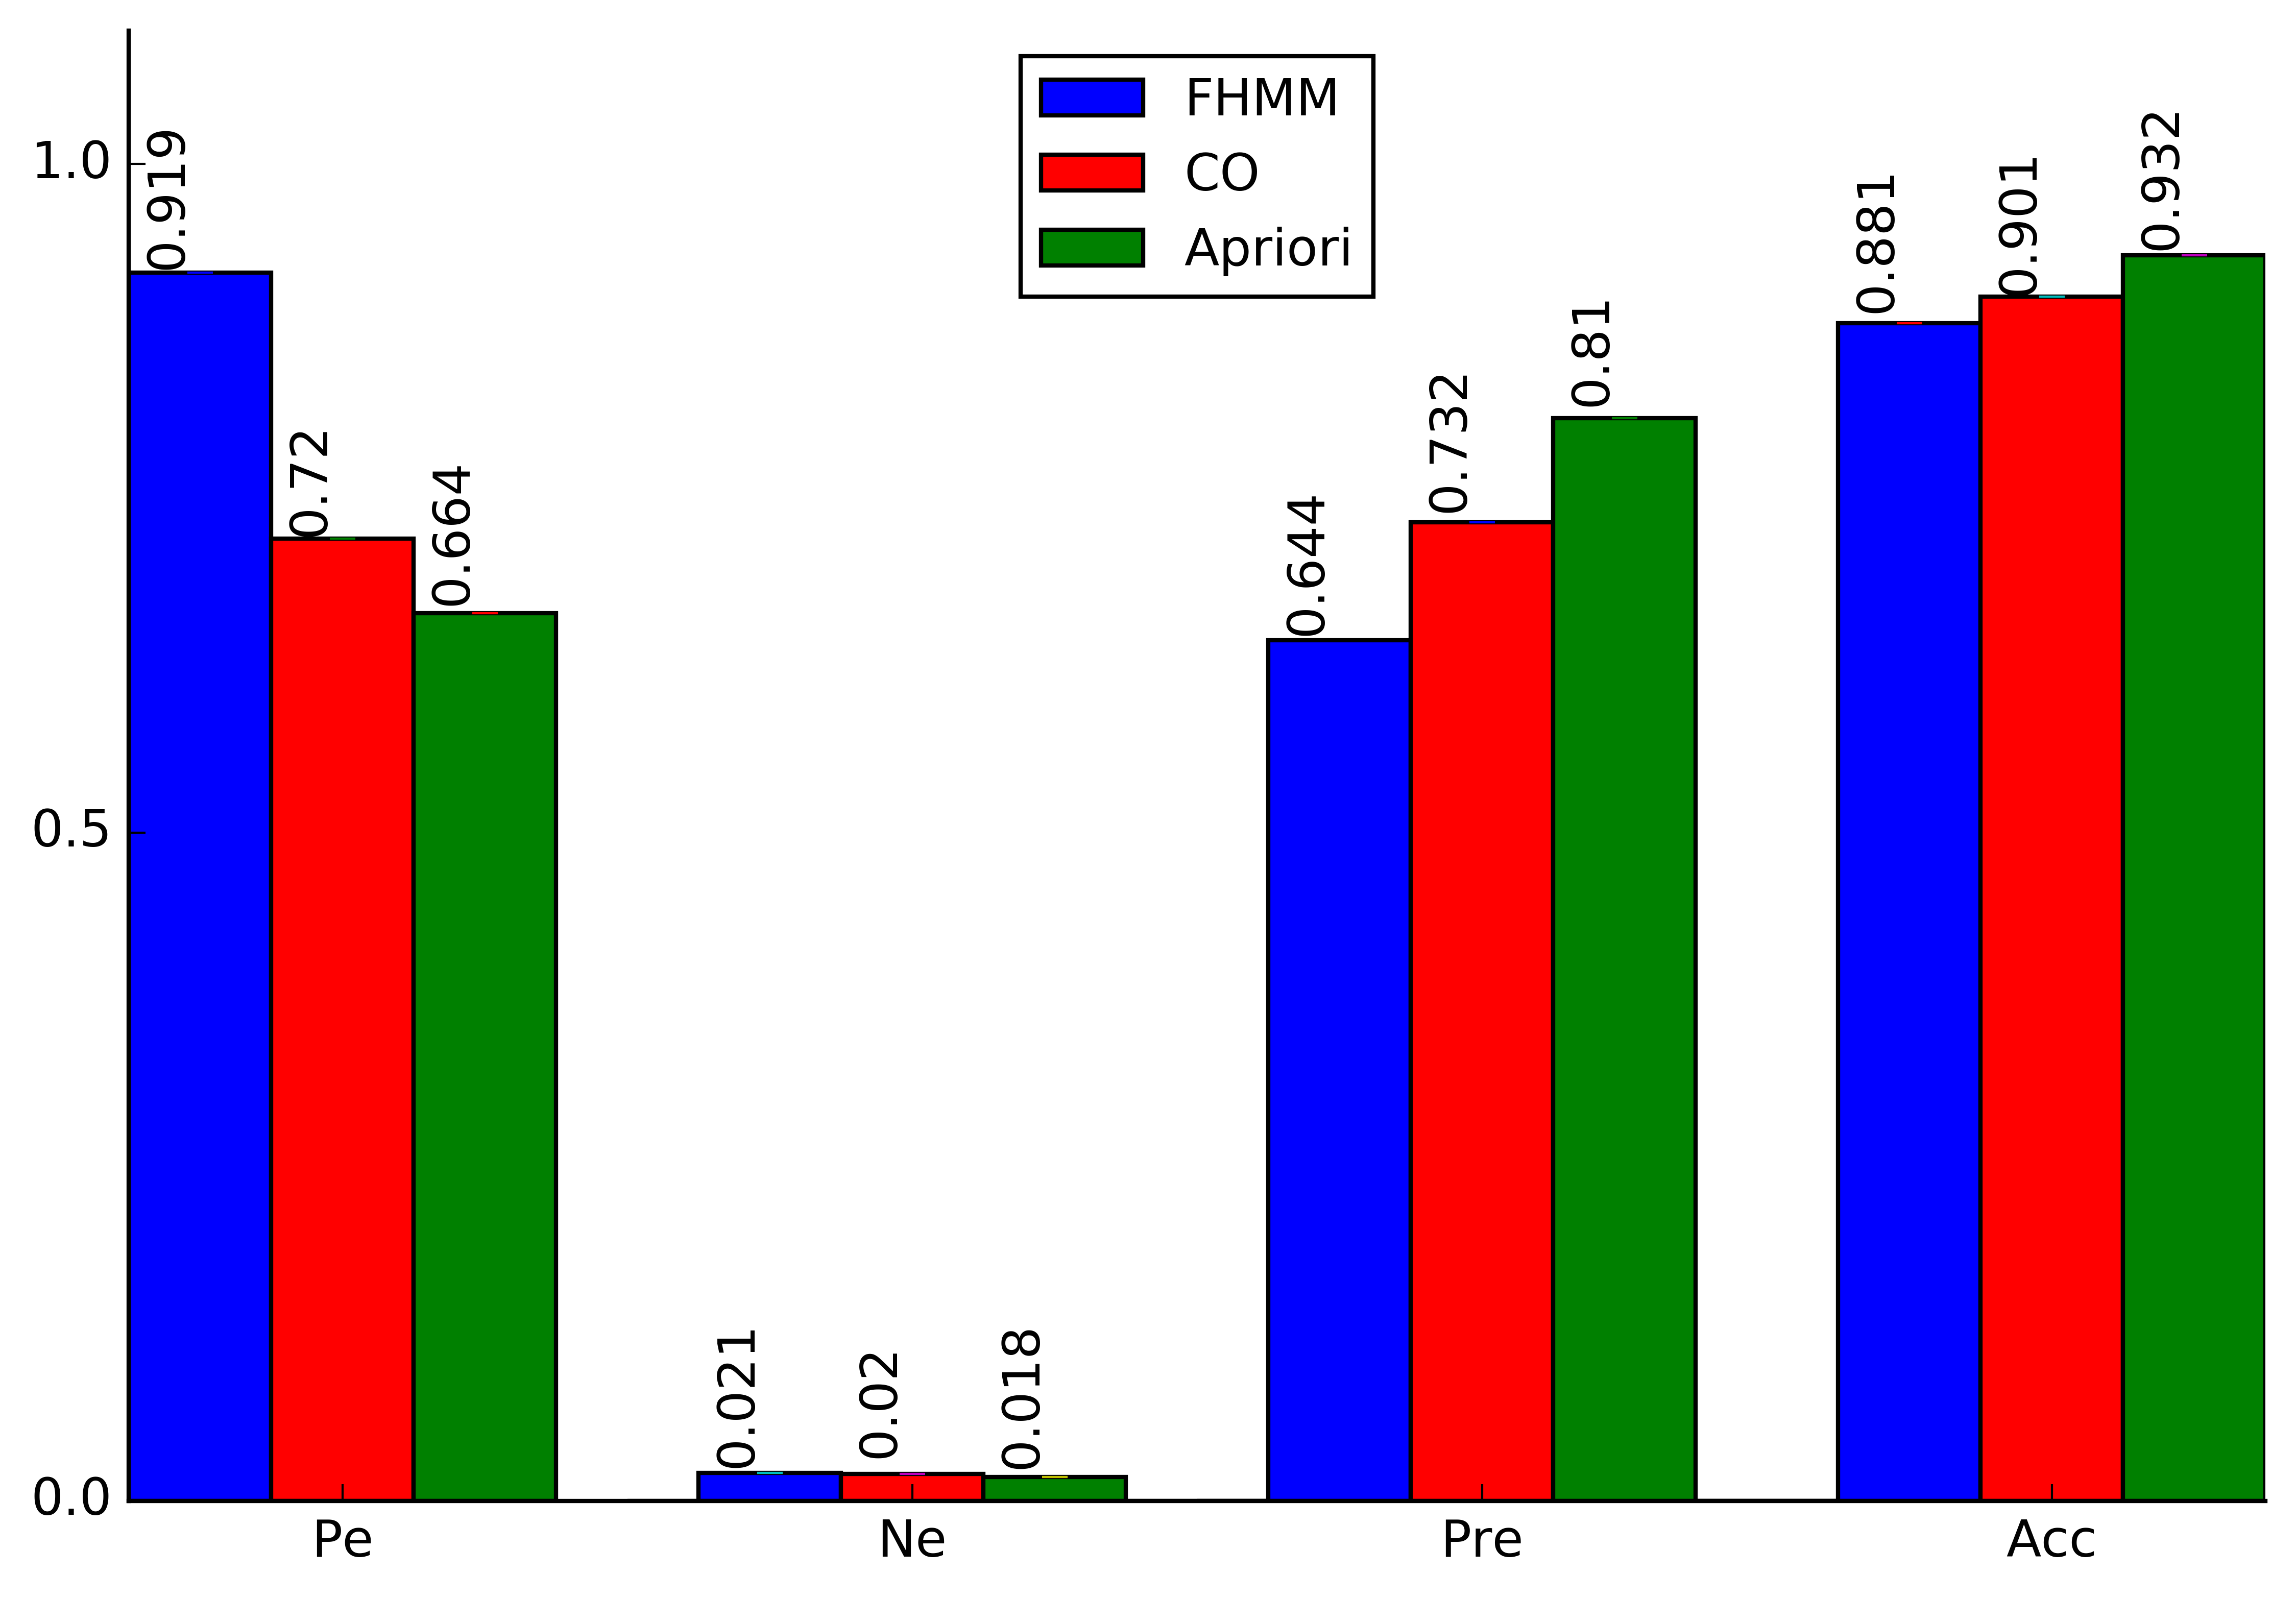
下面回答网友提问,如何画在直方图上垂直显示数据:

下面这个函数是用来垂直显示的,其中设置角度就可以以任意方式来显示。

def autolabel(rects,Num=1.12,rotation1=90,NN=1):
        for rect in rects:
            height = rect.get_height()
            plt.text(rect.get_x()-0.04+rect.get_width()/2., Num*height, '%s' % float(height*NN),rotation=rotation1)

调用方式如下

rects1 =plt.bar(left = (0.05),height = (Pe_FH),color=('b'),label=('FHMM'),width = 0.1,align="center",yerr=0.000001);
autolabel(rects1,1.09);

下面是效果图
这里写图片描述


专注于AR的在移动端的实现,如果你还有问题没解决,你可以加入我们一起交流。或是关注我们的技术公众号,这是提供技术干货的地方,你有干货可以向我们推荐。

这里写图片描述

如果你觉得写的不错,对你有用,请在下面点个 支持一下,有问题可以在下面留言评论。


本文内容由网友自发贡献,版权归原作者所有,本站不承担相应法律责任。如您发现有涉嫌抄袭侵权的内容,请联系:hwhale#tublm.com(使用前将#替换为@)

python 直方图的绘制方法全解 的相关文章

  • MavenInvocationException解决方案

    在编译Openmeetings的时候出现了这样的错误信息 xff1a MavenInvocationException Error configuring command line Reason Maven executable not f
  • 生成生命周期介绍

    翻译自http maven apache org guides introduction introduction to the lifecycle html 目录 目录生成生命周期基础 生成生命周期由阶段组成通用命令行调用一个生成阶段是由
  • Crypto++库在VS 2013中的使用 + 基于操作模式AES加密

    一 下载Crypto 43 43 Library Crypto 43 43 Library的官方网 xff1a http www cryptopp com 二 建立自己使用的Crypto 43 43 Library 由于从官方网下载的Cry
  • MATLAB工具箱路径缓存

    关于MATLAB工具箱路径缓存 出于性能考虑 xff0c MATLAB将跨会话缓存工具箱文件夹信息 缓存特性对您来说是透明的 但是 xff0c 如果MATLAB没有找到您的最新版本的MATLAB代码文件 xff0c 或者如果您收到有关工具箱
  • MySQL语法

    初识MySQL 为什么学习数据库 1 岗位技能需求 2 现在的世界 得数据者得天下 3 存储数据的方法 4 程序 网站中 大量数据如何长久保存 5 数据库是几乎软件体系中最核心的一个存在 什么是数据库 数据库 DataBase 简称DB 概
  • HBase Configuration过程

    HBase客户端API中 xff0c 我们看到对HBase的任何操作都需要首先创建HBaseConfiguration类的实例 为HBaseConfiguration类继承自Configuration类 xff0c 而Configurati
  • 中国版的 Github:gitee.com、coding.net

    https gitee com 码云 社区版 主要功能代码托管 xff1a 对个人开发者提供免费的云端 Git 仓库 xff0c 可创建最多 1000 个项目 xff0c 不限公有或私有 xff0c 支持SSH HTTP SVN xff1b
  • winScp 连接 FilEZillA报(由于目标计算机积极拒绝,无法连接)

    场景 xff1a 服务器一台 xff1b 本地台式机一台 xff0c 为了文件传输方便 xff0c 在服务器上使用FilEZillA搭建了FTP xff0c 在本地使用WinScp进行连接 问题 xff1a 首先FTP搭建没问题 xff0c
  • 关于 Raspberry Pi3 使用 Intel® RealSense™ D400 cameras的简单介绍

    Raspberry Pi Raspberry pi 可以称为个人微型电脑 xff0c 虽然它的性能无法与普通电脑相比 xff0c 但是它在很多方面都给我们带来了惊喜 xff0c 它的特点是便于携带 xff0c 功能基本和普通电脑一样 xff
  • 安装好后 实例启动出现问题

    错误如上正在排错中 File 34 usr lib python2 7 site packages nova conductor manager py 34 line 671 in build instances request spec
  • gazebo仿真之plugin系列一

    官网教程 xff1a http gazebosim org tutorials tut 61 plugins hello world amp cat 61 write plugin 本次内容涉及五个方面 xff1a plugin的基本介绍与
  • gazebo官网教程之快速开始

    英文教程 xff1a http gazebosim org tutorials tut 61 quick start amp cat 61 get started 一 运行gazebo 打开有默认环境的gazebo只需要三步 xff1a 1
  • 基于unity无人机3D仿真《一》

    基于unity无人机3D仿真 一 实现无人机的模型的制作 运动学关系 姿态角等 xff1b 实现无人机各种姿态运动 一 目前的效果 二 无人机模型 制作软件 xff1a maya 模型结构 xff1a 三 开发平台 unity2017 43
  • 比特、字节转换

    1bite xff08 比特 xff09 61 1字节 数字 xff1a 1字符 61 1字节 英文 xff1a 1字符 61 1字节 汉字 xff1a 1字符 61 2字节 在ASCII码中 xff0c 一个英文字母 xff08 不分大小
  • Unity无人机仿真github项目

    本人本科生有幸得到导师的指导 xff0c 对Unity这个平台学习已有一段时间 该平台在搭建自主仿真平台方面确实有很大优势 下面是在学习过程中收集到的一些多旋翼无人机仿真的github项目 xff0c 可供需要的快速学习 xff08 推荐先
  • matlab2020a中使用TrueTime工具

    环境 xff1a matlab版本 xff1a 2020a 参考文章 网络控制系统仿真 xff1a Truetime2 0工具箱安装 xff08 win10 43 matlab R2017b xff09 目标 xff1a 在matlab20
  • ros的init机制续篇

    这篇博客主要探讨init的实现过程 ros span class token double colon punctuation span span class token function init span span class toke
  • 基于Unity构建机器人的数字孪生平台系列1—介绍

    1 0 简介 本系列博客将开源近两年结合Unity和多旋翼无人机的相关工作 xff0c 涵盖仿真 建模 全局云端通信网络 本地局部通信网络 ROS 43 Unity VR等方面内容 该工作完整构建以虚控实 xff0c 沉浸式VR交互 xff
  • 基于Unity构建机器人的数字孪生平台系列2—四旋翼无人机三维模型

    系列2的主要内容是探讨如何自己构建一个模型并且导入Unity 1 简介 3D仿真与其他类型仿真的一大区别是三维场景和三维模型 为了实现对某个对象的仿真 xff0c 模型是必须的 当然 xff0c 针对不同的仿真任务 xff0c 需要描述对象
  • 模式识别实现之人脸识别(matlab)

    描述 用有监督学习机制设计并实现模式识别方法 xff0c 用于进行人脸面部特征识别 xff0c 如性别 xff08 男性 女性 xff09 年龄 xff08 儿童 青少年 成年 老年 xff09 佩戴眼镜 xff08 是 否 xff09 戴

随机推荐