一、中文语料库
本文采用的是搜狗实验室的搜狗新闻语料库,数据链接 http://www.sogou.com/labs/resource/cs.php
首先对搜狗语料库的样例文件进行分析。搜狗语料库由搜狗实验室提供,我们使用搜狗新闻语料库,下载地址在:http://www.sogou.com/labs/resource/cs.php。分析语料格式时先下载迷你版分析。
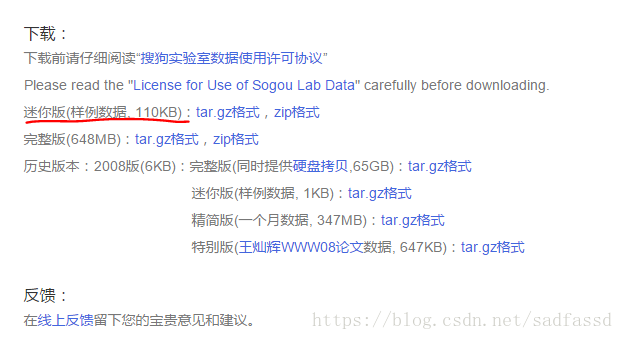
下载下来的文件名为: news_sohusite_xml.smarty.tar.gz
二、数据预处理
2.1 解压并查看原始数据
cd 到原始文件目录下,执行解压命令:
tar -zvxf news_sohusite_xml.smarty.tar.gz
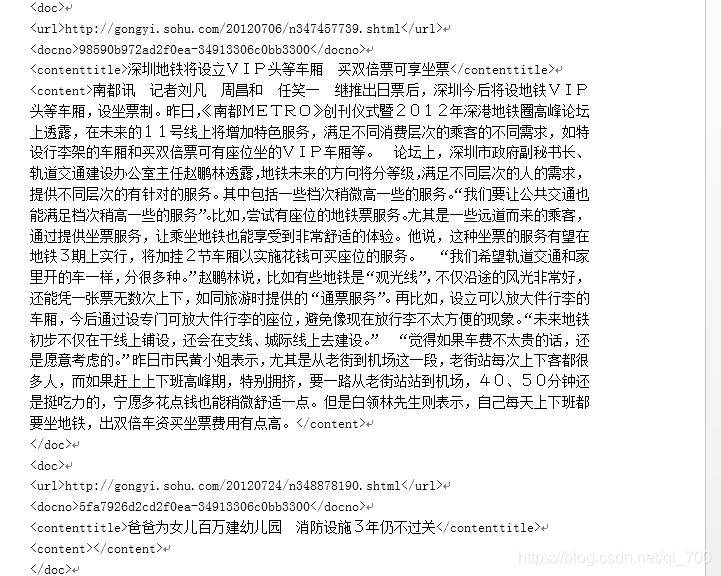
得到文件 news_sohusite_xml.dat, 用vim打开该文件,
vim news_sohusite_xml.smarty.dat
得到如下结果:
2.2 取出内容
取出<content> </content> 中的内容,执行如下命令:
cat news_sohusite_xml.smarty.dat | iconv -f gbk -t utf-8 -c | grep "<content>" > corpus.txt
windows下可以使用
type news_sohusite_xml.smarty.dat | iconv -f gbk -t utf-8 -c | findstr "<content>" > corpus.txt
得到文件名为corpus.txt的文件,可以通过vim 打开
vim corpus.txt
得到如下效果:
2.3 分词
注意,送给word2vec的文件是需要分词的,分词可以采用jieba分词实现,安装jieba 分词
##!/usr/bin/env python
## coding=utf-8
import jieba

filePath='corpus.txt'
fileSegWordDonePath ='corpusSegDone.txt'
# read the file by line
fileTrainRead = []
#fileTestRead = []
with open(filePath,encoding='utf-8') as fileTrainRaw:
    for line in fileTrainRaw:
        fileTrainRead.append(line)

# define this function to print a list with Chinese
def PrintListChinese(list):
    for i in range(len(list)):
        print(list[i])
# segment word with jieba
fileTrainSeg=[]
for i in range(len(fileTrainRead)):
    fileTrainSeg.append([' '.join(list(jieba.cut(fileTrainRead[i][9:-11],cut_all=False)))])
    if i % 100 == 0 :
        print(i)
# to test the segment result
#PrintListChinese(fileTrainSeg[10])
# save the result
with open(fileSegWordDonePath,'wb') as fW:
    for i in range(len(fileTrainSeg)):
        fW.write(fileTrainSeg[i][0].encode('utf-8'))
        fW.write('\n'.encode("utf-8"))
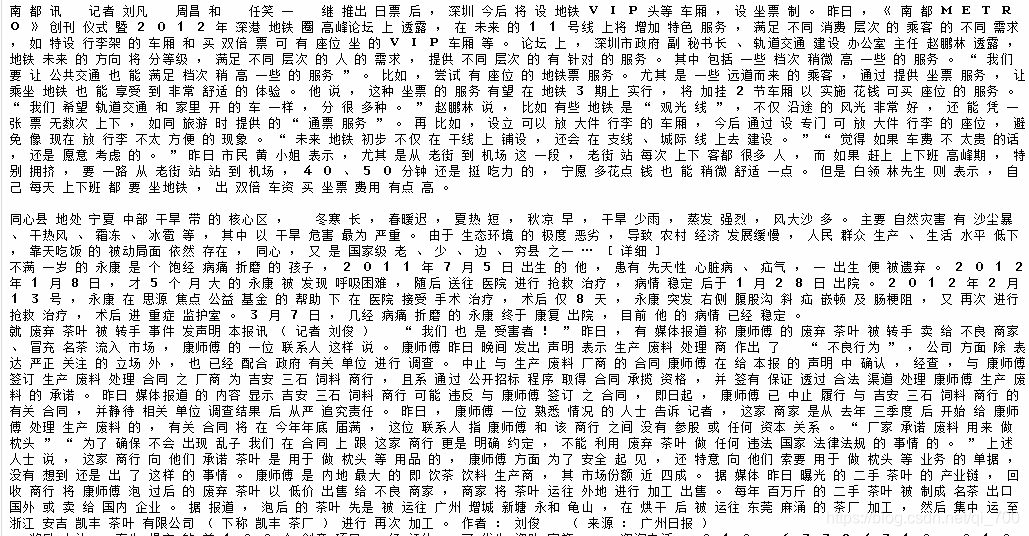
可以得到文件名为 corpusSegDone.txt 的文件,需要注意的是,对于读入文件的每一行,使用结巴分词的时候并不是从0到结尾的全部都进行分词,而是对[9:-11]分词 (如行22中所示: fileTrainRead[i][9:-11] ),这样可以去掉每行(一篇新闻稿)起始的<content> 和结尾的</content>。
得到如下图所示的结果:
三、构建词向量
3.1word2vec训练词向量
word2vec模型的原理这里不再讲解,网上随便一搜,可以找到很多教程,这里是给个实例,基于上面处理好的语料训练词向量,使用的工具是gensim中自带的word2vec模型。
import logging
import gensim.models as word2vec
from gensim.models.word2vec import LineSentence

def train_word2vec(dataset_path, model_path, size=100, window=5, binary=True):
    logging.basicConfig(format='%(asctime)s : %(levelname)s : %(message)s', level=logging.INFO)
    # 把语料变成句子集合
    sentences = LineSentence(dataset_path)
    # 训练word2vec模型
    model = word2vec.Word2Vec(sentences, size=size, window=window, min_count=5, workers=4, iter=10)
    # 保存word2vec模型
    if binary:
        model.wv.save_word2vec_format(model_path, binary=True)
    else:
        model.wv.save_word2vec_format(model_path, binary=False)

def load_word2vec_model(w2v_path):
    # load word2vec
    model = word2vec.KeyedVectors.load_word2vec_format(w2v_path, binary=True)
    return model

def calculate_most_similar(model, word):
    similar_words = model.most_similar(word)
    print(word)
    for term in similar_words:
        print(term[0], term[1])

dataset_path = "corpusSegDone.txt"
save_model_path = "corpusWord2Vec.bin" # save_binary=True
#save_model_path = "word2vec_model.txt" # save_binary=False

train_word2vec(dataset_path, save_model_path, size=100, window=5, binary=True)

model = load_word2vec_model('corpusWord2Vec.bin')
print (model.vectors)
3.2 显示并使用词向量
查看词向量
model = load_word2vec_model('corpusWord2Vec.bin')
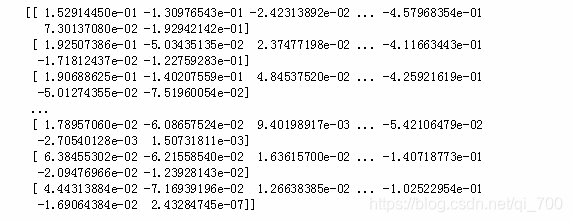
print (model.vectors)
可以得到如下结果:
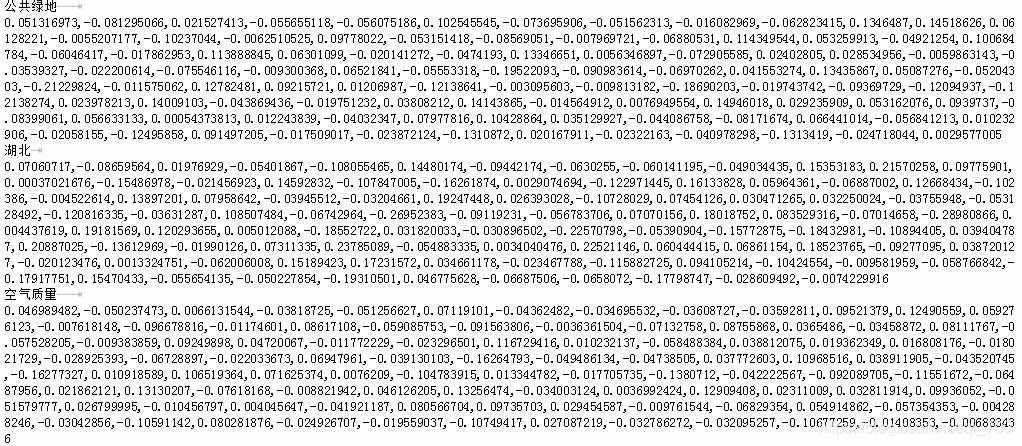
3.3将词向量bin格式转化为txt格式
##将词向量模型生成的bin转化为txt格式
import codecs
import gensim
def bin2txt(path_to_model, output_file):
    output = codecs.open(output_file, 'w' , 'utf-8')
    model = gensim.models.KeyedVectors.load_word2vec_format(path_to_model, binary=True)
    print('Done loading Word2Vec!')
    vocab = model.vocab
    for item in vocab:
        vector = list()
        for dimension in model[item]:
            vector.append(str(dimension))
        vector_str = ",".join(vector)
        line = item + "\t"  + vector_str
        output.writelines(line + "\n")  #本来用的是write()方法,但是结果出来换行效果不对。改成writelines()方法后还没试过。
    output.close()


output_file = 'corpusWord2Vec.txt'
bin2txt(save_model_path, output_file)
结果显示:
完整代码如下
##!/usr/bin/env python
## coding=utf-8

#####jieba分词
import jieba

filePath='corpus.txt'
fileSegWordDonePath ='corpusSegDone.txt'
# read the file by line
fileTrainRead = []
#fileTestRead = []
with open(filePath,encoding='utf-8') as fileTrainRaw:
    for line in fileTrainRaw:
        fileTrainRead.append(line)

# define this function to print a list with Chinese
def PrintListChinese(list):
    for i in range(len(list)):
        print(list[i])
# segment word with jieba
fileTrainSeg=[]
for i in range(len(fileTrainRead)):
    fileTrainSeg.append([' '.join(list(jieba.cut(fileTrainRead[i][9:-11],cut_all=False)))])
    if i % 100 == 0 :
        print(i)
# to test the segment result
#PrintListChinese(fileTrainSeg[10])
# save the result
with open(fileSegWordDonePath,'wb') as fW:
    for i in range(len(fileTrainSeg)):
        fW.write(fileTrainSeg[i][0].encode('utf-8'))
        fW.write('\n'.encode("utf-8"))

###训练词向量
import logging
import gensim.models as word2vec
from gensim.models.word2vec import LineSentence

def train_word2vec(dataset_path, model_path, size=100, window=5, binary=True):
    logging.basicConfig(format='%(asctime)s : %(levelname)s : %(message)s', level=logging.INFO)
    # 把语料变成句子集合
    sentences = LineSentence(dataset_path)
    # 训练word2vec模型
    model = word2vec.Word2Vec(sentences, size=size, window=window, min_count=5, workers=4, iter=10)
    # 保存word2vec模型
    if binary:
        model.wv.save_word2vec_format(model_path, binary=True)
    else:
        model.wv.save_word2vec_format(model_path, binary=False)

def load_word2vec_model(w2v_path):
    # load word2vec
    model = word2vec.KeyedVectors.load_word2vec_format(w2v_path, binary=True)
    return model

def calculate_most_similar(model, word):
    similar_words = model.most_similar(word)
    print(word)
    for term in similar_words:
        print(term[0], term[1])

dataset_path = "corpusSegDone.txt"
save_model_path = "corpusWord2Vec.bin" # save_binary=True
#save_model_path = "word2vec_model.txt" # save_binary=False

#train_word2vec(dataset_path, save_model_path, size=100, window=5, binary=True)
model = load_word2vec_model('corpusWord2Vec.bin')
print (model.vectors)

##将词向量模型生成的bin转化为txt格式
import codecs
import gensim
def bin2txt(path_to_model, output_file):
    output = codecs.open(output_file, 'w' , 'utf-8')
    model = gensim.models.KeyedVectors.load_word2vec_format(path_to_model, binary=True)
    print('Done loading Word2Vec!')
    vocab = model.vocab
    for item in vocab:
        vector = list()
        for dimension in model[item]:
            vector.append(str(dimension))
        vector_str = ",".join(vector)
        line = item + "\t"  + vector_str
        output.writelines(line + "\n")  #本来用的是write()方法,但是结果出来换行效果不对。改成writelines()方法后还没试过。
    output.close()


output_file = 'corpusWord2Vec.txt'
bin2txt(save_model_path, output_file)
本文内容由网友自发贡献,版权归原作者所有,本站不承担相应法律责任。如您发现有涉嫌抄袭侵权的内容,请联系:hwhale#tublm.com(使用前将#替换为@)